Planner-Ready for Summer
Hi everyone, Kelly here and today I want to show you how I set up my planner for Summer. Besides working, this month is all about sunny weather, relaxing and holiday to me, so it is important my planner reflects the time of year.
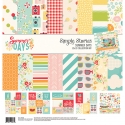
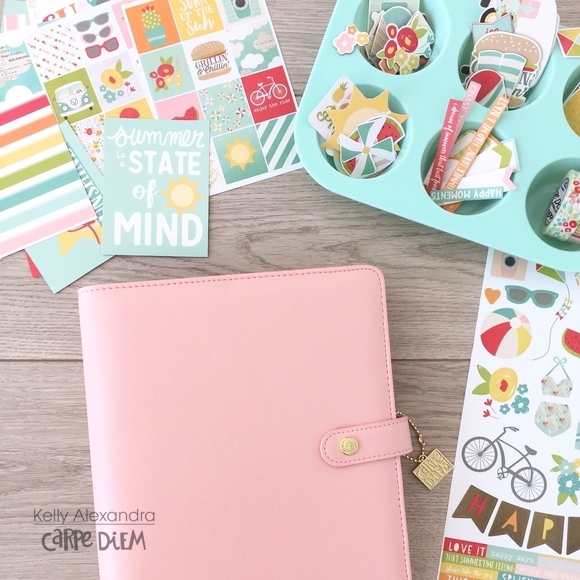
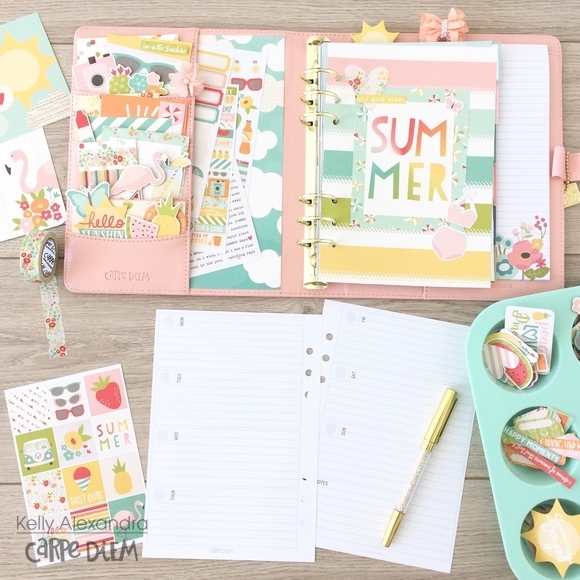
For this setup I am using all the stickers, papers and pieces from the Summer Days collection together with my Blush A5 Carpe Diem Planner. Before I start, I placed the washitapes and pieces in a cupcake tray for easy access and displayed all the stickers and papers on my desk.
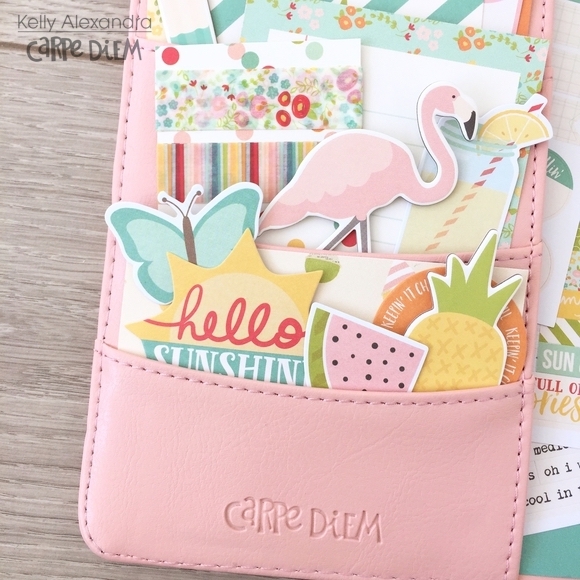
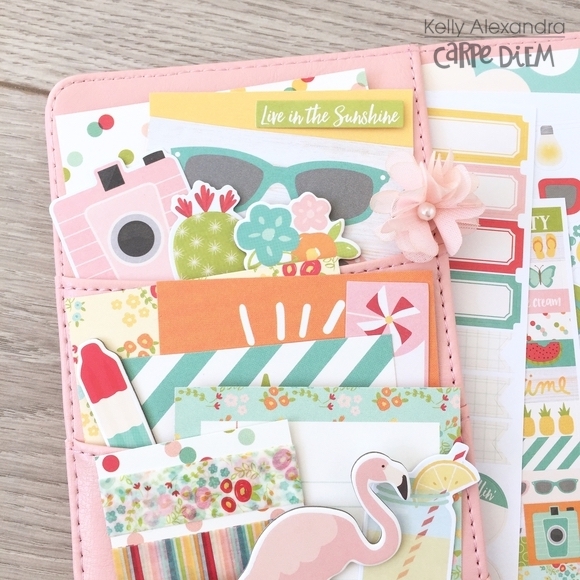
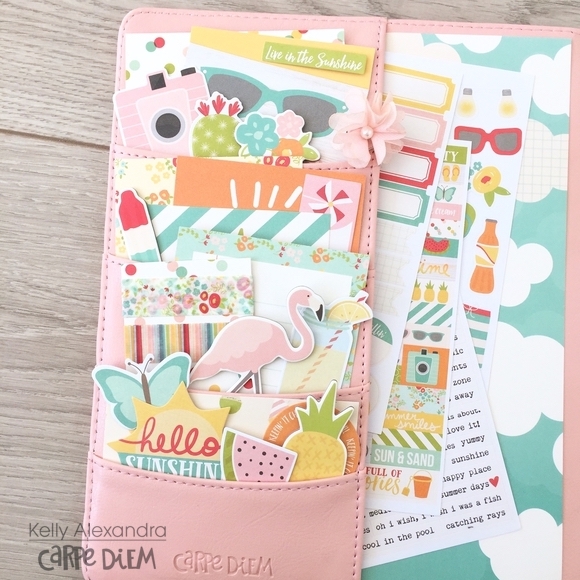
The first thing I always do when I set up a new planner is filling the pockets with journaling cards, decorative bits and a little washitape sample! A little tip for keeping the decorative bits in place when you open and close the planner: take a bit of washitape, make a little roll and put it on the back of the ephemera and adhere it to the spot where you want it to be. This way you can easily remove it and it will not get damaged!
In the large side pocket I used the blue paper with clouds as a background and slided some stickersheets of the collection in there, to always have them on hand.
Now that my pockets are filled I created a new front dashboard. I cut the rainbow colored paper down to size, punched holes and decorated it with some cards and stickers! In the back of my planner I inserted a little notepad to write down things I need to remember.
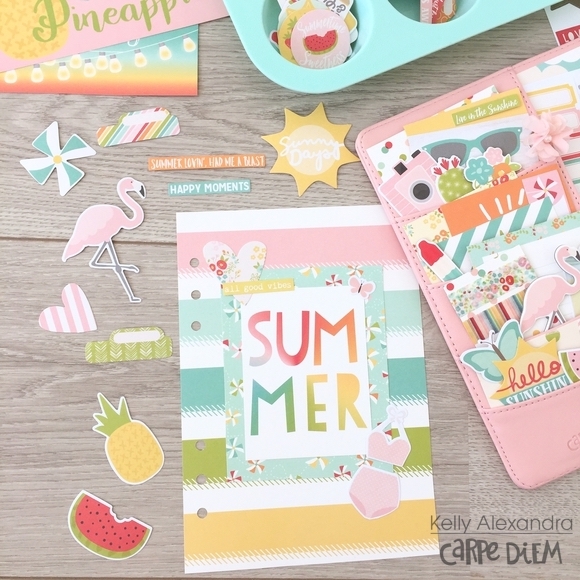
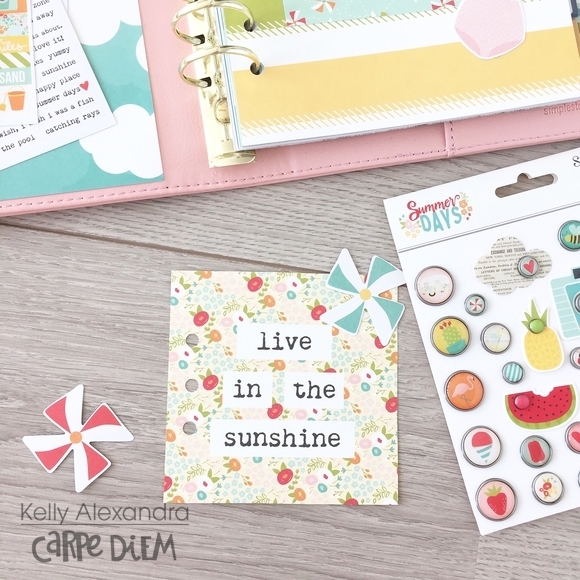
The 4x4 Element have this awesome quote card: ‘Live in the sunshine’! I punched holes using the planner punch and simply put it in my planner. A quick and easy idea to decorate your planner!
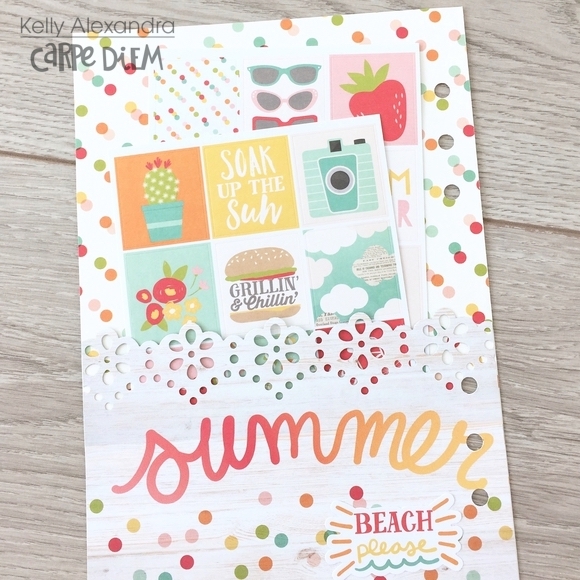
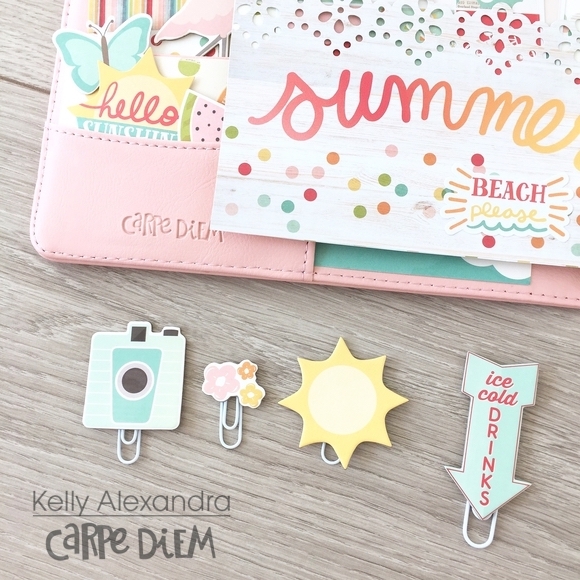
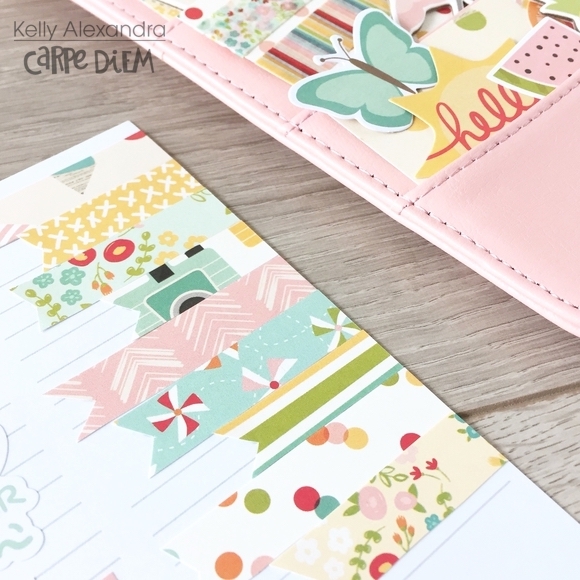
Since I would always like to have multiple stickersheets in my planner, I created this pocket on the back of the front dashboard. I grabbed a 4x6 card from the cut-apart paper, punched a border with a flower pattern using a punch from my stash and adhered it to the bottom and sides of the page. I also used a few of the thickers to create diy paperclips, I adhered them with strong tape on some white paperclips.
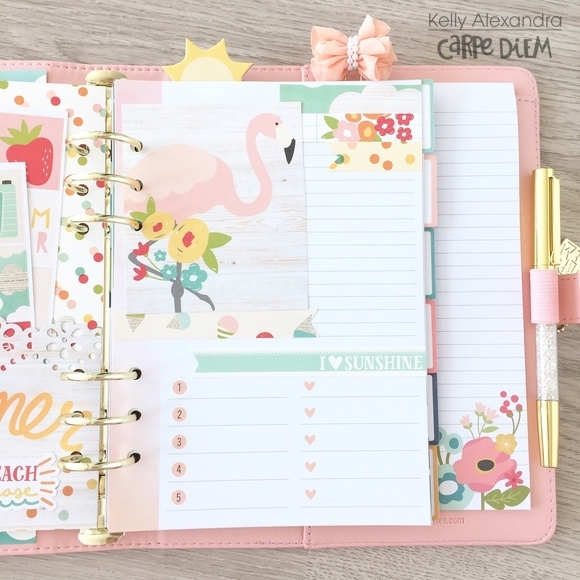
For this summer I had the idea to make a bucket list with things I want to do. I decorated a page with a big flamingo and made sure I had enough space to write down a few lists.

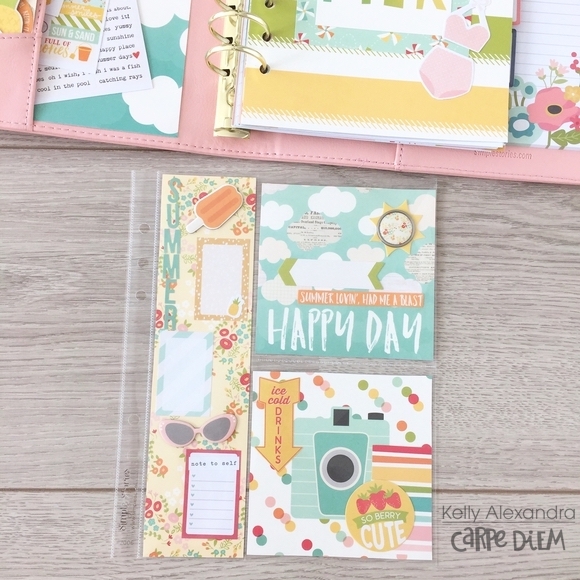
I also created a pocket page by punching some extra holes in a SNAP pocket page and filled these with pattern paper, cards and stickers. I like to put these at the back of my planner.

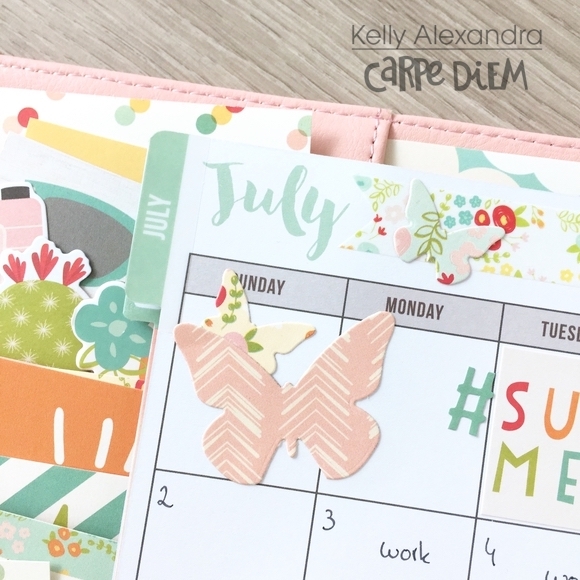
Now that all the extra ‘Summer themed’ pages are done it is time to decorate the July monthly spread. I used some butterfly, flower and alpha dies to cut shapes and words from the patterned papers. With washitape I marked the days of my holiday!
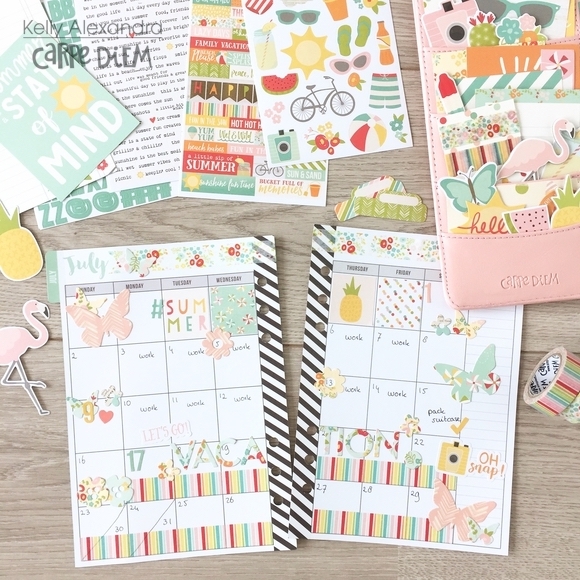
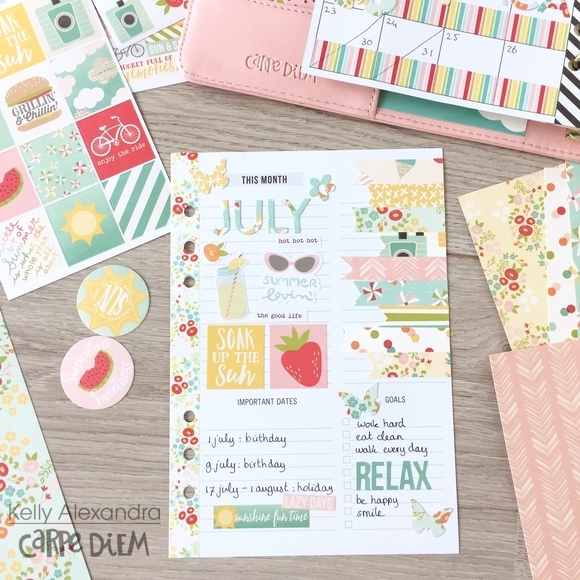
At last, I wanted to decorate the ‘This month’ page for July. I used alpha dies to cut July from the patterned paper and used some scraps of paper to create a fun banner border to show of all the pretty colors and patterns.
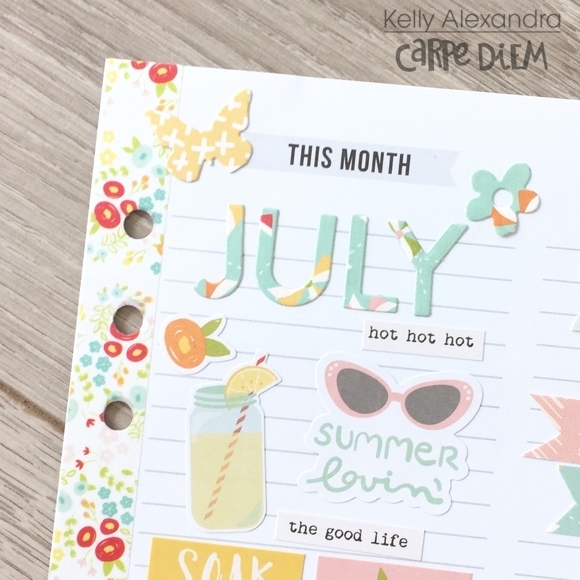
I love the ‘this month’ page because it gives you room to write down important dates, appointments, and monthly goals. Since this month is all about holiday for me I used lots of stickers and did not write down any to do’s!!
On my instagram (https://www.instagram.com/createplannernl) I will share some more weekly spreads using the Summer Days collection in my Carpe Diem planner. See you next month!

Supplies