April 2018 Blog Posts

Hello Simple Stories fans! Thank you so much for visiting the blog today. While I am currently enjoying a reprieve from what feels like a very looooong Summer, lots of you are full of the joys of Spring! That palpable excitement is completely infectious and I can’t wait to see all the gorgeous Summer projects coming out of different parts of the world as the weather warms up!

I’ve created two projects with the new 'Hello Summer’ collection. You are going to fall head over heels for this bright and playful line - juicy pops of lime and flamingos are a must!

MY MAIN SQUEEZE

This page uses a simple circle shape, repeated. I’ve created this type of design before and I just love it. 
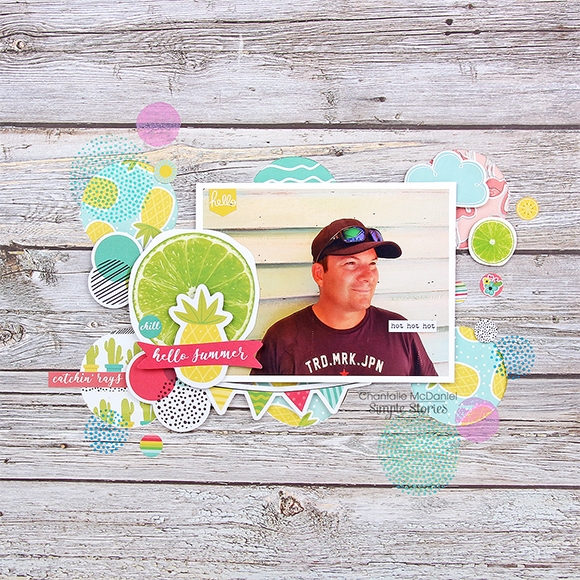
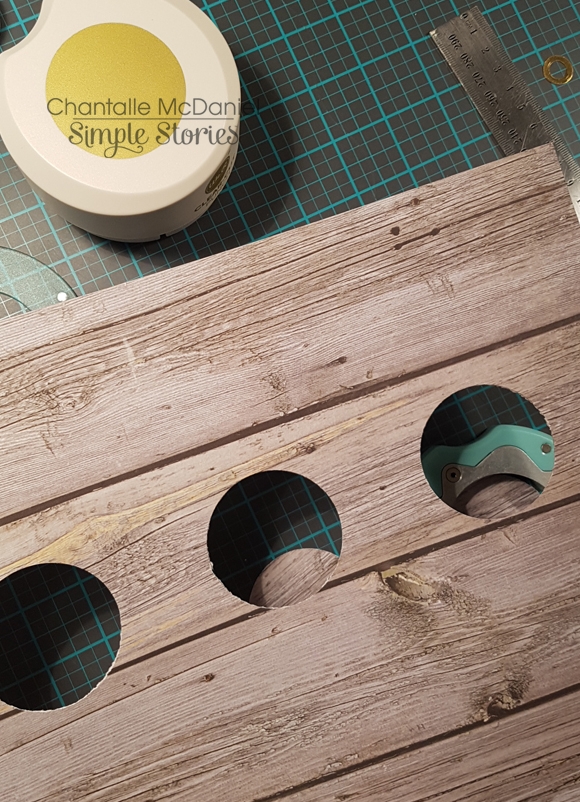
I’ve used a sheet of Birch/White Grid 12x12 from my pack of Sn@p Basics and punched repeatedly widthways across the paper.
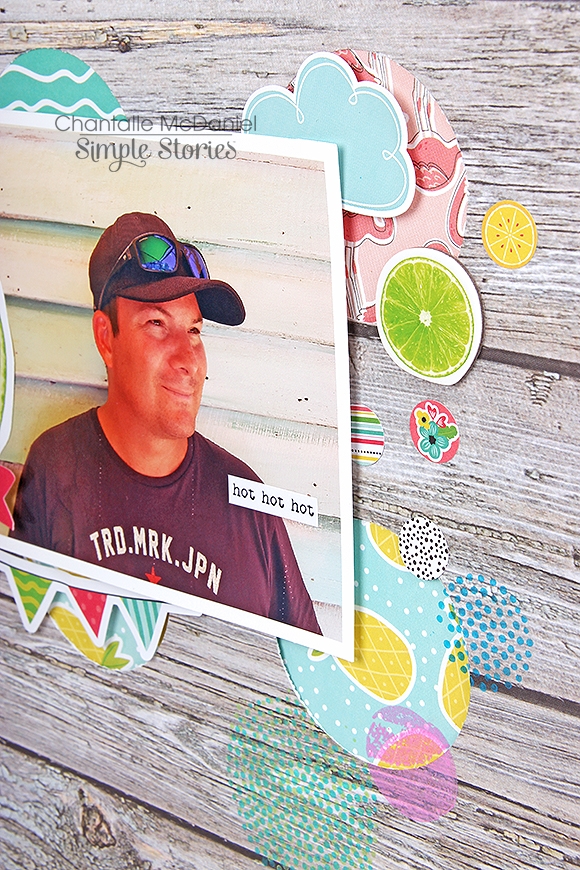
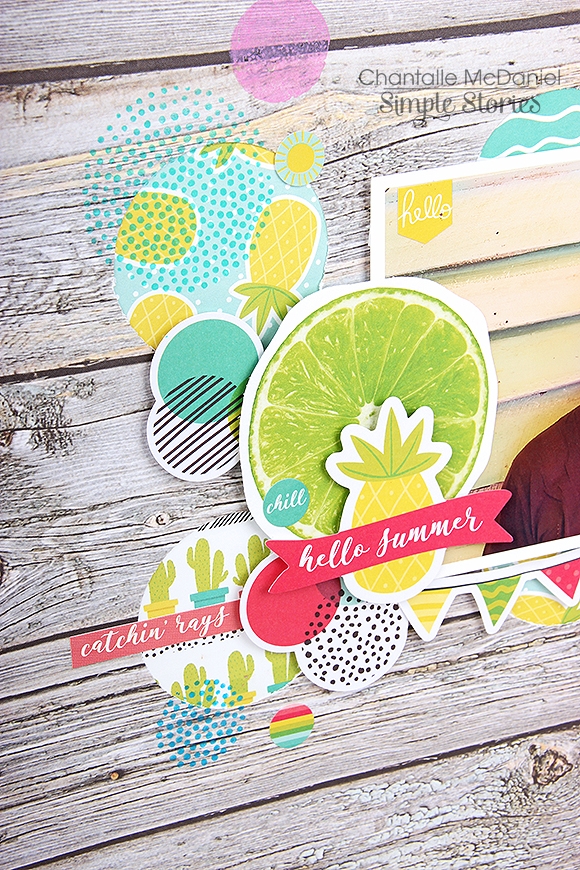
I’ve matted these circles with slightly larger circles (just cut freehand) in various prints from the Hello Summer 6x8 paper Pad.
The circular shape is strengthened by using lots of the same shape, pulled from Hello Summer sticker sheets and my Bits & Pieces pack.
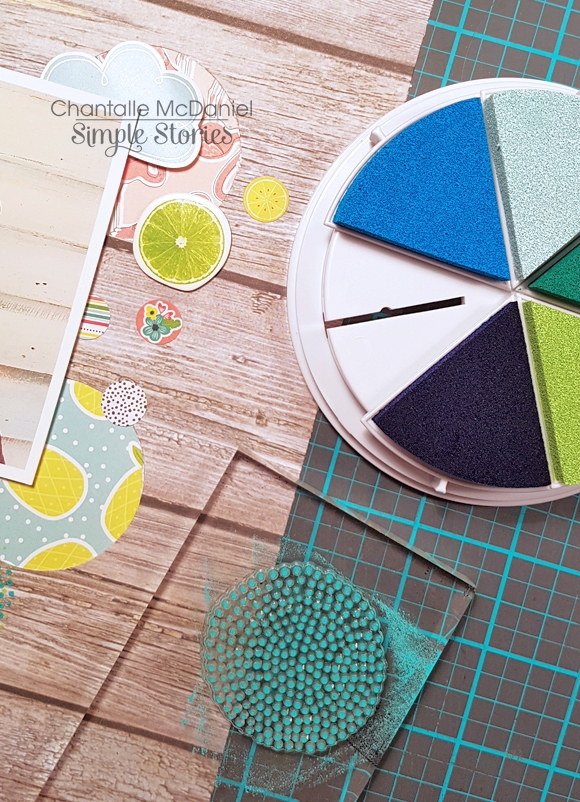
A touch more detail has also been added in the form of a spot of stamping in similar shades. This spotty stamp pulls the dotted print out of the collection perfectly!
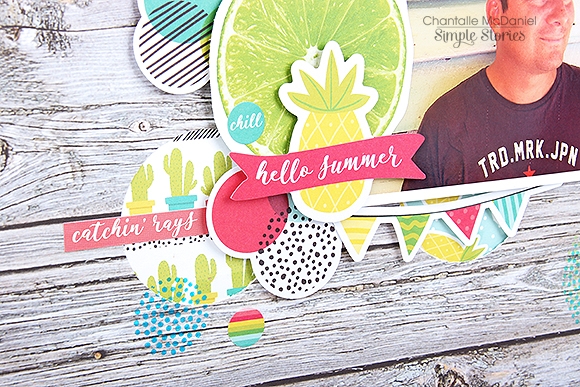
Teensy details can be found in the mini circle stickers from the 4x6 Sticker pack.
 

SUMMER TIME

This cheeky little timepiece started life a little uglier lol. My hubby (knowing I like to take in ‘orphan’ items) brought this clock home from work with the thought that I could make it a bit prettier. Hello….Challenge accepted!
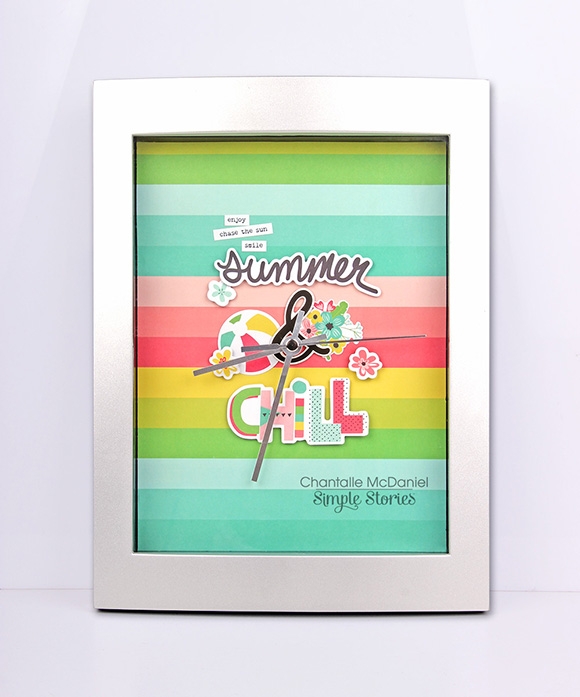
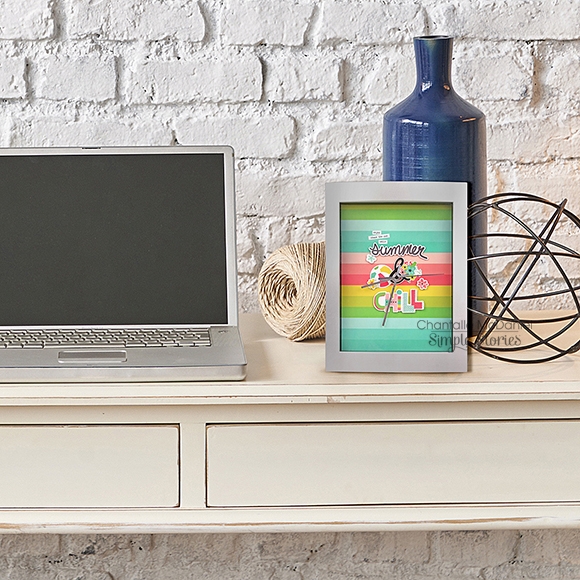
It now lives in my DD’s room but would look cool in a craft space too!
This is the very corporate ‘before’ pic. The rectangle shape was a little chunky, but I thought the silver lifted it and would work ok with some cooler summery tones.
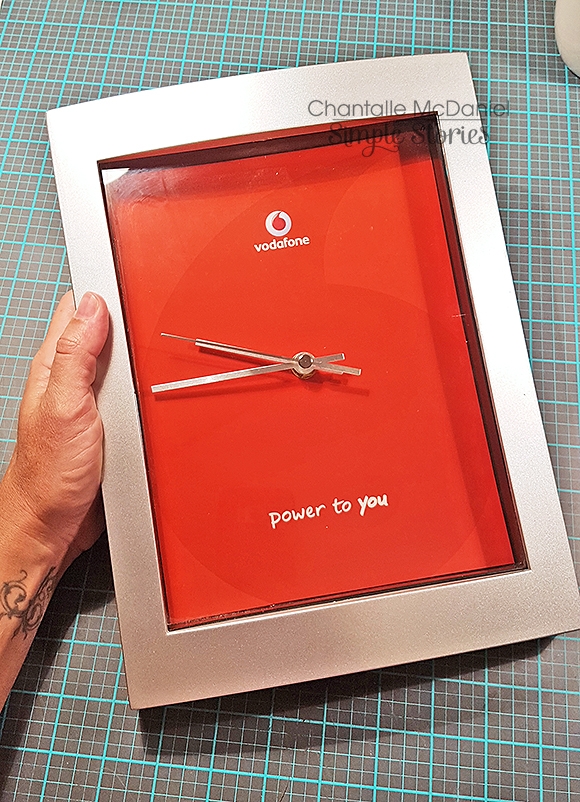
I pulled the clock apart and began by replacing the solid red with a trimmed sheet of ‘Life is Good’ 12x12. The simple rainbow print was perfect as it gives a pop of colour but doesn’t distract the eye too much.
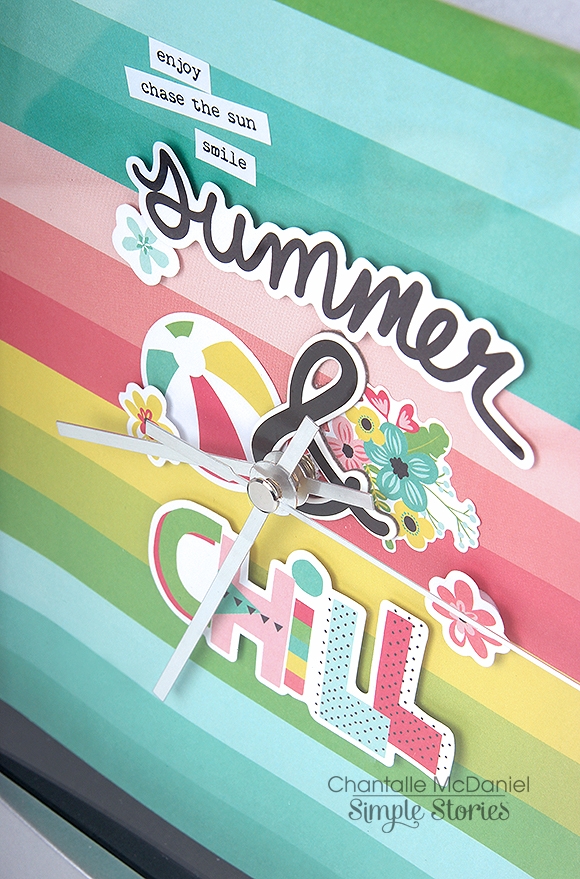
Next, I went about adding the titles ‘Summer & Chill’ to the face as well as a few little summery bits. I don’t know why I haven’t done a seasonal clock before!! I love this and I’m totally going to be making more as the season’s change.
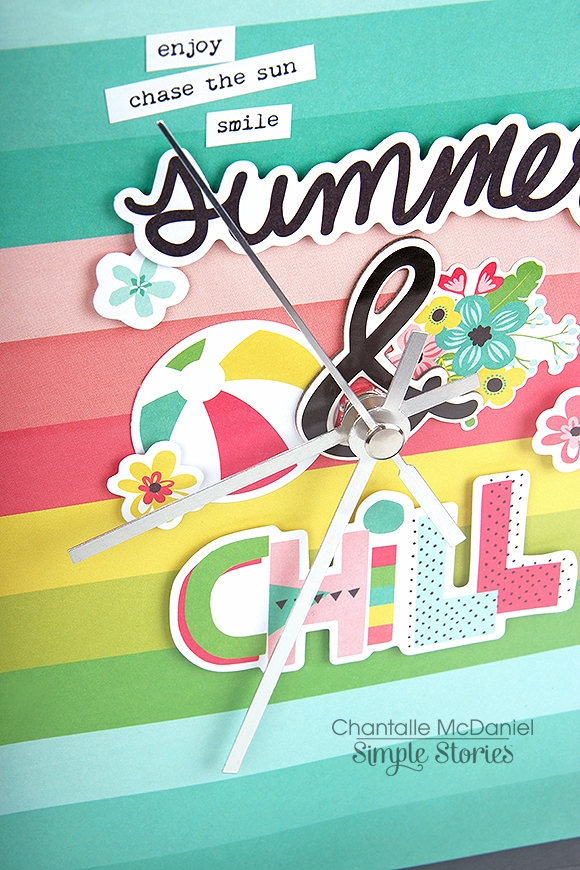
Thanks so much for stopping by! Wishing you lots of fun with the gorgeous new Simple Stories Collections and don’t forget, if you are a digital or hybrid scrapper, you can grab all of your favourite collections online in the Simple Stories Digital Store.

Happy creating!


Hi everyone! I love to travel! There is nothing better than seeing another part of this fabulous world and the people in it!  The jolly 'Travel Notes' collection captures the beautiful essence of roaming the globe and is perfect for documenting all the fun a trip can have!
On our vacations, we take a TON of pictures and to document them all would fill a giant scrapbook. I think there is nothing better than to take a small segment or subject of your trip and capture those memories in an adorable mini! I took this colorful, fun collection and created a travel notebook documenting our days spent in Cinque Terre on a trip to Italy last year!

I cut one of the lovely patterned papers to 8x11 inches to use for my cover and embellished it with lots of the playful stickers and Bits & Pieces. I then laminated my cover for extra durability. Holes were punched at the top and bottom for the elastic holders on the inside and on the back page for the closure. There is room for photo pages and a journal that holds notes of our entire trip! I just love the luggage tag charm on the elastic closure- it is part of the Bits & Pieces!

Inside, the book is filled with four folded pages, each one a different pattern of paper. All in all, I have sixteen pages to document my favorite memories. Plus, I made pockets for seven of the pages that are holding flip books or tags for even more photos and mementos! Each of these wonderful pages and pockets have all been delightfully decorated with the bright and playful stickers, chipboard, Bits & Pieces and washi tape of the collection! You will have so much fun with this collection it will be like taking your trip all over again! Please visit my YouTube channel to see a full video of this super cute album!


Supplies

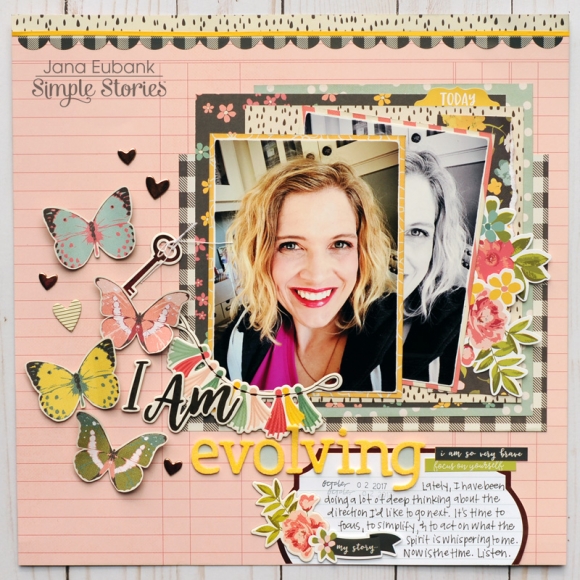
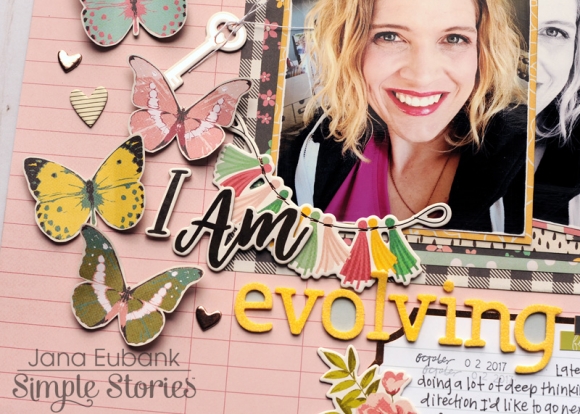
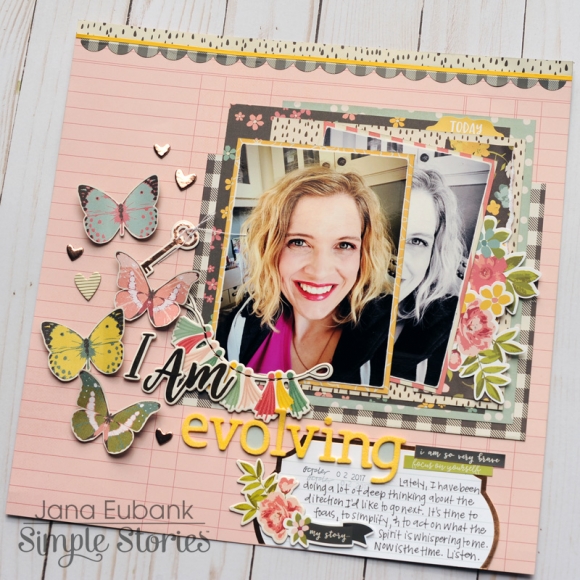
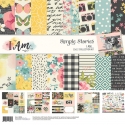
Hello Everyone! Jana Eubank here! It's taken me a long time to become comfortable scrapbooking pictures and stories about myself, but the I Am collection makes it easy ... and FUN!

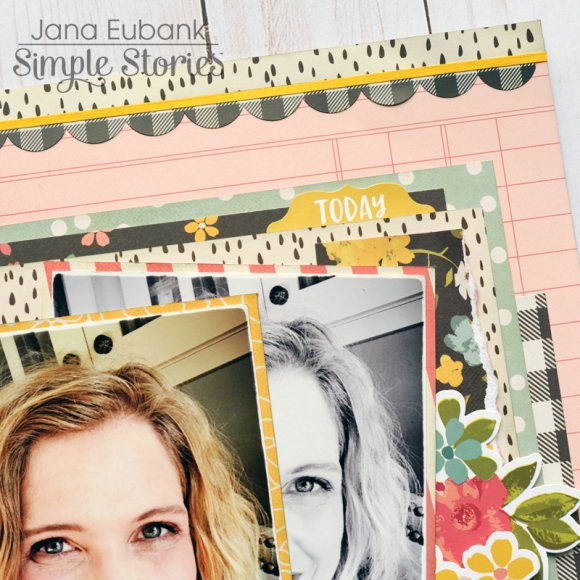
I used several papers from the 6x8 pad to mat my photos and also to create lots of fun layers behind them!

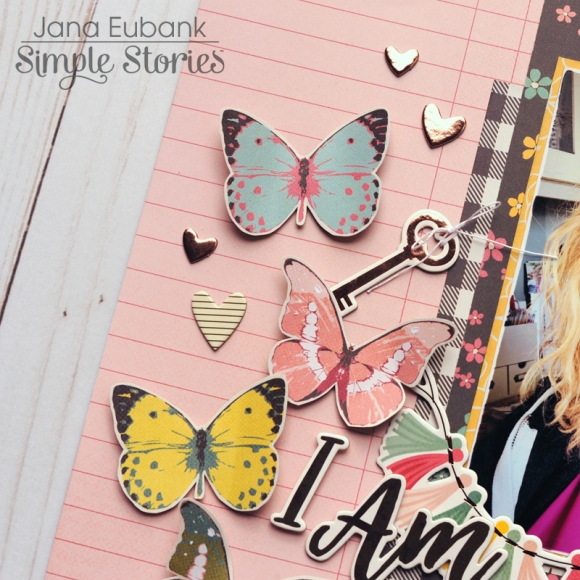
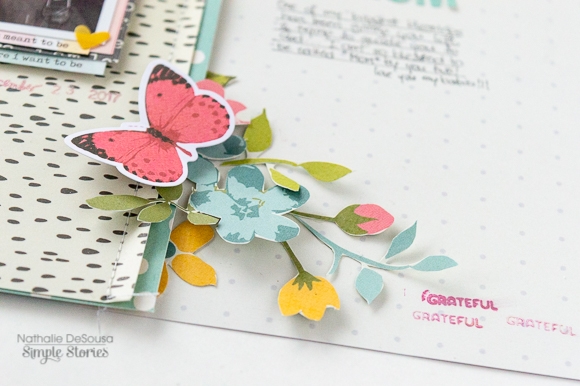
I fussy-cut these butterflies out of one of the 6x8 sheets. I love how they reinforce the idea behind my page title with a nod to "evolving."

I used the darling chipboard tassel banner in the lower left corner of my photo and then layered my title to the left and underneath. Several chipboard hearts accent the spaces in between the butterflies.

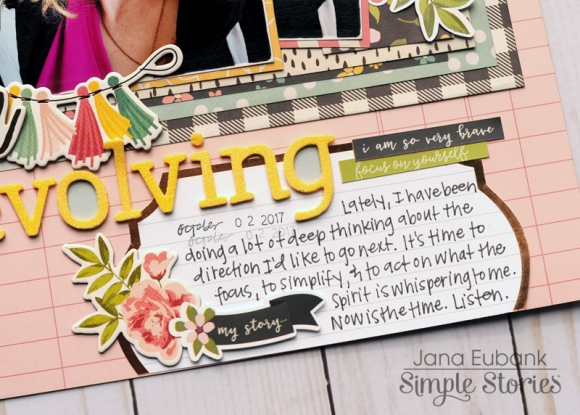
The foil-bordered journaling block was hand-cut from the 4x6 Horizontal Elements paper. I chose to have it bleed off the bottom edge of the page.

When was the last time YOU created a page about yourself?

Supplies

Hello Friends! 

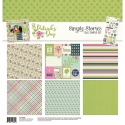
It's Kristine with you today and I'll be sharing a layout and a card I created with the St. Patrick's Day Simple Set. 

You are probably thinking why would she show us St Patricks Day at the end of April! Well this is why ... it's not a St. Patty's day layout and I want to show you how you can use a THEMED kit into something more " generic ". 

I created a layout using the kit but I used mostly the flowers, hears, and tried to avoid the shamrocks and more greenish colored paper. I apsolutly LOVE the pink in this kit and I really wanted to focus on that color and the flowers. 

I cut up some shapes using a few metal dies I have - such as tags, banners, and circle shapes. This allowed me to use some sections of the 3x4 cards that come in the kit. I cut up a few pieces to create my own diecuts such as the "Charmed Life". This allows you to stretch those kits and use them even if it's not a St. Patricks Day or any themed layout!

Here is another close up of the layout - of course I added pop dots and journal strips. My layouts would not be complete if I didn't add those! 

I also created a card - using the sticker sheet I used the Happy & the Day sticker. I left out the St. Patricks. See what I did there!? Yes.. I made something different from a themed sticker. 

I hope you give this kit a try because it is really beautiful. You can see that you do not need themed photos to use a themed kit! 

Please come follow us on Instagram @SimpleStories_ & @KristineDavidson. 

Chow for now!

Supplies

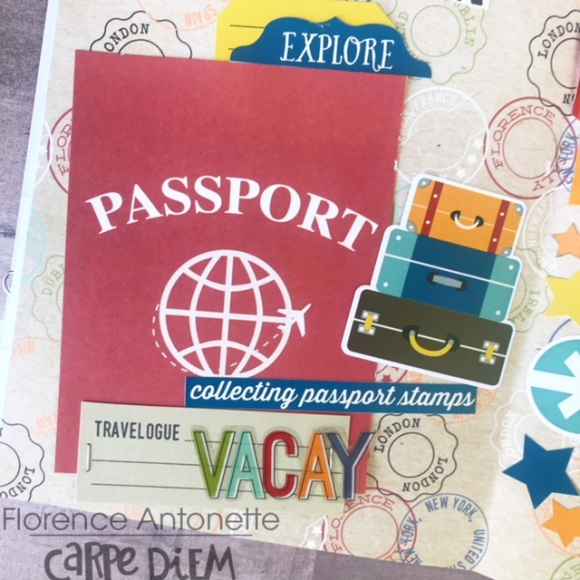
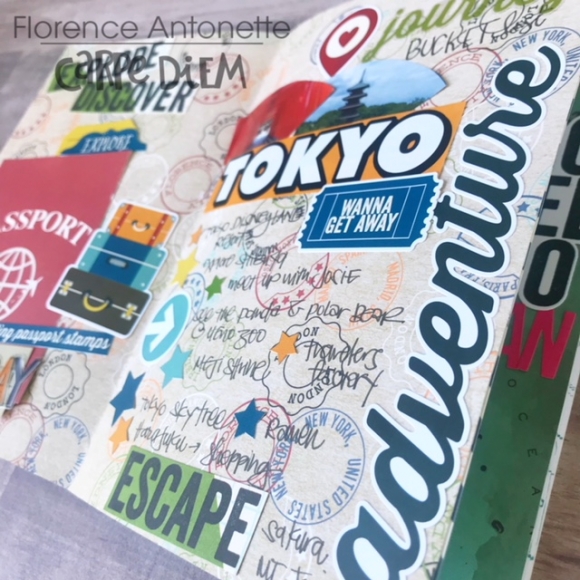
Hello everyone! Florence here! From my previous blog post you might have seen me write about how I want to do 32 new adventures and 52 new memories. I’m kicking off my 4th adventure by going to Japan!!! I am obsessed with this country and went for the first time at the end November. 

I feel like sometimes life just passes us by. Some of us just settle- even when we’re unhappy. And I was truly unhappy. I was miserable actually. So I decided to book my dream vacation and it was the best decision of my life. While I was still in Japan I decided to check tickets in April for Sakura Season (Cherry Blossom Season) and low and behold I scored a ticket for $430! Round trip!!! I couldn’t believe it. 

Unfortunate news- sometimes things don’t go as planned and Sakura Season was no longer here since the cherry blossoms bloomed early. Womp womp womp. But I decided that this trip was going to be more relaxing for me. 

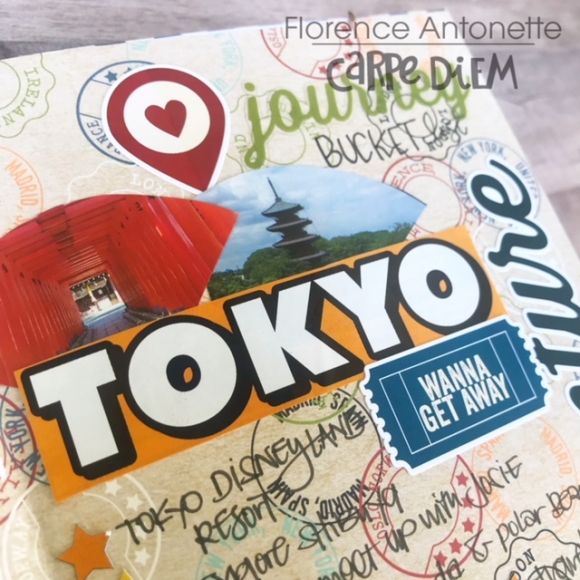
I’ve been on the go lately with no rest. Especially the month leading into this trip. I wanted to create a Simple Bucket List with items I may or may not achieve (which I was content with). The number one on my bucket list was Tokyo Disneyland Resort. So just as long as I achieved that, I was golden!

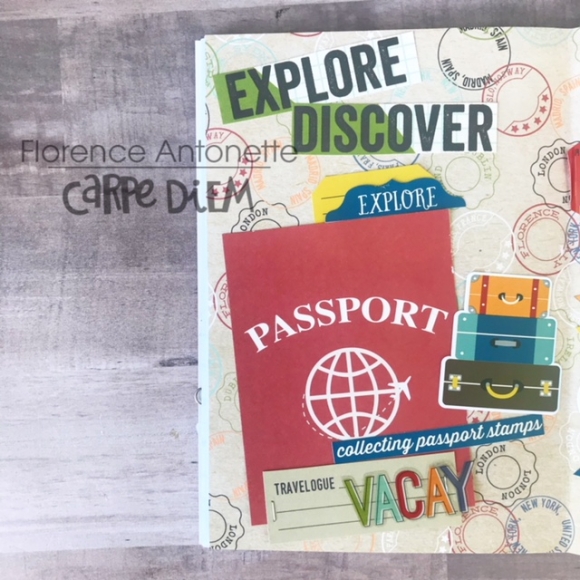
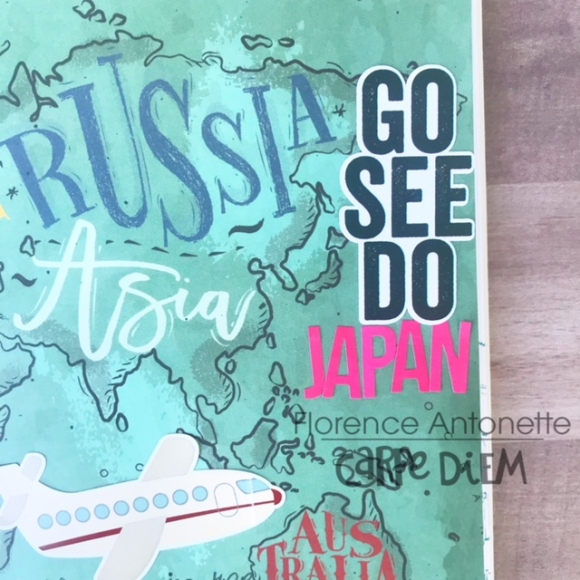
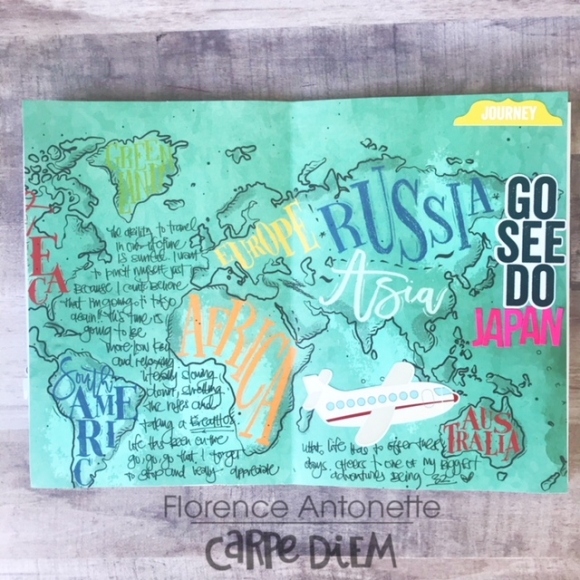
I couldn’t wait to use the travel notes line. I’m absolutely obsessed with it. I was excited to use this finally!! I created two spreads- my bucket list layout and a journaling page! I pre-made these pages before I left so it was easy for me to travel on the go without bringing too many things. 

Surprisingly I only brought a small bag of stationery/ craft items with me. My favorite things on this trip was definitely visiting the Mt. Fuji Area and Tokyo  Disneyland. 

What do you have planned for your next adventure?

Supplies

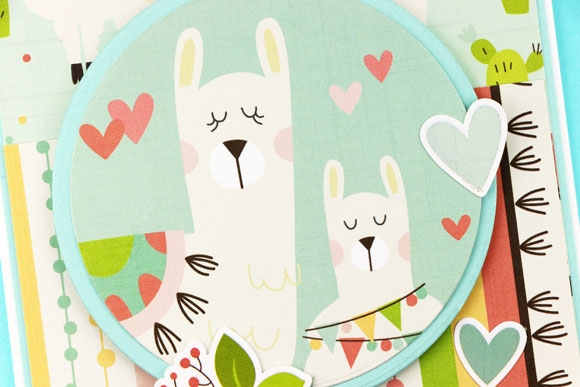
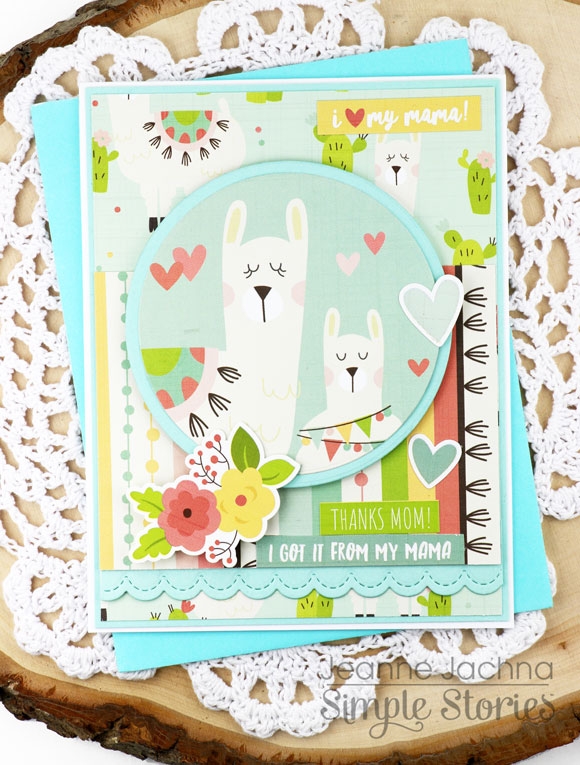
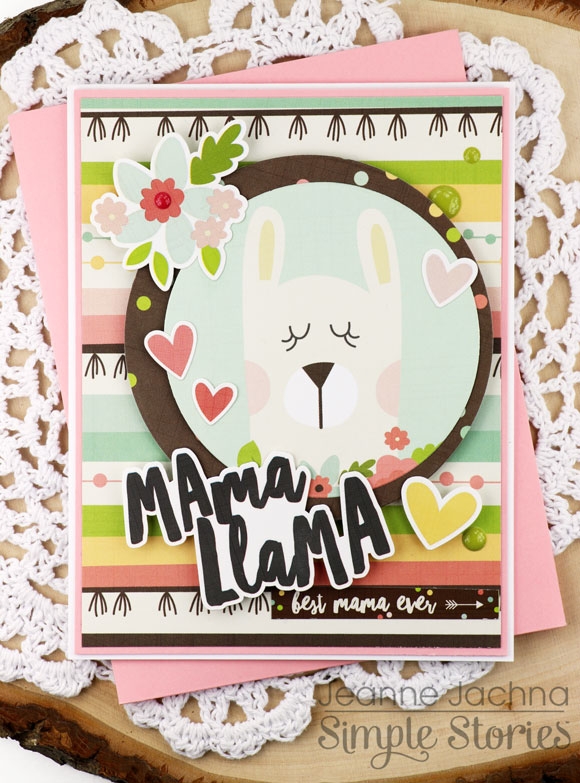
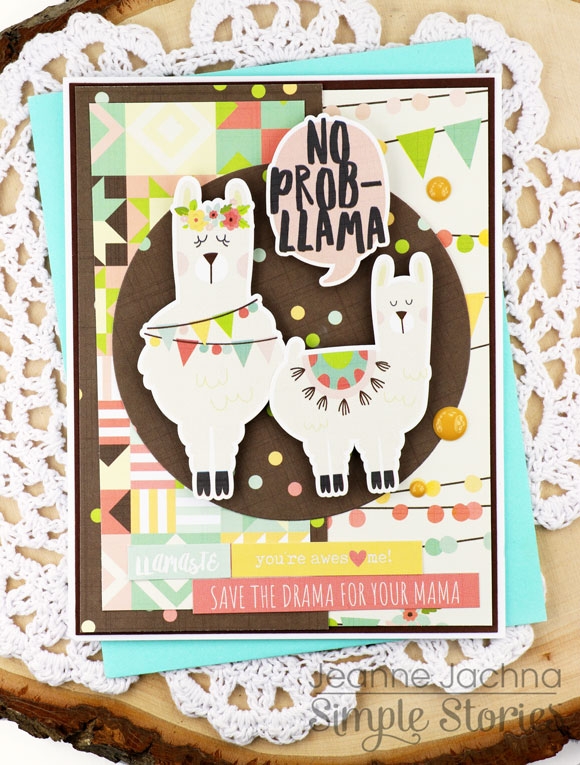
There are so many beautiful new collections available at Simple Stories that the hardest part is deciding which one to work with. With Mother's Day just around the corner I couldn't resist reaching for the Mama Llama Collection!

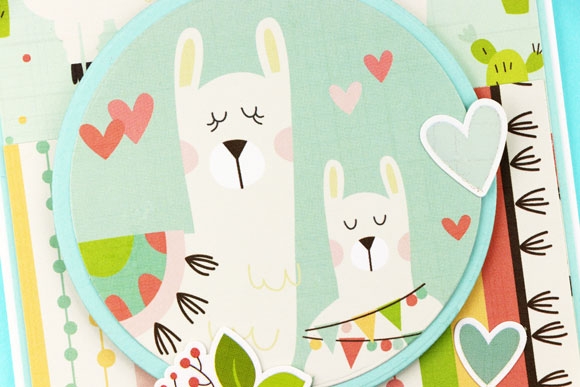
This collection is a mix of pastels - think blue, green, pink and yellow with accents in chocolate thrown in for drama! The images include llamas (of course) with flowers and hearts for Mom, streamers and banners to celebrate her, and some Southwestern accents to set the scene. 

The 12" collection pack has everything you need to make lots of pretty cards! There are a few sheets of journaling cards to cut out and use as the focal point of your design as well as a sticker sheet for embellishments.  

I cut some of the images with a circle die cut, but a punch would work just as well. I powder the back of the stickers to release the adhesive, and then attach them with foam tape to add dimension. 

The sticker sheet has lots of cute sentiments like "I love my mama" and "save the drama for your mama". These cute llamas and whimsical sentiments are sure to make you smile.

What a fun way to thank Mom for all she does and let her know you appreciate all the good things about yourself that you got it from her!   


Supplies

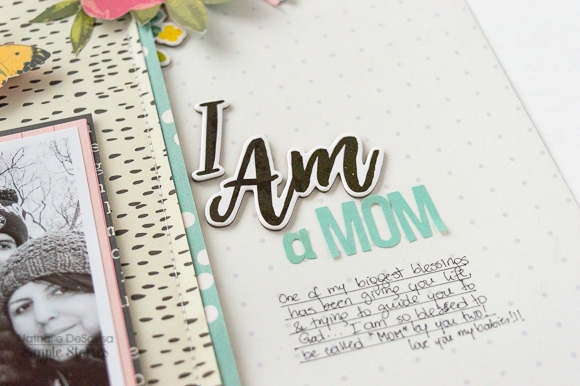
I Am a Mom!

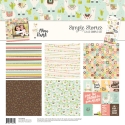
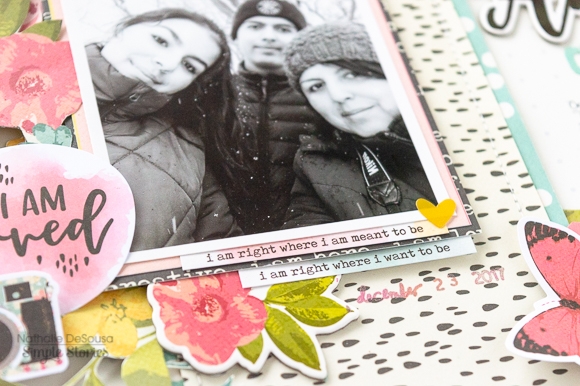
Hello Simple Stories friends and fans!  Nathalie with you today with a new layout that speaks to my soul using the beautiful I AM collection.   

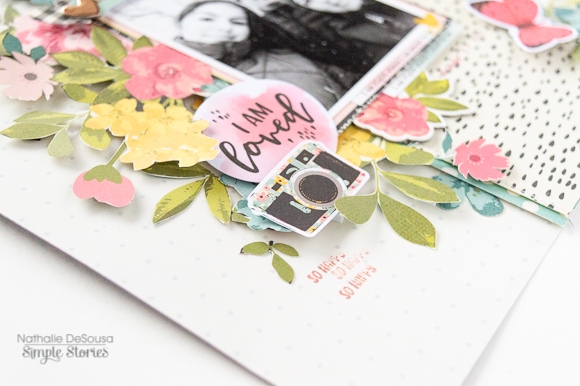
I don't know about you, but i can not get enough of all the florals in the I Am collection ( plus if you have seen my work before, then you know i am a sucker for florals!).  So what better way to showcase them than to fussy cut them and use them  as the focal point of a layout.

For this page, my idea was to have all the flowers as if they were wrapped around the picture.  So i cut a large strip of the 4x6 horizontal and 4x6 vertical elements and stitched them together, and then used a bit of cardstock to propped this on the center of the b side of the Walnut/Cream Dot paper from the Sn@p basics.

Then used some quality time with my detailing scissors just fussy cutting floral designs from a few of the papers from the collection and the 6x8 paper pad

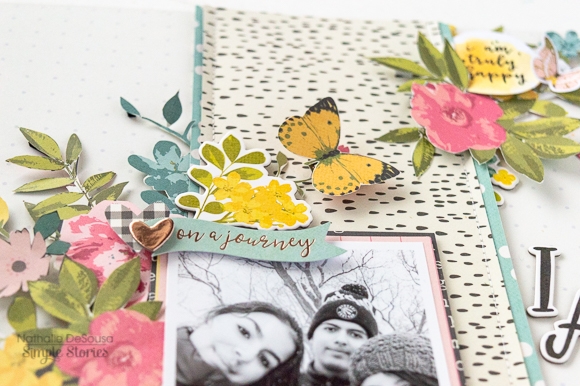
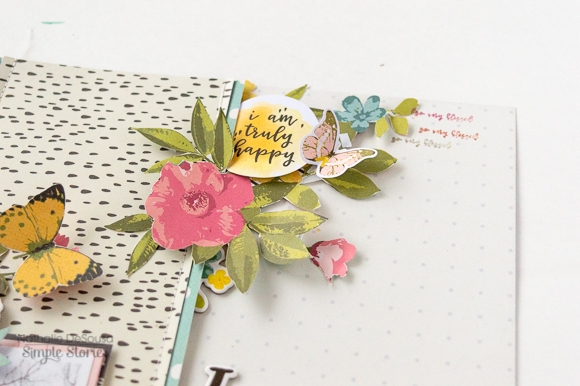
Once i set the picture on the vertical strip of paper, a bit of foam adhesive was used to layer the florals and embellishments.  I tried my best to create the illusion of the flowers wrapping around the paper strip.

The butterflies help guide the eye across the layout which helped to add lots of small word stickers and ephemera that tell the story of the picture, "motherhood"

Finally the title was created using some of the Chipboard stickers, and the Sn@p Color Vibes Light letter stickers ( which match the tones in the florals).   A few stamped sentiments using the rotaty stamp complete this page.

I love this page, it tells the story of the past 18 years of my life.  Trust me, the I AM collection is perfect to create those unique stories about you, just the way you want to tell them.  So don't forget to check it at your scrapbooking store.


XOXO

Supplies

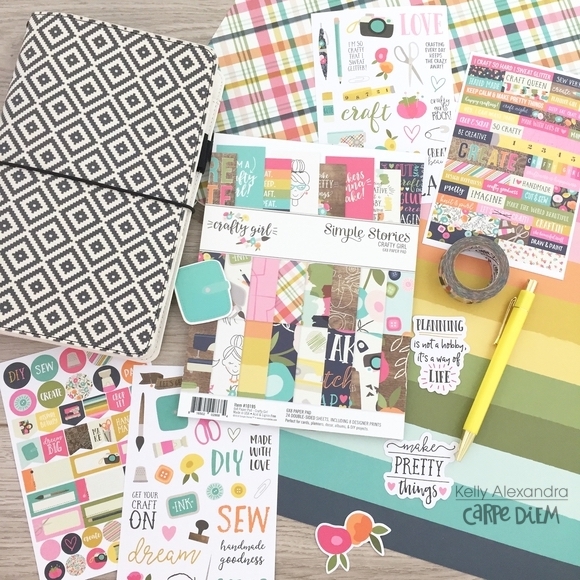
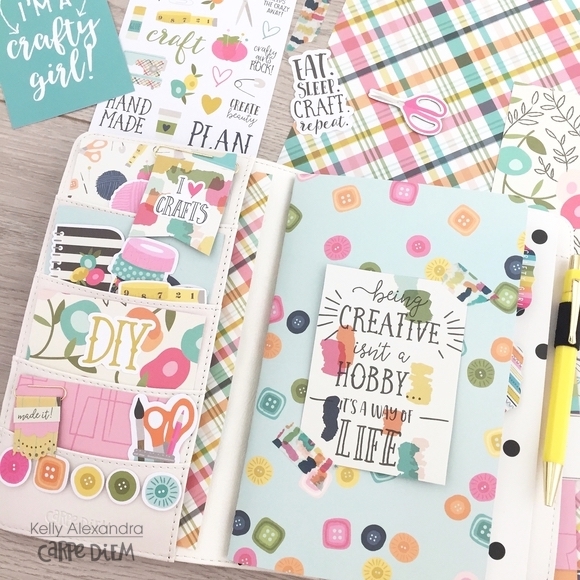
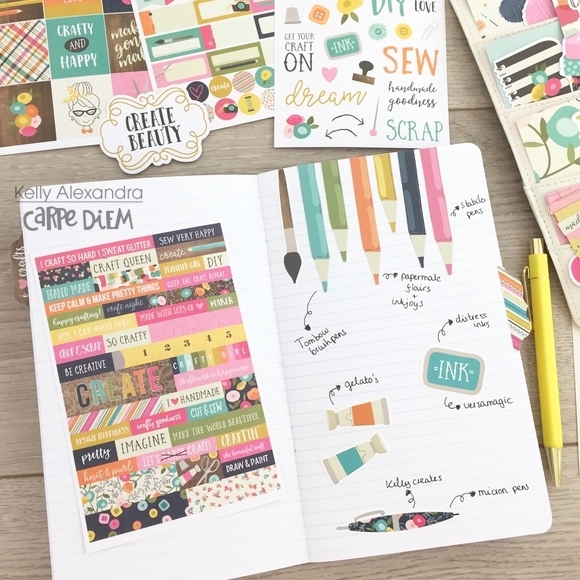
Hi everyone, Kelly here with a new blog all about my Crafty Girl Travelers Notebook (TN). For a while I wanted to dedicate a TN for all my craft projects. I wanted a place to write down ideas for special projects, spreads and layouts. But also a place to write down measurements, techniques and swatches of all my inks and pens. When I saw the ‘Crafty Girl’ collection I immediately thought about this project and started decorating my Aztec TN.

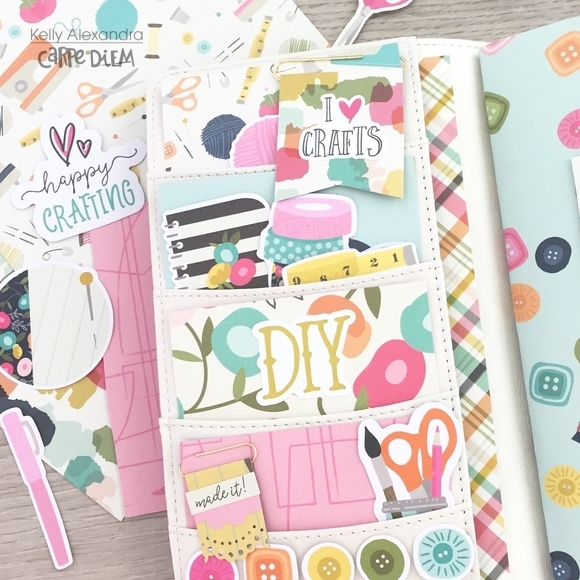
For decoration purposes only, I filled the front pockets with papers and bits and pieces from the collection. I covered one of my notebooks with a scrapbook paper and added a 3x4 card.

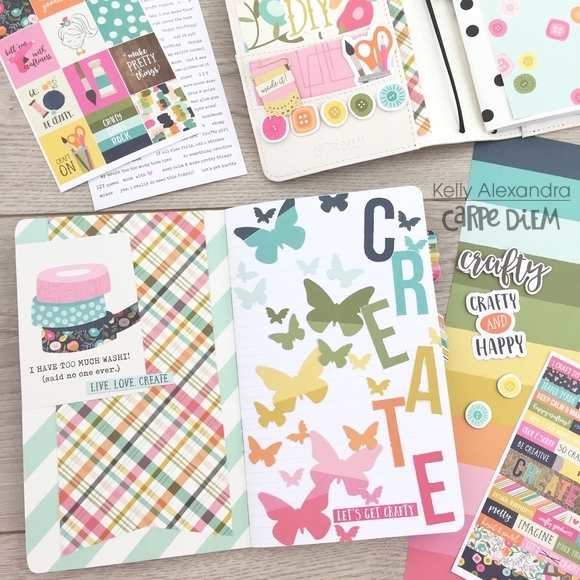
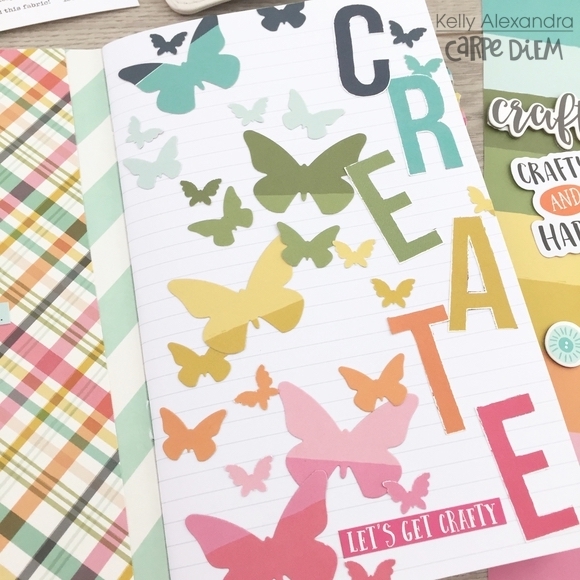
For the opening page in the notebook I made a special spread using the word Create and the ‘Hand made’ paper. I punched different sizes butterflies from the different colors of the paper and placed them in the same rainbow order as the paper. Love the end result!

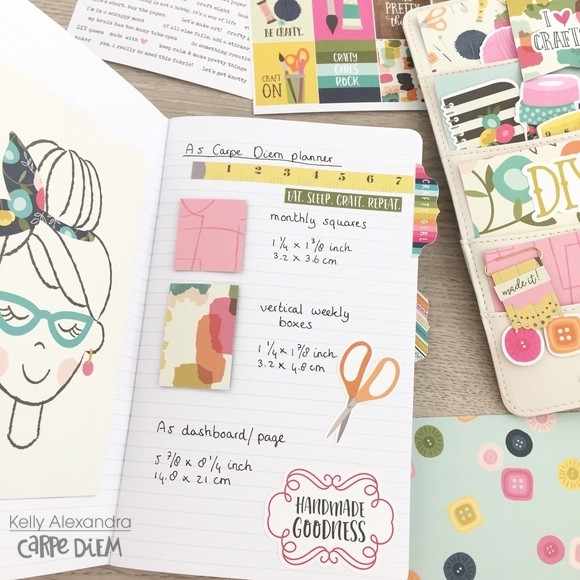
I used some tab stickers from the combo sticker sheet for the different sections of my notebook. In the first section I will write down all the measurements I need while planning. For example, I made templates and noted the measurements of the monthly and vertical weekly boxes for A5 planner inserts. I attached the templates with washitape on the page. This way I can easily grab them when I need them for a spread.

Lastly, I made an opening page for the swatches of all my color pens, brushpens, inks, etc. The collection has some awesome stickers and ephemera to match this theme, such as pencils and inkpads. In the pages behind this opening page I will swatch all my colors as a reference for use in my planner and projects.

For now, the setup of my Crafty TN is done and I can easily add more measurements, techniques, ideas etc!

Have a lovely day!

Supplies

Pages