April 2018 Blog Posts

Hello Planner Friends! This is Rachel and I am so happy to share another planner blog post with you. Today, I am going to show you my personal-size planner that I use to document daily happy moments.

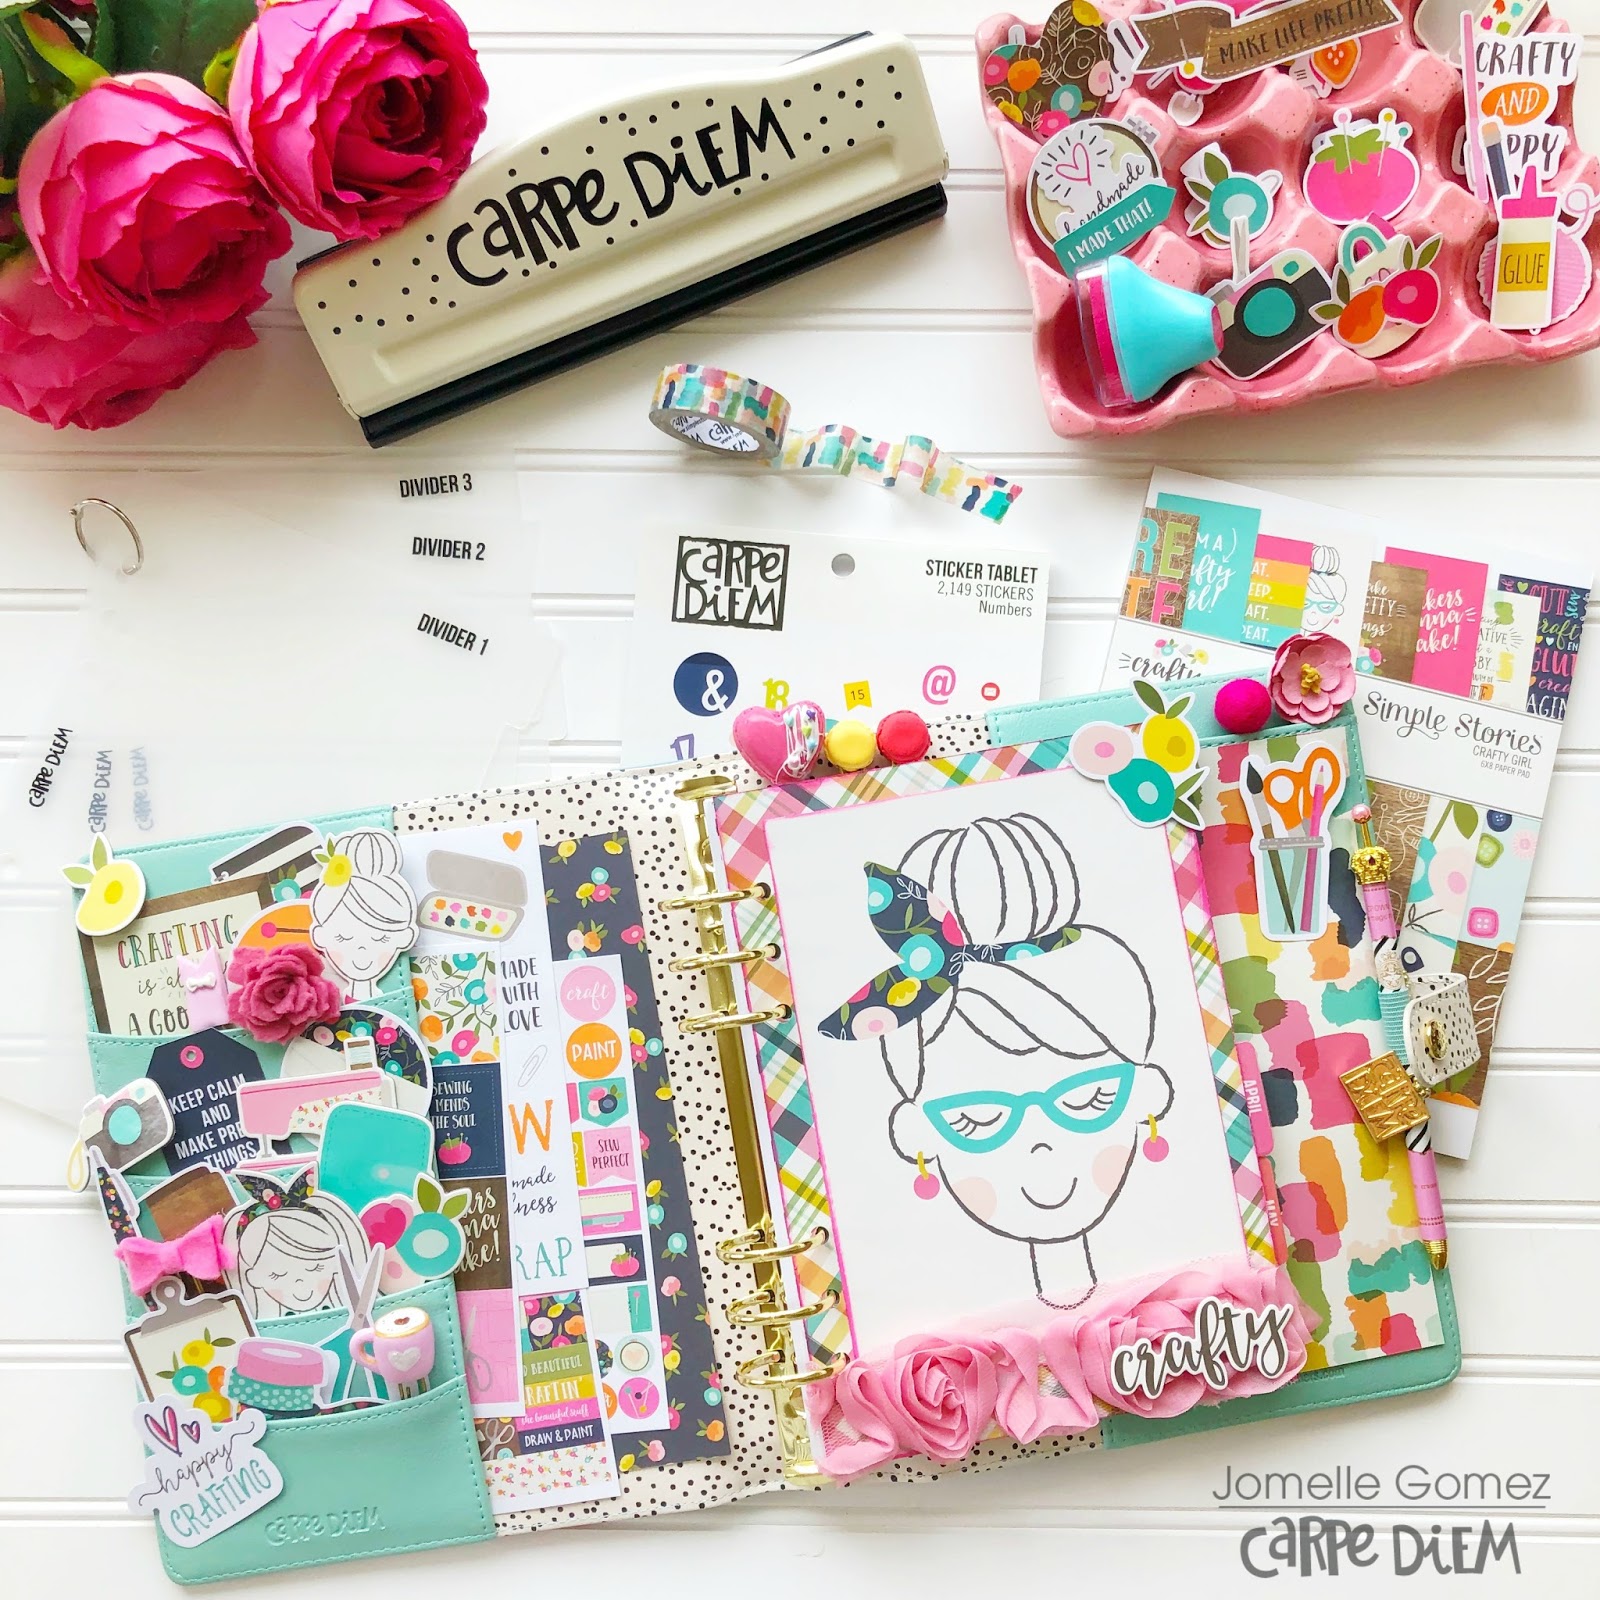
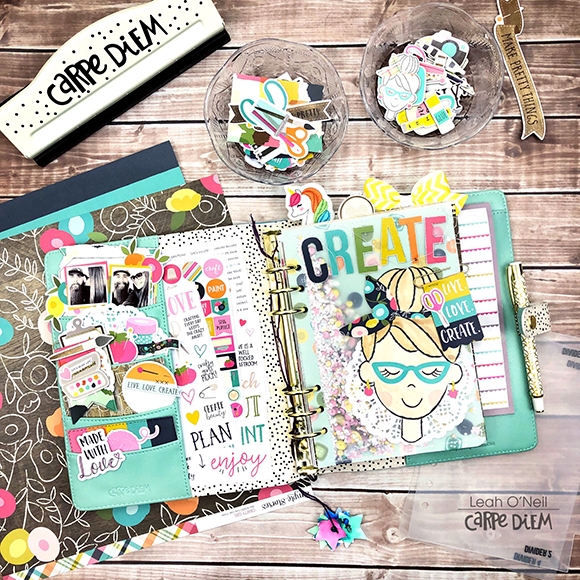
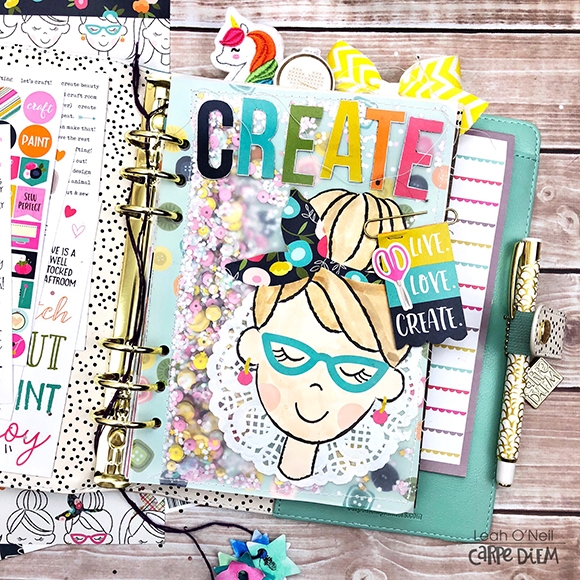
Can I just take a moment and say how perfect this little planner is? First, the color - if I could only have one color of planner (gasp!), it would definitely be this Robin’s Egg Blue! It goes with everything and makes me so happy every time I look at it! And while some personal-size planners can feel too small, this planner is perfect, with its slightly wider size and inserts. I keep this planner on my bedside table so I can easily work in it at the end of each day.

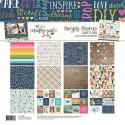
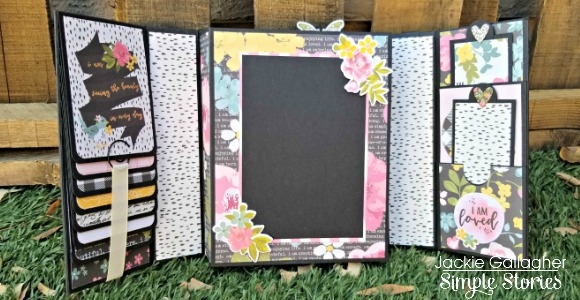
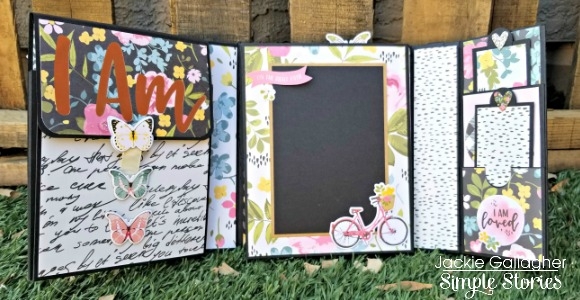
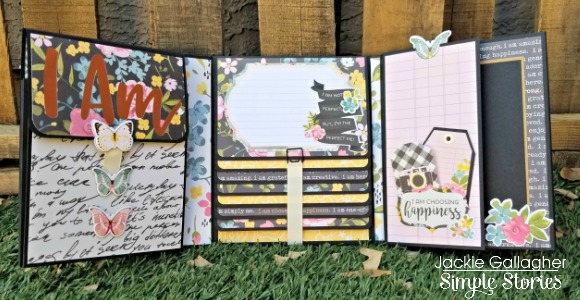
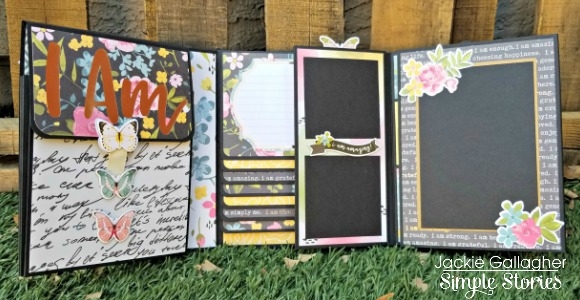
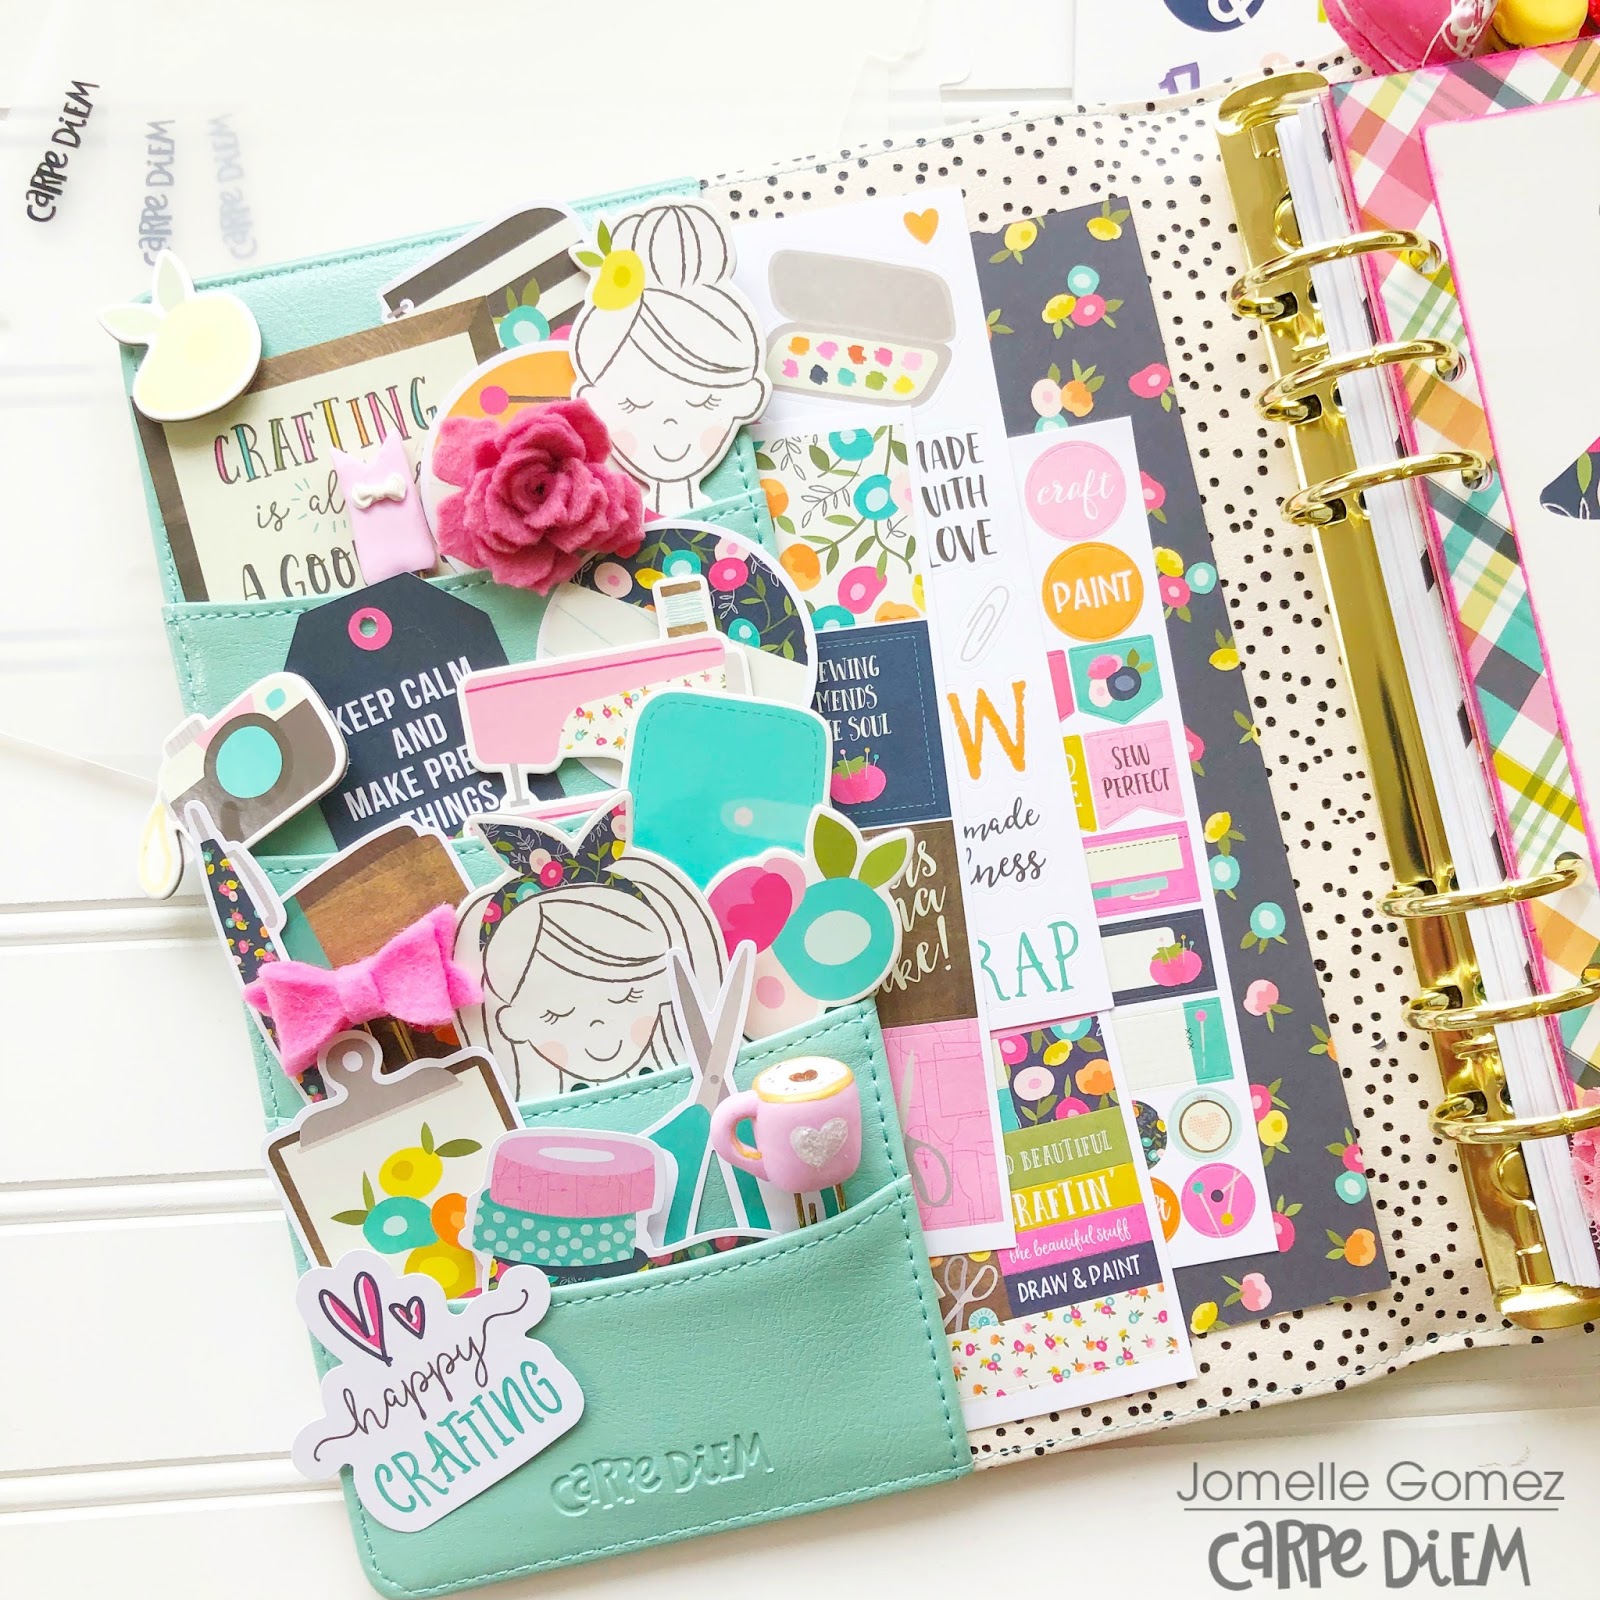
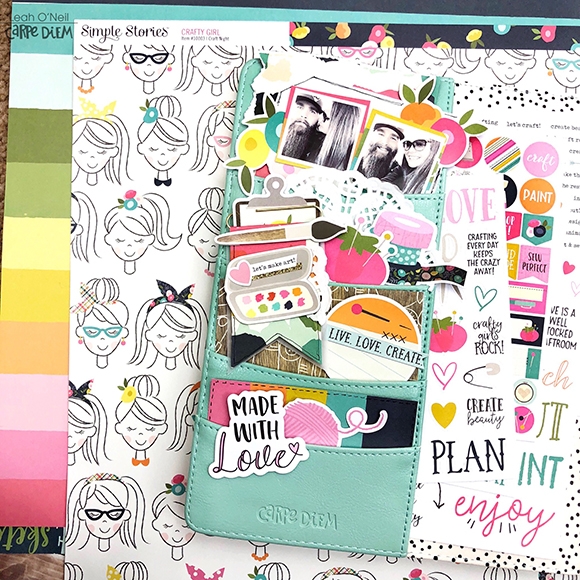
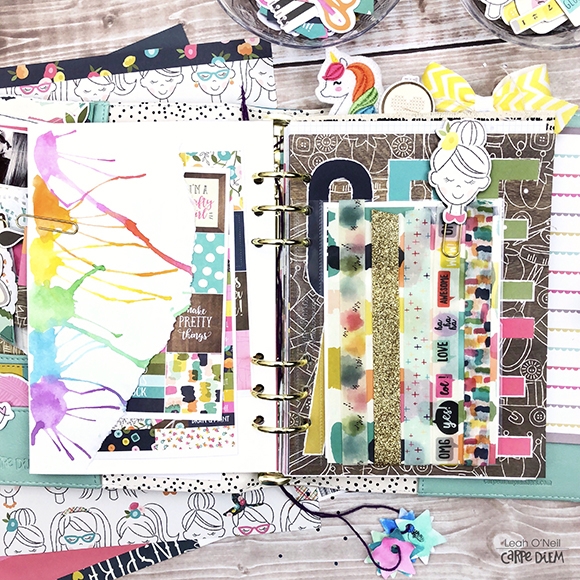
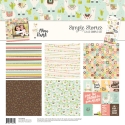
When I saw the Crafty Girl line, I knew I wanted to give this little planner a facelift using this colorful and cheerful collection. Those pockets were begging for some decoration. I used a few scraps from the 6x8 papers to back up a few of the bits and pieces die cuts.


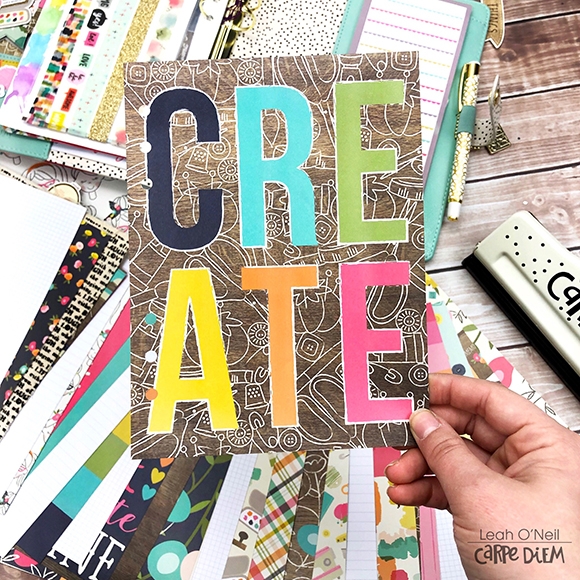
I decided to make some monthly dividers using the 6x8 paper pad, the new personal planner dividers templates, and the tabs sticker tablet with decorations from the Crafty Girl Collection Kit.

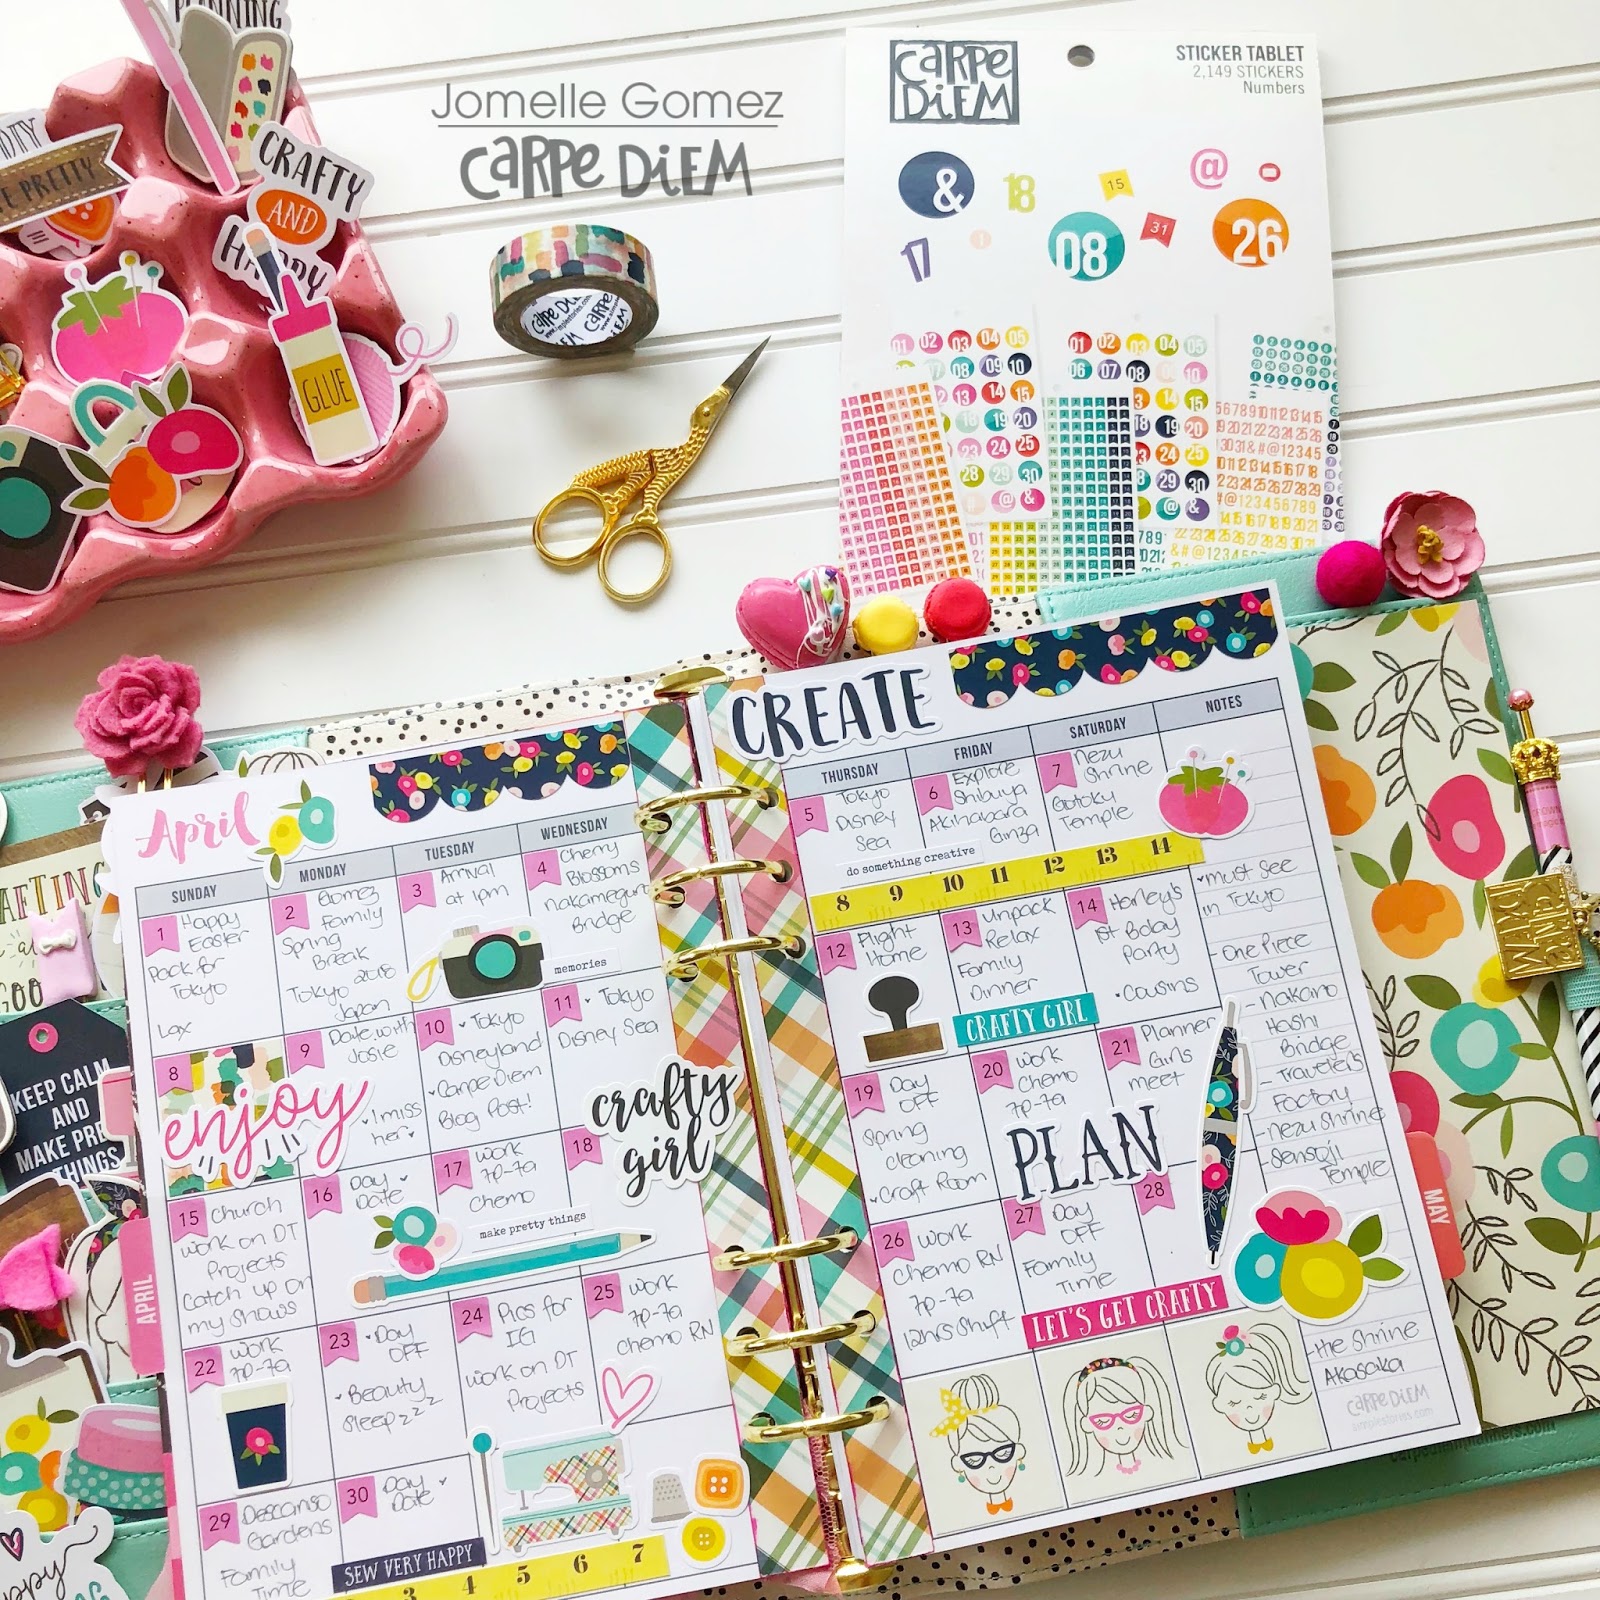
I love this quote from Alice Morse Earle: “Every day may not be good...but there's something good in every day”. This pint-size planner helps me document those good little moments so I don’t forget them. Maybe it was a good workout, time with friends, a good moment at work or even just quality time with the husband. Documenting these moments helps me thank my lucky stars and focus on the good, rather than dwelling on the bad.

Something I love about the Craft Girl Collection is its versatility. The colors, patterns, and stickers can be used for more than just documenting your crafty life. But the crafty sayings also inspire me to get my crafty on! I know that spending time crafting helps me relax. Plus, the more I do it, the more I want to keep doing it!

Since I’m usually working in this planner at night, I have a little planner “kit” for myself to limit my supplies. That way, I spend less time choosing decorations and more time documenting.

Along with Crafty Girl Items, I also keep the new Sticker Tablets close at hand for dating the pages and adding little icons here and there.

Thank you for stopping by and I hope you enjoyed getting to peek into my personal “good in every day” planner. How do you document the goods things in your life? Comment below, I would love to hear from you!

Supplies

Hello my fellow crafters!! Jackie G here again with a super fun project to share with you today!!  I don’t know about you, but mini albums are so fun to make!!  The album I am sharing with you today was inspired using the tutorial by Frances of Your Book of Memories.  You can find a link to her tutorial HERE. This album holds so many photos, it’s unbelievable!!! Check it out!!

I plan to give this mini album to a friend so wanted to create a matching card to go with the gift.  I used the gorgeous I Am collection to create both the album and card. 

Okay, lets get started!! First, I created a thick belly band to keep my album closed.  I didn’t have any magnet closures so had to get super creative!!  I opted to specifically use some of the chipboard elements to decorate my belly band as they are very sturdy.  I wanted to make sure nothing could bend as this piece will get a lot of traffic.  I made sure to keep the entire cover, spine and back flat so nothing would catch on the band.

This album has so many fun features including and big accordion pocket, hidden pockets, and two waterfall features that can hold both 3x4 and 4x6 photos!!  Like I said before, you get a lot of real estate in this mini!!

The accordion pocket has a ½” gusset which allows for lots of storage!!  The storage possibilities for this giant pocket are endless!! You can put photos, memorabilia, notepads, pretty much anything!! Again, I didn’t have any magnets so created a paperclip closure with some of the butterfly chipboard elements and some ribbon.

I also created paperclip closures to keep my waterfall features closed.  Didn’t want them flopping around!! 

Thank you so much for stopping by!!  I hope you enjoyed these projects!! Have a wonderful crafty day!!

Supplies

Hello Simple Stories fans and welcome back to the blog today! When the first release of I AM was released it was an instant hit. One of my all-time favourites! The 2018 version is equally divine and I was so inspired, I’ve created two pages for you today… one traditional and one digital.

The beautiful butterflies in this collection have really caught my eye as you can see! Die cut shapes combined with some butterfly-shaped brushes form part of a bold title as well as build up interest with embellishments. I’ve given a white background a bit of texture and paired it with some pretty pink lined paper with a torn effect. I really like this self reflective page and don’t really know why I don’t do more digital scrapping! New digital collections are released very soon after paper ones so keep an eye on the Simple Stories Digital Store!

The Digital Supplies I used are

D10024-1 I Am Digital Designer Cardstock

D10024-2 I AM Digital Elements

D10025 I Am Digital Stickers


THIS IS ME (traditional page):

The I AM collection is not just for scrapping ourselves but the cuties in our lives like my little Miss E, looking adorable on holiday in 2013.

For the base, I’ve used a floral cut file from the Simple Stories collection available in the Silhouette store. I’ve used a sheet of ‘Living Vibrantly’ for the floral shape as the gentle watercolour wash pattern was beautifully subtle underneath the image and embellishments.

I pulled out lots of the butterfly shapes, be it as cardstock stickers, chipboard stickers and ephemera from the Bits & Pieces pack.

For the rounded photo, I used my clever Circle Photo Crops to bring attention to the most important element in this photo, lol.  I’m sure you will agree with me that the white space around her head was unecessary.) The circular shape also softens the page and echoes the mild circular shapes in the die cut shape.

The devil is in the details! Little sticker hearts, some machine stitching and the stamping peeking out from underneath the cut file = heart eyes!

Wishing you lots of fun with your I AM collection!

Supplies


 When I first glance at the new Color Wash A5 planner, it makes me think of macarons. I love all the fun colors. I think the Crafty Girl collection matches this planner perfectly.

 As soon as I saw the crafty girl with a bun and glasses, I knew I wanted to use her for my dashboard since she kinda looks like me. I have the same color glasses.

  I added a strip of pink ribbon at the bottom to dress it up a little bit more.

I always like to decorate my planner pockets. I start by picking some bits & pieces and chipboard pieces and arrange them how I like it. It's all about balance and appeal.

I truly enjoy creating my monthly layout. Having so many beautiful pieces makes it easier and more fun.

The new Number sticker tablet has so many different designs that it can go with many different collections.

 I decided to use the pink color number stickers for my monthly layout.

 There are so many more pieces and elements that I can use to create more layouts in the future.


Thank you for stopping by and I hope you enjoy viewing my planner set up. Hope to see you next time.


Supplies

It's been a few years since my son and daughter-in-law got married, but a small gift album had been on my to do list for a while.  I wanted a 4x6 album with some of our favorite photos from the big day, and I knew the Always and Forever collection would be perfect for this project.


I kept the album simple and used clear stickers on photos and pocket cards.


The die cuts, chipboard stickers, and element cards helped make the album fun, and added space for journaling that I wanted to record.


I especially love the page above.  Although you can't tell in the photo, I wish you could see the pretty gold foil on the die cuts!
 

Thanks for stopping by the blog today and taking a peak into my mini album!  The products I used for this project are:

Supplies

Hi, Scrappers! Jana Eubank here today with a new page using the Welcome Spring collection.

One of my favorite things about Simple Stories is the beautiful floral papers in each of their collections. I LOVE fussy-cutting out the flowers and using them to decorate my page.

On this page, the flowers are the most colorful thing on the page. I placed them at the top of the page to accent my journaling ...

... and at the bottom of the page to call attention to my photo.

A strip of black and white striped paper (Hello Spring paper) anchors the photo and title.

Brighten up your Spring on your next project with beautiful florals and Simple Stories!

Supplies

Hello creatives! Welcome back to the Simple Stories blog. Leah here with you today and I'm so excited to share a new project with you using the Crafty Girl collection. The second I saw this collection, I was instantly inspired to create pretty things. The artsy and crafty sentiments and bright colors truly speak to my creative heart. One of my big goals this year is to find more balance in my life that includes more time to feed and nurture my creativity. So I embraced the creativity this collection was inspiring in me, and channeled it into setting up my new A5 Color Wash planner.

The intention of this planner is to serve as a creative journal of sorts. I have a TN insert that I love to art journal in as well, but it is my hope that this planner will be a more casual project to help me work  towards my goal to do something creative every day. I don't have any set focus or theme in this journal, other than to just be creative. I may doodle, I may color, I may scrapbook, I might write...maybe I'll do something simple, like color swatching new markers or paints. Whatever it is on any given day, there will be no rules. I just want to spend a few minutes doing SOMETHING that stretches my creative muscles. The Crafty Girl collection was the perfect collection to set this planner up with because that's what it's all about – creating.

I decorated the pockets with several die cuts from the Crafty Girl Bits and Pieces pack. I also layered some paper scraps behind a couple of photos. If you have been following me for awhile, you may already know how much I love incorporating photos into my planner pockets. It makes them feel so much more special and personalized. My favorite element in this pocket setup is the paper clip I made by wrapping some paper around the edge of a gold paperclip so that it hangs like a little flag. I added a few of my favorite stickers to it to dress it up and love how it turned out!

The dashboard of this planner was also super fun to make. I used the new A5 divider templates to cut down a 12x12 paper and a sheet of vellum down to the same size, and then sewed the vellum on top of the paper, sewing the sides and bottom edges but leaving the top open. I added a bunch of glitter and sequins into the pocket and then sewed the top closed to create a shaker dashboard. If you don't have a sewing machine, don't worry! I have made many, many shaker dashboards using thin double sided tape (my favorite is the super thin 0.125 Super Sticky Red Tape from American Crafts because you can't see it through vellum and it doesn't budge). To decorate the dashboard, I cut the cute girl out of a paper from the 6x8 paper pad. I added a little watercolor to her skin and hair to customize her. I also fussy cut out the letters to spell “create” from a card on the 4x4 Elements sheet.

I used a 4x6 pocket insert to add a few strips of washi tape for creating on-the-go. I made the pocket on the left using white cardstock and it has a fun story to go along with it. While babysitting my 5-year-old niece, we had an arts and crafts night and had a blast with some straws, water and watercolor paint (got that idea from the lovely and talented Amy Tangerine). My niece also painted the stars that are hanging off the purple yarn on my planner rings here – an adorable planner accessory with an even more adorable memory.

To finish my creative journal setup and prep it for later crafty endeavors, I hole punched all the rest of the papers in the 6x8 paper pad to use as inserts. This was super quick and easy to do using the Six Ring A5 punch. Then, I mixed in papers from the A5 Basics Inserts pack. I am sure that I will mix these inserts around and alter them later, but pre-punching them into my planner gives me a template to start with each day, which helps me find a little inspiration on the days I may be feeling less creative.

I hope this planner is going to help me stick to my creative goals in 2018. Do you have creative goals for the year? I have learned that keeping your creativity and inspiration alive and thriving takes practice. It really is like exercising a muscle – the more you do it, the more you want to do it! How are you exercising those creative muscles? Comment below or over on my Instagram post – I'd love to hear from you!

Supplies

Hello  Friends! It’s Kristine Davidson with you today. I am so excited to share my projects with you today. I was so inspired by the latest Simple Set called Mama Llama! Have you seen this yet? It is soooo cute! The diecut stickers of little llamas, hearts and cacti? Ya it’s
a cute one.

So my first project is a layout – called Mama Llama. I didn’t want to use a white piece of cardstock for my background so I used a piece of ledge paper from the SN@P! Basics Collection.

I am one who loves layers and colors. This layout is no exception. I used as many pieces of paper as I could for layout. I spread it across the middle of the page and used lots of circles and 3x4 pieces of paper. I have nothing larger than 3x4 on this page.

You can see in this picture below that I created some circle shapes from the 3x4 journal cards and that just allows me to create my own larger diecuts. I love doing this on my pages. I added pop dots under my stickers for dimension.


​​

I hope you like my page. If you are looking for a new collection pack to play with – You NEED to add this one to the list. It is filled with color, patterns, and adorable stickers!

With this Mama Llama Kit I also created 2 cards. My first card is Happy Mama’s Day.


I wanted color on my card and decided to use 4 pieces of paper for my background. I did add some sewing and cut my pieces at an angle to create visual interest.

I wanted to add a diecut sticker to my card by the background was a bit busy. I created a small circle tag to place on top of my card base and was able to then add popdots to my sticker to create dimention. I didn’t have any flower stickers left so instead I cut up a piece of 3x4 journal card that had flowers. I placed them underneat my title. I love this card!


My second card is Happy Mother’s Day. I did not use any pattern paper for this card. I used 4 diecut stickers and some distress ink. I created a background scene with some distress ink, I added a little flag banner at the top. The Llama was for sure going to stand on a mound of sand and my little Happy Mother’s Day title is to the left of the cute little Llama! I hope you enjoyed my layouts today and please visit @SimpleStories_ on instagram and come find me as well @KristineDavidson .

Have a great day!
 

Supplies

Pages