October 2017 Blog Posts

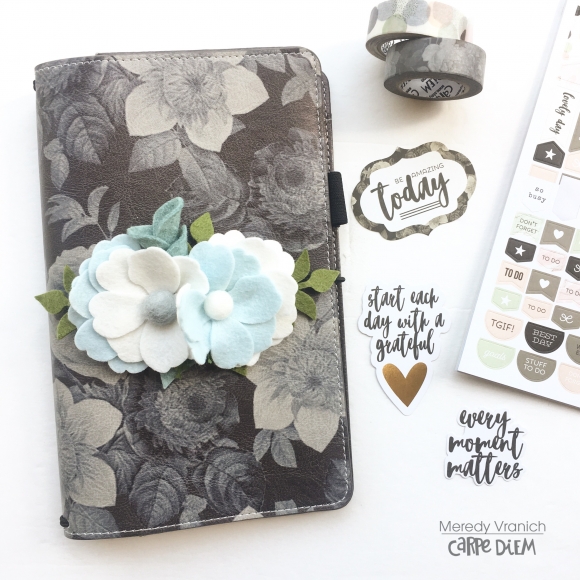
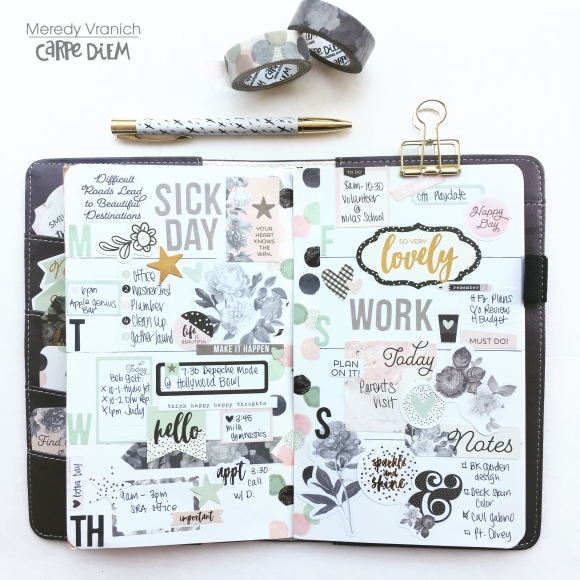
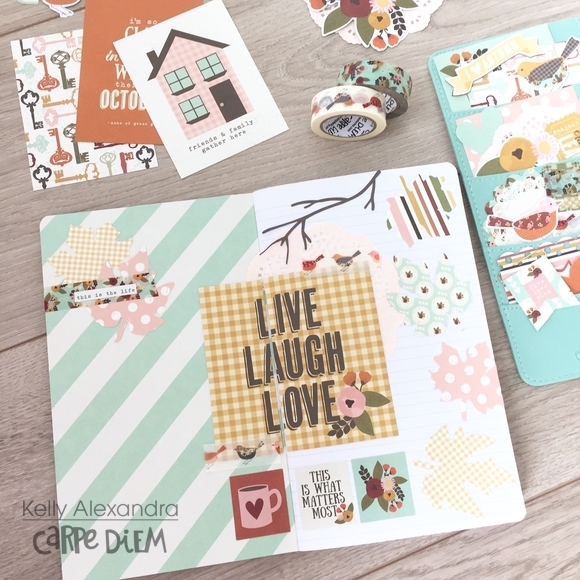
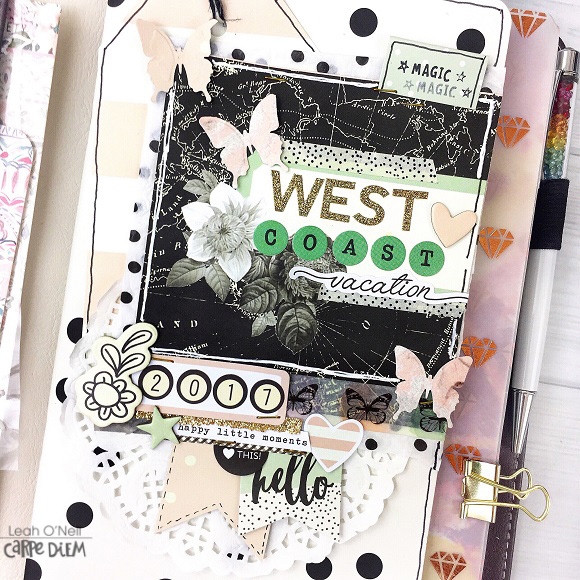
Hello creatives! Leah here with you on the blog today. I recently took a vacation to the West Coast and brought along my Vintage Floral Traveler’s Notebook to use as a travel journal on my trip. I had a few ideas brewing for how I wanted to document this trip and how I could incorporate this journey as content for my YouTube channel. Relaxing on vacation has a beautiful way of clearing the mind and making room for new creative ideas. I came up with so many ideas on the trip for new content that I decided to launch a Creative Travel Journal Series on my YouTube channel.

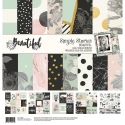
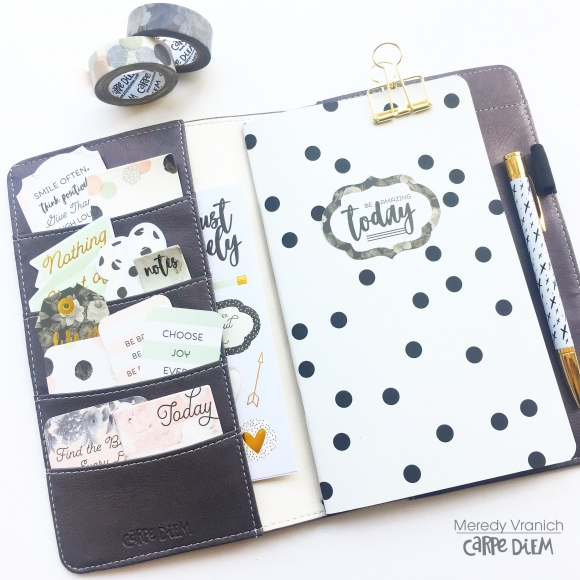
The first video that went up in the series showed how I used the Beautiful collection to decorate the cover of the notebook insert that will be housing my vacation memories. You can check that video out here. I chose the Beautiful collection as one of the collections I wanted to use throughout this journal because not only is it absolutely gorgeous and one of my favorite Simple Stories collections of all time, it’s also very neutral so I can add in other collections or little mementos from my trip without having to worry about colors clashing.

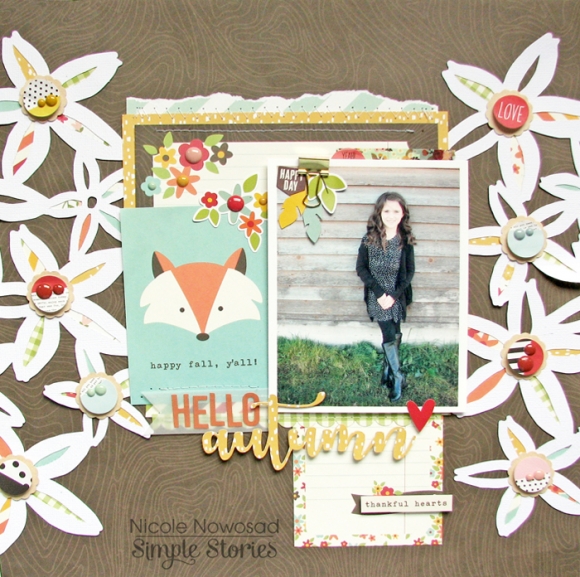
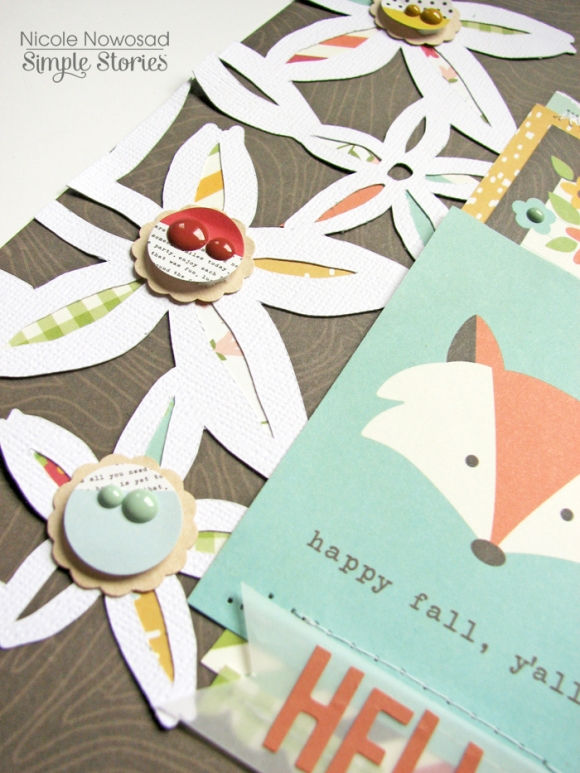
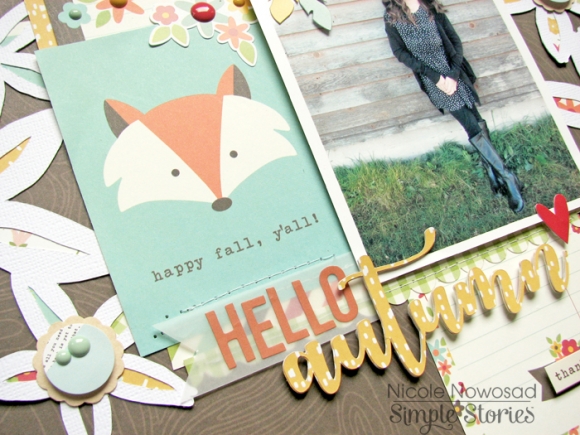
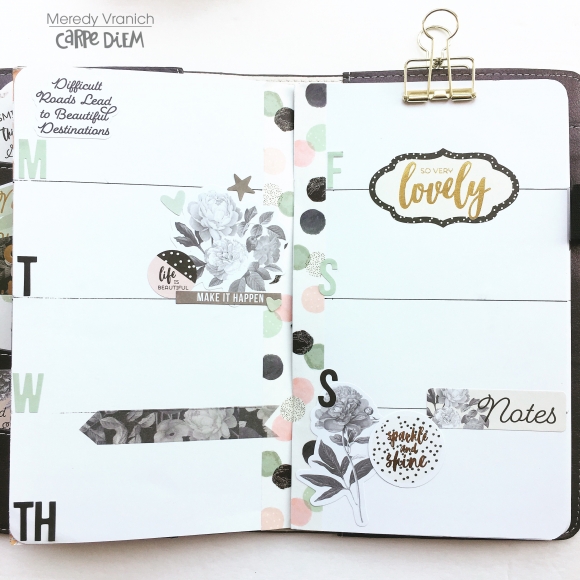
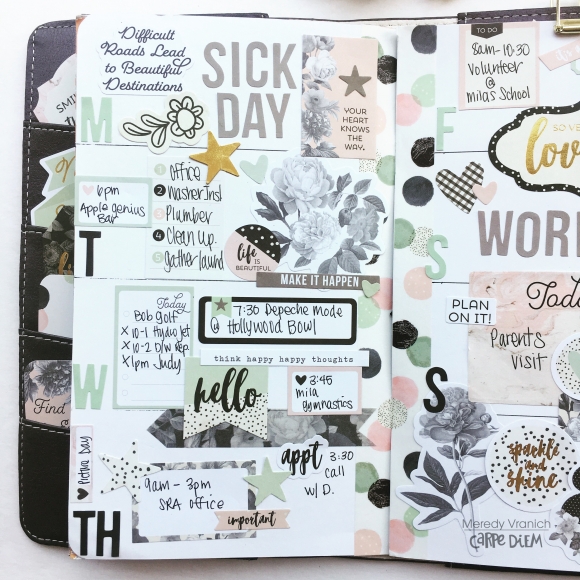
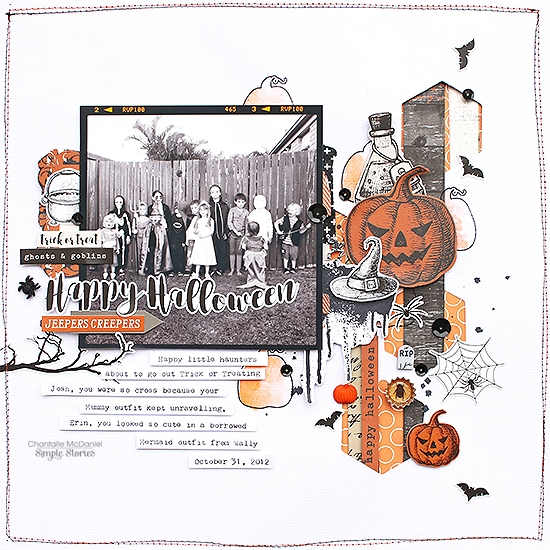
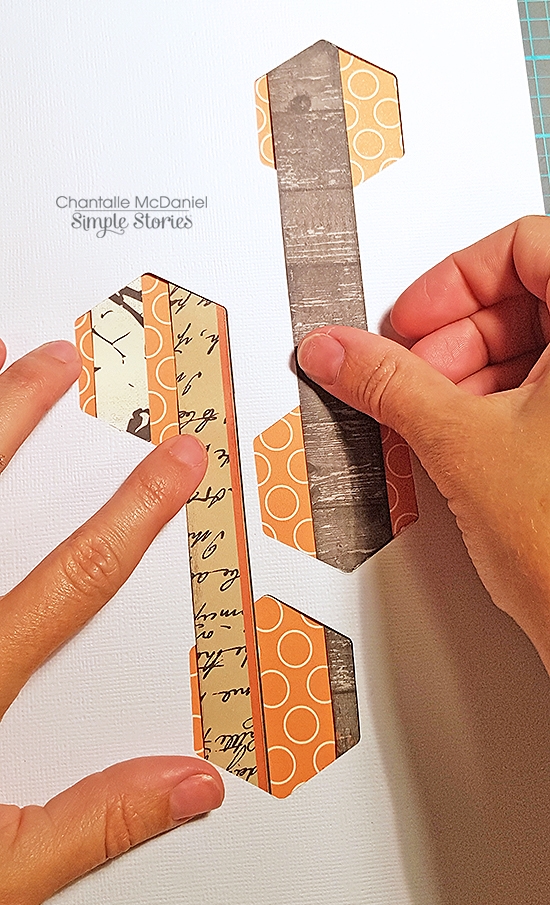
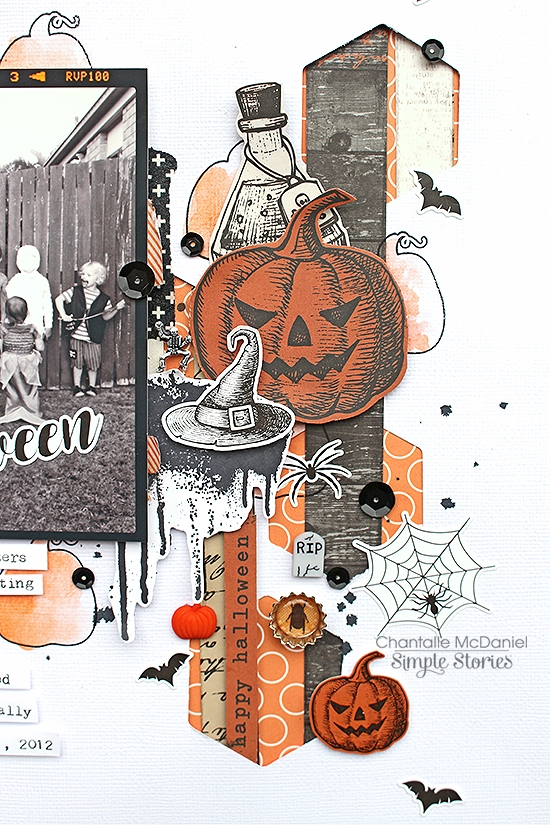
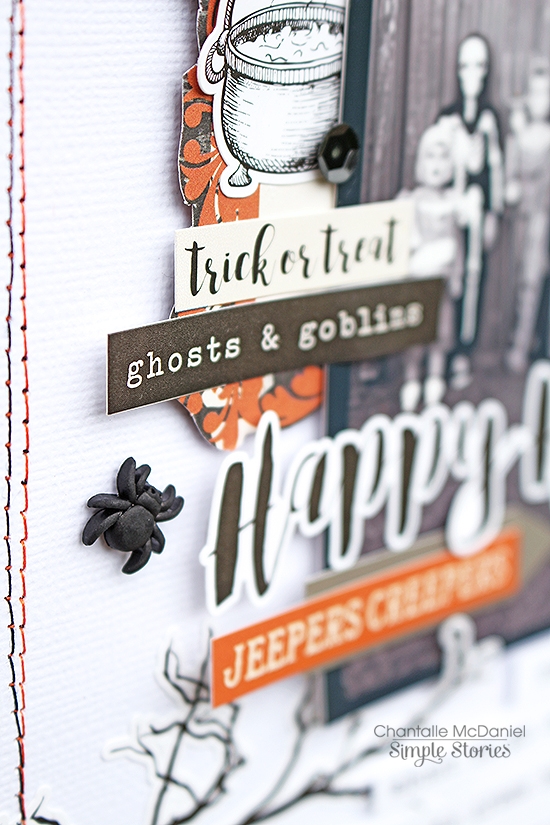
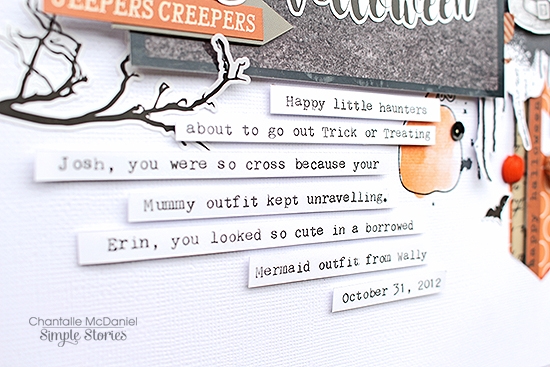
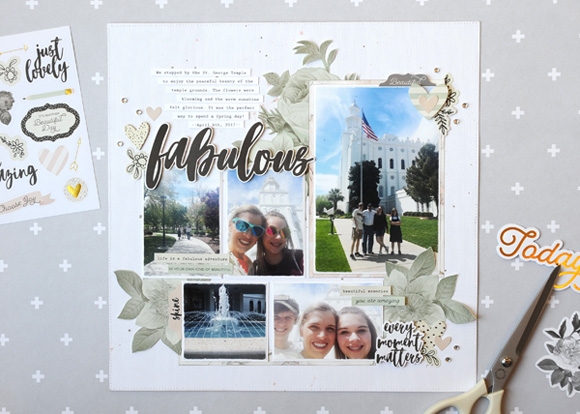
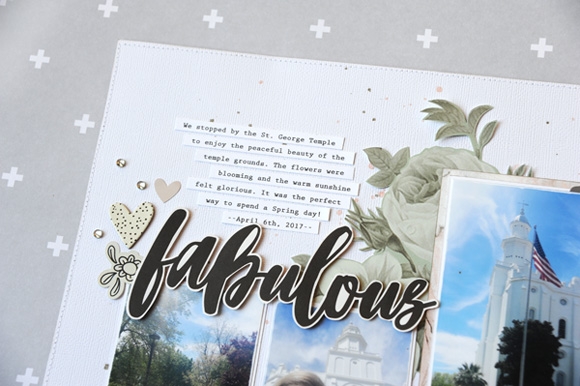
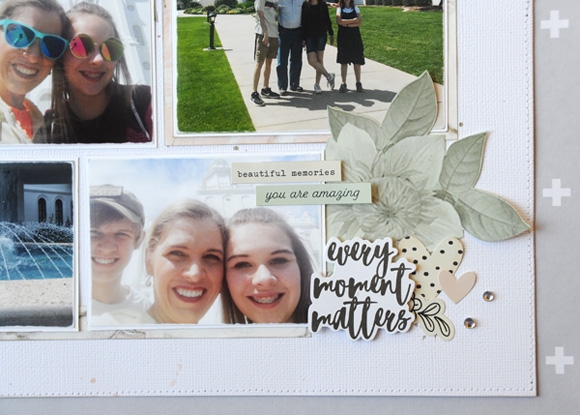
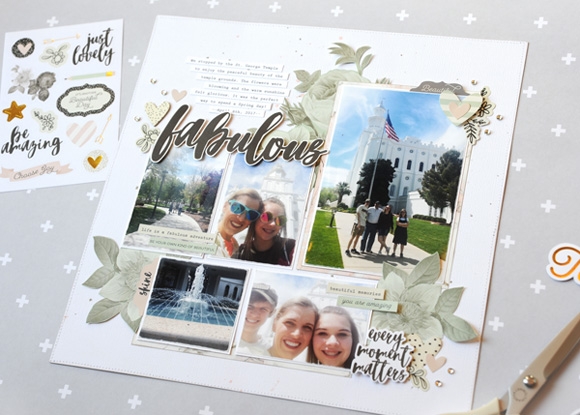
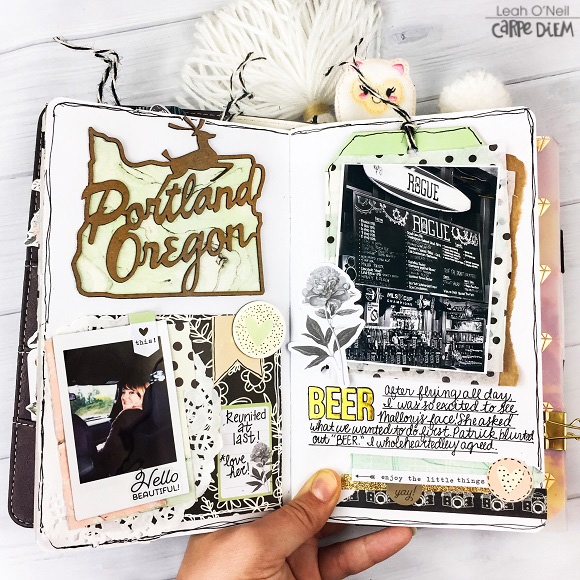
For this post, I am sharing with you the next process video of the YouTube series. In this one, I am documenting some of the memories from my first day in Portland, Oregon visiting my best friend. Again, I used mostly the Beautiful collection to decorate this layout. I picked up the “Portland Oregon” chipboard piece (made to look like the iconic sign located in the city) from a well-known craft store in Portland called Collage. Check out the process video below!

https://youtu.be/VVVQfWaWU8E

Here is the finished layout:

If you’d like to follow along with my travel journal series, be sure to follow me over on Instagram and subscribe to my YouTube channel. Lots of new content in my Vintage Floral traveler’s notebook to come! You can also see all of the other creative ways people are using their Simple Stories traveler’s notebook over on the Carpe Diem Planners Instagram account. Until next time friends, happy crafting and happy Halloween to those of you who celebrate the holiday!

Supplies

Hi everyone! It’s Tara from Secretbees Studio and I’m here to show you how you can take your favorite Simple Stories paper collections and create your own Travelers notebook! Travelers Notebooks are not just for journaling- they are so awesome for collecting memories, thoughts and mementos and you can fill them with pictures too.This gorgeous notebook showcases the 'Beautiful' paper collection from Simple Stories along with its stunning stickers, chipboard and Bits and Pieces!

I used sturdy chipboard to create the covers and spine of the notebook along with a few other supplies like sticky back canvas, bookbinding tape and elastic cord. I also added some plain paper inserts to my notebook that I covered with more of the gorgeous ‘Beautiful’ patterned paper. 

There is also a hand crafted paper insert in the center of this notebook with folding pages, pull-outs and pockets! More room for all of your favorite memories using the papers and embellishments from the collection! Please visit my youtube channel for a full video tutorial on how to create this beautiful Travelers Notebook! Thanks for visiting!


Supplies

There is something about fall that makes me think of deep rich colors. Must be the warm sweaters and crisp leaves falling all around us this time of year! I decided to use that color palette to create some pages using different Simple Stories collections.

For this layout, I couldn’t resist choosing Happy Harvest to work with. I mean, it screams fall right! I chose various papers in the collection and even added in some other patterns from non-fall themed collections. Just because it isn’t meant to be fall themed, doesn’t mean that it doesn’t work right?

I chose to reign all those patterns in with a leafy-flower diecut background, using smaller pieces of each pattern to fill in the flowers on my project.  Not only is this an easy way to gather several patterns of paper together on one page, but it’s a great way to use up those scraps from other projects too!

I just had to use this adorable fox journaling card for part of my title and added a simple die cut scripty font title to finish the page.

Supplies

Hello, it's Meredy, and I hope you all are having a great Fall. Last month I showed you how I set up the Aztec Travelers Notebooks and I just love how it's been working for me. So much so that I tried it out with another TN, the Beautiful Vintage Black Floral. Isn't it GORGEOUS!

This Notebook is part of a whole line of products and there is practically everything a Carpe Diem planner girl could want: Washi Tape, a Sticker Tablet, Bits and Pieces, and Sticker sheets. The inside of the TN is a dark pewter--so beautiful!!! I loaded up the pockets with items from the Mini Sticky Notes page and Bits and Pieces. 

The notebook included with the TN is unlined and it is so easy to make a weekly layout. Just draw a horizontal line every 2 inches, add some washi down the middle and embellish! 

The great thing about the Sticker Tablet is it has so many stickers that you can use to help plan your week. There are box stickers, arrows, stars, todo lists all perfectly sized. 

There are plenty of pretty florals and motivating sayings to put a pretty up your page. 

Thanks for stopping by and taking a look!

Supplies

A spookalicious welcome to you today to the Simple Stories blog! Chantalle with you to share a page about some super cute trick-or-treaters, using the ‘Spellbound’ Simple Set.

The background of this page incorporates some hexagon shapes which I have punched in to some white cardstock. Behind the shapes, I have placed some orange circled paper (this one comes from the Summer Days collection). I then used the different patterned stripe print of ‘Something Wicked’ and ran the strips in and out of the hexagonal shapes.

Now the base was ready and I could go ahead and embellish to my spooky hearts content!

I’ve added a touch of watercolour painting over some stamped pumpkins, some fussy cut elements from a sheet of 3x4 & 4x6 Journalling Card Elements and almost a whole sheet of the fabulous ‘Spellbound’ cardstock stickers.

Some machine stitching and typed journalling strips add the finishing touches.

Thanks so much for joining me today.


Happy Haunting!

Supplies

Happy Thursday everyone!  It's Traci, from Artsy Albums, back to share a new Sn@p album with you.  I love these 4x6 albums ... they are the perfect size for a fun and easy project or a unique gift for that person that has everything!
 
For this Christmas mini I used the Oh What Fun Simple Set.
I love the colors in this collection ... and that reindeer sticker cracks me up! 
I love the 2x2 pocket page for sweet little pictures of my granddaughter! 

See how easy?  A few cute photos, a couple sheets of paper and stickers (Simple Sets are perfect for this), and a 4x6 Sn@p album!  I'm doing these for gifts this year ... after all, who doesn't love pictures?   Thanks for letting me share.  Stop by Artsy Albums and say hi sometime!

Supplies

Hi Everyone! Jana Eubank here. One of my very favorite techniques to use on a scrapbook page is fussy-cutting. On today's page, I did just that! I used my scissors to trim the florals from the Follow Your Heart paper of the Beautiful collection.

I also fussy-cut the title word from a page of the 6x8 paper pad.

I used the florals as page elements by adding them to the layout in a visual triangle.

Do you spot what design elements I used as a second visual triangle on this page?

Yes! That's right! The hearts and doodled flower stickers.

Have you tried fussy-cutting lately? It's a lot of fun and a great way to add a custom feel to your projects!

Supplies

Hi everyone, today I want to show my Traveler’s Notebook setup for fall. I am using this TN to write down all my to do lists and other lists this fall.

For this setup, I am using the Cream Blossom Traveler’s Notebook and all the products from the Vintage Blessings collection.

I filled the pockets with cards, pieces and some washitape samples. From a pink dotted scrapbook paper I created a dashboard and decorated it with a 4x4 card and some stickers!

Next, I created a pocket to put some of the 4x6 sticker sheets in. I decorated the pocket with a borderpunch and some pieces from the bits and pieces pack.

I decorated the opening page of the notebook I am using with another 4x4 card from the cutapart sheet, some stickers and some diy leaves.

On the first spread I decided to write a list with all the things I love about autumn! The cute floral and bird washitapes are perfect for decoration.

I hope this blog inspired you to setup your own Traveler’s Notebook. For more inspiration you can look through my Instagram page createplannernl (https://www.instagram.com/createplannernl/)

Supplies

Pages