October 2017 Blog Posts

Hey everyone! It’s Lori Linford, marketing manager at Simple Stories, and I’m so excited to share with you a little project we’ve been working on here in the Simple Stories offices. 

As most of you already know, video has quickly become one of the most popular ways to share information online. We’ve seen lots of views and comments on our video tours, product close ups etc., so we decided to create a dedicated space here in our building so we can make even more great videos for our customers!

Welcome to Simple Stories’ dedicated video room. Isn’t it beautiful?! We’ve filled the room with off-camera lighting, tripods and of course, lots of beautiful things! (Aren’t those Carpe Diem planners all lined up in a row just gorgeous?!)

Stay tuned for lots of videos coming straight to you! You’ll be seeing all sorts of great stuff on Facebook Live, YouTube, Instastories and on our website. We can’t wait to show you even more great things from Simple Stories and Carpe Diem. Stay tuned!

SaveSave

The holiday season is all about making memories and creating traditions!  I used the Very Merry collection to document one of my favorite family traditions: decorating Christmas cookies!   

I love lots of layers! Here, I used the 3x4 Journaling Elements to add color and dimension to my page!  I accented with Bits and Pieces die cuts and coordinating stickers! 

How beautiful are the Very Merry Washi Tapes? I love to add small snippets of washi tape to layer under my other embellishments!

SaveSave

Hello and welcome to the Simple Stories Blog today!
 
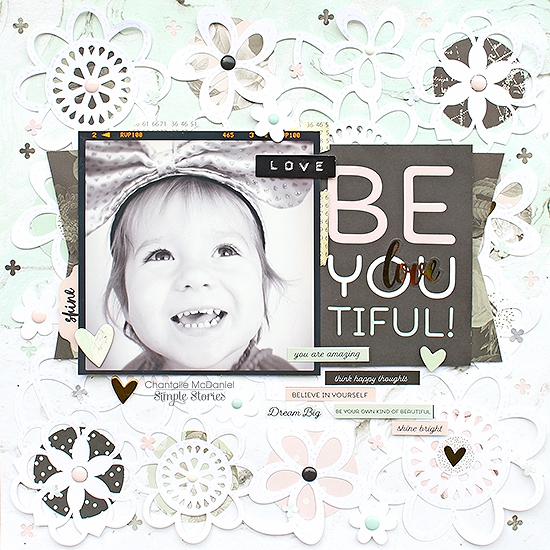
Chantalle with you and I’d love to share a page I’ve created using the oh-so-pretty ‘Beautiful’ collection and a pic of my little one taken a couple of years ago.
 
 
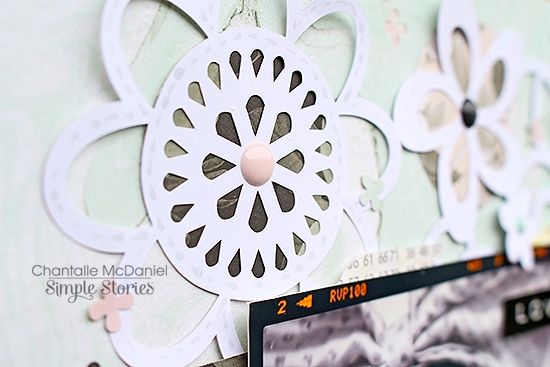
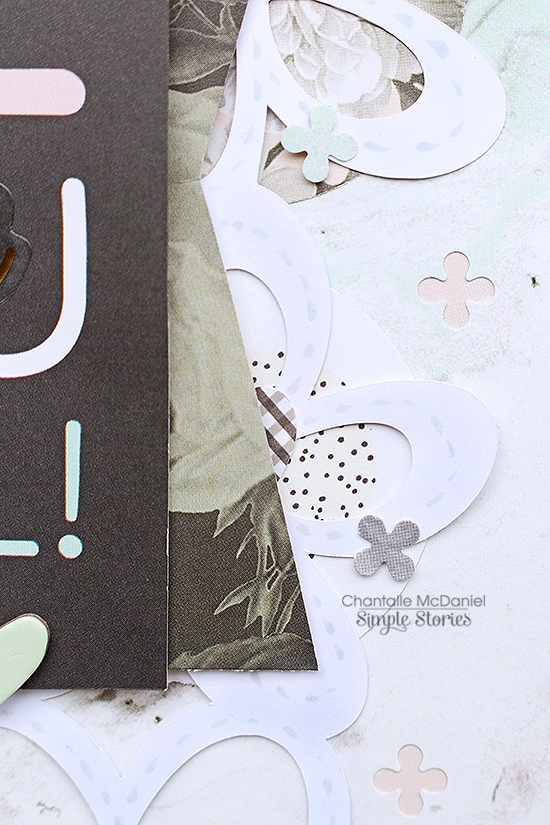
The base of this layout uses a 12x12 floral stencil cut using my Silhouette Cameo. I’ve placed this over a sheet of ‘Choose Happy’ which has a soft and flowy, mint marble print. I loved this paper as it wouldn’t distract too much and the colour would blend with anything I placed over the top.
 
 
Behind the floral lace, I’ve popped some circles which I cut from the ‘Beautiful’ 6x8 paper pad. This gave me the opportunity to incorporate many different colours and prints from the collection into the layout.
 
 
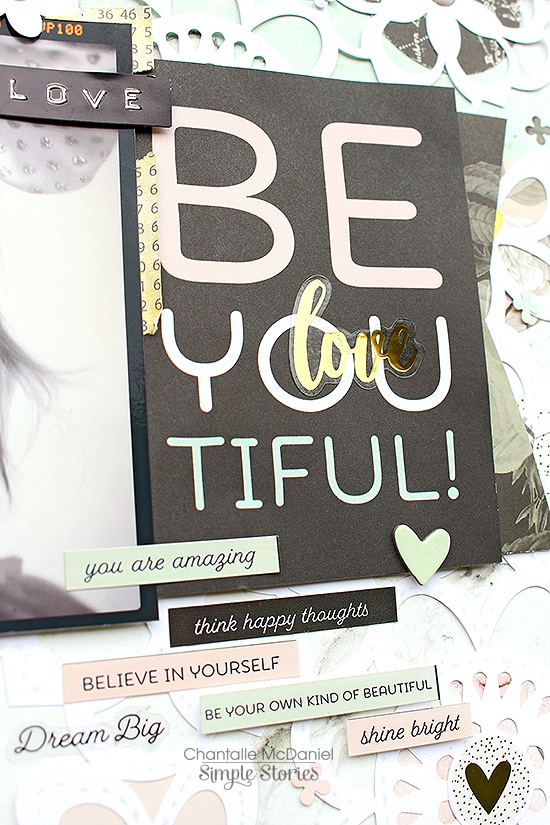
Once I was happy with the background, I went about building up my layers and embellishments, which included a card cut from a sheet of ‘Beautiful’ 4x6 Vertical Elements, which I used for my title. Over the top of this, I have placed a foil finish sticker from a pack of ‘Beautiful’ Clear Stickers.
 
 
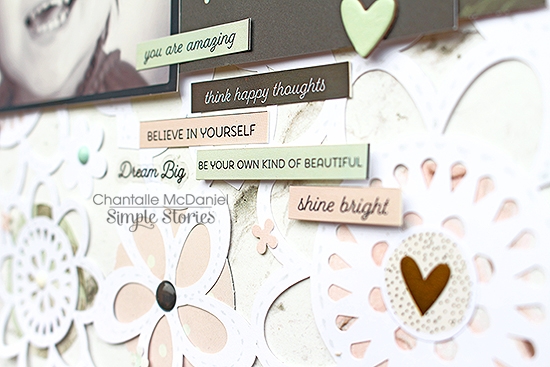
There are lots of little finishing touches on this page, like some tiny floral punches, stickers, some hand drawn pen marks and enamel dots. 
 
 
This collection is so versatile - pull out the darker shades and you’ve got the makings of masculine pages or work with the creamy pinks and mints and add soft tones to feminine projects.
 
Thanks for joining me!

SaveSave

Hello Planner Friends,
 
I can't even express how beautiful this "Beautiful" collect is! The pastel pinks, mints and florals of this collection are so delicate and chic. 
 
 
I was so excited to know Carpe Diem would have a personal size planner and when i saw the perfect light pink I was even more excited. Not only is this Blush pink planner perfect but the Beautiful collection is the perfect match. The colors go so beautiful together!


Planning my monthly view in this planner is perfect for taking it on the go because you can fit it in your purse and you can add and take out as many inserts as you would like.


This new collection has so many stickers that matches it, and well who doesn't love stickers. I love and I am a sticker addict and when I saw all the different sticker books I was over the moon!!
 
 
Being able to have a few extra books helps when you love a collection so much and want to hoard it. So now I can use stickers without feeling like I'm going to truly miss them.
 
This collection does not only have beautiful pastel colors and florals but the foil is beyond beautiful. The details on the dividers to the stickers is just so classy and beautiful. 
 

SaveSave

SaveSave

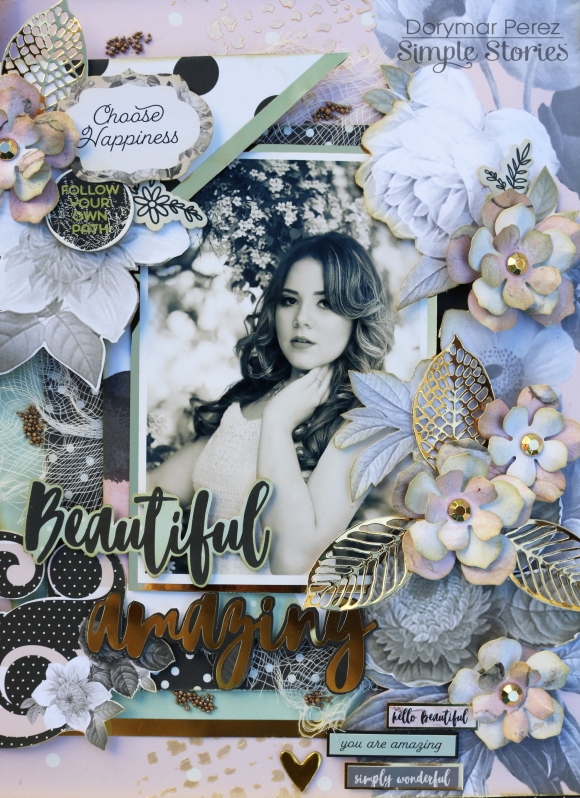
Hello friends, Dorymar here! I’m so happy to share two beautiful mixed media layouts I designed with the stunning Beautiful collection. This collection is gorgeous! It has some details in gold and pastel tones that I loved from the moment I saw it. This time I used photos to document my daughter's 15th birthday. 

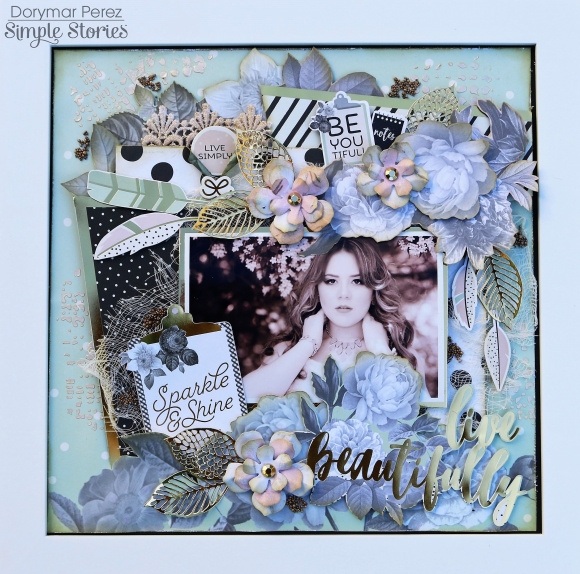
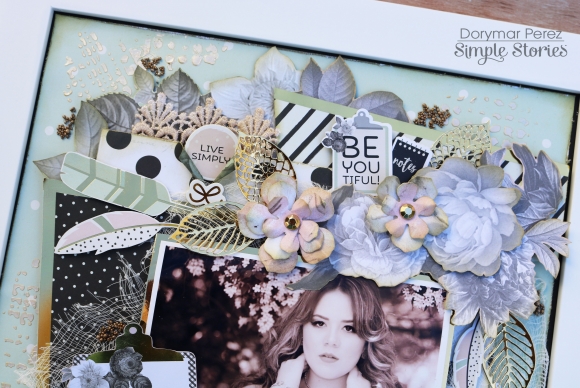
For the first layout that I titled Live Beautifully, I used the paper Be Amazing as the base. With a craft knife, I cut the flowers from the paper design to add dimension. I used several pieces of the Live Beautifully paper to add more layers and dimension on the center of the page.

To give texture to the page, I used cheese cloth, lace, stencil paste and mini prills. These elements in combination with the flowers from the papers give the page a vintage touch that when mixed with the colors, die cuts stickers and chipboards of this collection makes the project look elegant and subtle. You can put the page in a shadow box and decorate a wall in the home.

_____________________________

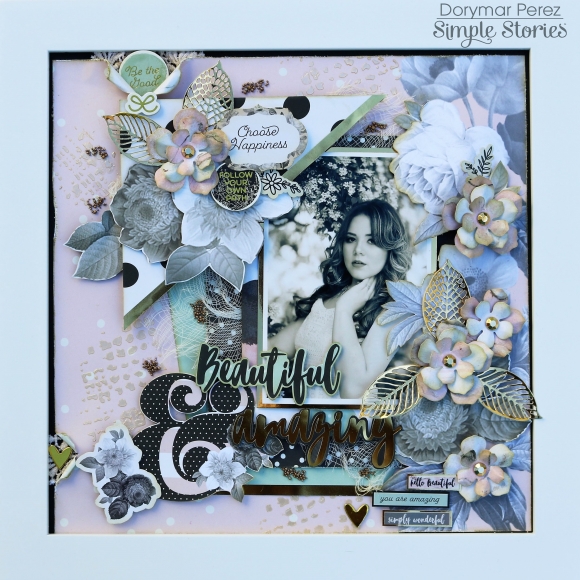
I titled the second layout "Beautiful and Amazing" and I used the Choose Happy paper as the base again, with the craft knife I detached the beautiful flowers from the paper and then added several layers of the Shine Bright and Life Beautifully papers.

With the fussy cutting technique, I cut the letters of the paper from the 4x6 cards and added dimension with foam dots. Around the photo I added texture with stencil paste, cheese cloth and mini prills. I focused on the flowers of the paper design to place the photo and cut flowers with the metal die cuts. When look at the layout, it gives you the feeling that the flowers come out of the photo.

I love how this project turned out! I placed both pages in 12 x 12 frames and will be part of the decoration of my girl's room. I hope this project will inspire you to use the diverse and wonderful Beautiful Collection from Simple Stories. 

Happy Crafting!

SaveSaveSaveSave

Supplies

The holiday season is all about making memories and creating traditions!  I used the Very Merry collection to document one of my favorite family traditions: decorating Christmas cookies!   

I love lots of layers! Here, I used the 3x4 Journaling Elements to add color and dimension to my page!  I accented with Bits and Pieces die cuts and coordinating stickers! 

How beautiful are the Very Merry Washi Tapes? I love to add small snippets of washi tape to layer under my other embellishments!

Hi planner friends! I’m back today to show you how I decorated my beloved Robin’s Egg Carpe Diem Planner with the Vintage Blessings collection.  One the left side, I filled the pockets with some of the chipboard pieces, ephemera, 4x6 sticker sheets, and the 3x4 journaling cards from the Vintage Blessings collection.
 
 
I also made a new dashboard with a photo of my son that was recently taken.  I use the Gather Together cardstock and added the chipboard tree and a few the Bits n’ Pieces.
 
 
For the calendar pages, I mostly used the Vintage Blessings 4x6 stickers to fill in the boxes and added the Grateful washi tape along the inside edges.
 
 
Lastly, for the weekly pages, I used a roller stamp from Simple Stories for the to-do’s, added a few word phrase stickers from the 4x6 sticker sheets, and some of the larger stickers are from the Combo sticker sheet.


I hope you enjoyed having a look inside of my Robin’s Egg Carpe Diem planner and setup from the Vintage Blessings collection.  Happy Planning!
Hello everyone ! It's Mindi here with you today on the blog. I am so excited to be sharing some fall inspired pocket pages using the Happy Harvest Simple Set. For this first page I wanted to add either a full sized photo or a full sized page. You will see that I added a photo on the top and then added some patterened paper in a fun pattern. 
 
 
This next page is another one from our pumpkin patch visit. I simply embellished it with some stickers from the collection. 
 
 
Let's move on to this next page. This one is all about Thanksgiving. The Happy Harvest Simple Set has a lot of great Thanksgiving themed products to help you tell your holiday stories. 
 
 
My last page continues on with some more photos from our Thanksgiving holiday. I used some of the great cut apart filler and journaling cards on this one. 
 
 
Thanks for joining me on the blog today. I don't know about you but I am so glad that Fall is here!

Supplies

Pages