November 2017 Blog Posts

Welcome back to the blog everyone!  It's Traci and I'm back to share a new Sn@p project I've been working on.  I just love black and white photos and when I saw the Beautiful collection, I knew it would work perfectly with some of my favorite family photos.

Although the photo above doesn't show it well, there is a really pretty touch of metallic gold in the collection.  The bow on the 3x4 accent paper, and the word "amazing" on the chipboard piece at the bottom are gold ... so pretty!
 

Thank you for letting me share my latest Sn@p album with you!  Check out the entire "Beautiful" collection here.  

Supplies

Hello again Simple Stories fans! Chantalle with you today to share a countdown-style page using the beautiful festive ‘Very Merry’ collection.

Instax snaps are a favourite of mine for scrapping. They are just small enough to really draw the eye in and one can use a couple on a 12x12 size page.

The design of this page is pretty simple, focusing the attention through a central band with busier pattern paper on either side. For this reason, I have kept the central paper pretty neutral, cutting several strips from a sheet of ’Tis the Season’. 

The outer botanical print is the 4x6 Vertical Elements from the collection. I wanted to pull out pops of the red, green and charcoal, so I’ve kept this busy print further out, then brought the red & black checked print in to co-ordinate with the large ’25’ from a pack of Very Merry Pocket Pieces.

To give the feeling of a little countdown, I have also added some numbers close to 25 from the top of the page. These are from a pack of Very Merry Stickers and would be fantastic for a planner or December album at this time of year.

The page has been finished off with some Clear Stickers (cut in half to go further!) some mini banners from a pack of Bits & Pieces and a touch of stamping.

A super simple page but I love the bold title and centralised theme.

Thanks so much for joining me!

Supplies

Hello creatives! Welcome back to the blog. Leah here with you today, showing you how I have begun the process of setting up my Christmas traveler's notebook. Eventually, I hope to set up this TN to be a jack of all trades for me throughout the Christmas season. I want to have a notebook in here for planning, a notebook for my millions of holiday lists, and a notebook dedicated to documenting December memories. I'll be using the Very Merry collection to decorate this TN. So far, I have decorated my front pockets with bits and pieces from the collection and I have focused my efforts on assembling my December Daily notebook insert.

I created this notebook by taking the staples out of one of the Carpe Diem traveler's notebook inserts and disassembling it. I used one of the notebook papers as a template to cut down the 12x12 Very Merry patterned papers to the same size as the insert pages. I then mixed in the patterned papers with the white pages to create a thicker notebook. I got this brilliant and fun idea from Michelle Baxter @quirkyheart on Instagram. My goal was to have enough papers in my insert to do a 2 page layout for each day of December. I also printed out a couple of my favorite Very Merry digital papers onto vellum so I could add those in for texture.

Making this custom insert was very simple but it's a process, so I am taking my time with it. So far, I've just cut down the papers and arranged them in a way I like. I think I will hold off on sewing or stapling the papers together until later in December, that way I'm not totally committed to the current arrangement and will have more flexibility as I start documenting memories. I plan to add in a variety of 4x6 SN@P! pocket pages throughout the notebook and will use washi tape to tip them in.

I also took a little time to decorate the cover of my December Daily album/TN insert and start gathering and organizing my supplies I'm planning to use this month. I am not the best about finishing things...however, I do my best to set myself up for success in finishing my December Daily album by doing a little preparation before hand. I still have several things to do before December starts up. The inserts I'll be using for planning and listing will be simple notebooks without much décor, though I might dress up the covers to be more Christmas-y. If you'd like to see how this TN setup continues to develop, head over and follow me on Instagram and YouTube for updates. Have you, or are you planning to set up a Christmas planner and/or Christmas album? If you aren't following the Carpe Diem Planners Instagram, you will find some amazing inspiration there. So many BEAUTIFUL Christmas planner and TN setups have been shared already!

Supplies

Happy Cyber Monday!  Today only, your entire purchase from our digital store is 50% off!

WIth ALL of your favorite Simple Stories collections in digital format, you're sure to find just what you need for all of your digital crafting needs!  Visit our digital store here and enter code CM2017 during checkout!!  

SaveSave

The Oh What Fun Simple Set has the right amount of papers and stickers to create that one of a kind page!  I loved incorporating the bright patterns to highlight this treasured photo from a Christmas past! 

I began with laying strips of patterned paper across my white cardstock background then adhered my photo. I cut the bright red/white dot print using the Simple Stories Circle  Wreath Cut File from the Silhouette Shop (cut file ##169333) and affixed to the center of my page.  


Once I  stitched through the Circle Wreath, I selected different stickers from the 12x12 Sticker Sheet to accent. A few of the shapes are affixed with pop dots to create some dimension (I'm a big fan of layers!)


The Sticker Sheet includes sentiments such as this that can be used as a title to your page! I added in another small sentiment sticker as well as stamped sentiments with my Classic Christmas Roller Stamp.  And how cute is the ornament garland?  

Supplies

Hello everyone! It's Dorymar on the blog today to share some fun ideas using the beautiful Oh What Fun collection!

The Oh What Fun collection can be used to create so many Holiday-themed crafts such as ornaments, Christmas cards, home decorations, gift bags, tags, layouts, albums and so much more because it's stunning! The options are endless!

This time I designed a beautiful ornament for the Christmas tree, a card, a banner, a gift bag and a crystal block for home decoration.  I used all of the beautiful elements of the collection, cards, stickers, and papers to create these projects.  Love the bright colors and fun designs!

There are so many different elements to choose from in this collection!  I had lots of fun looking through the pieces! I loved all of them and wanted to create a bundle of hand-made crafts to celebrate the Holidays.

The collection invites you to create fun projects like its name, Oh What Fun!

Hope this inspired you to create beautiful projects to celebrate the Holidays with your loved ones!

Happy crafting!

Supplies

Hello Simple Stories fans and welcome back to the blog today!

The silly season is fast approaching and it’s a wonderful time to revisit photos of Christmas past. Personally, my shots are always pretty average. Every year I tell myself to play with lighting options before the big day but every year I’m bleary-eyed as my kiddos wake up before dawn, lol.

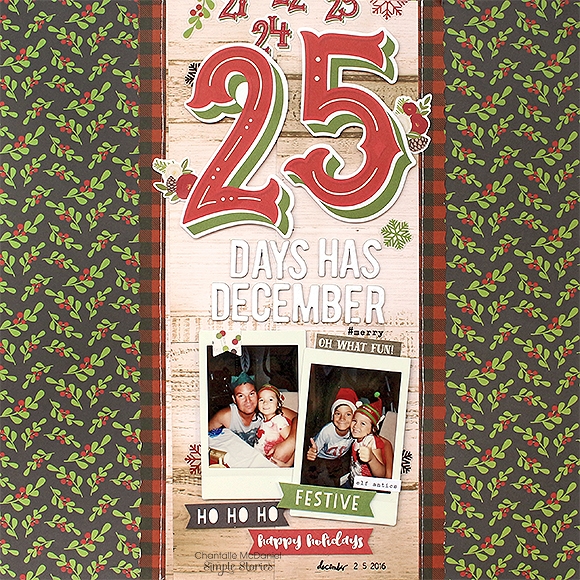
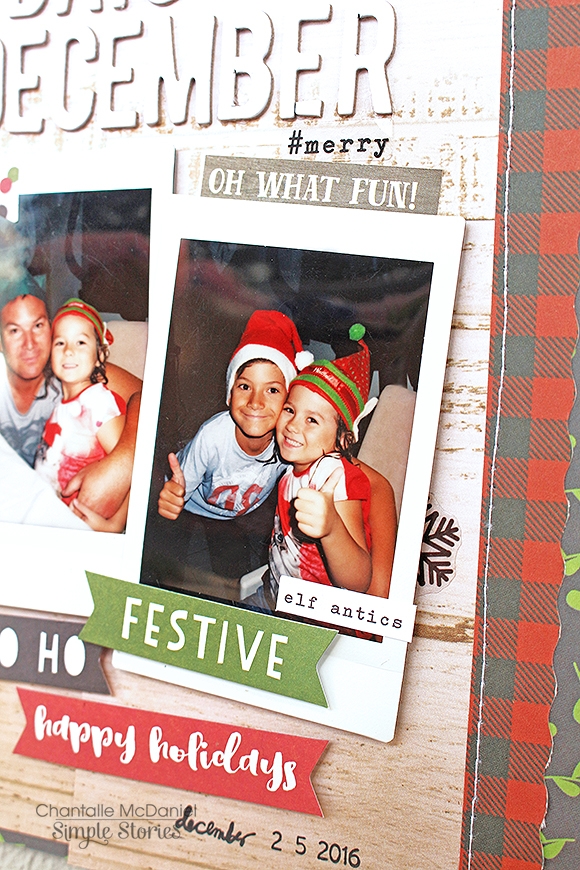
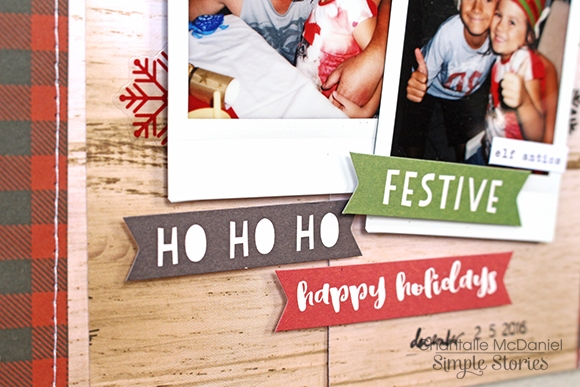
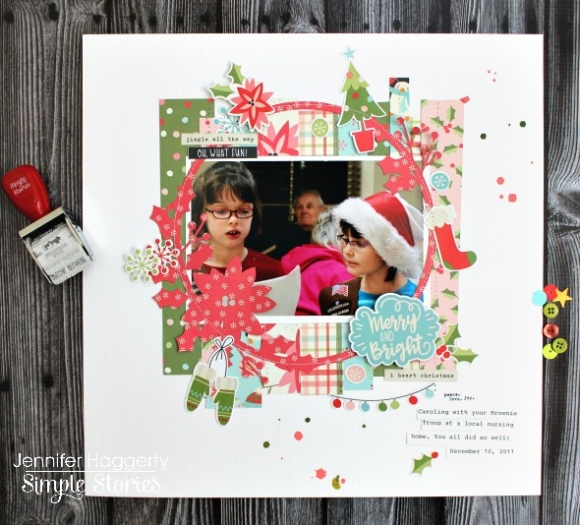
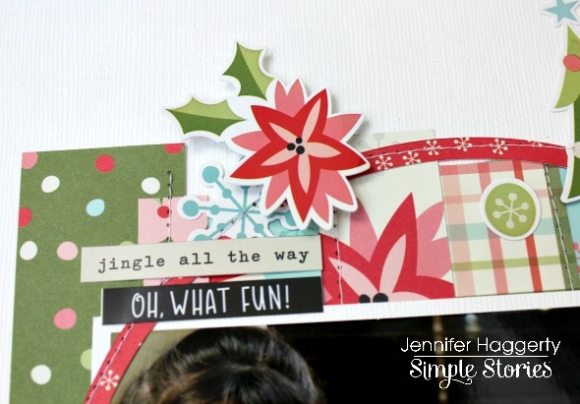
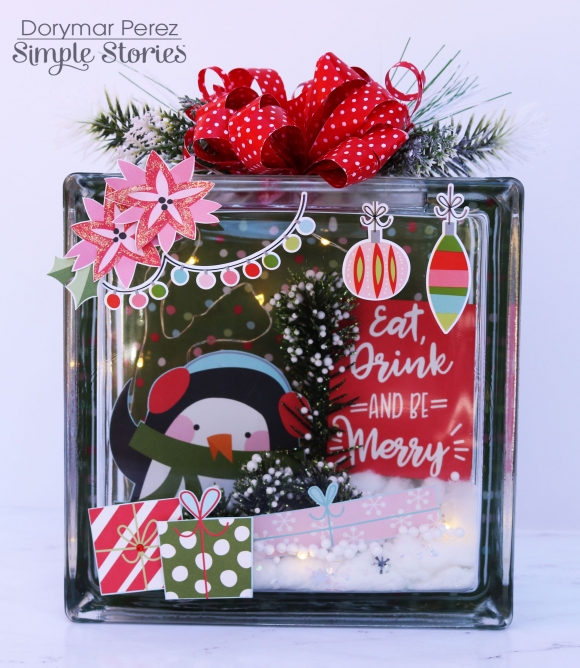
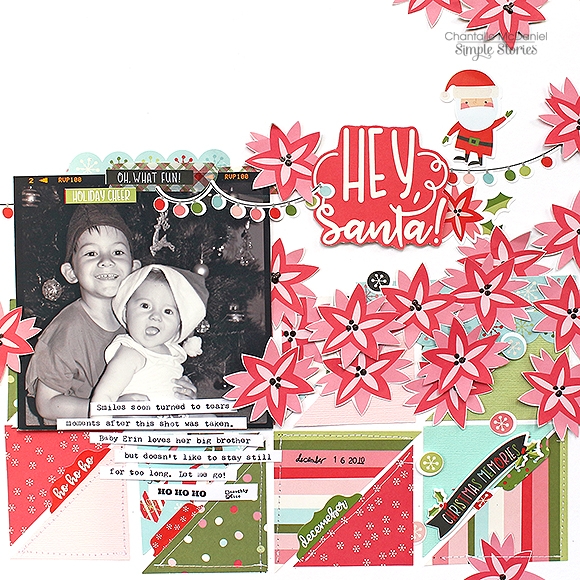
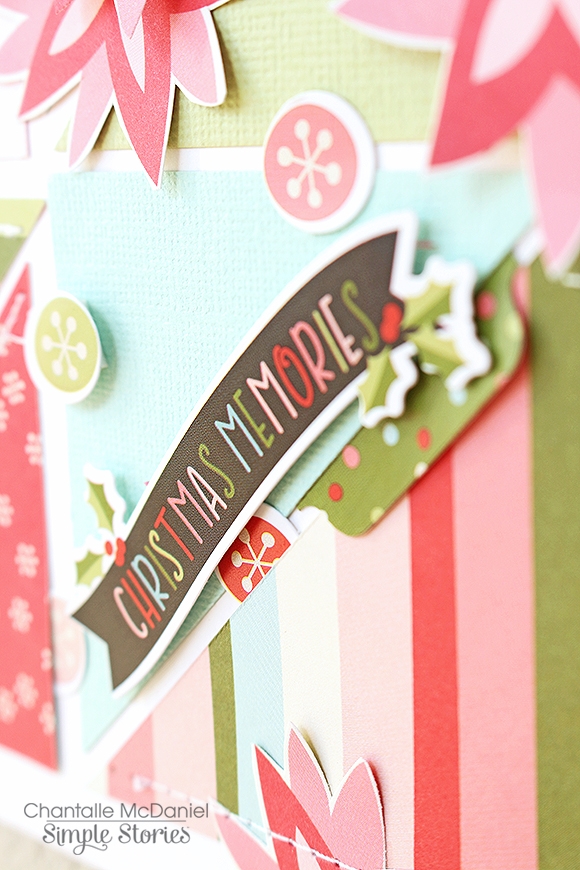
This page captures a super cute moment between my two when they were a bit younger. Erin was pretty comfy on her big brother’s lap but laughs soon turned to tears as she was asked to sit for one more snap! I’ve used the adorable ‘Oh What Fun’ Simple Set. I love the slightly less traditional colours of this collection and the characters are oh-so-cute!

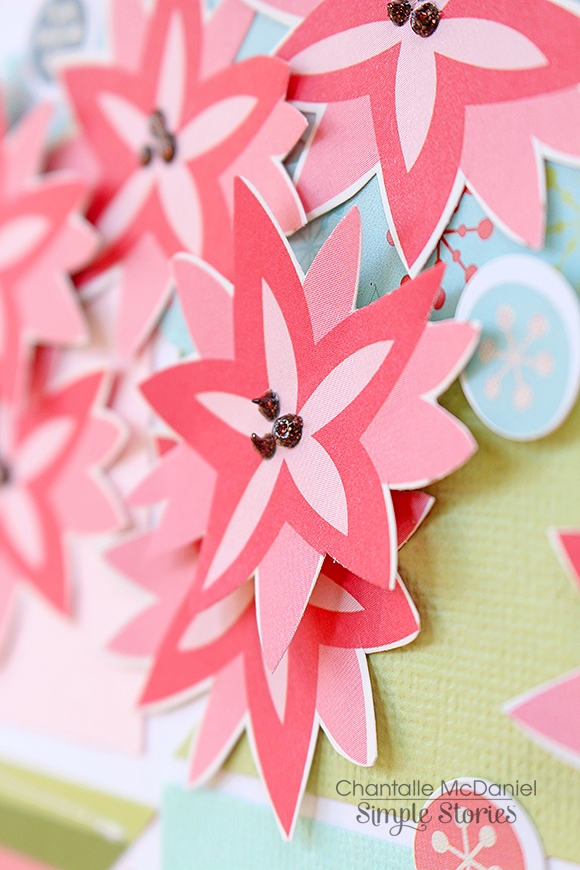
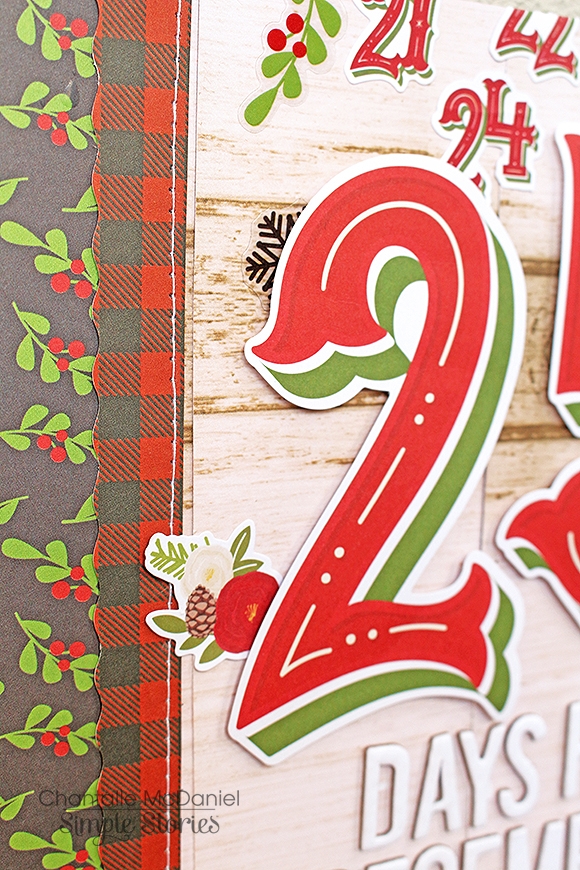
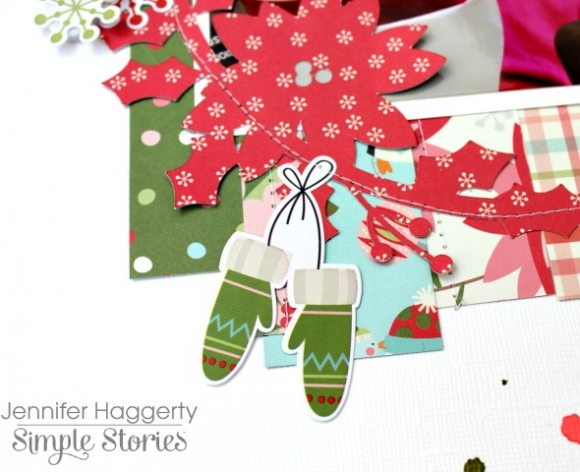
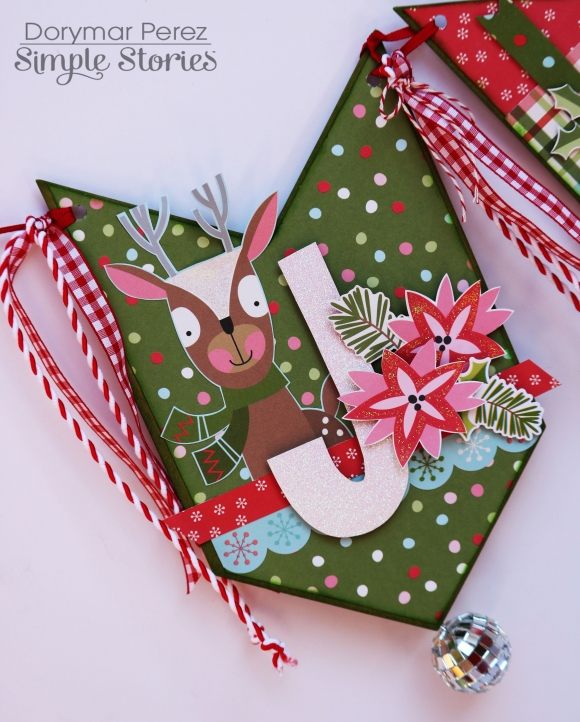
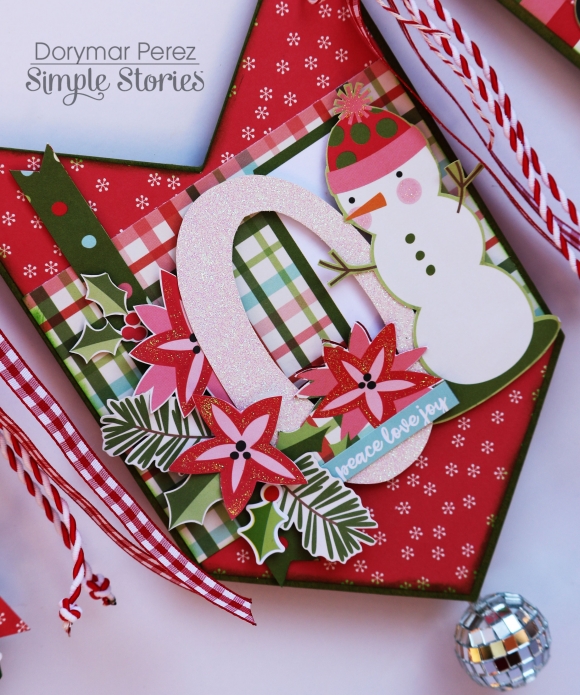
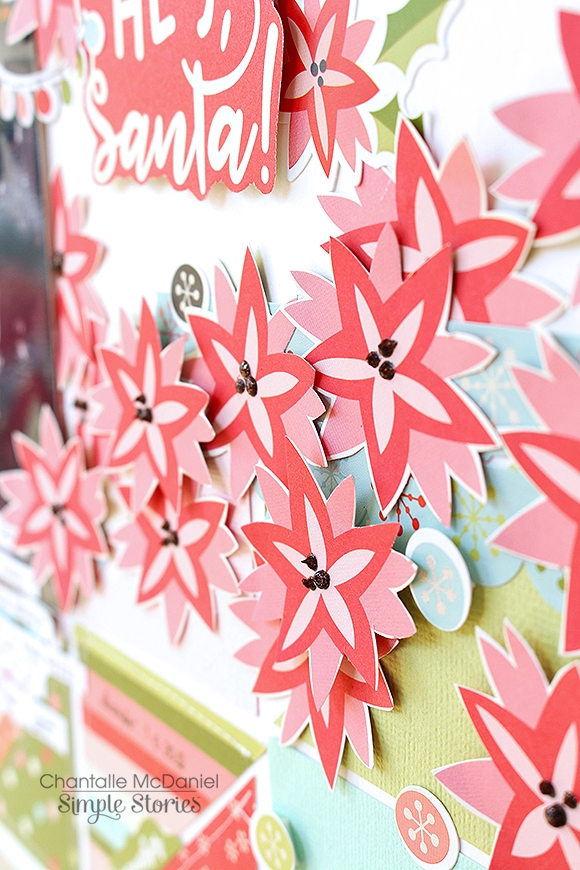
One of my favourite prints was on a sheet of ’Tis the Season’. I couldn’t resist hand cutting a bunch of the flowers out to use as embellishments! The centres have been highlighted with a bit of glittering dimensional media.

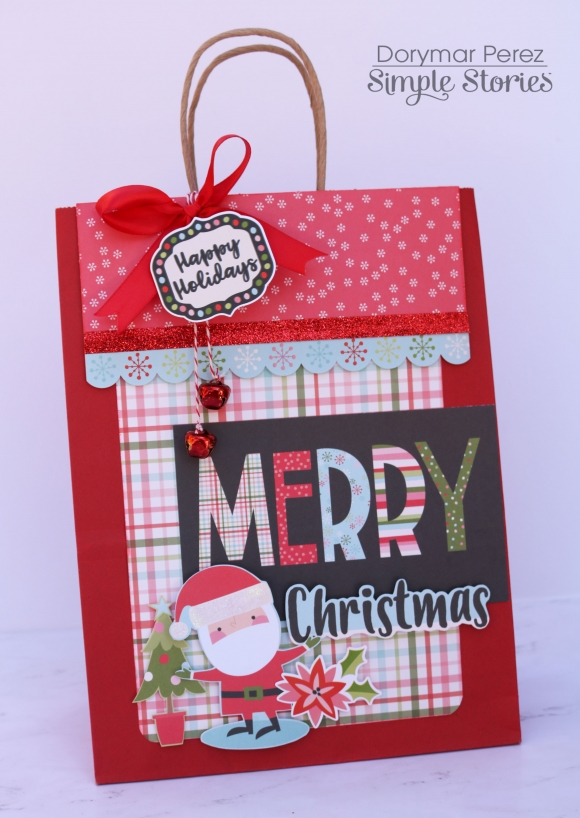
Watch out there Santa! Two stickers have been combined from the Oh What Fun Combo Cardstock Stickers to make as if Santa is walking a bulby tightrope.

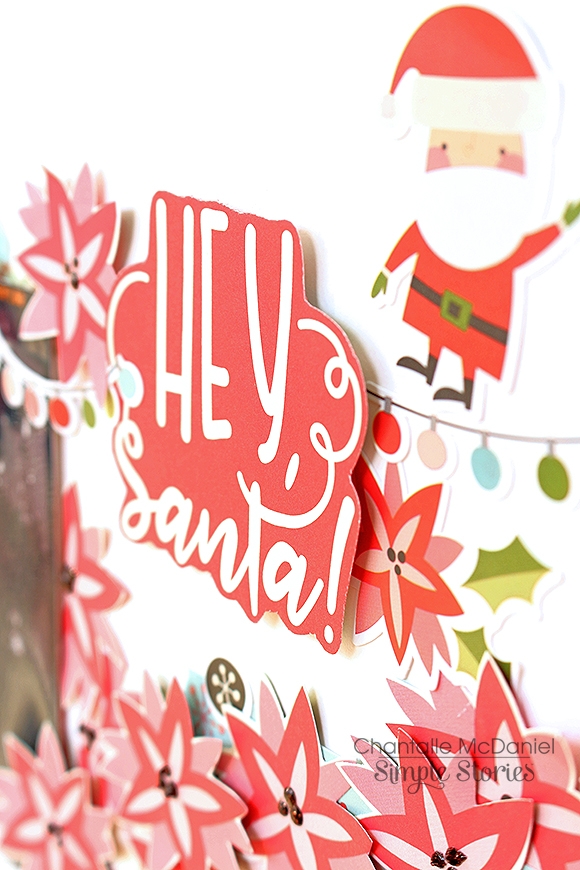
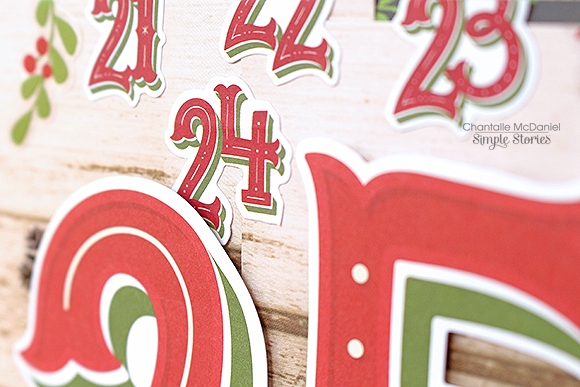
The title has been hand cut from the 4x6 Vertical Elements paper in the set. I haven’t cut right to the edge, instead, leaving a bit of the red as a border around the text.

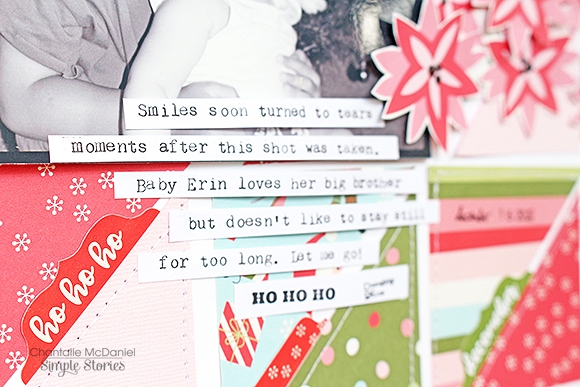
Some typewritten journaling and machine stitching finish the page off…

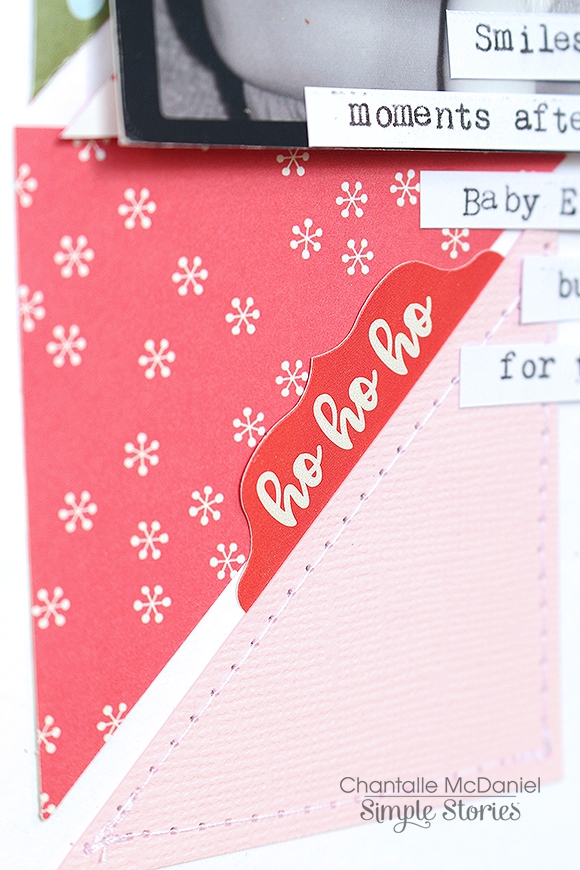
I changed the idea for the design of this page a couple of times as I just wasn’t feeling it. Eventually, I found a sketch by Kristine Davidson that I liked and used it for reference. I cut a bunch of squares then snipped them in half, adhering and then stitching them down.

Thanks so much for joining me today.

Wishing you lots of fun with your Christmas crafting!


Chantalle

Supplies

Hi everyone, as I am preparing for my December Daily I wanted to show you how I have setup my Christmas Traveler’s Notebook (TN). In this notebook I am able to write all my ideas and plan the daily projects.

For this setup, I used the Very Merry collection in the Aztec Black and White TN. I stuffed the pockets with bits and pieces and created a front dashboard.

I converted the black and white striped notebook from the Bloom collection into a Christmas notebook using a 4x6 red Christmas card and some washi tape.

With red, grey and green alpha stickers, I created a title for my notebook. The rest of the pages I decorated with lots of ephemera, stickers and washitape.

In the first section of my TN I have space to write all the ideas for the December Daily projects.

In the second section I am using the red number stickers from the 4x6 sticker pack to mark every project I want to make and show that day.

For the third section I created weekly overviews by using number stickers and washi tape. The fourth and last section is for more December lists and notes.

On my Instagram account (https://www.instagram.com/createplannernl/) I will show more of my December Daily prep in my TN. Have a nice day!

Supplies

Pages