March 2018 Blog Posts

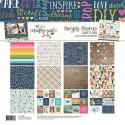
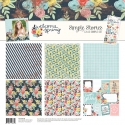
Hello, Simple Stories Fans! Jana Eubank here with a layout using the Crafty Girl collection.

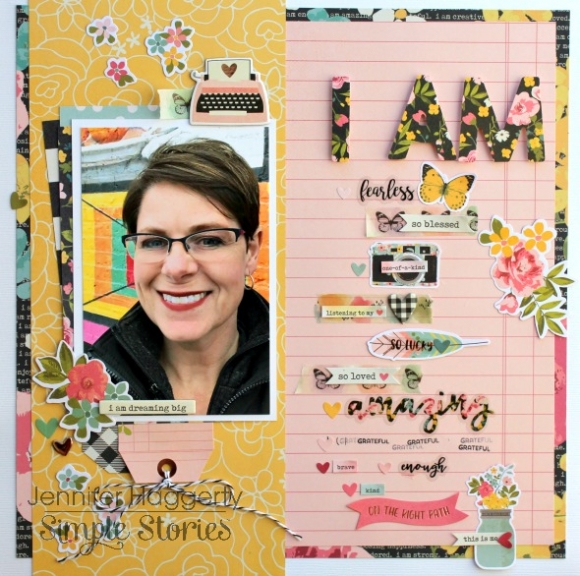
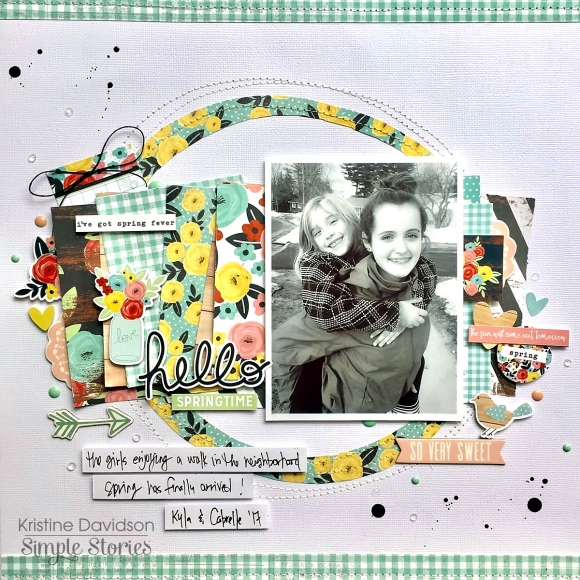
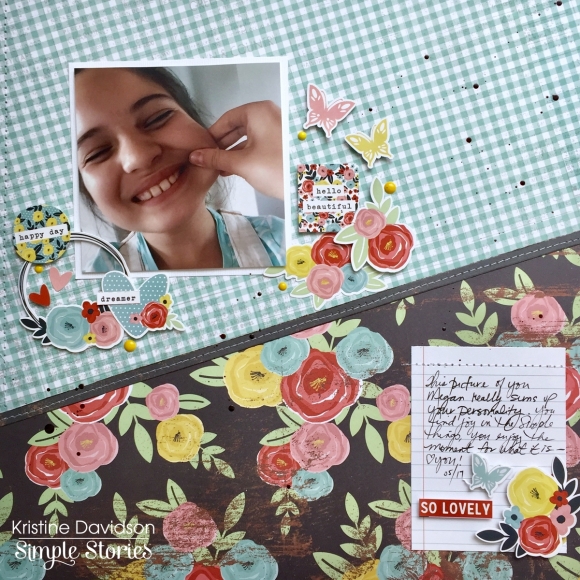
I love the rainbow striped "Handmade" paper from this collection and decided to use a large vertical strip to anchor my photos as part of my page design. To accent the edges of the strip, I ran it through my sewing machine on a zig-zag stitch setting without any thread loaded into the machine. The pierced pattern left behind is subtle, but interesting!

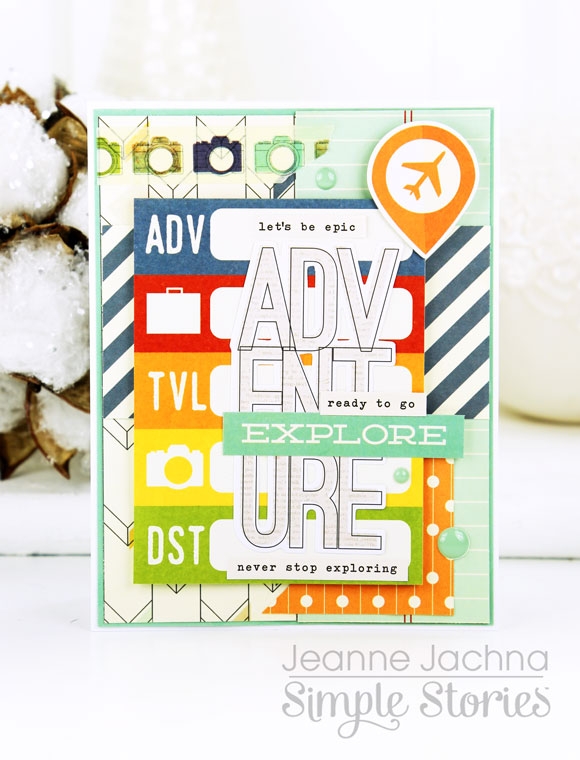
Next, I played off the rainbow scheme to create a colorful title for my page using a block font and my Silhouette Cameo electronic die cutting machine. I used scraps of paper from my stash to back each of the letters. I fussy-cut the cluster of flowers from one of the 4X6 Horizontal Elements cards.

My photos are matted on silver foil cardstock, with a larger bottom margin to look like polaroid frames. I used the scallop border sticker from the Combo Sticker sheet to anchor the photos and embellishments at the bottom of the page.

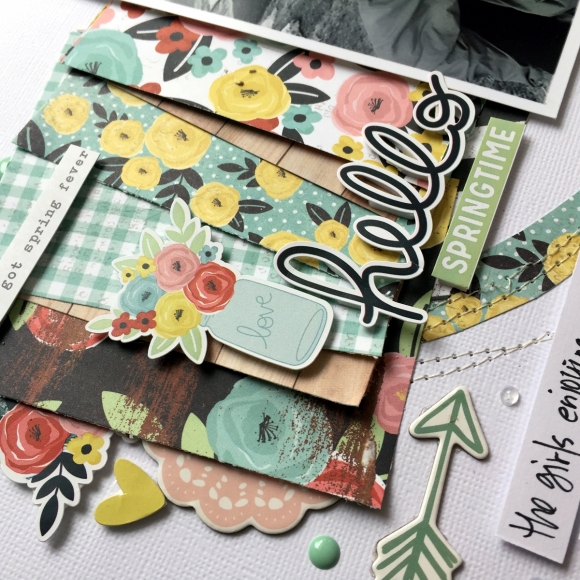
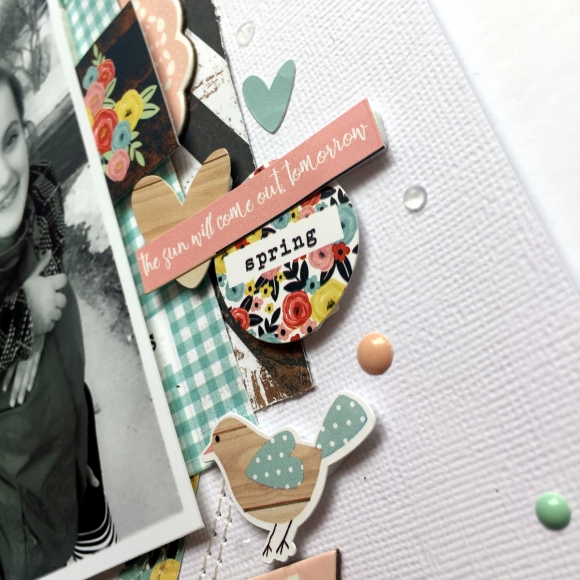
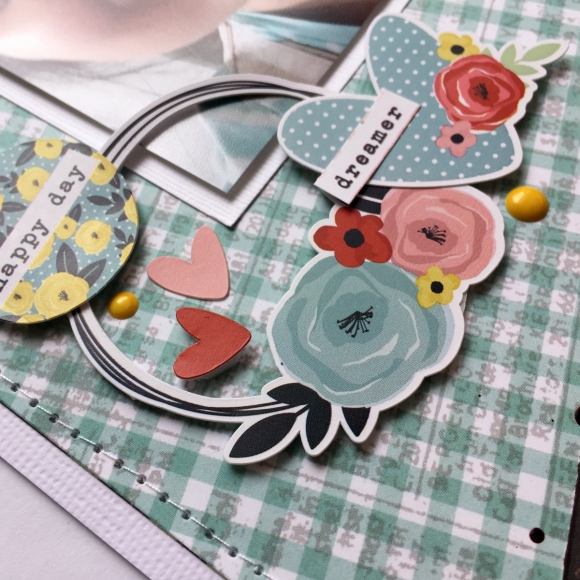
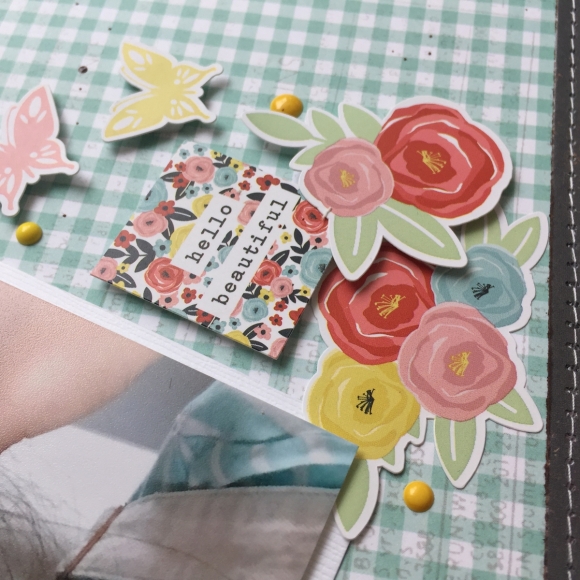
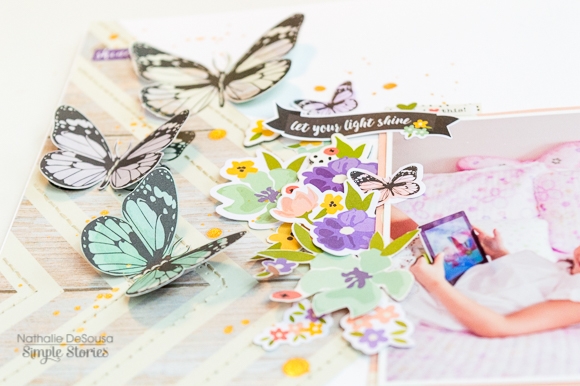
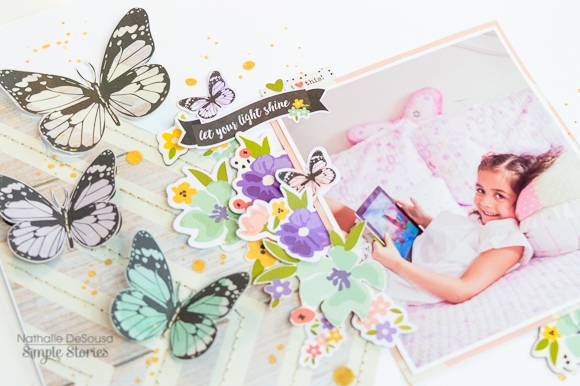
I love stacking the Bits & Pieces die cuts together with the Chipboard stickers to create dimensional clusters. 

Have you tried a rainbow color scheme on a layout recently?!

Thanks for stopping by today. Happy Scrapping!

Jana

Supplies

Hello! Jennifer on the blog today to share a layout I created using the new I  Am collection!  Many of us, including myself, are guilty of not documenting enough about ourselves. So, I  was excited to see another I  Am line!  The colors and prints are beautiful and I definitely have some favorites!  

For my background, I  layered the beautiful black floral print of Bold & Beautiful with the pink ledger of Living Vibrantly. I  wanted to make a list of sorts of "I  Ams" using the smaller coordinating embellishments! Here, I used the pretty black floral die cut "I    AM" from the Bits and Pieces pack for my title. I  placed pieces of foam tape underneath to add some dimension. 

How adorable are these black/white plaid and pink ledger tags? I  love that coordinating print tags are always included in the Bits and Pieces!  Here, I  layered them under my photo as well as adding bakers twine from my stash.  I  also used some of the  pieces from the 6x12 Chipboard including one of the typed "I  Am" sentiments.  

I  utilized many of the small embellishments to create my list including stickers from the 4x6 Stickers and Clear Stickers.  A few I    placed over strips of the Dreaming Big Washi Tape as well as the Butterfly Washi from the Bliss Collection. You can even spy some stamping I  did with the I  Am Roller Stamp!  

Thank you for stopping by the blog today! I  hope this inspires you to do a page or two about yourself! I  know for me, it serves as a good reminder of the many blessings in life!  Have a great day!

Supplies

Are you ready for an adventure?  Who doesn’t love a get away?  Whether you’ve caught the travel bug and want to document your escape, or you want to encourage someone who’s taking that first bold step in a new direction, you’re going to love the new Simple Stories Travel Notes Collection!

My son recently graduated college and I keep reminding him that this is the best time in his life to travel.  He’s young and curious, and more importantly – he can travel light.  There’s no children or pets, mortgages or car payments!

My daughter just found her “career” job and moved 6 hours from home.  She’s traveling at least three weekends a month for work and right now she loves it.  She’s excited to meet new people and see different places.

My husband and I are in the road trip stage of life.  We’re ok jumping in the car and stopping wherever an interesting bill board takes us and getting to know each other all over again.

The Travel Notes Collection is ready for you wherever life is taking you!

All cards finished Size 4.25 x 5.5”

Supplies

Hello Friends!

It's Kristine Davidson here today. I am sharing 2 layouts I created using the gorgeous collection called WELCOME SPRING! It's perfect for this time of year and the colors of yellow, pink and light blue can really be used for Spring and Summer.  

The first layout I created is called -  Hello Springtime! It's a photo of my cousin's girls enjoying a day outside in the melting snow. I changed the color of the photo to black and white so it would be a good match for this collection. 

I first created a circle and cut it by hand. I didn't have a circle cutter and decided to just GO WITH IT! I did some sewing around the edges and I like how it turned out. Sometimes it's just about letting go and creating! 

I cut up pieces of patterned paper in 3x4" and used those pieces to create layers. I love this effect. I have tons of color and I really didn't use that much paper. 
I always use pop dots on my pages to create more dimension and of course adding clusters of embellishments. The sticker sheet that comes with this collection has tons of cute designs. 

I added extra stitching, enamel dots, a bit of mist and was very happy with the outcome. 

My next layout is called -- So Lovely. As you can see I used 2 pieces of paper and cut them at an angle to create this background. I really loved that blue since it goes well with the shirt my niece is wearing and the flowers on a dark background is just something I enjoy working with. 

I did some sewing along the edge and on a small strip in the center of the layout. I used a 3x4" journaling card to add a few sentences about this sweet lovely girl.  

As you can see from the previous photos I added more clusters of stickers, enamel dots and some mist again. I just feel like this finishes my layouts. 

If you are anxious to start scrapbooking with nice bright colors and get away from the white and blue of the winter season this Welcome Spring Collection is a MUST!

I hope you enjoyed my layouts today and please visit @SimpleStories_ on instagram and come find me as well @KristineDavidson . 

Have a great day!

Supplies

Hi! It's María and I will be part of the Carpe Diem team 2018. I will be using Traveler's Notebooks for my Bullet Journaling, I have been using this method of organization for more than 2 years and I am looking forward to sharing with you.

For this month I wanted to use the Bliss Collection, maybe because my favorite color is purple or because it has so many flowers, which I also like a lot.

First I prepared the future log in a separate notebook, so I can move freely from one TN to another.

For the month cover I made a small card with lettering and I used the bits & pieces to decorate, I love that the sheets of the notebooks have a 120 gsm, so I can play with small watercolor splashes.

The habit tracker is a very regular resource for those who make bullet journals. It helps us to keep track of daily goals and work toward them, in order to achieve them.

I love decorating with lettering titles, I usually use the Tombow Dual Brush markers, I really like their range of colors. The pages of the notebook are very soft, so working with brush markers is very nice.

I usually plan my YouTube updates in "this month", I find it very comfortable to visualize the full month and organize my content. I know that the Bliss stickers tablet will help to organize this page during the month.

In the weekly view I plan my work, when I edit, record, shoot photos and more. It helps me to be more efficient and not get lost in the clouds, I usually prepare them the weekend before and as you can see the Bliss stickers help me decorate again.

Finally I wanted to see if this notebook passed the "pen test" where I will make samples of all my markers to have a reference of the colors. I used one of the inserts that come with TNs that are blank paper. To decorate I used the Crafty Girl collection, it's perfect for it!

Supplies

Hello Simple Stories friends and fans!

Nathalie with you today with a new project that is Spring on a page. I was so excited to be able to create some samples for Creativation this year, and this is one of them (that is why there is no journal lines on it yet!!!).  That means I was one of the lucky ones who got to play with some of the new collections before they were released, and the new Bliss collection is one of the most beautiful ones I have seen.  Just look at all that purple!!

It all started when i cut the triangles from the Live in the Moment paper from the collection. I wanted to take advantage of the angles to anchor my picture between them. So once i cut them,  I carefully also cut some of the butterfly wings -using an exacto knife- so that they could be lifted of the page.

Then i hand stitched the triangles to white cardstock, making sure to follow the lines of the wood grain of the paper design.  To add more interest to the triangles, a few fussy cut butterflies were also stitched, through the center line, so that they form a flying path on the page.

I fell in love with the florals in this collection, so I fussy cut quite a bit of them from the Be Good, and Remember to Shine papers to create the clusters around the picture.  All the fun embellishments (and the ones included in this collection are gorgeous) just help bring more sentiment to the page.

The title for this page (all about my niece's sweet smile, and love for the ipad) comes from the chipboard sticker set from the collection.   Once I set the "Hello Sunshine" banner for the title, i quickly add another one at the top of the picture.  The movement they create along with the butterflies is just what this layout needed.

I hope this has inspired you to pick the beautiful Bliss collection. It is the perfect Spring collection, and you will be wanting to use it all to document the upcoming season.  Remember to check all the new Simple Stories collections, they are so so beautiful

See you all soon!

Supplies

Hi everyone! Odessa here with some pages I’ve been working on in my SNAP album. When I saw the Crafty Girl collection I knew I had found the perfect collection to work on some pages all about me. Crafting is my life and I just love the bright colors, cute icons and smart phrases in the collection! And what better to put them in than the chic Black Stripe Designer Album?

I started with a cute drawing of myself and some craft goals I have this year and then got busy embellishing! I had a sideways 3x4 picture that I stuck down to a pink patterned paper cut down from the 6x8 pad with some of the adorable painterly washi tape. The washi paired perfectly with the all the stripe colors in the Live. Love. Create. 3x4 card so I had all the colors to pick from for my embellishments. The colors in Crafty Girl all go so well together which makes putting together pages so easy - you can just use anything together! I added some of the SNAP Basics letter stickers along with some words and phrases from the Crafty Girl sticker sets. Then I stuck down some Bits and Pieces and this page was done!+

For the next set of pages I just had to pull out one of the totally frameable pages from the 6x8 pad! Eat. Sleep. Craft. Repeat is pretty much my motto. I added a few stickers from the combo sticker sheet because glitter just had to be mentioned and it was perfect. 

On the left side I have a couple of pictures and a 4x6 card. I used some of the chipboard stickers - those buttons are adorable - and stickers from the 4x6 sticker set to really personalize this page. The phrase stickers from that set feel like they are made for me! On the selfie I used the stickers to frame the picture and get a little bit of journalling in and on the coffee picture I used a centred phrase sticker and that cute button to accent the picture. Finally I added a few little things to the 4x6 card to personalize it. I find it so hard not to personalize elements like that, if I don’t they feel naked next to everything else.

For my last spread I used the back of the 6x8 paper from the previous page to do a little layout and then a collection of 3x4 pictures and cards on the other side.  I couldn’t help but sing a little while I was putting down the “makers gonna make!” 4x4 card which I lined up with a horizontal 4x3 photo for a simple centred layout. I added both a chipboard sticker and a word from the 4x6 sticker set in between the pictures as a border. Then I stared laying down some more stickers around it, some washi and a journalling spot from the bits and pieces. 

On the right side I have all the colors going on in my pictures so I went with a nice pencil crayon 3x4 card. I embellished it with some more alpha stickers and stickers from the sticker pack to title the page, since color is probably my favorite part of getting crafty! One of my favorite design elements is placing a heart or other simple icon in the centre of something so when I saw the wheel of yarn picture a heart just had to go on there. I added a simple phrase and the bun of one of the crafty girls to finish up that pocket. I knew I had to use the crafty tote bag chipboard sticker and it was perfect in the middle of the picture with all the yarn. The picture has a lot going on and didn’t need much so a nice central embellishment was spot on. 

I just love the phrase stickers in the 4x6 sticker pack. They were just what I needed to add a little DIY poem in the negative space in the bottom of the page. A little button and one of the arrow stickers and this set of layouts was all done!

I hope you enjoyed hearing about how I document my crafty fun and are inspired to pick up the Crafty Girl collection to document your own craftiness!

Supplies

Hi planner girls! It's Cara here with you today for my very first post on the Simple Stories blog! I'm so excited to be part of this year's Carpe Diem team, I'm dancing in my chair. I have only just recently stopped pinching myself, but the happy dancing goes on! 

I'm sharing how I set up my new Aztec Black & White TN. I'm going to use it to plan out my crafty projects, so I chose the 'Crafty Girl' line, nothing could be a more perfect fit. 

The first thing I decorate when I set up a new planner is usually the pockets, this one is no exception. Once the pockets are decorated, the whole planner feels ready to be filled with plans and dreams. My pockets are about 75% show and 25% function, so I added a few of the Bits and Pieces from the line. I made a few clips from some of the chipboard pieces, aren't the crafty girls adorable?

I wrapped some washi on a piece of card, I cut a strip of stickers that could come in handy from the Planner Basics Sticker Tablet and tucked a piece of patterned paper from the 6x8 pad in the large pocket behind after adding that adorable measuring tape sticker from the Cardstock Stickers along the edge.

To decorate the cover of that darling polka dotted insert, I layered cards cut from the 3x4 Elements cut apart sheet with a fab pink glue gun die cut and some Crafty Girl stickers. A couple of strips of washi finish it off nicely.

I snagged the March printables and used the calendar for the first spread of my insert. I used strips of paper from the 6x8 pad, and some washi, then layered lots of the Bits & Pieces and stickers from the line. 

I added a tab, with 'March' added to both sides and covered it with one of the clear tab stickers to keep everything snug and the tab protected. My favourite bit of this spread is those fantastic flag numbers from the Numbers Sticker Tablet, they are so cheerful and really brighten up the page, don't you think?

No wait! I change my answer! That teeny tea mug clip is my favourite. So stinkin' cute.

Happy Planning!

Supplies

Pages