March 2018 Blog Posts

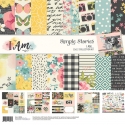
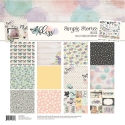
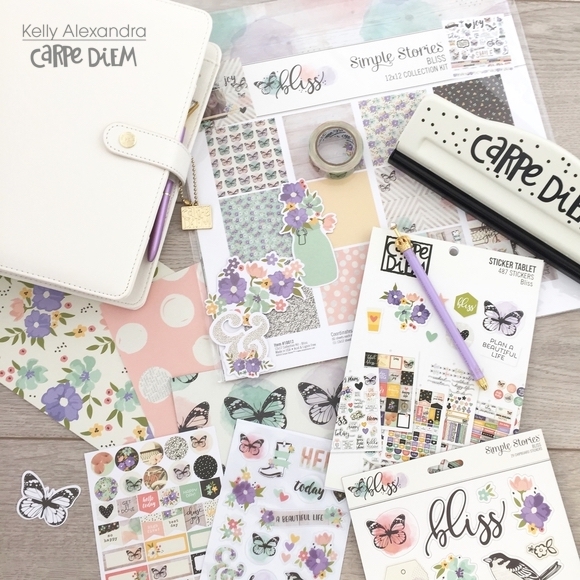
Hello Everyone! I am very thrilled to be back on the Carpe Diem Creative Team 2018. I am starting off with my first blog this year with the "I am" collection. The colors in this collection is giving me the Spring Fever. It's been really cold lately here in Southern California. I cannot wait for Spring to come.
 
 
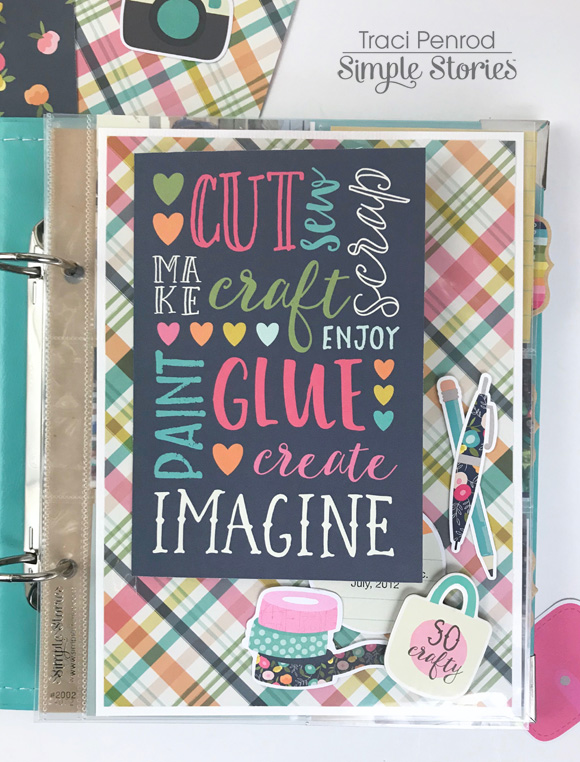
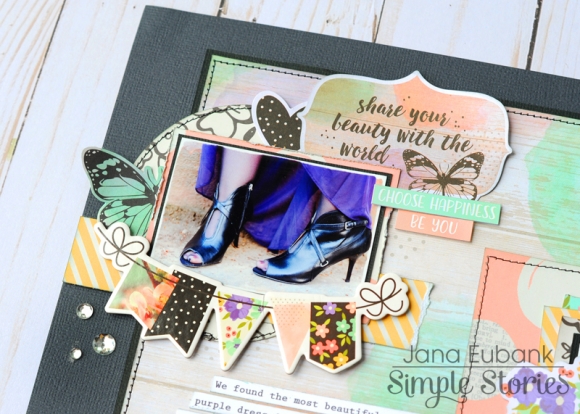
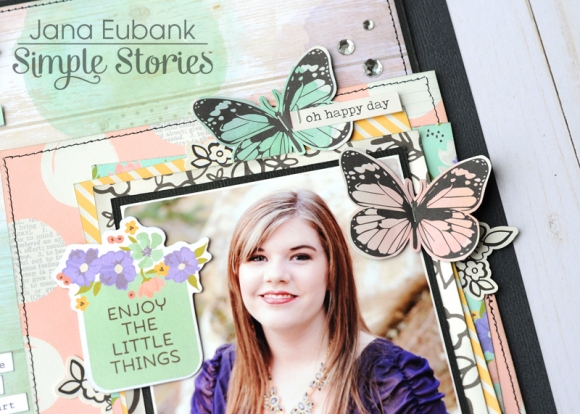
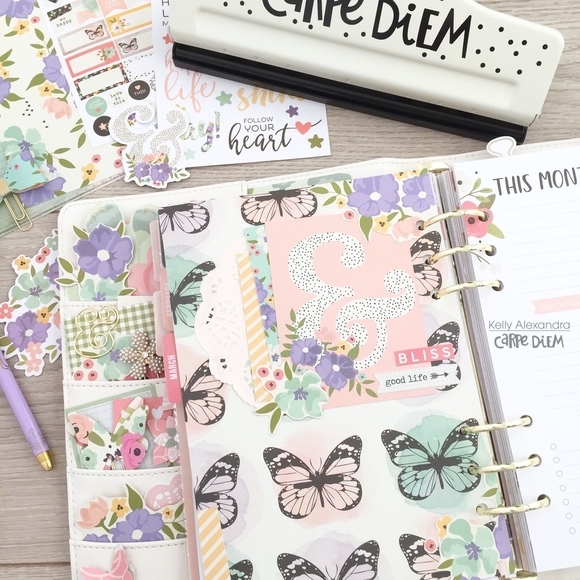
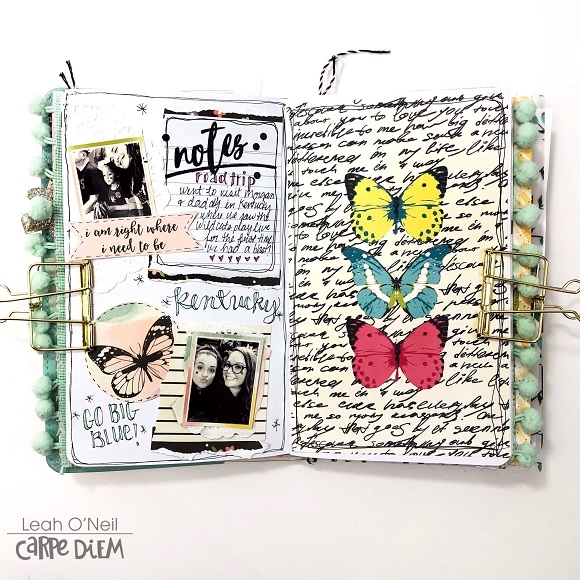
I am loving the butterflies and the yellows. For my dashboard, I fussy cut the butterflies and added them on top to give it that 3D effect. I ink the edges to emphasize the yellow. 
 
 
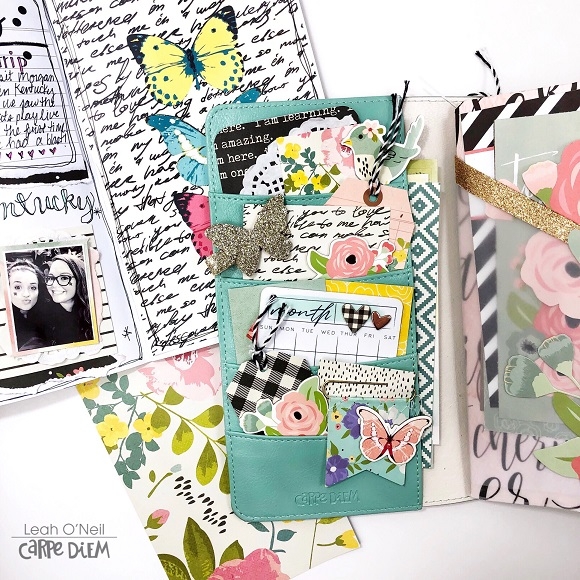
 I decorated my planner pockets using the chipboard pieces. I also fussy cut the mason jar from the 6x8 pad. I always love a very decorated planner pockets.
 
 
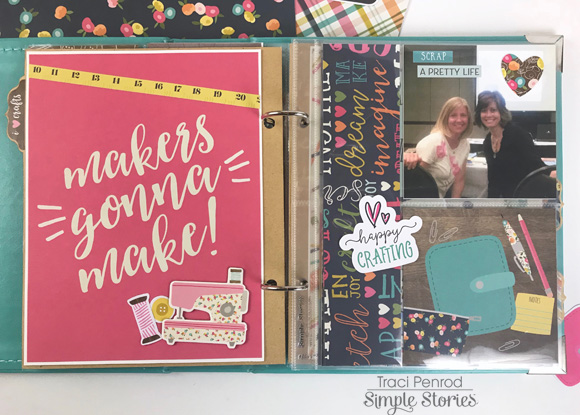
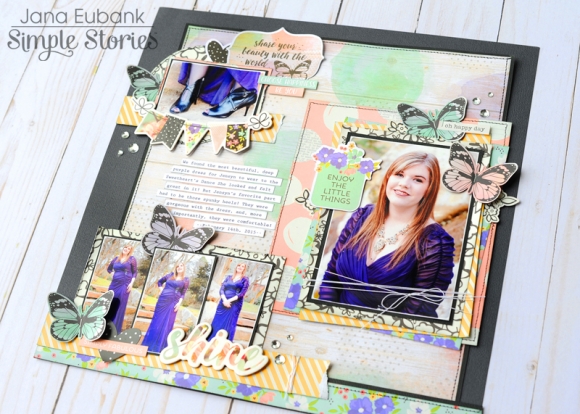
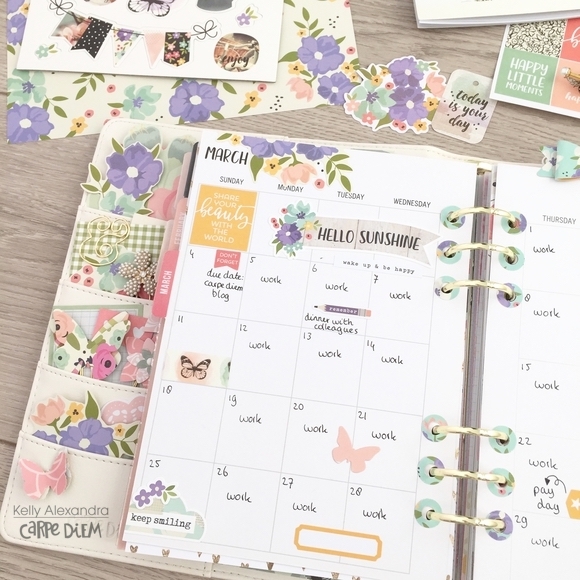
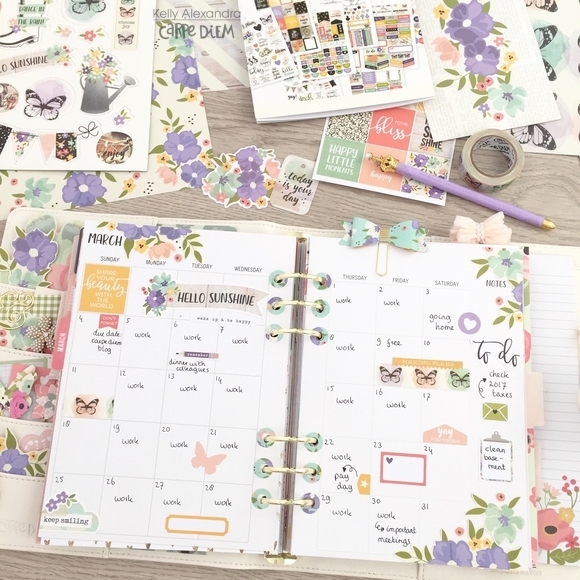
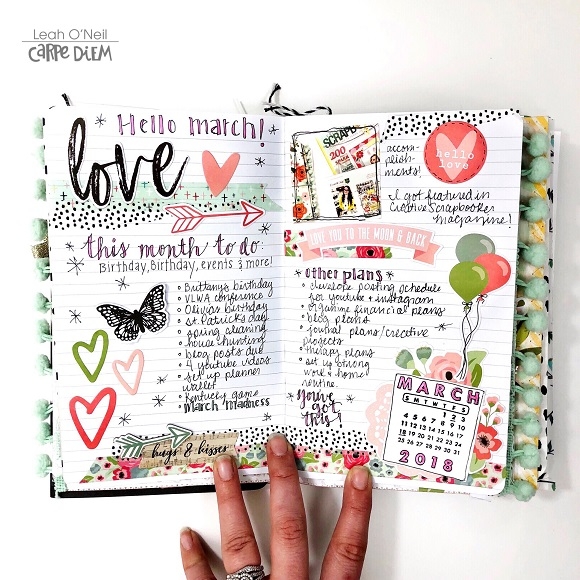
 Here is my Monthly Layout for March. As you know I love using the Number Stickers for the dates.
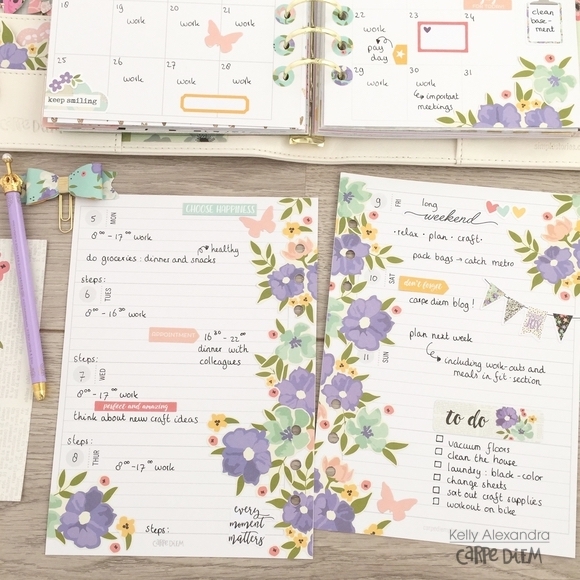
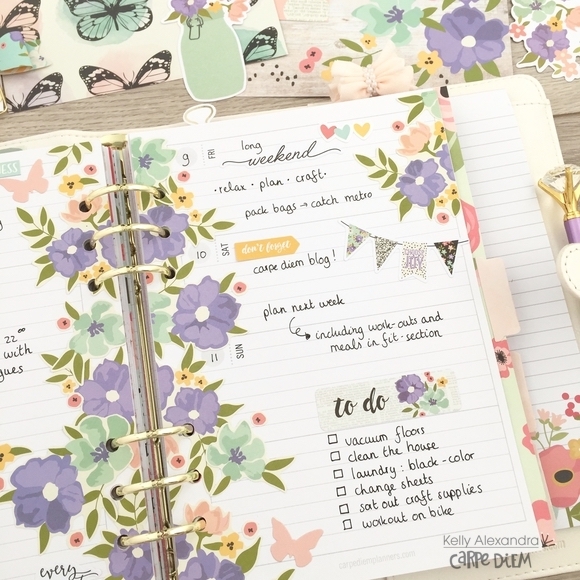
 
 
Close Ups
 
 
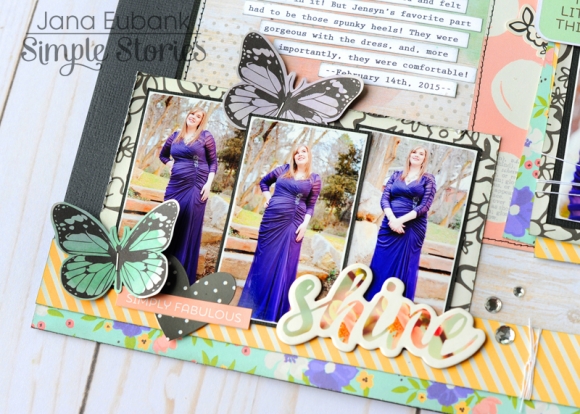
 I used mostly the combo stickers to create my layout.
 
 
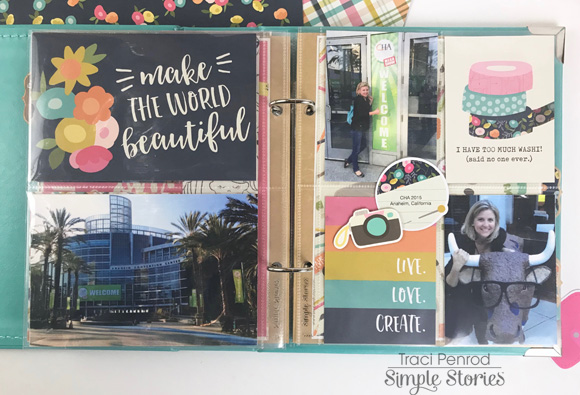
 The plastic storage pouch is such an eye candy. I just like to stare at it whenever I open my planner especially if its filled with all the bits & pieces and chipboard pieces
 
 
Thank you so much for stopping by and I hope you enjoyed my Spring Planner Set Up.
 

Supplies

Hi crafty friends!  It's Traci, from Artsy Albums, and I'm so happy to be back as part of the 2018 creative team!  The pocket album I want to share with you today is all about my crafty adventures ...  creative retreats, scrapbook time with friends, and CHA visits.  The new Crafty Girl collection was perfect for documenting these fun memories!

I used a 6x8 pocket for the first page and added a 4x6 element card to the front of a fold out.  Inside the card, is a photo from my first trip to the summer Craft & Hobby Association convention.  

 
I love that Simple Stories makes the 6x8 paper pad for most of their collections.  I used one of the pages from the pad for the title page below.  I like how it breaks up the smaller spaces throughout the album.


There are so many cute embellishments with Crafty Girl!  I like layering them right over the pocket edges.  The cute camera above is a chipboard sticker and the adorable little journaling spot is from the bits and pieces.
 
 
Have you noticed that the tab stickers fit right on the chipboard tabs in your snap albums?  How fun is that? 


I know all of you crafty girls are loving this colorful new collection!  Have fun...and be sure to document your crafty adventures.
 

Supplies

Hello, friends! Jana Eubank here. I have been holding out for the perfect collection to scrapbook these photos of my daughter all dressed up for a dance in her beautiful, deep purple dress ... And then the Bliss collection came along with it's gorgeous purple flower accents. It was PERFECT!

Of course I had lots of fun photos for this page, but managed to narrow it down to the five you see here. I chose to create three clusters of photos in this page design, to highlight the three different types of shots I took. 

In the top left, is a close-up of her FAVORITE part of the outfit that day ... her shoes! I treated this photo extra special by underscoring it with the chipboard banner piece.

I fussy cut several butterflies from the Enjoy the Ride paper to use as accents around the page. I love the slight wash of watercolor they have and the movement they add to this layout.

Three smaller photos clustered together with the chipboard title anchor the bottom of this page design. More butterflies accent this part of this page, as well as a sticker phrase that fits my daughter AND the Bliss collection perfectly ... they are both "Simply Fabulous!"

Even though there are a lot of photos on this page, I still managed to make the main photo the focal point by matting it with several layers of patterned paper. I love the way the patterns of the Bliss collection play off one another!

Supplies

Hi everyone! Tara here with Secretbees Studio.  If you're reading this blog, chances are you are a crafty person and Simple Stories has come up with the most adorable paper collection to celebrate this way of life! It is full of ridiculously cute icons and embellishments not to mention the super punny ( and funny) sentiments! It is also the perfect paper collection for hosting your very own crafty party! What could be better than getting together with your friends and making pretty things? Adding in the cutest invitations and decorations, I say!

The invitations were printed on heavy card stock in colors that would complement the collection.  I then layered those over two different pieces of the lovely patterned papers. I added in a couple of the stickers from the 4x6 pad on each of the invites and then topped the whole thing off with a decorative band that is embellished with images from the Bits & Pieces along with chipboard stickers and the collection stickers. So stinking' cute!

To top off the darling invitations, I used a Spellbinders basket die to make these delightful sewing baskets as party favors! Each was cut from more of the adorable patterned paper and then trimmed and adorned with more of the charming icon stickers. Each basket holds a bit of twine, buttons, a glue stick and some washi tape- everything your guests need to get their craft on! I even tucked in some chocolate of course.

Run, don't walk, to your nearest craft store to pick up this collection! You will literally swoon over its cuteness!

Supplies

Hi everyone, it is Kelly here again with a new blog! This month I am using my favorite A5 Ivory Carpe Diem planner with a new Simple Stories collection I received - Bliss. It is a gorgeous floral collection perfect for decorating these months in your planner.

I used the ‘Enjoy the ride’ paper with butterflies as a background for this decorative dashboard for March. I decorated the page with a few pieces of paper and stickers.

When I start decorating my monthly spread I always first add the numbers (written or stickers), then I write down when I have to work and use a list or sticky notes to write down important appointments that month. When I have that list I start decorating the days with appointments with functional stickers, this time from the Bliss stickertablet. Lastly, I decorate the empty spots on the page with decorative stickers and flowers.

The gorgeous paper ‘Be the good’ from this collection is filled with flowers that need to be fussycut out. I cut about half of the flowers from the paper and layered them in the middle of my weekly spread. After I glued them on the page with a glue stick, I repunched the holes and added a few other stickers on my spread.

I love to use floral pattern papers in my planners and I hope you can find some inspiration in these spreads! Have a lovely day,

Supplies

Who doesn't love a great travel collection? Simple Stories' has another hit with Travel Notes and today I'm sharing a layout I created documenting a fun trip to Seattle!  This line has bold colors and prints with a multitude of embellishments to choose from! Plus, many of the B side patterns can be used for just about any theme!    

The ledger print of Travelogue makes a perfect background for my page!  I  then layered contrasting prints like the navy blue/white cabana stripe of See the World behind my photos.  For my title, I  was instantly drawn to this stacked "adventure" phrase from the Bits and Pieces pack! Using a few small pop dots, I  gave my title some lift to add dimension to my layout!

​I  incorporated many of the fun patterns into my page by using a few different sizes of my circle hand punches! The small circles  found on the 4x6 Stickers were perfect to add in as accents; I  even used a pop dot on a few for added dimension! Layering some of the smaller sentiments such as the "explore" from the Bits and Pieces are a great way to add contrasting colors! And of course, the sentiment stickers are one of my favorites!

You can see more of the layered circles; a few I  added stitching around the edges with my sewing machine. The 6x12 Chipboard Sheet includes a few fun, colorful circles that were perfect to layer with my larger circles! I  also included a small journaling strip from the Bits and Pieces to stamp my date! 

Thank you so much for stopping by the blog today!  You can see the Travel Notes collection in its entirety by going to the Products page! While you are there, check out the rest of the new collections as well as what is coming soon!  Have a great day!

Supplies

Hello creatives! Welcome back to the Simple Stories blog. Leah here to show you a peek into my traveler’s notebook. Right now, I have a pretty good planning system going that involves one A5 ring bound planner and one traveler’s notebook. I hope to share the details of that system later, once I work out a few details. My traveler’s notebook has several inserts, two of which I want to show you how I use today – one for making lists and the other for documenting memories. The other inserts in my TN are for brainstorming ideas and journaling.

I use one insert in my traveler’s notebook for making lists - to do lists, to buy lists, to read lists, to watch lists, etc...any type of list. I sometimes like to decorate these list pages, just for fun. I am still using remnants left over from the Romance collection, which I used to decorate these pages.

I’m using this insert for some random on-the-go memory keeping. Whenever I have random day-to-day memories I want to document, I put them in this TN insert. This layout was all about a fun road trip to Kentucky with my niece to visit my sister and dad to see our favorite basketball team play. We had a blast! I didn’t have a ton of photos to document from this short trip, but I still wanted to get these memories down on paper. I created this layout using a couple of pieces from the I AM collection on the left page, and this beautiful I AM free printable (available here) on the right side.

I mixed a few bits and pieces from the I AM collection and a couple of practical items like paper clips and sticky notes in the front pockets of my traveler’s notebook. I always have the goal of on-the-go planning and memory keeping in mind and this traveler’s notebook is serving that purpose very well.

Do you use more than one planner/notebook to plan? I always feel like I need at least two to serve my needs. I’m curious to hear more about your planning/memory keeping systems in the comments below or over on my instagram. Come say hello and check out some beautiful  planner inspiration on the Carpe Diem Planners Instagram while you’re at it. See you again soon!

Supplies

Hi friends! Linsey here today sharing these festive miniature egg cartons all dressed up for Easter! With the holiday right around the corner, I wanted to make a decorated carton filled with sweets and give to each family member. What a fun and easy way to say Happy Easter to the ones we love! 

Each carton is decorated with a variety of stickers and paper from the new Happy Easter Simple Set. The mixture of black/white and colored images make for a simple, yet sophisticated and elegant look. From gingham bunnies to floral spring wreaths, everything coordinates perfectly together. 

A pretty ribbon bow was attached to each side of the cartons with a pearl flower button to accent the centers and closure. Finish with a small greeting tag tied by string to the front and fill with choice of treats and goodies! 

Thanks so much for stopping by today! I hope you enjoyed my project and feel inspired to make something beautiful with the Happy Easter Simple Set! Until next time, happy crafting!

Supplies

Pages