Shellye McDaniel's Blog Posts

Several years ago paper bag albums were all the rage. Today I'm sharing a different take and incorporating the handsome "Bro & Co." Collection! I also have a YouTube video available of the steps to create this unique album!

For the cover, I laminated patterned paper and strung the spine with round elastic cording to hold the pages in place.  

Moving to the inner pages:  I took four standard paper sacks and removed the bottom from two of them so they measured 7.5" wide.  The remaining two sacks were left in their original size and folded along the bottom gusset to create a pocket (see video).  

Between the paper bag pages, I added journal cards in various sizes to make the pages staggered.  Tags were tucked inside the pockets.

This is such a fun take on a classic album and I love the kraft paper look mixed with Bro & Co.!  Again, don't forget to see a complete tutorial on my YouTube Channel.  

Thank you for stopping by!
Shellye

Supplies

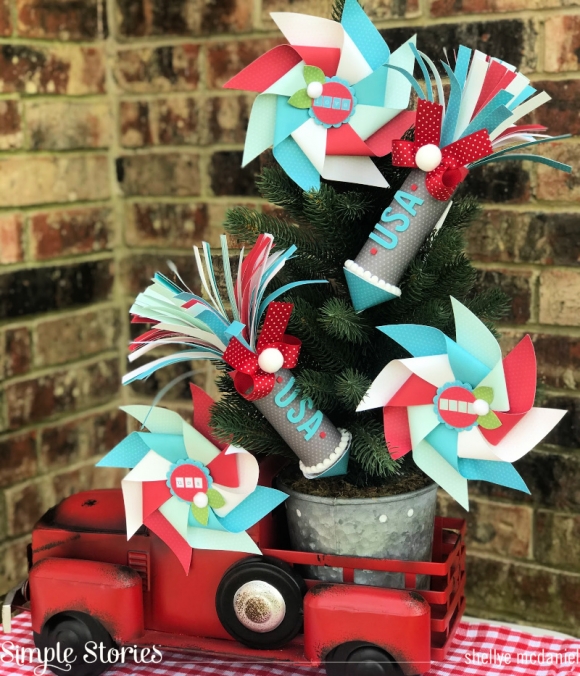
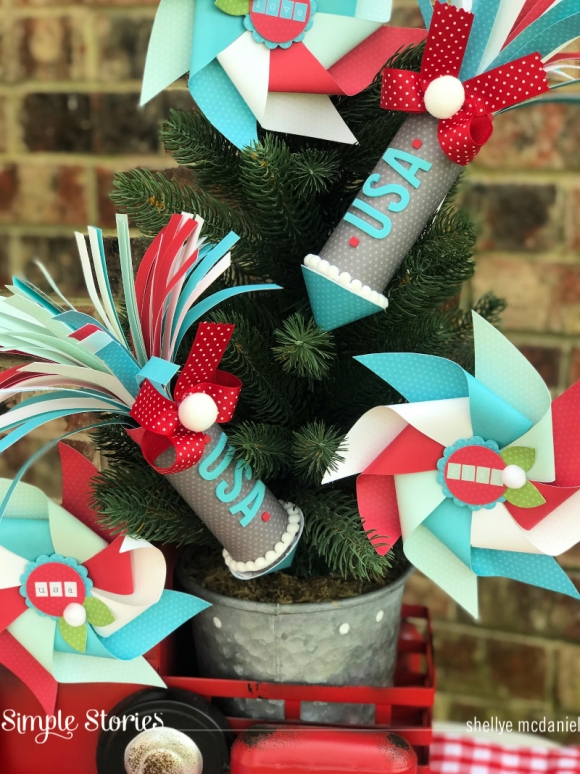
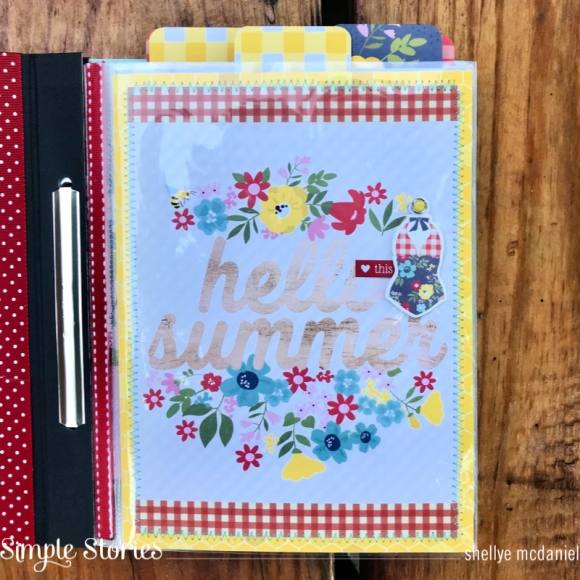
Who doesn't love Summer and Farmhouse!  Today I'm sharing a sweet summertime gift that features the Summer Farmhouse Collection and the Robin's Egg Flip Album.

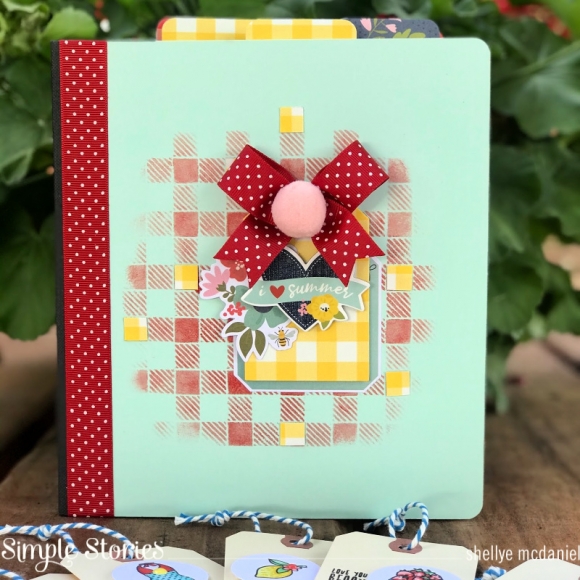
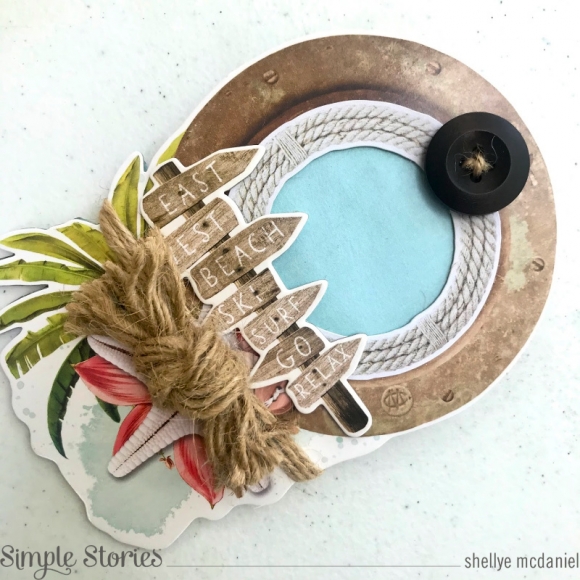
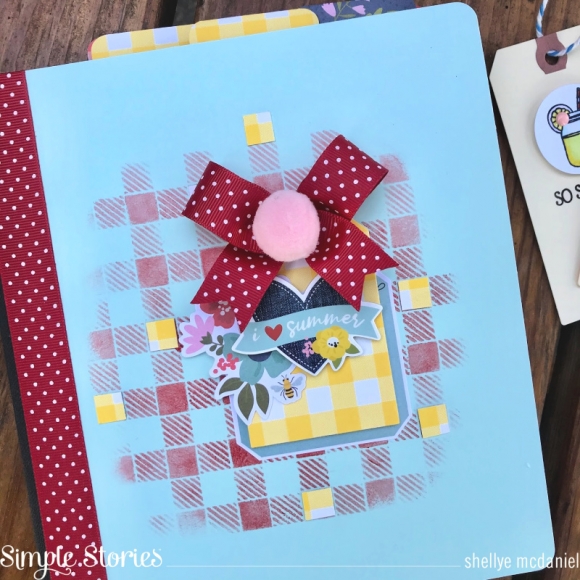
I prepared the cover of the album by first using the gingham stencil and a drybrush of red acrylic paint.  After the paint dried I added a layer of die-cuts and a chipboard accent. I also highlighted a few of the squares of the gingham with small pieces of leftover yellow gingham paper. 

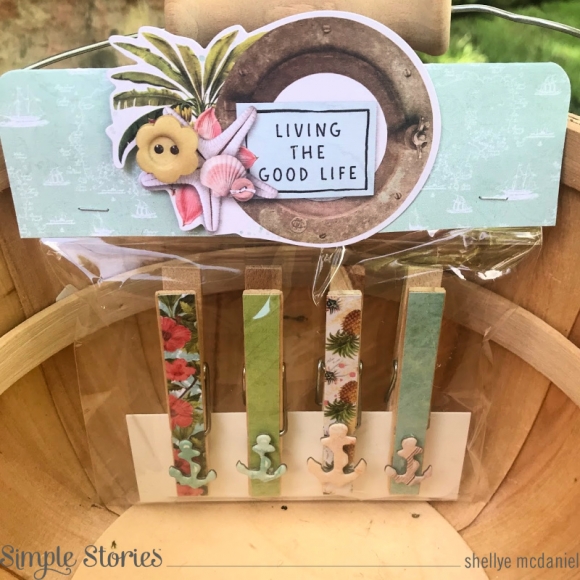
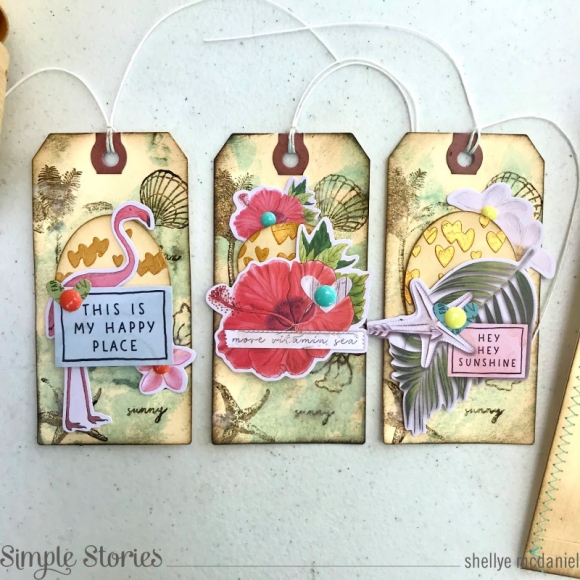
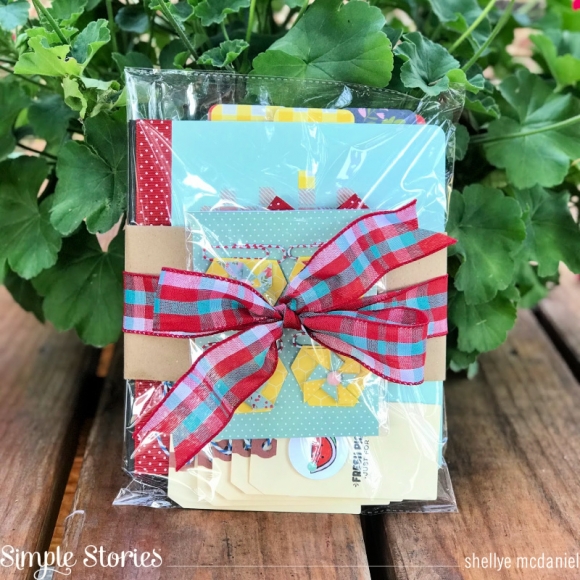
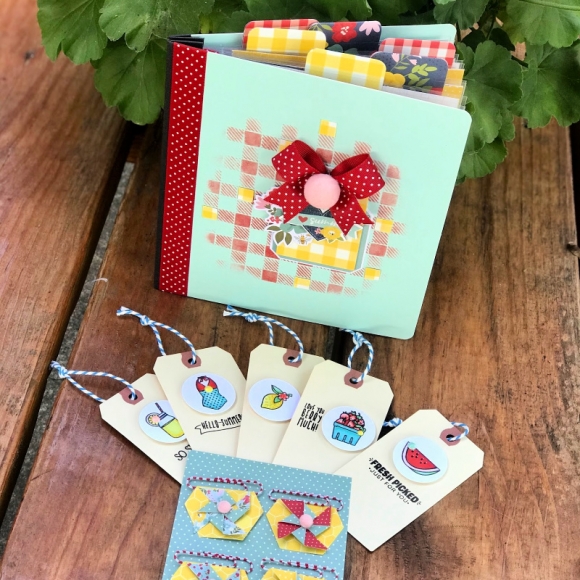
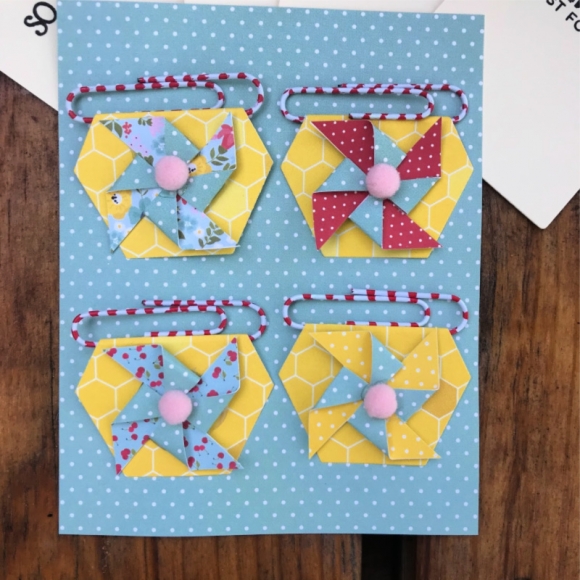
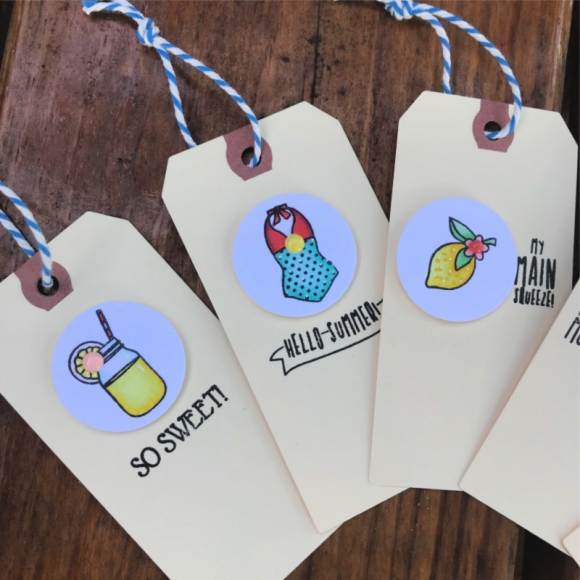
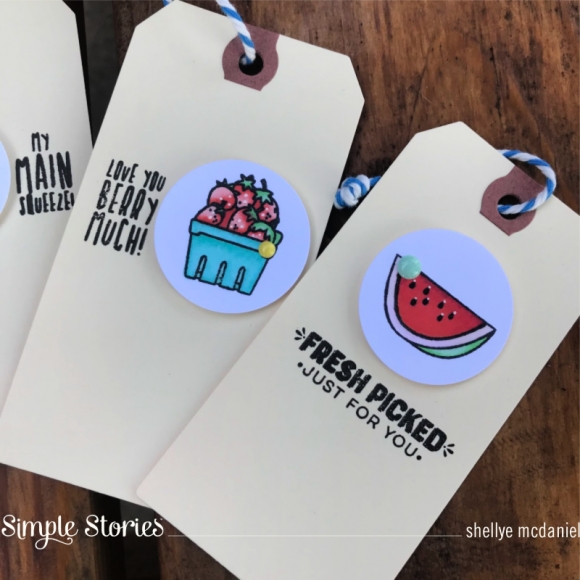
As a part of the gift set, I crafted embellished paperclips and also stamped and colored a collection of kraft tags!

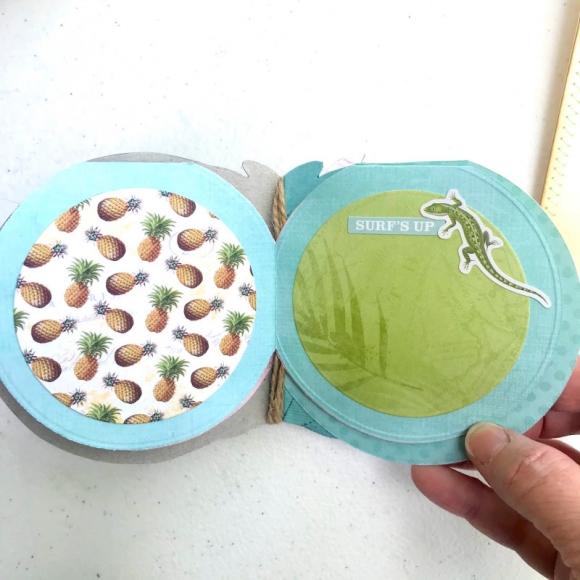
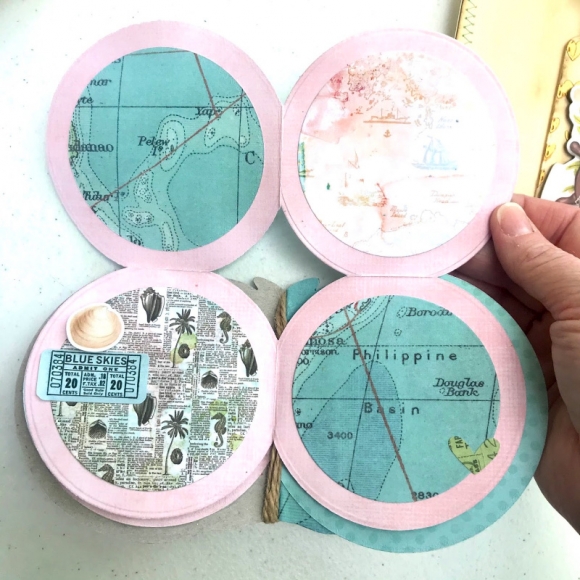
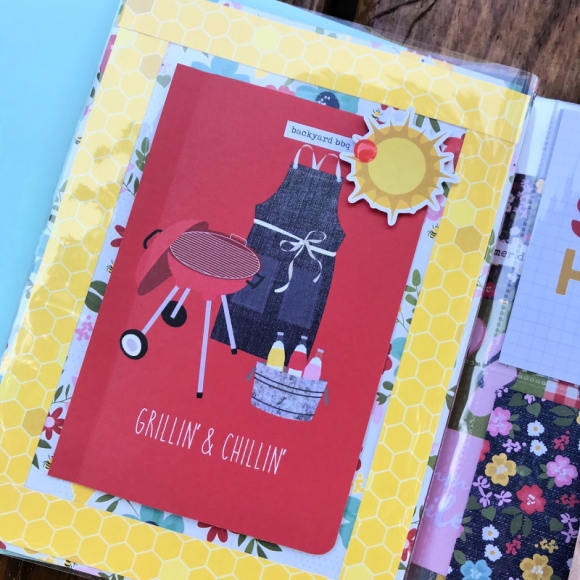
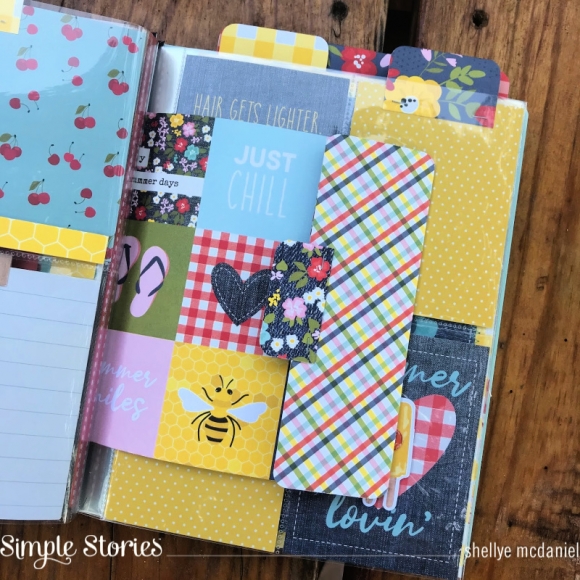
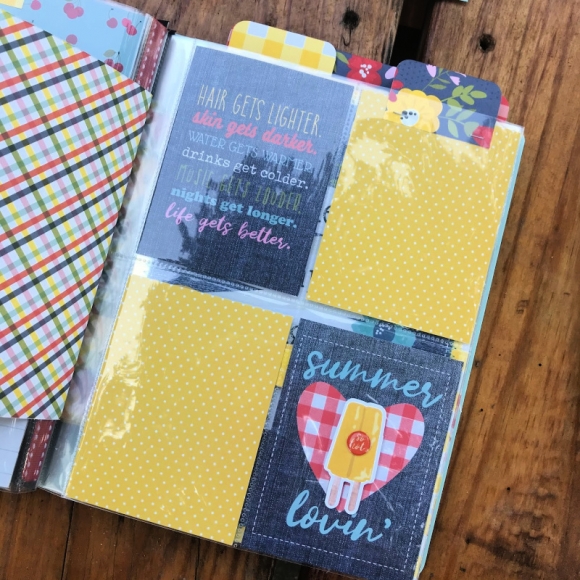
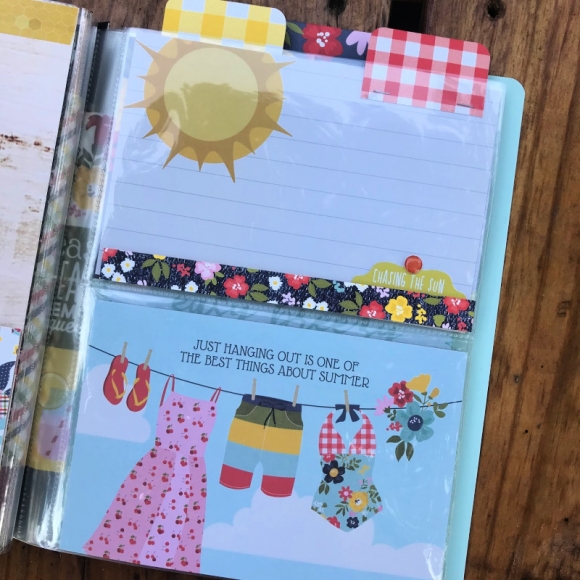
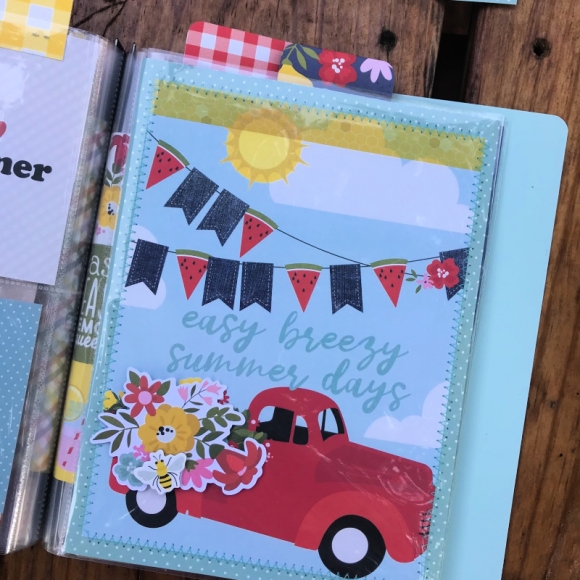
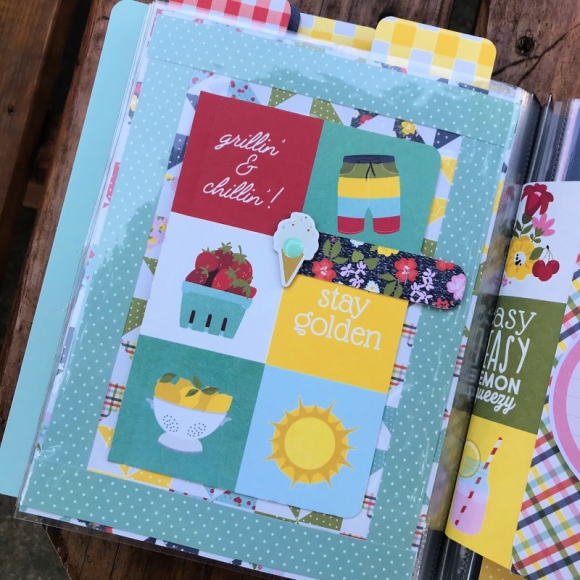
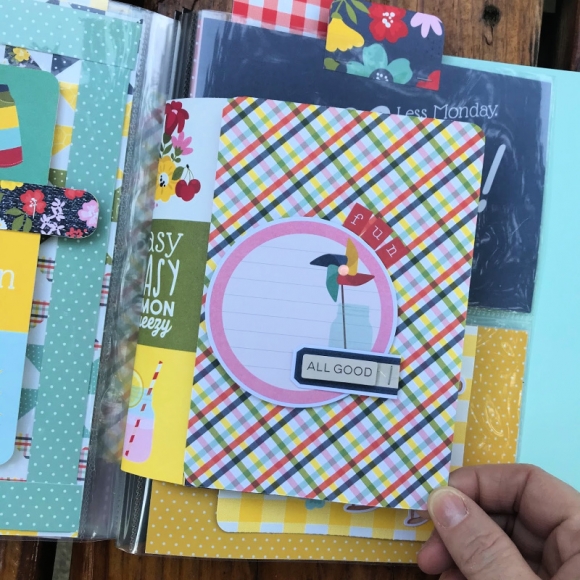
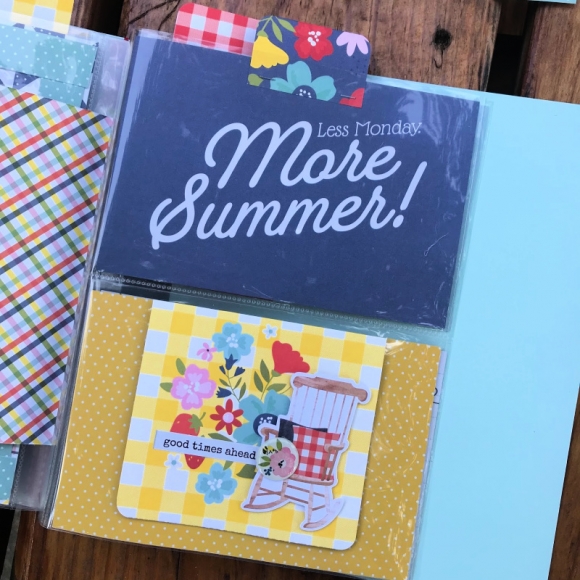
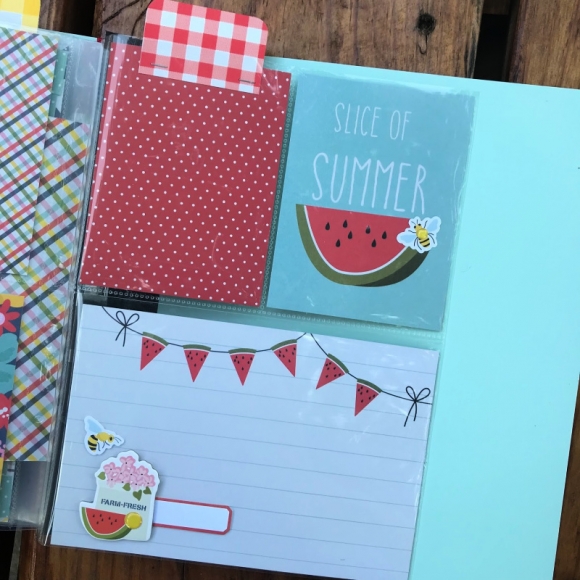
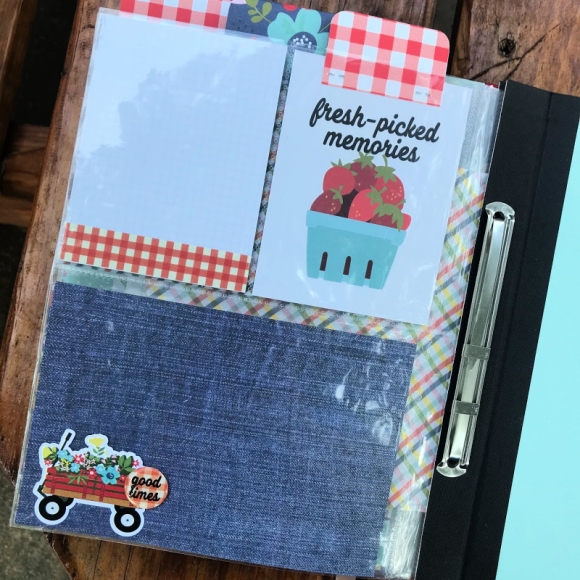
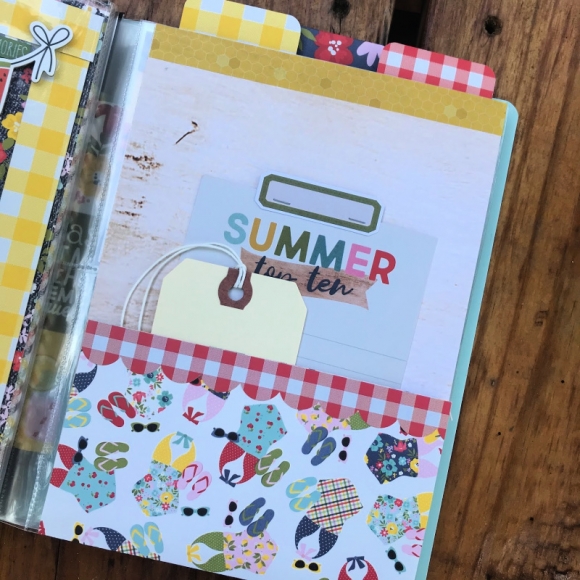
Moving to the inside of the album, I incorporated the SNAP Cards as well as a couple of freestanding pages created from pieces of scrapbook paper. 

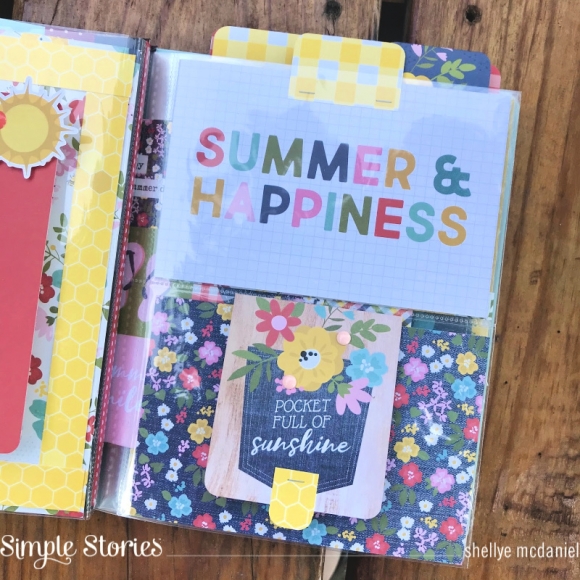
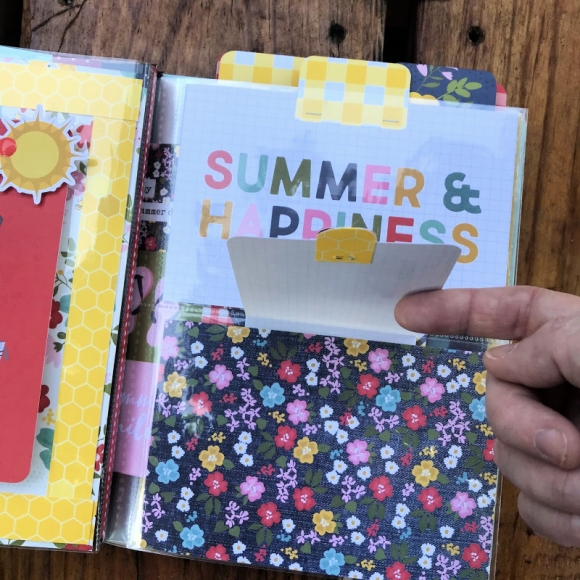
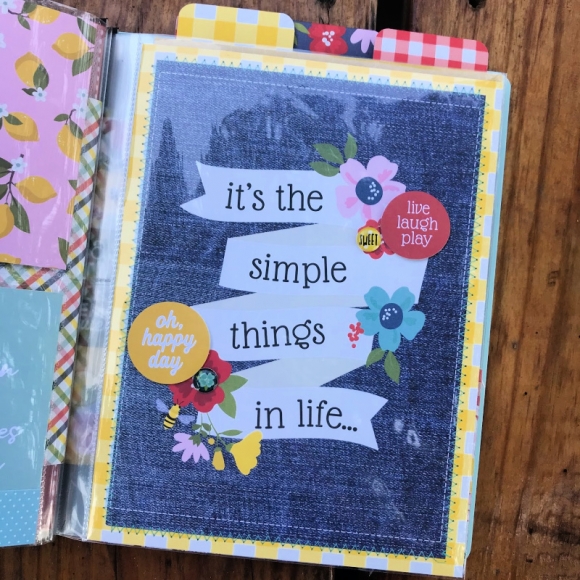
Below I'm sharing each of the pages throughout the album!  Take note of the flip-up cards that were attached to the outside of the plastic sleeves.  I also made tabs for several of the pages with scrap paper.

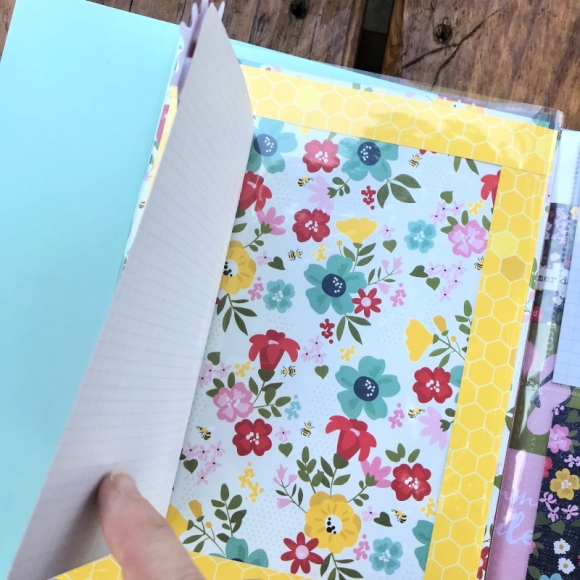
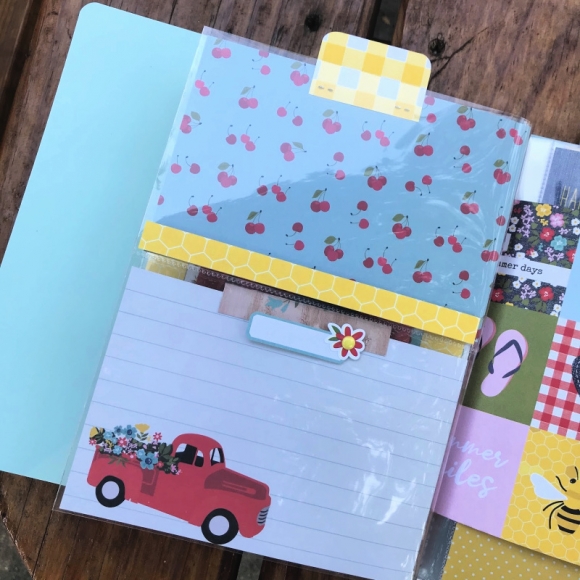
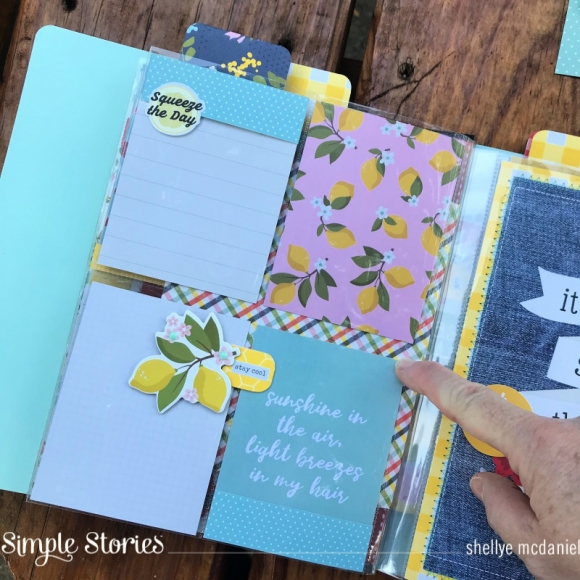
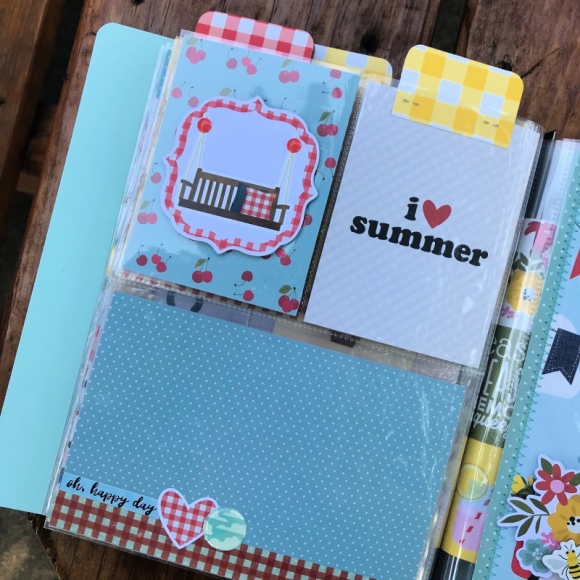
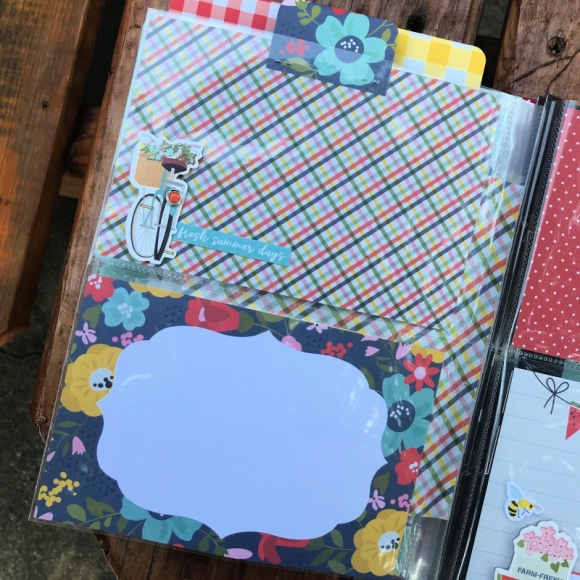
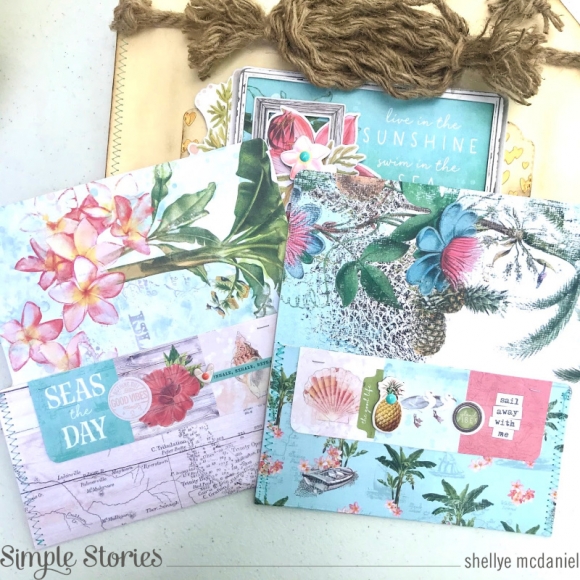
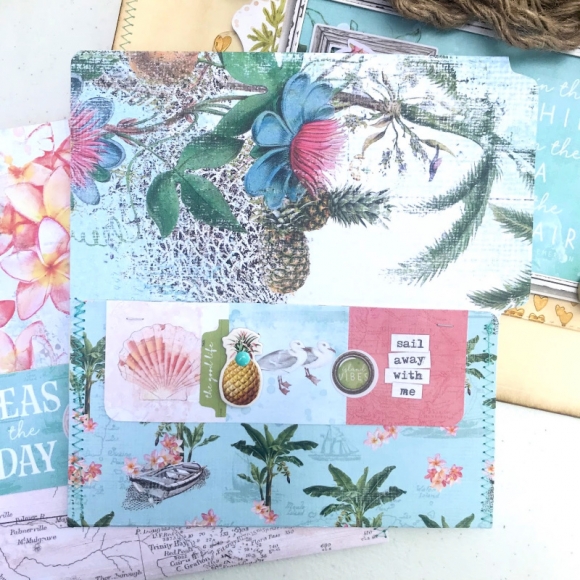
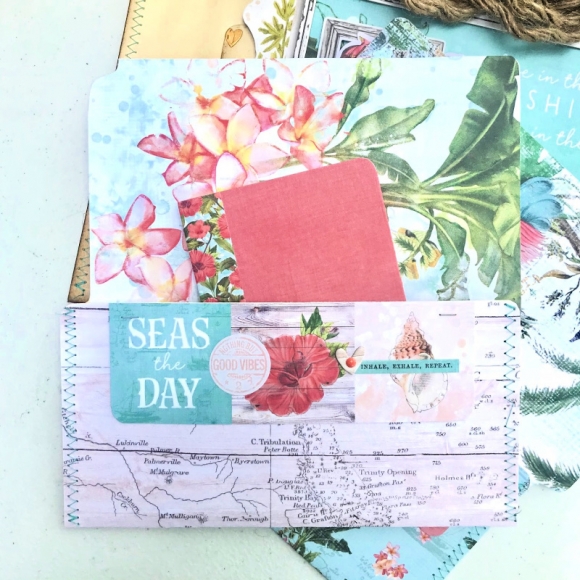
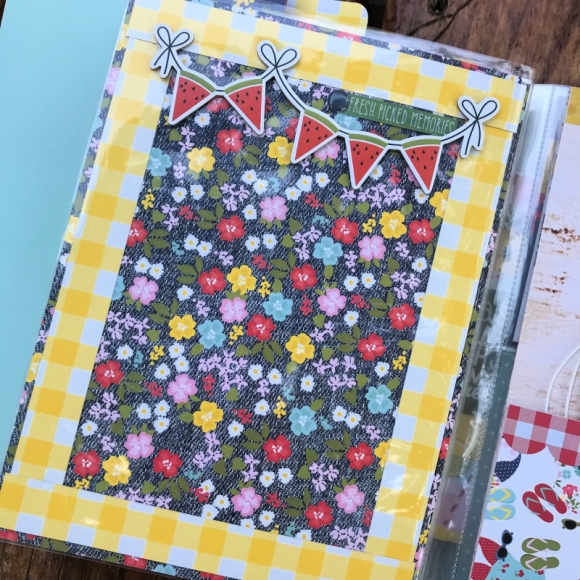
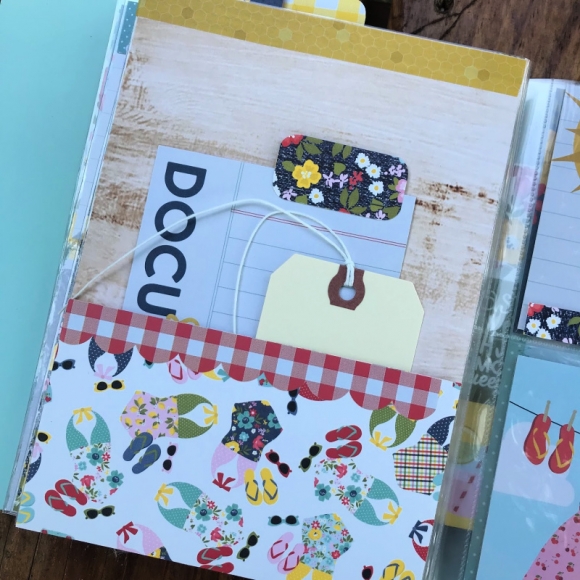
I had an extra sleeve from the album that I wanted to transform into a larger pocket page.  To do so, I crafted two pockets by folding scrapbook paper along the bottom and turning up to make the pocket.  I attached each page to the page protector with high tack adhesive as shown below:

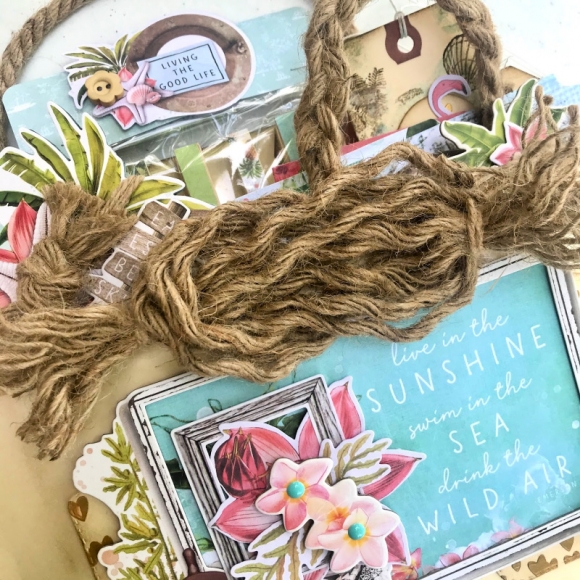
To prepare the ensemble as a gift, I tucked the album and tags into a cellophane bag.  The paperclip embellishments were attached to a piece of scrapbook paper with repositionable glue dots and slipped into a clear bag.  A band of kraft paper was wrapped around the packages and completed with a tie of ribbon!  Add a to and from tag and it's ready for gifting!

Thanks for joining us today! Be sure to check out my YouTube Channel for a walk-through and a few how-to's!

Supplies

The things that you can stuff into a pocket file folder are many!  Today I'm sharing a "Simple Vintage: Coastal" Stuffed File Folder; it makes fun happy mail or take along with you and gift to a beach-lovin' friend!

I started with crafting the folder.  I used a standard manila file folder and sewed the edges closed (use adhesive or staples if you don't have a sewing machine).  Next, I used a walnut ink to lightly distress the edges.  

The front was decorated with an assemblage of embossed tags, a chipboard frame, stickers, die-cuts, and chipboard stickers.  To the top, I added sisal roping and also fashioned a knot of sorts (see video). Inside the folder, I added a smaller pocket from a folded piece of scrapbook paper; this keeps smaller items from sinking to the bottom of the pocket. One of the first items I crafted were these simple paper covered clothespins:

I used Mod Podge to attach the strips of paper and to also seal the paper.  Chipboard anchors were attached with a drop of hot glue. They were clipped onto a piece of paper, dropped into a cellophane bag, and then topped with a bag topper. 

Tags are always a favorite to make and give!  Here I've taken basic shipping tags and used a mix of media to complete them.  First I created a light background with an assortment of clear stamps.  Be sure to check out the video to see all of the cool techniques that were incorporated!

I'm so in love with Simple Stories' large chipboard frames!  If they're included in a collection: grab them!  Here I've used the "port-hole" style frame as the cover for a simple mini album.  Again, visit the video to see it in real-time.

Yep, there's still more :)  Next up is a decoupaged plaque. I traced the shape onto one of the 6X8 prints and trimmed out.  Again, I used Mod Podge to apply the paper and to seal.  I finished the plaque with a few die-cuts and chipboard pieces.    

Cardmakers, scrapbookers, and planners love little journal cards and I have the cutest way to gift them!  I created a mini pocket folder for the 3X4 cards from a strip of 6X12 patterned paper.  

And finally, one of my newest favorite things: mini file folders!  For this pocket I crafted two of these by simply cutting a file folder in half and then covering with patterned paper; it's easy, peasy :)

Now isn't that just a load of beachy goodness!  Be sure to check-out the tutorial and walk-through video of this project on my YouTube Channel 

Thank you for joining me today!

Shellye

Supplies

Pages