April 2020 Blog Posts

Hello friends! It’s Jen today with a new layout using the bright, whimsical Magical Birthday collection. I have to say that I love absolutely everything about this collection – from the patterned papers to the stickers to the die cuts – it is all adorable.

There are so many cute elements included with Magical Birthday, that I had a difficult time not using more embellishments! I began the project by selecting several patterned papers and cutting them into shapes similar to a sunburst. I love the wow factor created by the vibrant patterns against the white cardstock.

To add even more of an impact, I machine-stitched down the middle of each patterned paper with gold thread. To fill in the white space surrounding the papers, I used the Magical Birthday stencil with gold molding paste and added a strip of patterned paper along the right edge for balance. The extra bit of bling looks amazing!

My photo was backed by pink patterned paper and adhere atop the bursts that I stitched to the cardstock. Next, I set about embellishing the project using the accompanying Foam Stickers, Bits & Pieces, Chipboard Stickers, Journal Bits, and 4 x 6 stickers.

In the bottom-right corner of the layout, added some stickers along with the number “3” to document my daughter’s age at the time of this birthday.

I just love all of the bright colors in this layout!

I hope this project using the Magical Birthday collection has inspired you to document all those sweet birthdays and memories in your life. Thank you so much for stopping by today

Supplies

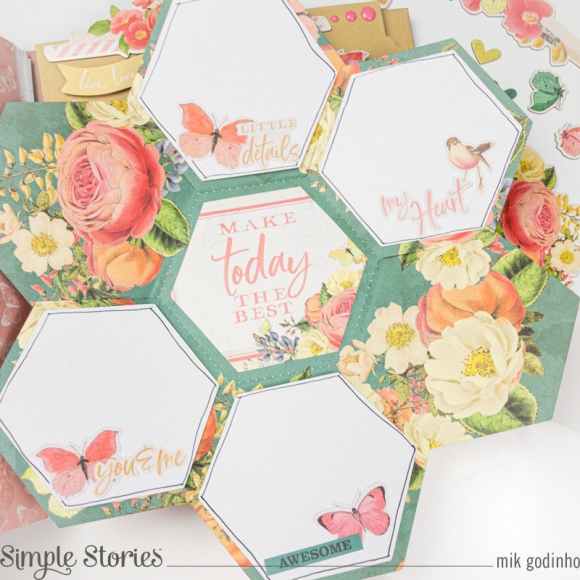
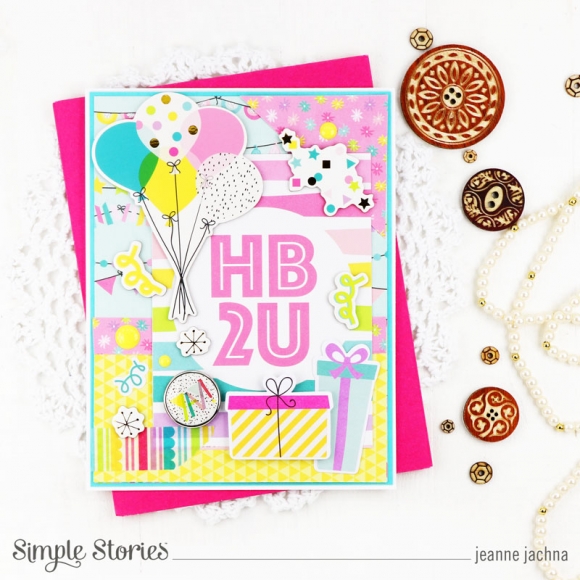
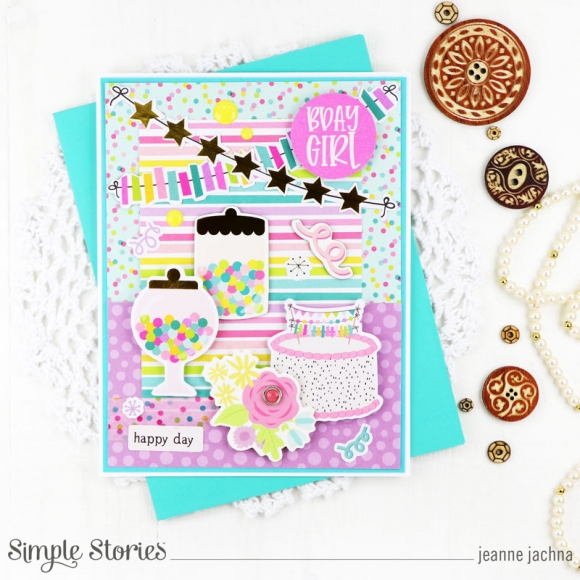
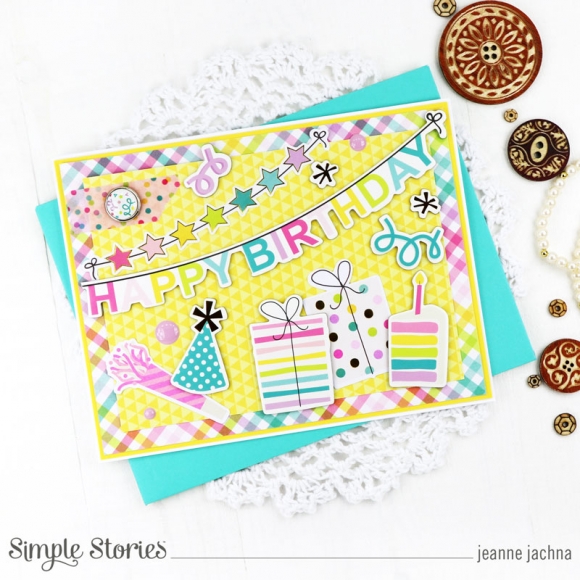
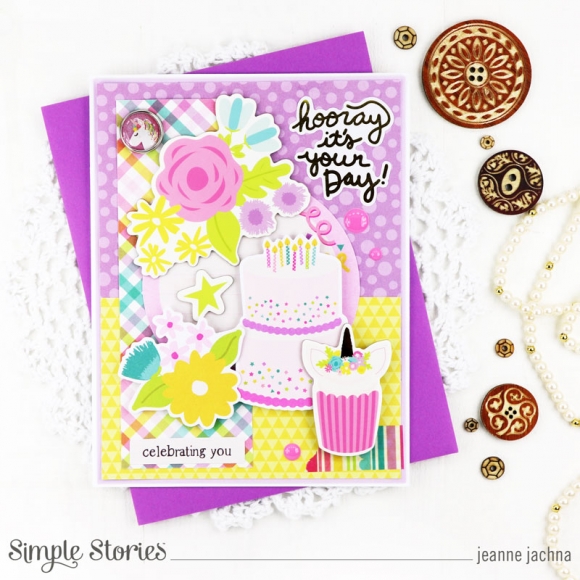
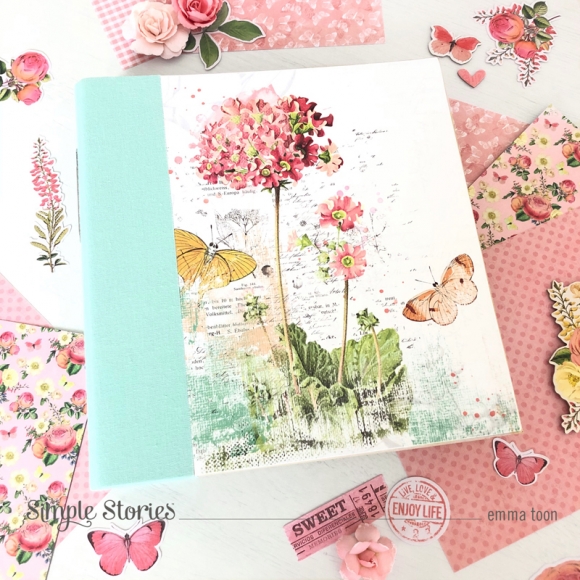
Hi there friends –its Tya here, and it’s my turn up on the blog today to introduce the cutest birthday line! I made 6 cards using the awesome “Birthday Blast” collection. In a time when our world looks a little different, it’s not as easy as it used to be to just run out and purchase a greeting card. So why not whip up a batch of your own, handmade birthday cards to keep on hand and send out when you need to! We always need birthday cards so this collection came at the perfect time!

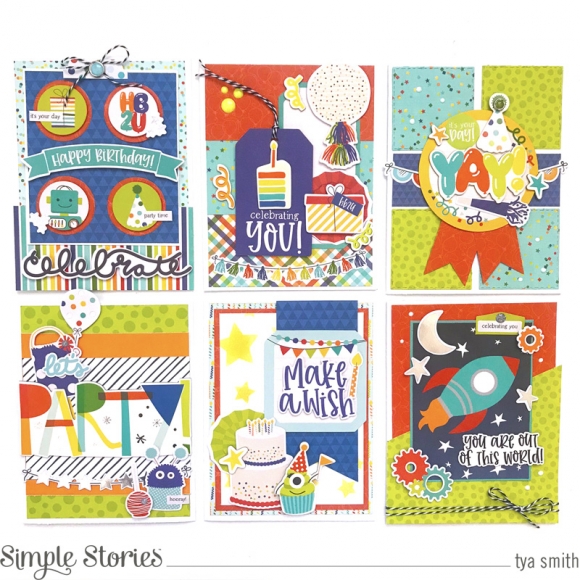
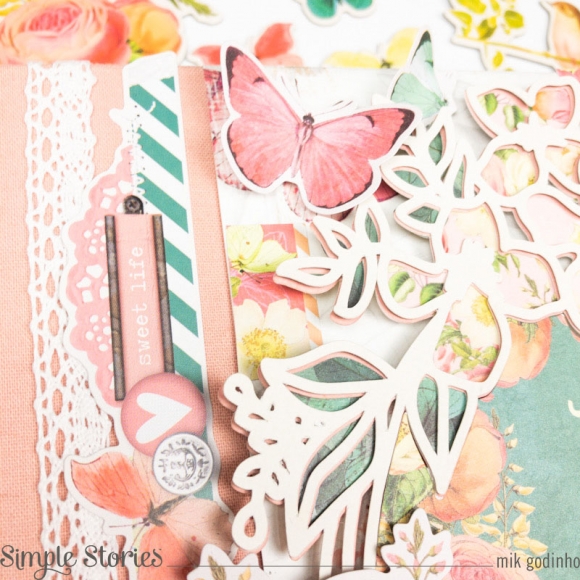
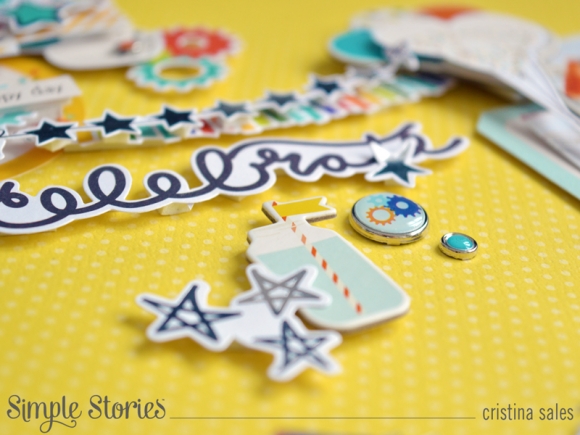
Let me show you some close ups of each of the six cards I created. Isn’t this color pallet just amazing! I love how bright and brilliant the colors are! And while this collection is themed a little more on the masculine side, you can always substitute some of the icons out and make them more neutral.

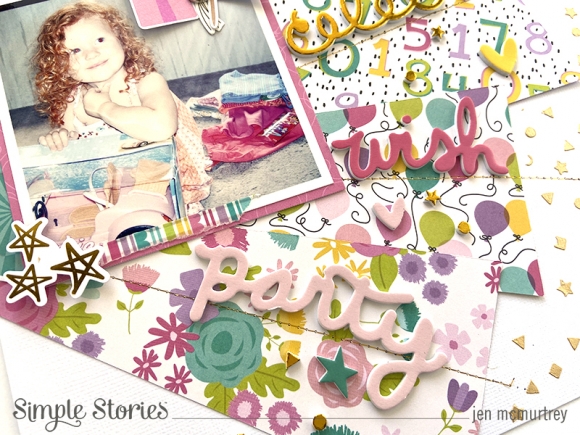
Card one features a fantastic element from the Chipboard – the “Party” chipboard makes a great focal point! I layered it on top of one of the 3x4 Journaling cards that also said “Party” on it! It is always fun to see if you can layer up the 3x4 cards with matching embellishments like I did here.

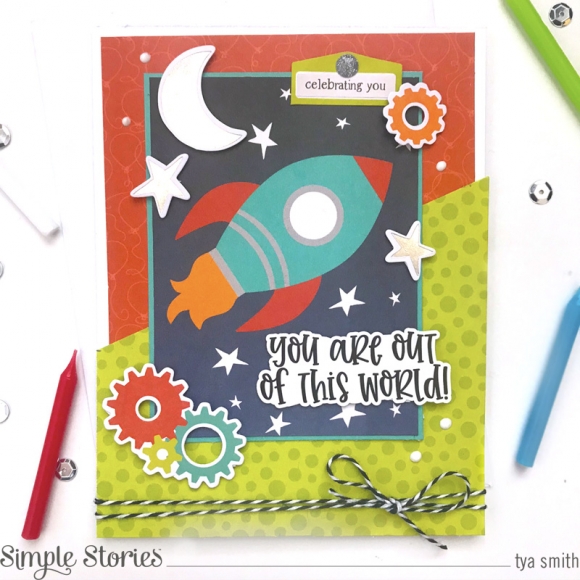
Card 2 has this awesome rocket ship 3x4 card that I layered on top of another 3x4 card to get the small teal border. I also trimmed the green dot paper on the diagonal and it creates a great visual interest to the card. Almost like the rocket is going to blast off the page!

Card 3 is a fun one! I loved the 6x6 Stars Stencil and it made for a fun background paper. I simply used some yellow ink on some white cardstock and then layered up my embellishments on top of that!

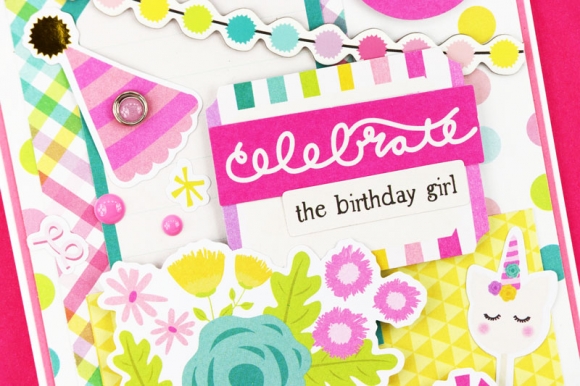
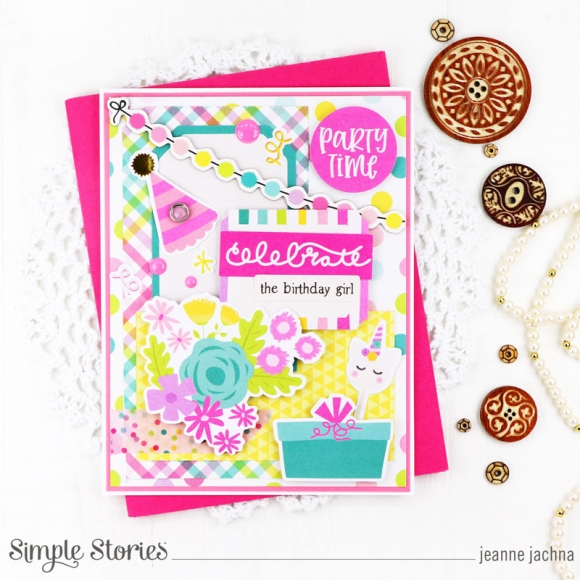
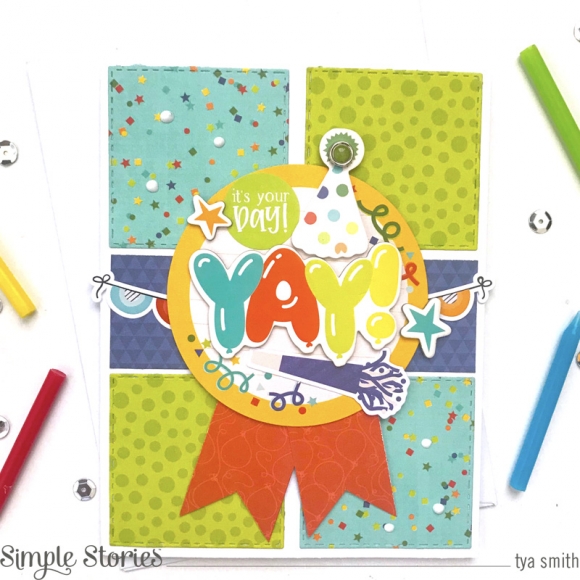
Card 4 is one of my favorites of the batch. I love using the Journaling Bits and Pieces to create backgrounds for the other embellishments I use. I used the bright yellow circle Journaling spot and then cut 2 strips of the red balloon side of the “Have a Blast” paper to create a ribbon badge type of look! Look for ways you can turn the most basic shapes like a circle into something fun!

Card 5 again uses a basic shape like a circle, and turns it into a decorative element. I used 4 circles from the Journal Bits and Pieces and layered them on bigger circles. I then placed all four of the circles on my card base with some foam tape and added little stickers to each one. This was super fun to make and I really like how it turned out!

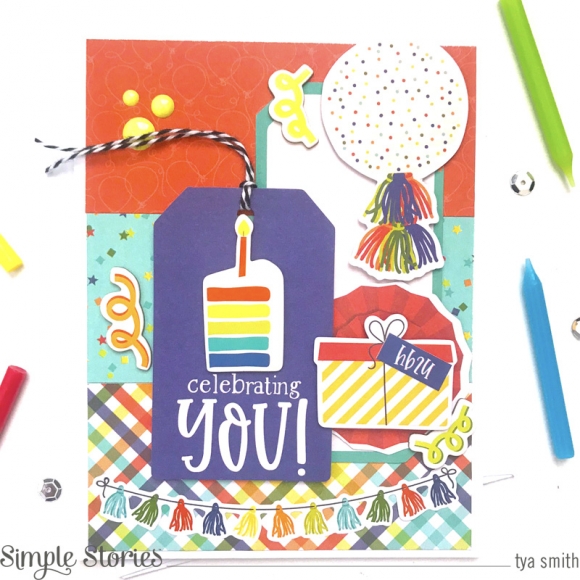
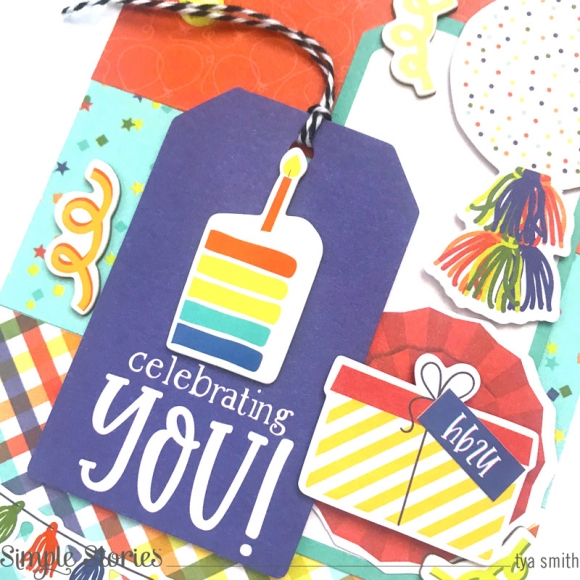
Card 6 is our final card and it highlights some of the fabulous pattern papers that come with the collection. I loved the confetti pattern on the “Yay” paper. Mixed with the red and the plaid paper from the “Wish Big” paper, you have a bright and cheery background to the card. The collection also includes lots of banner type stickers and this fringe one is just one of the many found in the 4x6 Sticker Book! Those sticker books are worth their weight in gold I tell ya! So many great stickers in there that are  perfect for card makers! Don’t forget to grab it the next time you make cards!

I hope that I have inspired you to whip up a batch of your own cards using this collection! It is filled to the brim with cute accents, colors and embellishments! I could have created many more cards for sure! Whoever gets your cards will adore them because you took the time to create something for them to make them feel special- that’s what cards are all about in my book! Have a fantastic week and Happy Crafting!

Supplies

Hello friends! It’s Kylie back with you today to share some more scrapbooking inspiration. For my layout today, I have been having lots of fun creating with the Simple Vintage Coastal collection. It has a beautiful, tropical and beachy vibe with lots of fun prints and colours. Since I can’t go on a little vacay at the moment, I thought the next best thing is to scrapbook some memories instead!

To create my background page, I have layered together Guava/Sand from the 12 x 12 basic kit papers along with On Island Time and the 2 x 2 Elements papers. Each were cut slightly smaller than the previous sheet to create a layered border. I also distressed all of the edges quite a bit as I wanted to have a lot of texture.

To create the cluster of embellishments to the top of my layout I first added a triangular piece of Ocean/Coral Reef from the Simple Basics paper so that it looked like a corner folded over. Using various stickers, chipboard stickers and die cuts I was able to create lots of dimension across the top of my page.

My photo was printed to 4”x 6” before being added to the lower left-hand corner of the layout. I was then able to add some more die cuts and chipboard stickers. They were the perfect theme to match my photo!

The ‘Paradise’ title chipboard sticker, was added below my photo as the main title for my page. It also gave a nice balance to my completed design.

Thanks so much for stopping by the blog today. I hope you have enjoyed seeing my latest page and it gives you some inspiration for your own holiday themed scrapbooking.

Kylie.

Hello friends! It’s Mik here from Papermiks on the blog today! Today I’ll show you a Sn@p! inspiration using the beautiful SV Garden Disctrict. This collection is perfect for springtime and as a gift to your mom, too. By the way, Mother’s Day is coming!

To make the cover, I started by die-cutting the flower wreath from the SV Garden District 12’x12’ basics kit. Then, I backed the “Choose happy” paper behind the flowers and the “Live today” paper on the leaves. Once my die-cut was ready, I started to make the background. For this I used the “Never stop dreaming” paper to cover my album. I glued my die-cut on the center of the page and started to decorate my cover.

Oh, I almost forgot to say that I also cut some rolled flowers to add on to my decoration. I loved making them and also the dimensions that they bring. Don’t you? When the die-cut was ready it was time to combine some ephemeras, chipboard stickers and ribbons to make this special cover.

I definitely love shakers, so for my first page I decided to make one, using the layered frames and photo flip pockets. I have to confess: I love these frames to make shakers. I believe they’re perfect for it.

Inside, I used pocket pages and one insta-pocket. With this I can have more space for photos and it also gives my album an interactive touch.

I also love using the lined paper, so there I can write notes about the stories of the photos.

Shaker + photos = Love!

Here I decided to do something different. I wanted to use the kraft divider that comes with the binder, so I made a mini album inside the album. I hope you’ve got some inspiration from this idea and enjoyed it! If you have any questions, would like to talk some more about Sn@p! come and check out my IG account.

Thanks for stopping by and have a creative day!

Supplies

Hi beautiful Simple Stories friends, Cristina here with you today to show you a new project I made with a brand new collection Birthday Blast.

This collection is so perfect for parties, birthdays or any kind of celebration. It is full of warm and bright colors and so many amazing designs. Like all Simple Stories collections this one is also full of wonderful decorations to enrich pages, mini albums, cards or even use to creat your own decorations.

I started with a color vibe brights textured cardstock in a yellow color because it is so bright and it makes the collection colors just shine!!!! I chose to use yellow and red to take the colors of my photo and to add a touch of light I chose some decorative elements with silver details.

In the Birthday Blast collection kit I chose a patterned paper with delicious polka dots of various colors and layered it on the top of the torn bottom sheet to give it a little bit of movement. The result gave me the impression that the paper seemed framed.

This collection was perfect to show off this memory of delicious pizza made by me a few weeks ago. Surely because I was finally able to make it really good!!!

Decorating is the best part of making my pages. I love to use chipboard elements and combined them with die-cuts to create various decorative layers. The brads are my final touch to create a kind of symmetric sense to the whole composition.

Thank you for visiting and allowing me to share my project! I hope that it has inspired you to create your own bright and colorful celebration! Please don’t forget to leave us a comment below and tell us or show us you own idea on how to use this collection, It may be so different than mine. See you next time!

Bye.

Cristina xxx

Supplies

Do you have a special girl in your life?  A dreamer, one who loves pink, purple and unicorns?   Then you absolutely NEED the new Simple Stories Magical Birthday collection!!!  It’s fun, fabulous and a celebration for your princess.

I’ll be honest with you.. I don’t think this set is completely for the kiddos!  I know a few grown up ladies that would love this collection too!   I mean who doesn’t love unicorns?   I seriously think growing up is totally unnecessary!  LOL!

This collection has EVERYTHING… pattern papers, die cut bits and pieces, journaling bits and pieces, chipboard, decorative brads, enamel dots, and WASHI too!  With little UNICORNS with GOLD HORNS!!

I wish my photos showed all the gold foil to it’s full advantage here because it’s total eye candy!   There’s gold foil on the chipboard, stickers and bits and pieces.

I used the 6x8” paper pad for all my cards today.  The print is a little smaller than it appears on the 12” sheets making it perfect for smaller layouts like cards.

I love the rainbows on everything from the papers and die cuts to the brads and the washi.  I’m one of those people who think every color is their favorite color so this is eye candy for me!

Squee!! Isn’t that unicorn cupcake adorable?    The “hooray” sentiment is gold foil, and the gorgeous florals are thick chipboard.

If you look close you’ll see I added a little bit of washi on each card as well as some sentiments from the 4x6” sticker pad.   The decorative brads are colorful and shiny and totally fun – can you spot one on each card?

Hooray for this wonderful Magical Birthday Collection!  It’s sure to make the birthday girl feel like a princess!

Supplies

Hey everyone, Michelle here today with a new layout to share using the beautiful new Summer  Farmhouse collection.   There's something about this dark royal blue in this collection that just makes me happy.  I feel like this shade of blue goes with everything.  But then you add the red, yellow and teal and if just makes my heart happy!

When my kids were little, we would often do unplanned photo shoots. I would just grab my camera and take a bunch of photos, it's not that easy now that they are teenagers so I often go back through my older photos and find some gems.  I love this sweet one of my girl.  I was unsure about using the wooden title on the wood paper but I like that it created a soft look.

I cut up the Simple Pleasures paper and made little pinwheels with it.  They turned out so cute with the little enamel dot in the middle!

I then added a few phrase strips, stickers, a few pieces of ephemera and some stitching.

I love how the bright colors and florals look on the woodgrain paper!

Thanks for stopping by!

Supplies

Hello, hope you are all keeping well! Today I’d like to share with you how I’ve been using the beautiful Garden District collection in the Robins Egg Sn@p binder. 

I’ve always loved gardening and I’m very lucky to have a pretty little garden that over looks fields. Now more than ever, I realise how blooming lucky I am to have this safe outdoor space! What I’m going to use this binder for is to document everything I can think of to do with gardens...

...here’s some of the ideas I have, of what I’m going to fill the pages up with. 

Firstly, and probably the most obvious, I shall include pictures of us enjoying the garden, but also I’m going to document the plants that I grow, changes I’d like to make over time, new flowers I’d like to plant. Stores that I can buy plants, that of course will include the small online stores which are our lifelines at this strange time! 

In the 6x8 sn@p binders you get an assortment of pocket pages, patterned card stock, chipboard dividers and plenty of lined paper. So there’s everything you’ll need for setting it up!

I like to use the patterned card stock as a layout, here I use the lovely little 2x2 images from the Garden District cut apart sheet, and then I’ve made a little framed area where I can add journaling or pop a picture. I’m also going to add pictures from magazines that inspire me, you can even print off pictures you find on Pinterest. 

I hope that I’ve been able to give you some ideas on how you could set up a ‘gardening’ binder. I know that this will be a project that I will keep coming back to, adding more to it throughout the seasons! 

Supplies

Pages