March 2020 Blog Posts

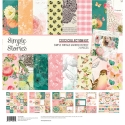
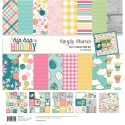
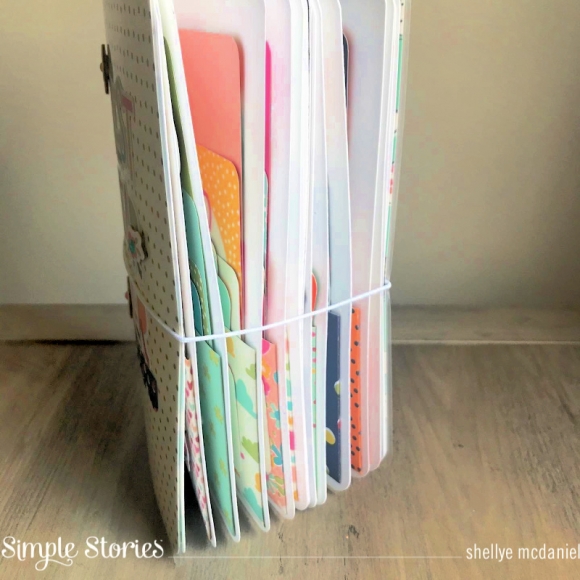
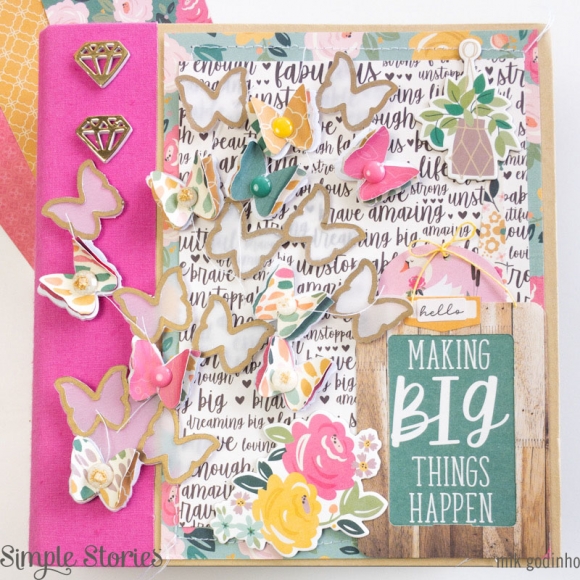
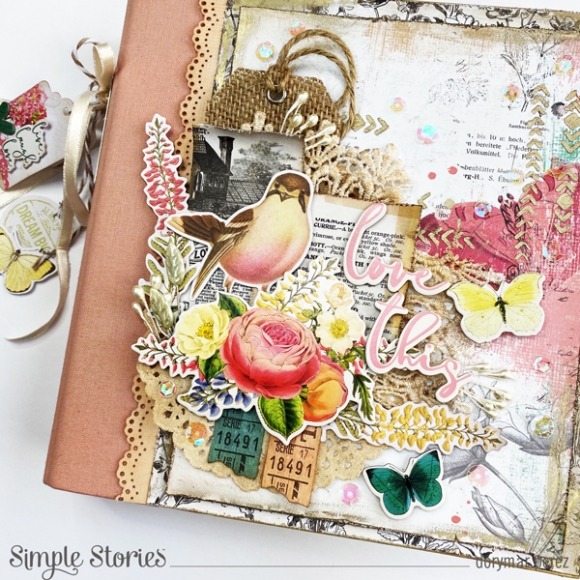
It's Dorymar here today and I'm sharing a Snap Album with you using Simple Vintage Garden District collection. I wanted to create something different for this album. I love using collections like this because they make my creativity fly. I am fascinated by working with bright and colorful collections, but this collection is different, it is full of pastel colors, butterflies, flowers and many vintage patterns. This is another style that I love working with, vintage, shabby chic style where I can incorporate different textures into my album.

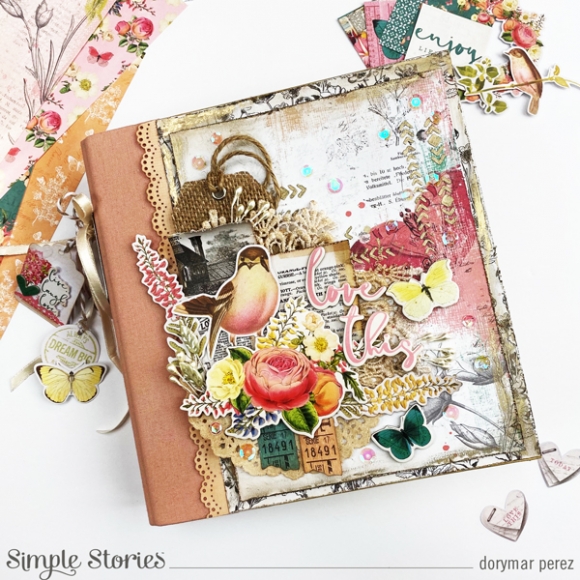
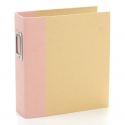
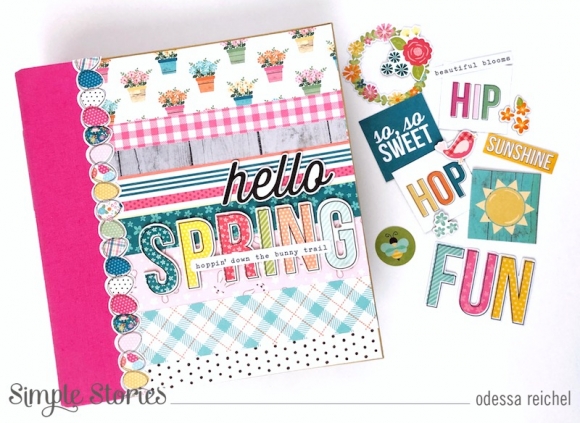
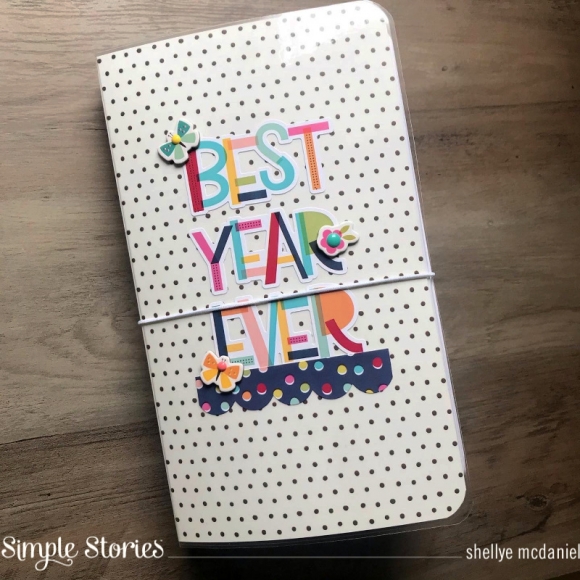
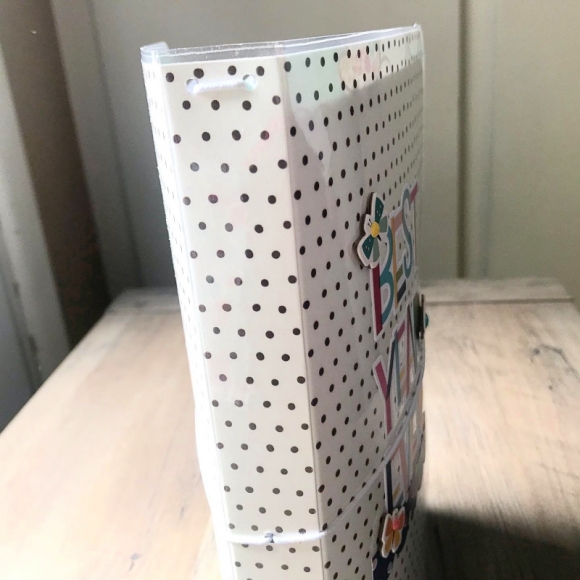
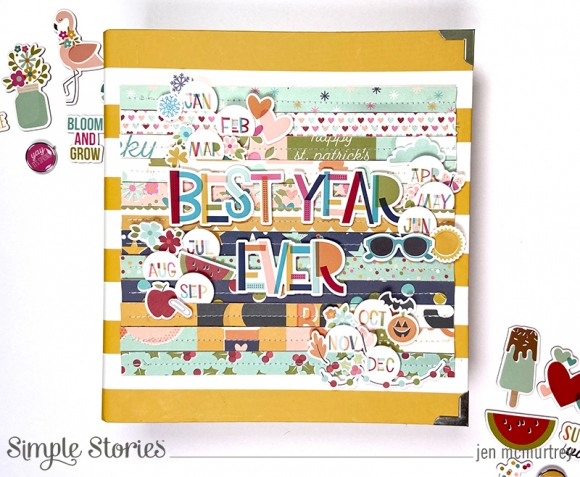
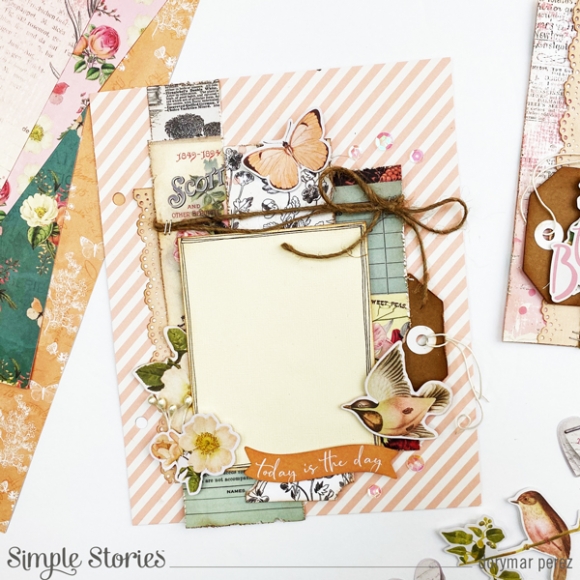
For the cover, I incorporated many textures with the beautiful patterned paper from the collection. I mixed up lace, burlap, stencil paste, orange blossoms, and doilies. I added layers using some chipboard stickers and bits & pieces from the collection.

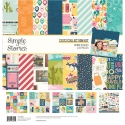
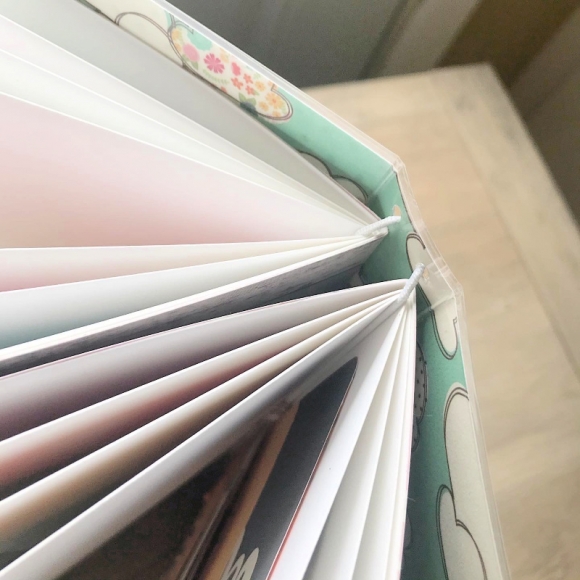
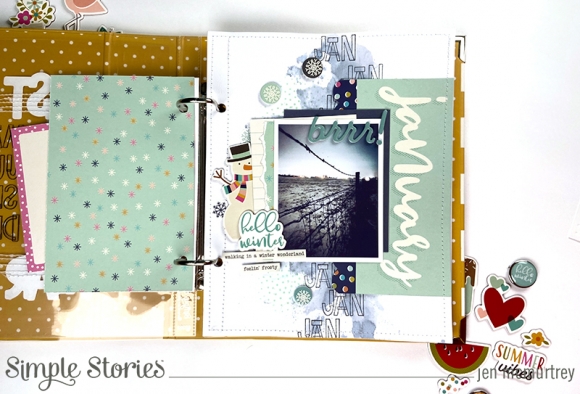
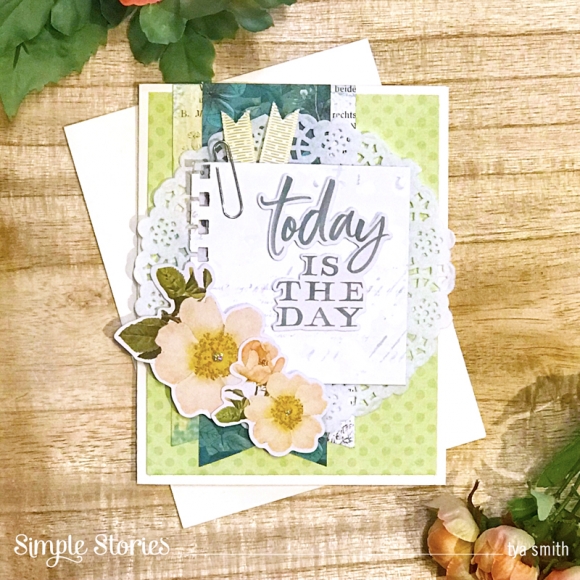
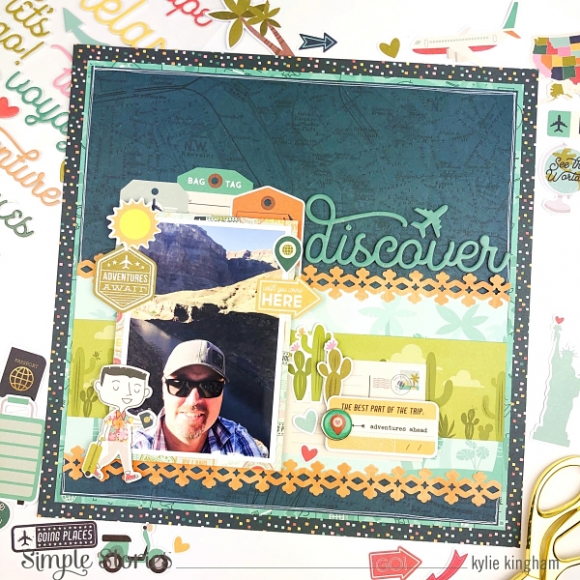
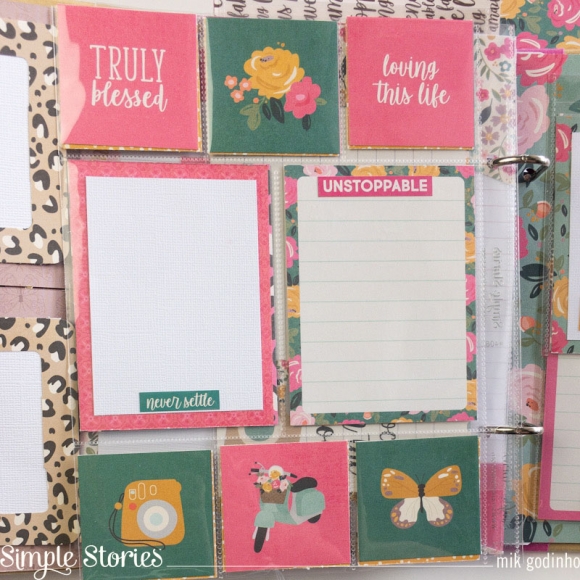
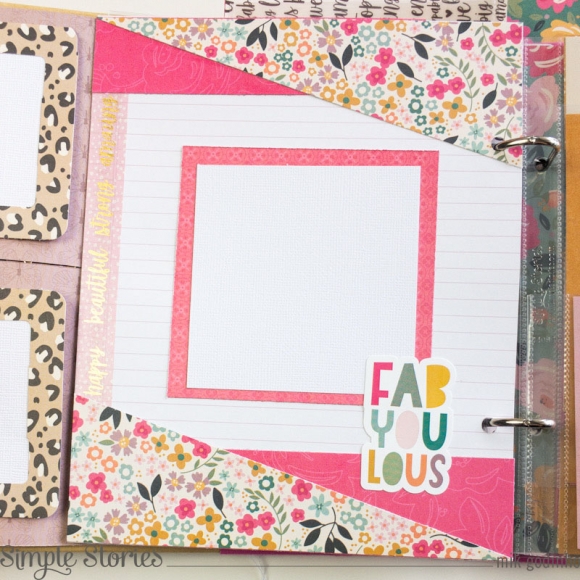
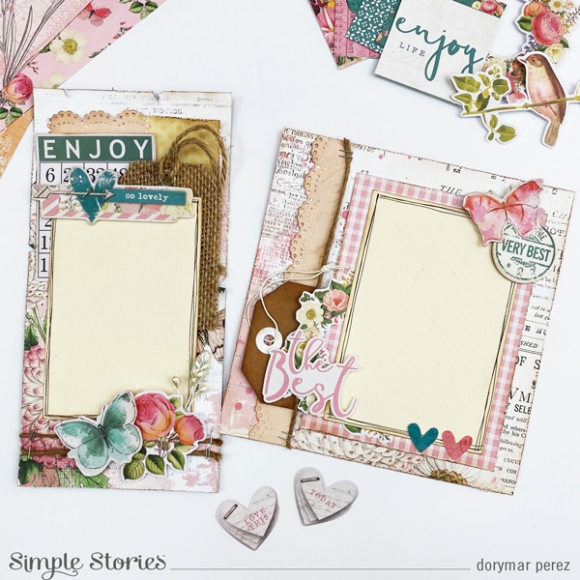
For the different spreads, I used only the snap dividers and make a beautiful vintage look with many layers, lace, and textures. I ripped the edges of some pieces of paper and added some different patterns behind the photo mats. I feel like the papers from this collection go together very well with all the things I added to create this project.

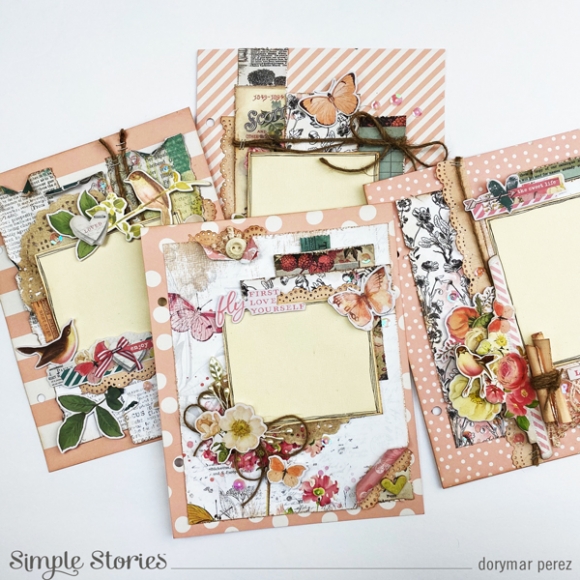
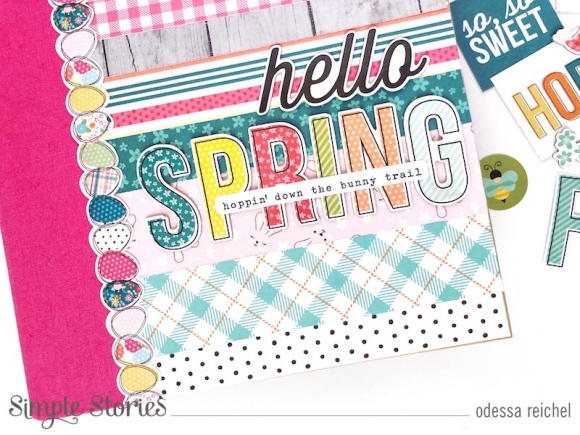
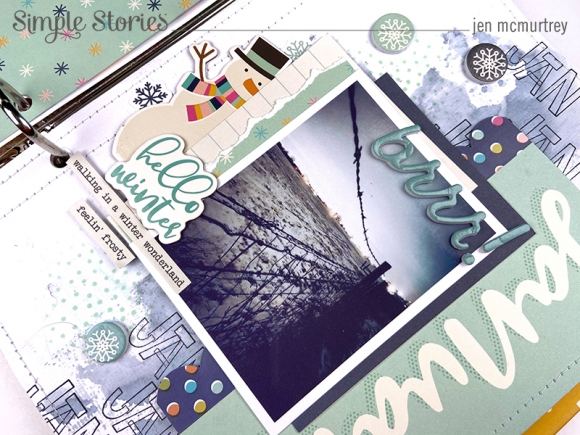
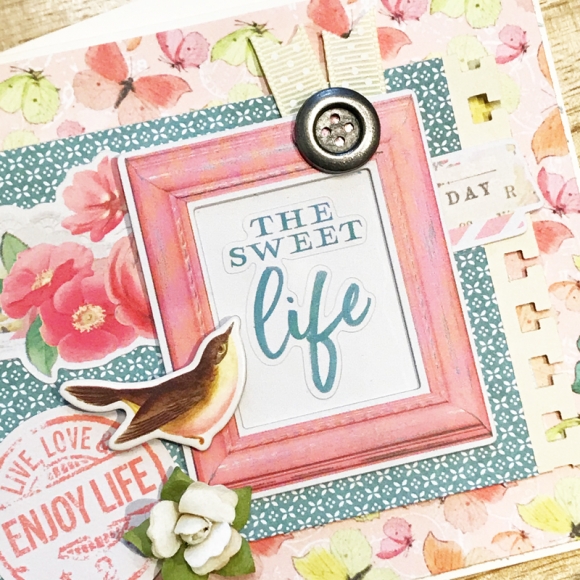
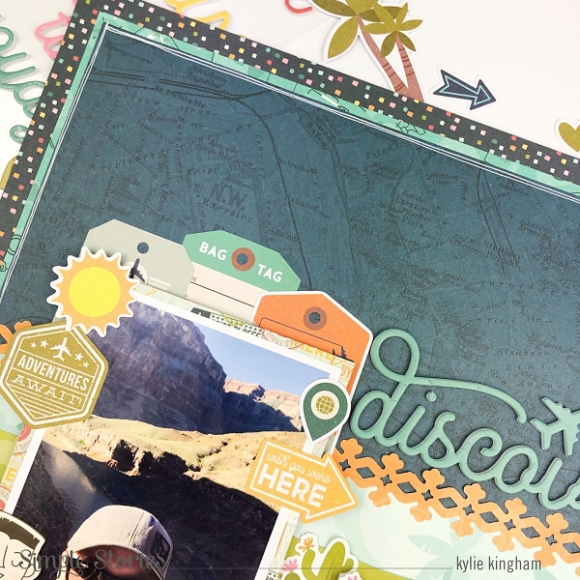
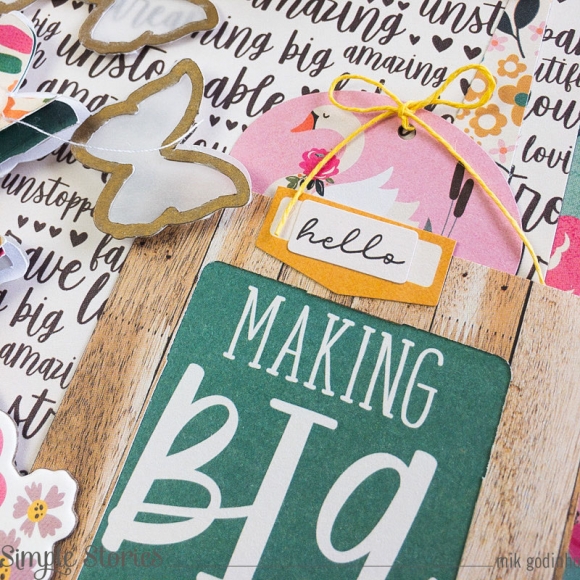
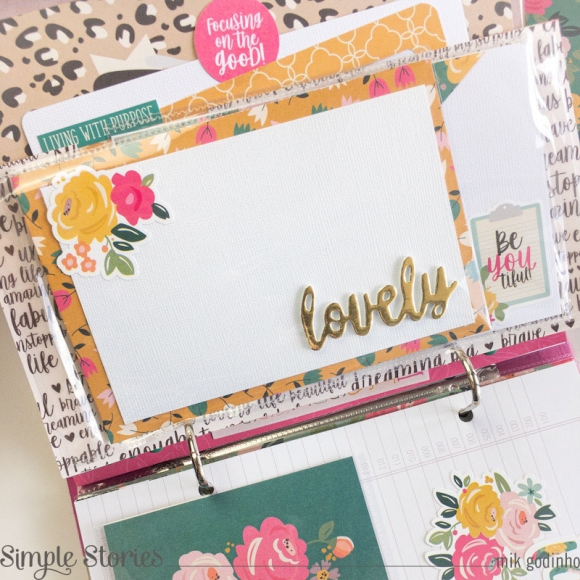
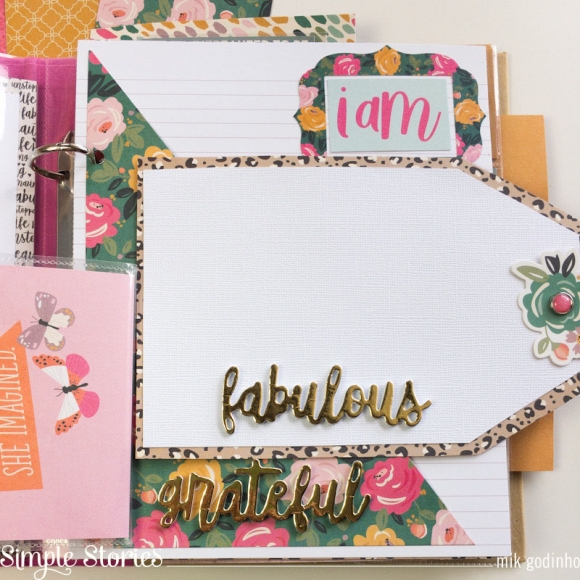
Below you can see in detail some close ups from the album. This collection has so many beautiful elements, that when you create a cluster around the photo mats to decorate, they create an exquisite and wonderful look.

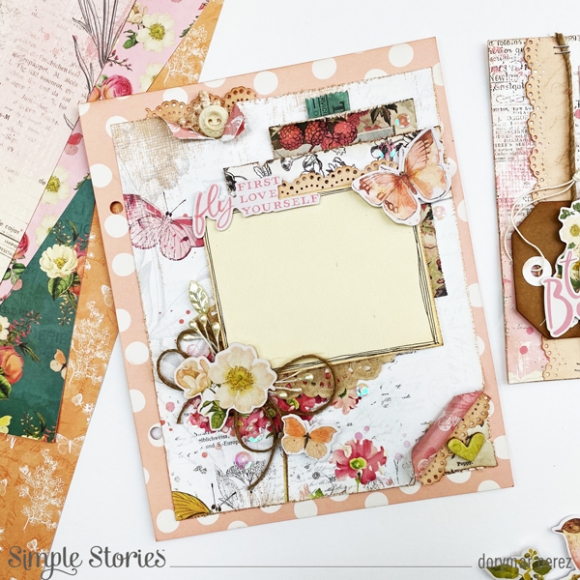
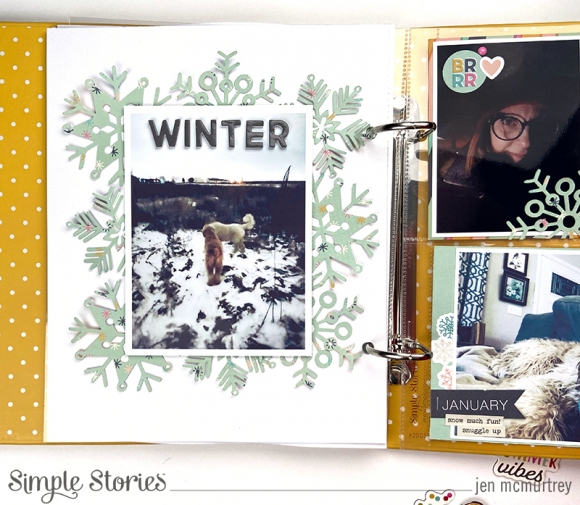
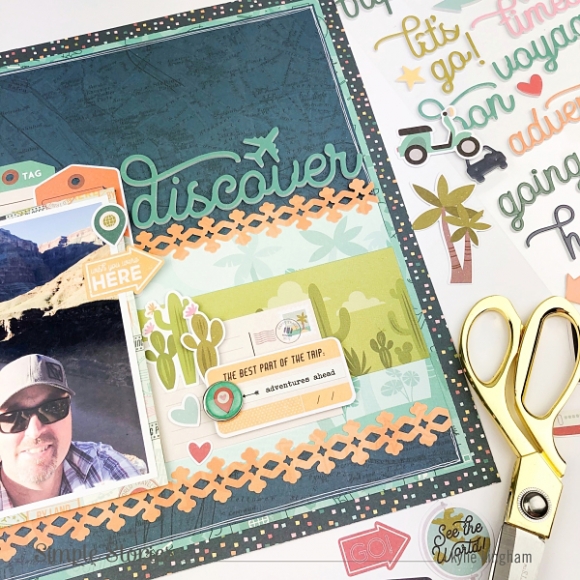
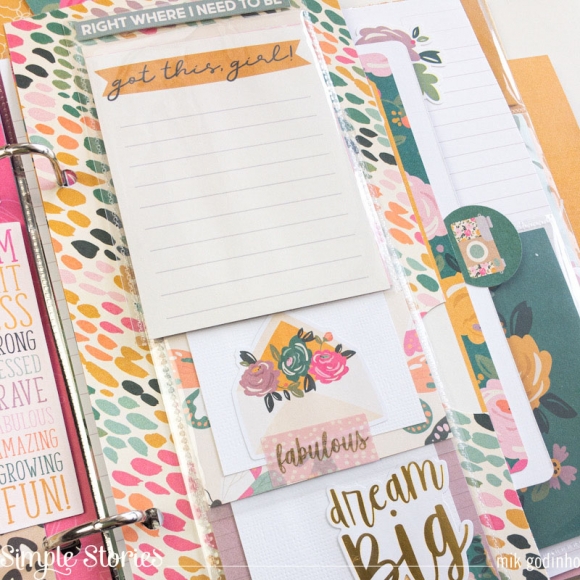
I used an edge punch in combination with the solid papers in the collection to create another lace style. Layering different elements on my page created a wonderful dimension and gives it a beautiful texture when using different pieces.

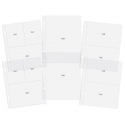
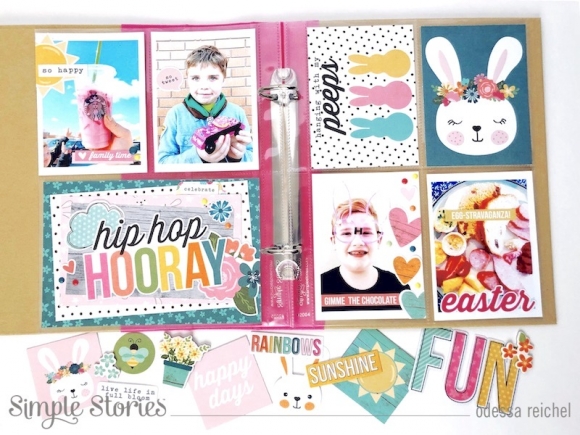
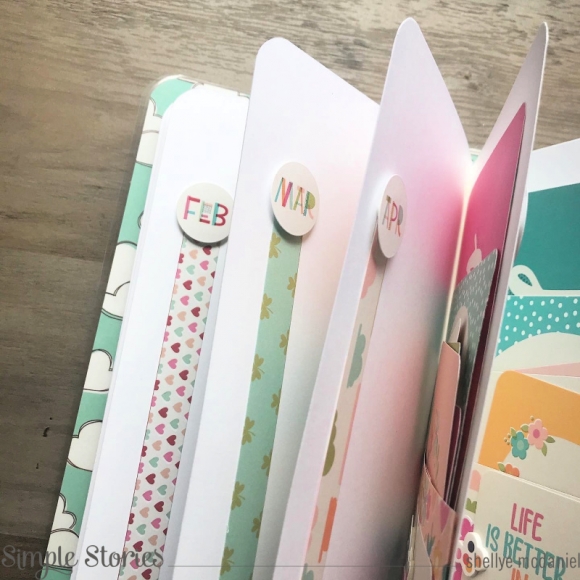
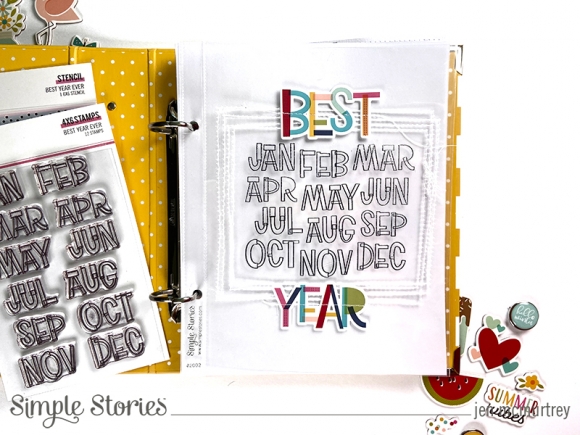
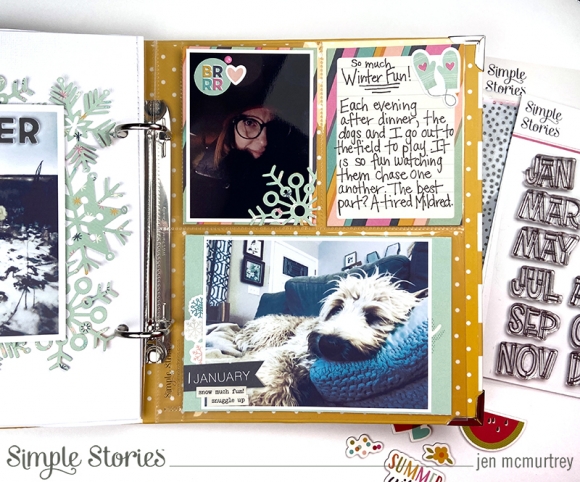
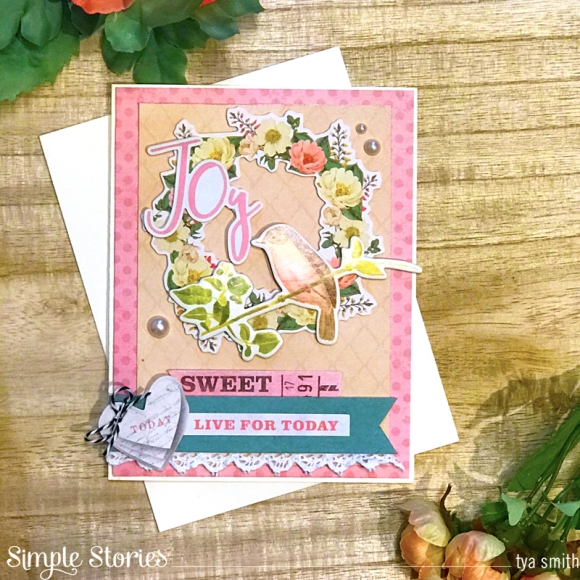
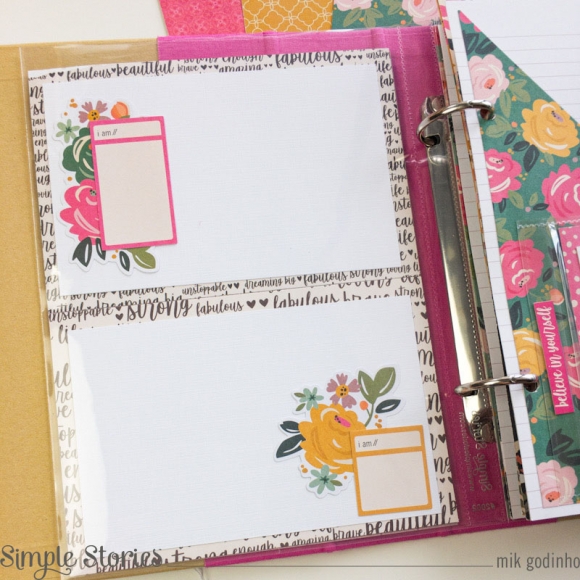
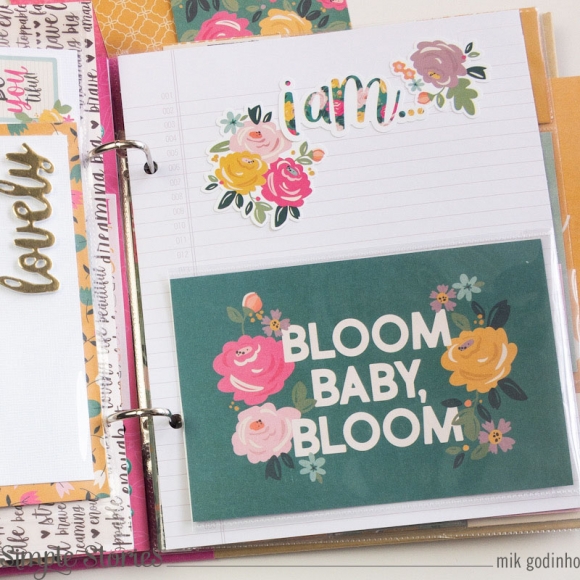
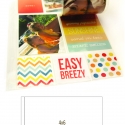
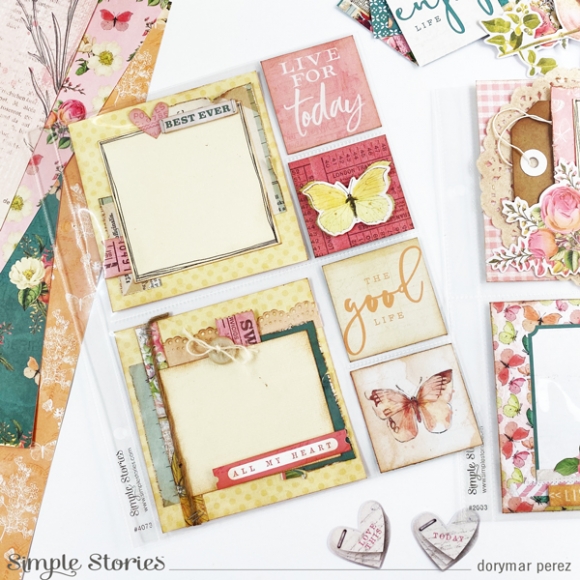
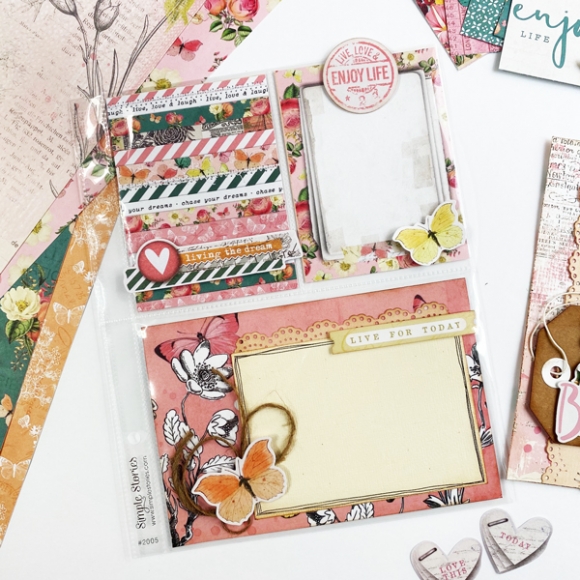
I prepared these pieces you see below to insert them in my 6x8 pocket pages, what I do with them is reduce the pocket pages to their size and this gives a different touch to my project.

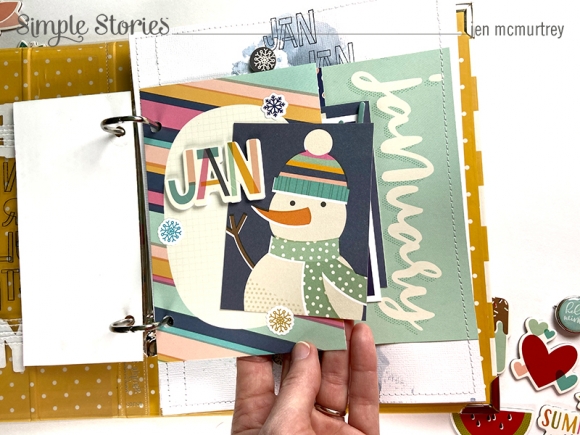
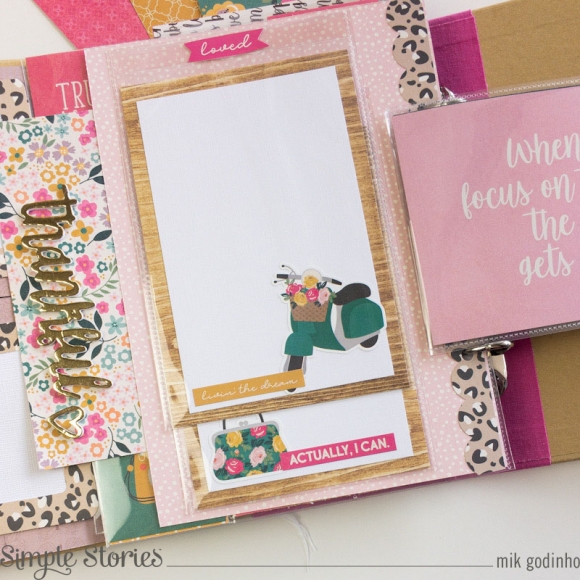
Here is another close-up, you can see the ripped edges. I added some pop dots underneath to create more shadows and dimension.

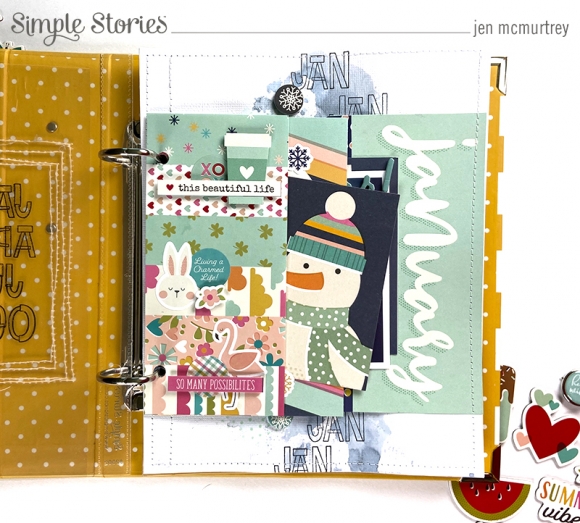
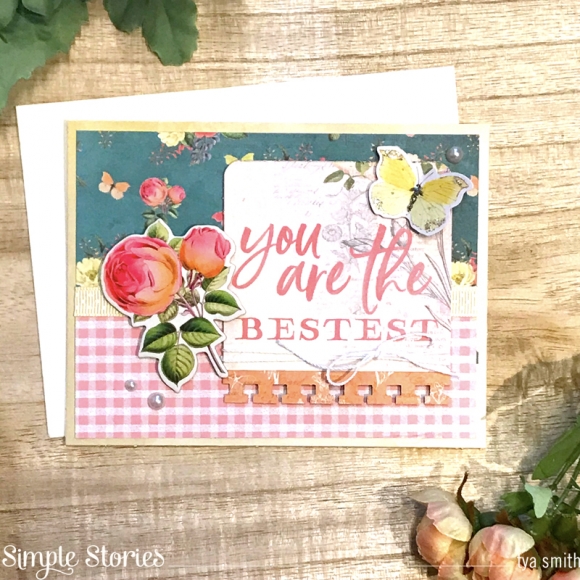
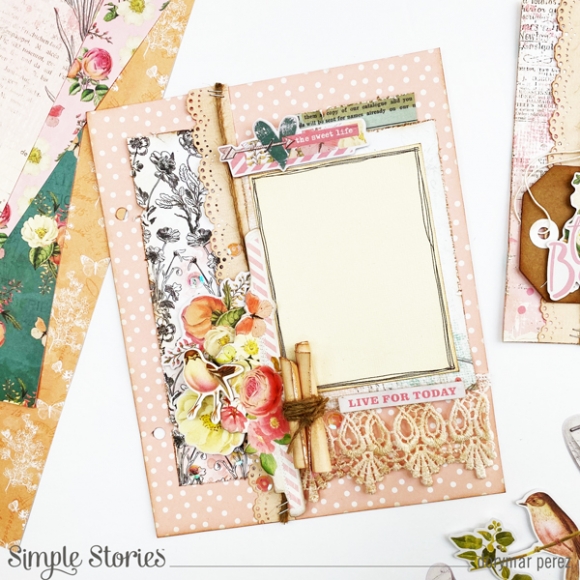
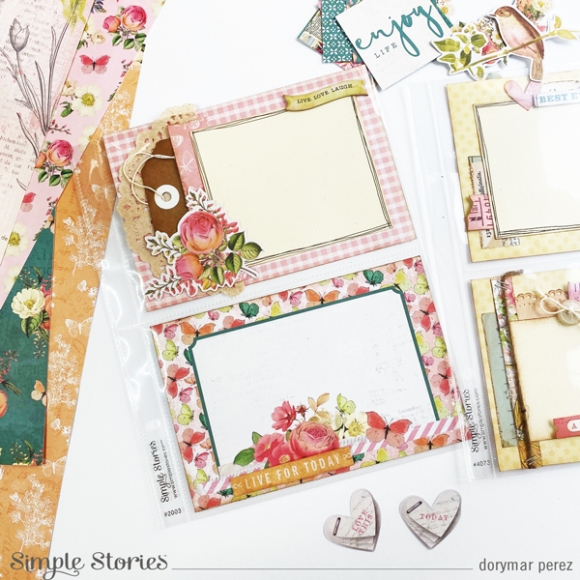
I love personalizing my pocket pages, below you can see how I incorporated the beautiful pieces of the collection with the journaling cards to create beautiful designs around my photo mats.

The Simple Vintage Garden District collection encapsulates everything we love about Spring with its color palette and beautiful, vintage look. It was so much fun creating this album!

Supplies

Where does your inspiration usually start for a layout?  Mine can come from a variety of places including products, pictures, and the stories themselves.  For today's layout showcasing Going Places my inspiration began with the Foam Stickers in this collection and evolved from there.
Let's take a look at the fun to be had with Going Places!


Basing my color choices on the colors in my pictures, blues and autumn colors, I opted to use puffy words to work with that.  I then chose patterned papers in those colors and cut 1/4" strips. I built concentric squares in the coordinating colors

I wanted to build the foam words into each border but with movement going down the layout. I did one for each color on the top of the layout and likewise on the bottom. The contrast of the script font against the straight borders worked nicely.

Once I had applied all the words and my pictures, I began embellishing.

I used pieces of embellishments from nearly every part of this collection, going one at a time and adding pieces as they fit well, considering both shape and texture throughout. I created a process video to go with the whole layout that you can check out here!  

Thanks so much for joining me today - I hope that you and yours are staying healthy and soon we will all be Going Places again!

Supplies

Hi! Odessa here with some SN@P! pages using the new Hip Hop Hooray Collection. When I think spring I think bright colours and Hip Hop Hooray did not disappoint. Not only is it packed with fun Easter papers and embellishments but it’s also great for documenting general spring stories too!

I knew that a bright playful binder was in order so I went with the Pink 6x8 binder. The chipboard cover is a blank canvas to have fun with!

I cut up strips of some of my favourite cardstock sheets from Hip Hop Hooray and layered them on the album cover. I used a couple of chipboard stickers and a phrase from the Bits & Pieces pack to embellish my album. Simple yet super cute!

Inside I had a lot of fun with Hip Hop Hooray. I really let the bold colours fly all over my page with a combination of journal cards from the 3x4 cut apart cardstock and a 4x6 pocket filled with a card made with some of my fav things from the collection along with some spring photos. 

In this pocket I layered 4 of my favourite papers. I cut a 4x6 inch rectangle out of the first piece of cardstock and then cut 3 more pieces, each one a half inch less length and width than the last. I glued them on top of each other a little askew and put a big phrase die cut from the Bits & Pieces pack on top. I layered a few more die cuts under it and added some stickers from the Combo Sticker Sheet as well as some of the adorable coordinating Enamel Dots to finish it off.

Hip Hop Hooray worked great with my photos, there was lots of little phrase stickers and die cuts and bright and cheery die cuts in the Bits & Pieces packs. Add in some more Enamel Dots for dimension and these pages came together in a snap! If you’re looking to document some springtime fun, pick up some Hip Hop Hooray!

Supplies

Planner-lovers, cardmakers and scrapbookers alike would love to receive a handy "Journal Card Portfolio" such as this!  Shellye McDaniel here with a fun spin on the traveler's notebook to create this unique gifting project.

To begin with the cover: I started with an 8.5"X11" piece of double-sided patterned paper and Scotch laminator with a laminating sheet.  After lamination, I scored the piece at 5" and 6" and folded along the lines.  Next, I used an 1/8" hole punch to make two holes at the top and bottom of the "spine". The holes were then threaded with a piece of 20mm white elastic cording and tied to create two loops for holding the inserts.  I also punched a hole in the middle of the spine and made a loop of elastic to make the closure band. 

For the two inserts: eight sheets of heavyweight cardstock (I used Neenah cardstock), were cut to 9.75"X8", scored in the middle and folded.  The sheets were then divided into two sections so that four sheets were in each.  

I crafted a cover for each section by covering a sheet of the heavyweight cardstock with patterned paper.  The two sections were divided into January through June and July through December, so I used the "Best Year Ever Stamps" to identify these months.  To color in the stampings, I used Sharpie markers!

Finally for the decorating and organizing of each of the pages! First, I cut apart ALL of the journal cards from the "Best Year Ever Essential Collection Kit" and corner rounded all of the edges (optional). To each of the "right-sided" pages, I added a pocket by using one of the 4X6 journal cards and scoring at 3/4" on the sides and bottom and then attaching with adhesive tape.  The front of the pockets were embellished with various stickers, die-cuts and pocket squares.  

On the left-hand side of the pages I actually used the leftover strip (from the top of each 12X12 paper) to create a vertical pop of color and then topped it with the month's sticker.  Finally, I tucked in all of the cards to the premade pockets and used the elastic closure to neatly hold the pages together!

Thank you for joining me today!

Supplies

Hello Simple Stories friends! It’s Jen today with a peek inside my 2020 Best Year Ever SN@P! Album. The Best Year Ever Collection is one that I quickly fell in love with – there are so many fun, bright elements that I could not wait to get my hands on. In keeping with the colorful theme of the collection, I decided to use the Yellow Stripe 6 x 8 Designer Binder with an eclectic cover that I created using the tear strips from each month’s patterned paper.

To make the cover, I sewed each of the tear strips to a piece of cardstock that I glued to the cover of the album. The title and stickers came from the Combo Stickers included with the collection and the 4 x 6 Sticker Book. I can honestly say that never have I ever used so many stickers!

One of my favorites from the collections is the stamps. Inside the cover, I created a title page using a piece of transparency paper cut to size. Rather than stamp one month at a time, I placed all of them on my Tim Holtz Stamp Platform and stamped in one simple step. Once the ink was dry, I machine stitched a border around them and placed the sticker sentiments above and below. I did place white cardstock behind the page so it is easier to see in the photo.

Next, I created a couple of inserts to add variety to the album. For the first insert, I used the packaging from the Collection Kit and cut a strip that includes each of the monthly patterns for January thought June. I embellished this with stickers that correspond with each of the months.

For the next insert, I used the January patterned paper with a SNAP Card. I kept the embellishments light on this one with a just a few stickers.

The first January page uses a bit of paint and ink with the stamps and Speckle Dot Stencil. First, I added the blue paint to white cardstock, went over that with green ink using the stencil, and finally stamped down the page.

For added texture, I machine stitched around the border of the page before adding the photo and embellishments.

The last spread for January continues the photos from the previous page and tells their story.

Using the Simple Stories Snowflakes Cut File (310106) available on the Silhouette Design Store website, I cut several and layered them behind the photo. This page is very simple with just the foam stick sentiment across the top of the picture.

Lastly, I used a pocket page to hold my photos and journaling, which I embellished with stickers, and enamel dot, and a remnant of a snowflake used on the previous page.

Thank you so much for visiting today. I hope you are inspired to record your memories using the Best Year Ever Collection – it really is the best.

Supplies

Hello everyone! Its Tya here on the blog today sharing my latest batch of cards and boy, were these fun to make! I am so drawn to all things girly and pretty and the lovely Simple Vintage Garden District collection fit the bill for sure! With oodles of florals, butterflies, not to mention the prettiest color palette, I was so happy to be able to create these eight cards for you! Here are the cards up close!

I love to add special little touches with the embellishments I use that match the collection I am working with. I used lots of pearls, doilies, lace ribbon, bakers twine, silver buttons and even a couple of paper clips that match the vintage vibe of the collection.

I added a little bit of Stickles Glitter Glue to the edges of the butterflies wings for some sparkle. Sometimes it’s the little touches like that add that extra little something to a card. I did this on the butterflies, the bee and also in the centers of some of the flowers.  I also used a notebook paper border punch on a few of the cards – also a fun way to add interest!

Isn’t the green in this collection gorgeous? I loved the monochromatic type of color scheme of this card.

Another fun embellishment that I added to a few of these cards is some paper flowers that I picked up at my local craft store. These add great dimension!

Its fun to add different die cut shapes to cards as well. Here I die cut 3 different sized circles and then layered them on the card with some of the edges trimmed off. It’s a fun way to lead the eyes on the card.

Aren’t the pattern papers so beautiful in this collection? I have a thing for script paper and dot papers, so this card is a good combination of both!

I can’t get enough of the all the butterflies and birds in this collection. And how fun is this frame? It is a sticker from the Combo Sticker Sheet – stickers are great for adding a sweet sentiment to your cards.

Finally, the Ephemera in this collection is phenomenal! There is such a great variety like this sweet Bingo card that acts as a good focal point of my card.

So there they are! I hope I have inspired you to pick up this collection! The Simple Vintage collections that Simple Stories put out are so fantastic and definitely a joy to work with. So if you are a lover of all things vintage, girly, or a little shabby chic – pick this one up today! Thank you so much for stopping by and Happy Crafting!

Supplies

Hello crafty friends! It’s Kylie (insert http://www.instagram.com/paper_sweetpea ) back with you all on the blog and today I have a brand new layout to share featuring the new ‘Going Places’ collection. A few years ago my husband had his very first trip overseas for business and was treated to a helicopter fly over of the Grand Canyon in the USA. This paper collection was the perfect choice to scrap some of his travel photos.

The papers Happy Travels, Pack Your Bags and On Our Way were used to create a framed background page. A one centimetre (10mm) strip was trimmed off each edge of ‘On Our Way’ before adhering it to ‘Pack Your Bags’. I then trimmed a 1.5 centimetre strip off each edge of ‘Happy Travels’ before adhering it over my other papers.

I immediately fell in love with the coloured strips of the ‘Detours’ paper and have used these across my page horizontally. A border punch from my craft stash was used to create a decorative edge to the top and bottom of the strips.

Several die cuts and journaling pieces were used to create a decorative cluster beside my photo. To one of the tags I have added a decorative brad which added a lovely dimension. My photo was backed and adhered to my background page with foam tape. That way it gave the appearance of ‘floating’ up off the page, creating more dimension and interest to my completed work. For my title I have used one of the Foam Stickers.

To complete my layout and add balance to my photo, I have added one of the cute chipboard stickers which was a perfect match for my page theme. Using a white marker I have also added a hand drawn border around the edges of my page.

Thanks for stopping by the blog today. I hope my layout gives you a little inspiration for your own travel themed scrapbooking.

Kylie

Supplies

Hello friends! It’s Mik here from Papermiks on the blog today! Today I’ll show you a Sn@p! inspiration using the gorgeous I Am 2020 Collection. This collection is so beautiful! It’s perfect to make an album to remind us all that: “I Am… enough, strong, beautiful, fabulous, perfect and blessed”. And you can also be!

Come with me and make yourself one, too! To make the cover I started by die cutting the butterflies from a cardstock. Then, I backed a vellum behind it and stitched some layered butterflies to add some dimension on my die cut. I love hand stitching and the dimensions that it brings. Don’t you? When my die cut was ready, I started to make the background. For this I used 2 pieces of paper and glued them on my cover. I also used a card from Sn@p! Cards, ephemeras, chipboard stickers and foam stickers. “Making big things happen” is the theme phrase that I chose to start my album with.

For the inside I chose pocket pages and some flip pockets. With this I can have more space for photos and it also gives my album some interactive touch.

On some of the pages, you can see that I made paper pockets and tags to add more photos.

Here, I decided to use the line paper and add a frame at the center of my page. This lets me write around my photo. It`s perfect for someone who loves journaling, such as myself.

I hope you’ve got some inspiration from this idea and enjoyed it! If you have any questions, would like to talk some more about Sn@p! or watch a video showing the inside of the album, come and check out my IG account.

Thanks for stopping by and have a creative day!

Supplies

Pages