March 2020 Blog Posts

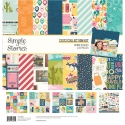
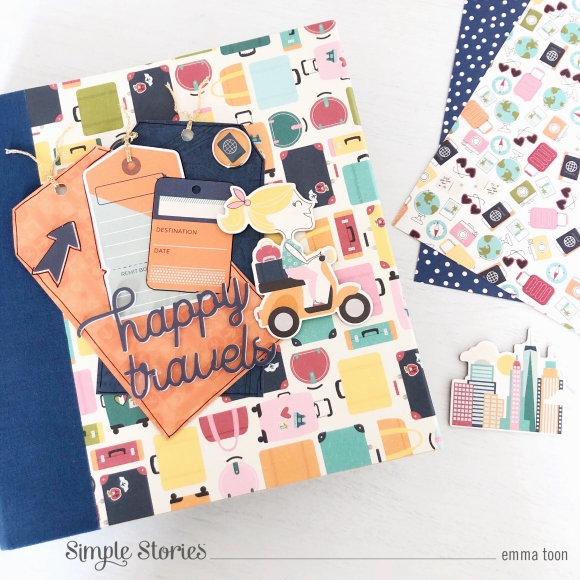
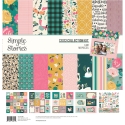
Hi beautiful Simple Stories friends, Cristina here with a new project I made with a brand new collection Going Places. This is a wonderful collection totally focused on travel but It’s also so versatile that you can decide to use the beautiful papers full of amazing designs for any other themes you prefer. When I started leafing through the various sheets of patterned papers I was completely drawn to the colors and designs of this wonderful collection. A style so unique that Simple Stories are able to make it so attractive and suitable for any type of project.

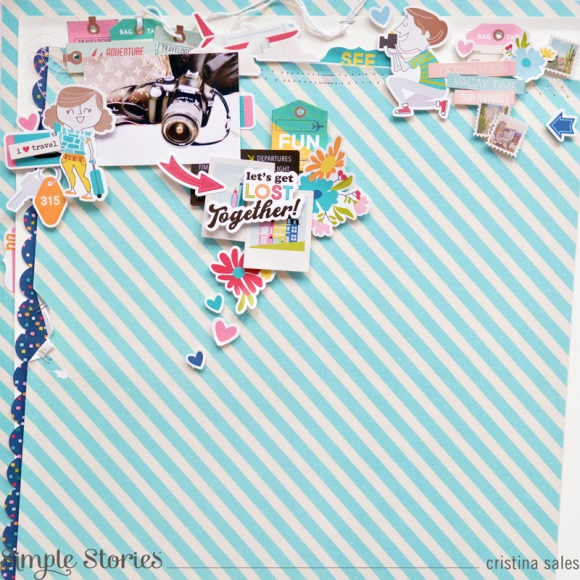
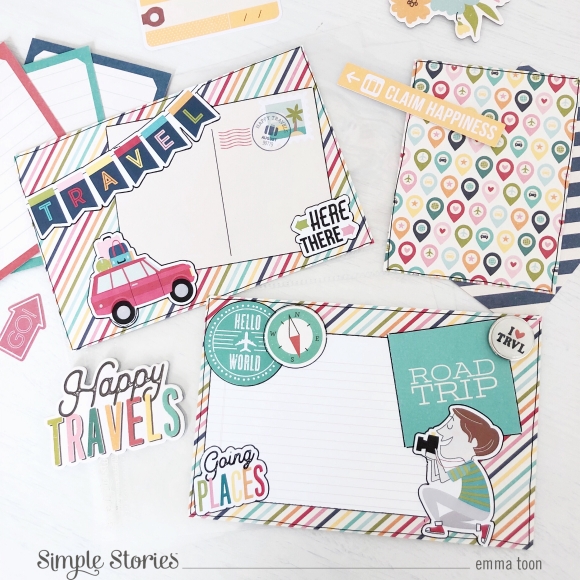
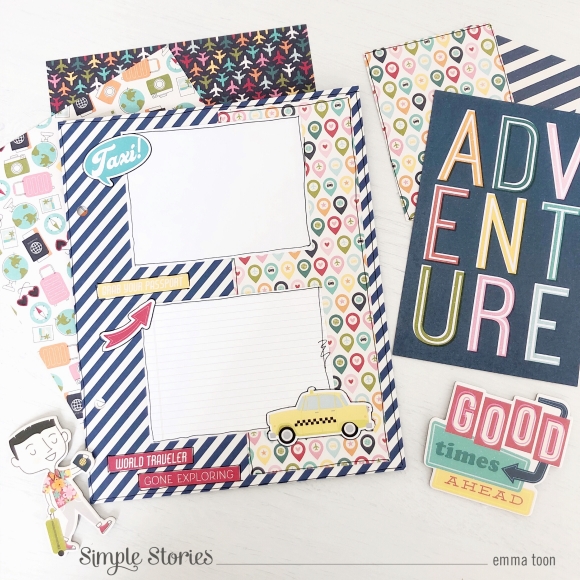
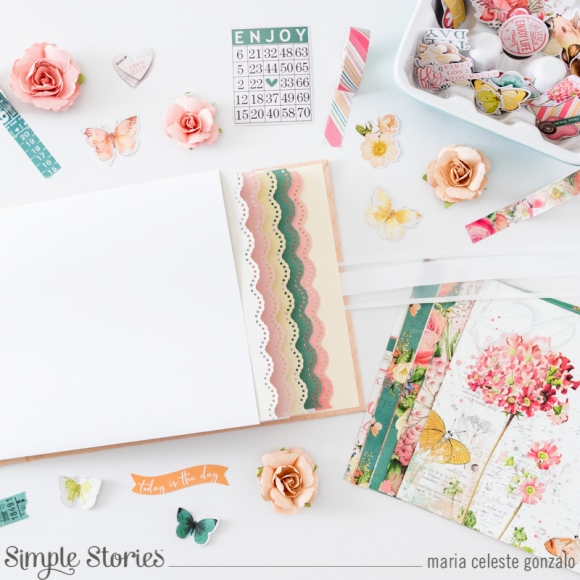
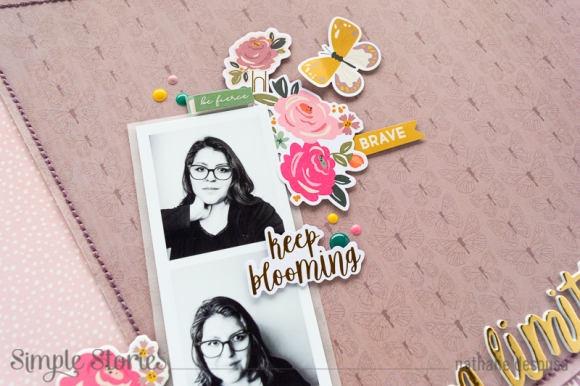
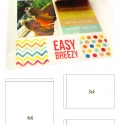
I decided to use one of the patterned papers that most impressed me because I love diagonal striped patterns. To break the repetition of the stripes, I decided to insert a portion of white solid cardstock paper which I then decorated with one of the scalloped stickers.

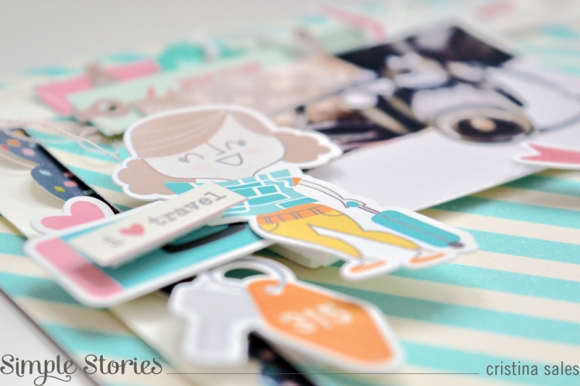
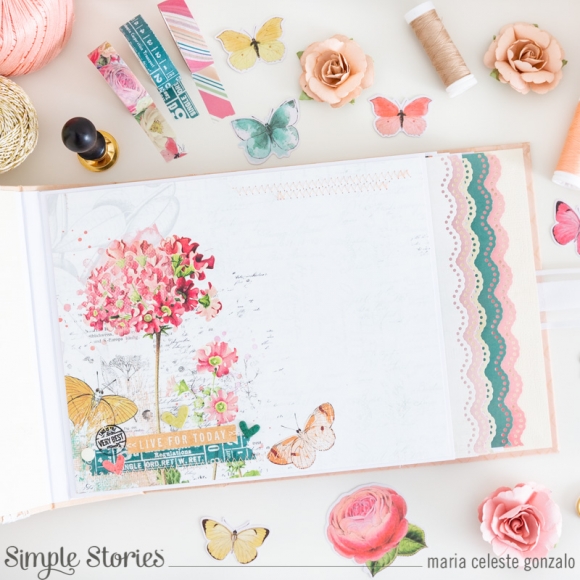
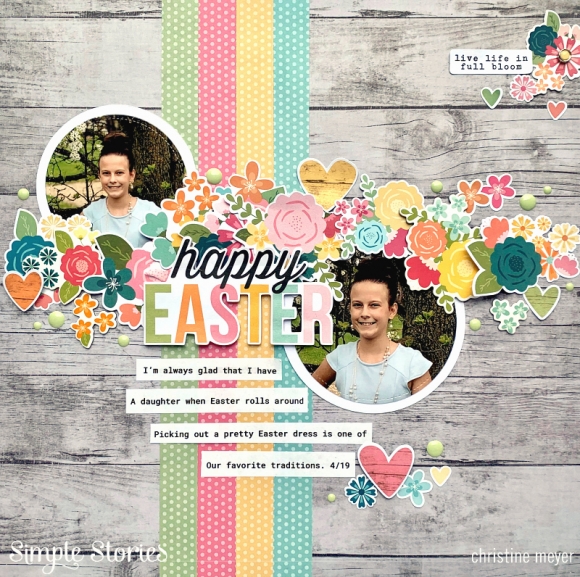
To add some dimensional element I decided to stitch with my sewing machine using a light pink thread. Since the photo I had decided to use depicts a camera, I thought that the elements of the sheet of stickers included in the kit package were very suitable for the result I wanted to achieve. Having chosen a patterned paper with only one color I was able to have fun using all the beautiful elements of the sheet of stickers rich in warm colors. I cut out the tags from one of the other patterned paper that I used as a decorative element around the photo and that I can never do without in my projects.

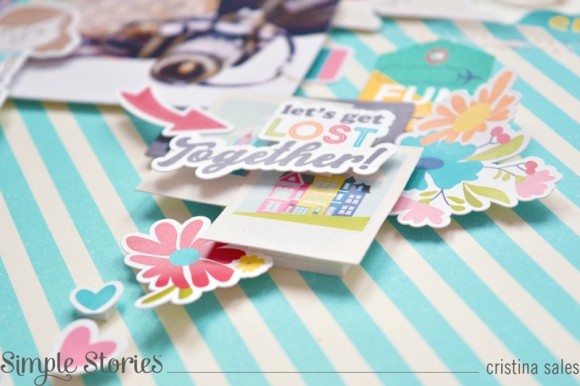
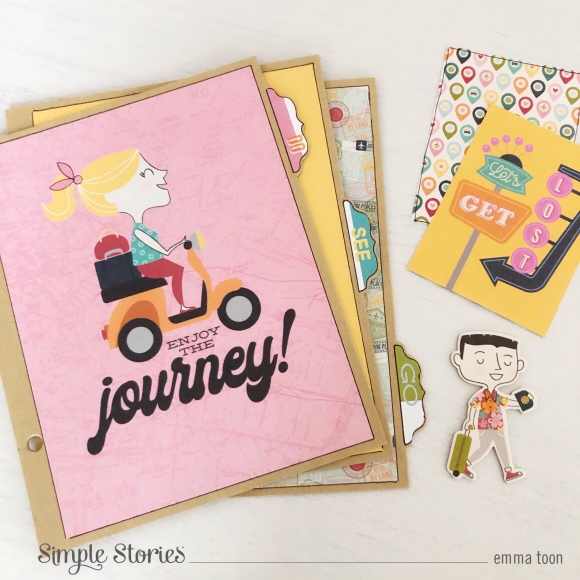
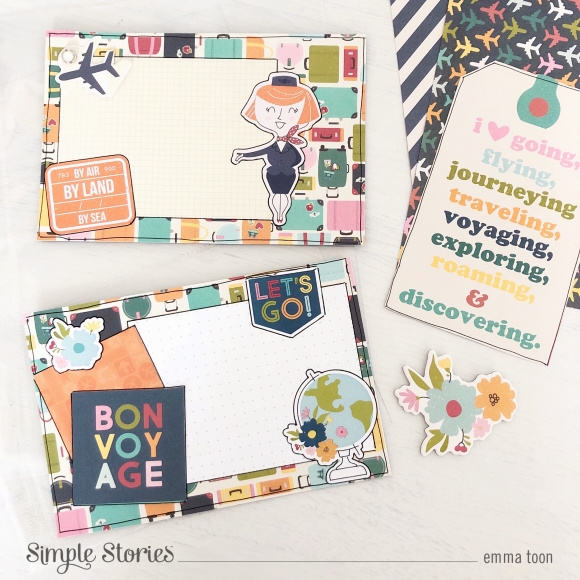
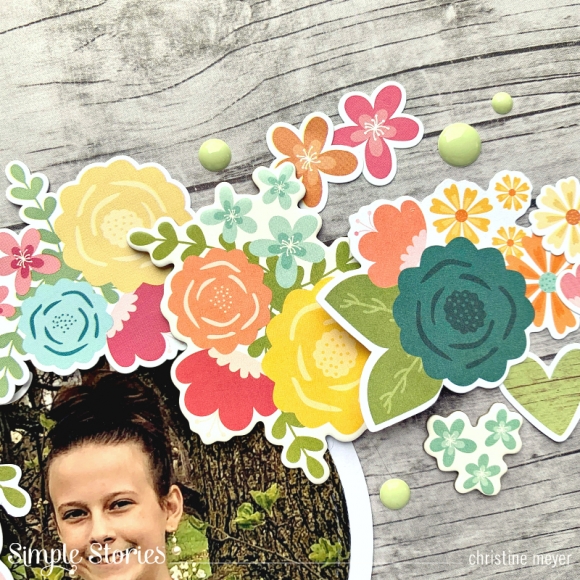
In this collection there are so many fun and versatile designs that you can cut from the pages or add from the packs of stickers, die-cuts or chipboards and each one can give you different ideas to spread creativity everywhere! On this project I only used the collection kit which includes a 12x12 sheet of stickers and it gave me enough embellishments to complete my composition and embellish my page in so many different ways!

That’s it! I had so much fun making this page so I hope to have inspired you in some way. Thanks so much for joining me today and see you to the next post.

Supplies

Hello my friends!  Today I’m wishing you springtime fun and bunny kisses with the Simple Stories Hip Hop Hooray Collection.  This collection is a breath of fresh air and springtime fun.

When you think spring, you’ll find flowers, butterflies, birdies and of course bunnies and eggs!  This collection has them all in yummy spring colors – yellow, pink, teal, orange and green. I love making with the perfectly coordinated papers and printed die cut bits and pieces. 

I created several different style cards to share today including scenes with blue skies and waves of rolling green hills.

Circles are perfect for embellishing -  like this wreath.  Adding a floral spray at the top and a bunny at the bottom with adhesive foam tape makes it extraordinary. 

All of my cards today were made with the 6x8 paper pad.  The smaller pages are perfect for card making.  One sheet cut in half is the perfect size for an A2 size card front.  The smaller pages mean a smaller pattern print too.

A great way to use up all those pretty scraps your saving is to make a card with a color block technique.  Simply attach strips of pattern paper together to make a one of a kind print background. 

Journal cards and journaling bits and pieces make beautiful focal points for layered cards.   This collection has lots of extras too.. decorative brads, enamel dots, and washi that are total eye candy taking your cards to the next level!

The Journal Bits and Pieces include lots of sentiment strips, tabs and labels.  If you look close you’ll see I stacked labels on this background to create a base to embellished with die cut images.

There’s so much to love about this collection.  I can’t wait to mail these cute cards to send Easter wishes and spread the smiles.

Supplies

Hey everyone, Michelle here today with a new layout to share with the Best Year Ever collection. If you haven't seen this collection yet it's absolutely fabulous!  It practically covers all the seasons and holidays.  It has to be the most versatile collection I've ever seen!  I decided to focus on the summer elements from the collection.  I just pulled out everything that felt like summer and went from there.

I started by cutting out a big heart from pattern paper. I then added machine stitching on each strip.  For the outside of the heart I hand stitch using multi colored thread.

I layered some ephemera in a few spots.  The florals are so pretty!

I don't very often journal on my layouts so one of my favorite embellishments is word and phrase stickers.  I always try to add a few.  I then finished off the layout with a few enamel dots.

Thanks for stopping by!

Supplies

Hello, it’s Emma back with you today. I’ve been setting up the Navy 6x8 Sn@p! Binder, using the Going Places collection. I’ve decorated the front of the binder by papering and layering, I cut some large tags out and used one of the foam words, a brad and a chipboard piece for more detail. 

If you are a traveller, then this is the perfect collection for you to document your adventures!

I love decorating the dividers in these binders, using the 6x8 paper pad makes it super easy!!

I’ve filled some of the 6x4 pocket pages with some fun cards, adding detail with stickers from the 12x12 Sticker sheet, enamel dots, brads, ephemera and also using some of the smaller 2x2 cut aparts.

I know I say this every time...but, I do love to outline all the stickers, photo mats ect...it makes them stand out and pop! Do you have something that you always like to do when you’re crafting? I think I’d feel like I hadn’t finished a project if I didn’t outline everything!

I’ve also decorated one of the 6x8 patterned cards out of the navy binder. This particular one I’ve done by cutting out two areas for journaling from the small 6x6 Basics paper pad. 

I hope you’ve enjoyed taking a little look at how I’ve started using the Going Places collection and also a fun way you can incorporate pages from the Basics collection. You can find lots more pictures on my IG account where I’ve used Simple Stories collections.

Supplies

Hi everybody! I am Happy to be back! I´m Maria Celeste from GuiadeManualidades.com. Today I have something special for all of you. The Simple Vintage Garden District Collection is so amazing… I fell completely in love… The colors, details, designs are so beautiful… When I saw it, the first thing that came to my mind was “I have to make something with a romantic style". Something special to remember that amazing and romantic trip with the love of my life.

Simple Vintage Garden District Collection has most of the things I love: butterflies, flowers, pastel colors. So the project I decided to make was a mini album with plenty space for photographs. I hope you find this idea really inspiring…

For this project I decided to combine many of the collection products, but I´ll be using one of them in a different way. I will make a shaker for the cover using one of the layered frames. As I told you in my first project, it´s really important to add our personal touch to every creation. You are also going to see me adding a bit of sewing and playing with the washi tape and the stamp set of the collection.

Remember that you can make this mini album in the size you want. For my project I cut 3 pieces of stable cardboard : #1- 10” w x 7 1/2” h (cut 2 of it), #2- 2 1/4” w x 7 1/2” h.

I used two of the collection kit papers and one of the basic kit papers to cover all the structure. You can glue them together or sew them.

Once the papers are ready, we are ready to prepare our mini album structure and decorate the cover. For making a very special cover I combined some ribbons, die cuts, stickers, chipboards, enamels dots and I prepared a shaker full of chunky glitter and shape sequins. To transform the layered frame into a shaker I used white foam and acetate. Besides, I added ribbons for closing the mini album  and a bit of twine. This is the moment of the making process that you have to play and combine everything you like. I love to do it!  It´s like making magic! After a few minutes of working our cover is ready.

I definitely wanted a lot of space for photographs so making a classic spine with pocket pages was the best choice. For making the spine I cut a piece of white cardsotck paper of 9 1/2” w x 7 1/4” h. Then you have to scored it in 1 ½”, 2”, 2 ½”, 2 7/8”, 3 3/8”, 3 7/8”, 4 ¼”, 4 ¾”, 5 ¼”, 5 5/8”, 6 1/8”, 6 5/8”, 7”, 7 ½”, 8”.  As a result you are going to have a classic spine with 5 hinges. Glue it in the interior of the mini album structure.

We still have to prepare some more things before starting the wonderful process of decorating. I love to spend hours doing it! It´s the most creative and happy thing to do… don´t you think? As we have 5 hinges, we are going to prepare 5 pocket pages. To get them ready cut 5 pieces of  white cardstock of  9” w x 15” h. Place the paper on your scoring board (heigth) and scored in 7 ¼”, 14 ½”. The last ½” is what your are going to glue to close the pocket. Repeat the proccess with all the other papers.  Pockets pages are ready! And you can add an extra page inside of them using the papers of the basic kit. Remember that this pages must be a bit smaller than the pocket pages. One beautiful detail that can be added is the use of an edge punch.

Let's start with the creative work… let´s make magic with the wonderful papers of Simple Vintage Garden District Collection! We have to choose 10 paper designs and combine them as we like. But the most important thing is to use everything we have to decorate them. Washi tape, die cuts, stickers, chipboard, enamels dots and stamps. If you like you can add sewing details as well as embroidery details.  All of that makes our composition as romantic as possible and it is great. As you can see I decorated just some parts of the paper to leave as much space as possible for my pictures and memories

I hope you like this idea and now you feel inspired to created beautiful mini books using SV Garden District Collection! I´m sure you are going to fall in love with this collection…

See you next time!

Supplies

Hi there,

Nathalie with you today with some inspiration on documenting yourself.  I know most of us have a hard time taking pictures of ourselves/selfies which results on the lack of your presence on your documenting.   Here is where the new Simple Stories I AM 2020 comes  in to save your day.  All the papers and  designs are just perfect to bring your story forward.  Let me show you:

I started the page by, literally, copying the design the papers created when fanned out on the page.   I used the b-side of the Blooming Paper as the background for the page; then cut papers from the 6x8 paper pad, 3x4 elements and Fierce papers to create the paper fan idea on the page.  I took my time hanstitching the edges of the paper.  

The starting point of the papers create the perfect spot for my pictures.  However the stitched edges of the papers are a great place to add embellishments, such as phrase stickers, ephemera, brads and enamel dots.  I even used the gorgeous foam gold alpha words to set my title in place along the stitched edge of the top paper.

I added a small  piece of vellum behind the picture and set it at the corner above the paper fans.  I pulled one of the journaling ephemera to anchor the cluster of embellishments to the layout and picture.   All the floral in this collection are amazing!!!

Just to balance the bottom cluster, i added a  second one to the top of the page.  To make the page cohesive, i repeated a few of the banner ideas in the cluster, and added a butterfly to each of the major clusters

I love how my crazy ideas turned into this colorful an beautiful layout all about ME.   I am sure the new I AM 2020 will become a new favorite of yours.   Remember to share with us what you created with the Simple Stories collections.


XO!

Supplies

Hi Friends, It’s Dorymar today sharing an AMAZING Sn@p Album.  For this project I used the new Best Year Ever Collection. When I saw the collection I fell in love instantly!  With this collection you can document all your adventures month by month, with beautiful colors, beautiful designs and fantastic feelings for each month. It’s just FANTASTIC.

For the cover I wanted to incorporate all the seasons of the year. To achieve this, I combined some patterns with the die cuts, stickers and chipboards of the collection. In the background I used the B side of the January paper and sewed the entire edge.

In the center of the cover, I used a digital cut file from the Cut Shoppe called Let Them Eat Pie. I filled each of the trapezes with different papers from the 6x8 paper pad and used the washi tape from the collection. In some of the trapezes I created shakers to give texture and fun to the project. For the inside of the album, I decided to assign a page and a pocket page to each of the months. I combined the chipboard pages with the design pages included in the album together with the patterned pages of the collection. As the collection has a paper for each month, I decided to fussy cut the 6x4 cards with the letters of the month and use it as the title of each page, cutting and searching between the pieces to create the pages was very fun.

The collection includes beautiful foam stickers that were the perfect touch for the project. I added them in different places on the album and they look fantastic!

In some of the pages, you can see that I added photo flip pockets because this allows me to have more space for photos and journaling as well as giving an interactive touch to the project.

I hope you enjoy this project as much as I do, I can't wait to see my project full of photos and remember each of my adventures during this fantastic year. I hope you run to find the Best Year Ever Collection and use my project as inspiration.

107Happy Scrapping!

Supplies

Hip Hop Hooray is one of those awesome dual-purpose collections.  While, as the title implies, it certainly covers Easter, it also is jam-packed with spring-themed product.  As I was sitting down to create, I had to decide which direction I wanted to go.  In the end, I used Easter pictures but a lot of general spring embellishments.  So I guess I made it work both ways!

I was drawn to A LOT of the papers in this collection and had a rough time narrowing it down. I actually ended up with the start of three layouts because I had so many ideas.  I'm not sure I have ever had that happen before.  The good news is I will have lots to share with this collection!

I absolutely could not resist all the flowers in this collection.  To create my cluster that is stretched across the middle of the page, I layered flowers that are ephemera, cardstock stickers, and chipboard.

The flowers and hearts trickle down a little to add a finishing touch to my journaling.

This section right here is where the whole layout started!  I wanted to place strips of patterned papers behind the title - causing the colors of the title to stretch the entire height of the layout.  I used the 6 X 8 paper pad for these strings rather than cut into the full-size papers.

Enamel dots are always a nice finishing touch on a layout.  This collection comes with a variety of colors allowing you to choose some like these that are more subtle, or if you want a more saturated and bold look you can choose the darker colors.

I have created a process video to show how I put this layout together.  You can find it here.  Keep an eye on my channel for more layouts with this collection! Thanks so much for joining me today!

Supplies

Pages