Emma Toon's Blog Posts

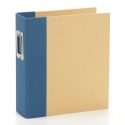
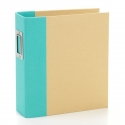
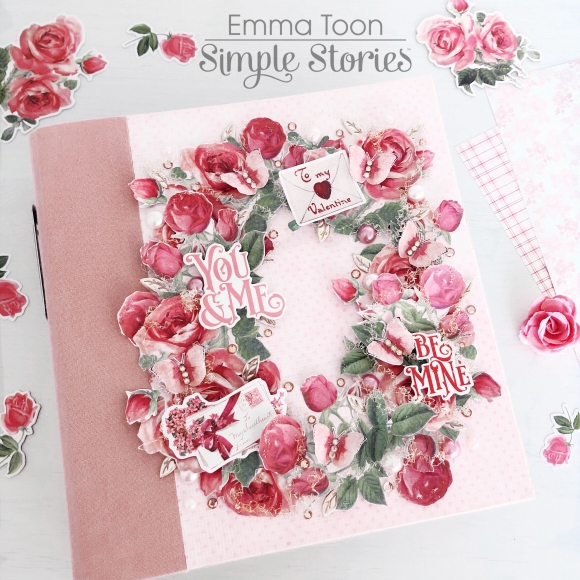
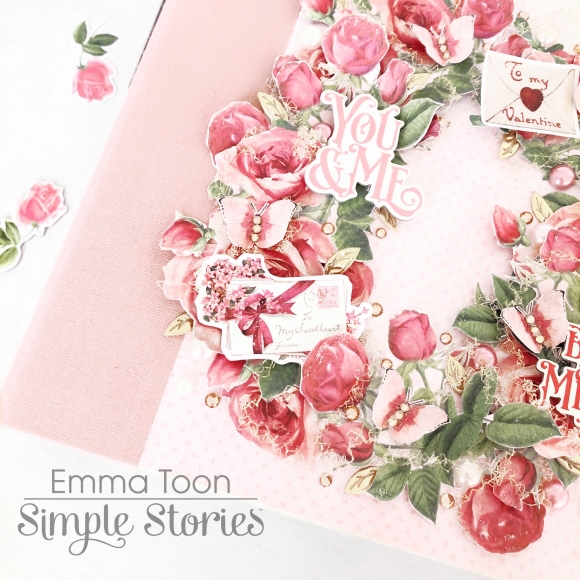
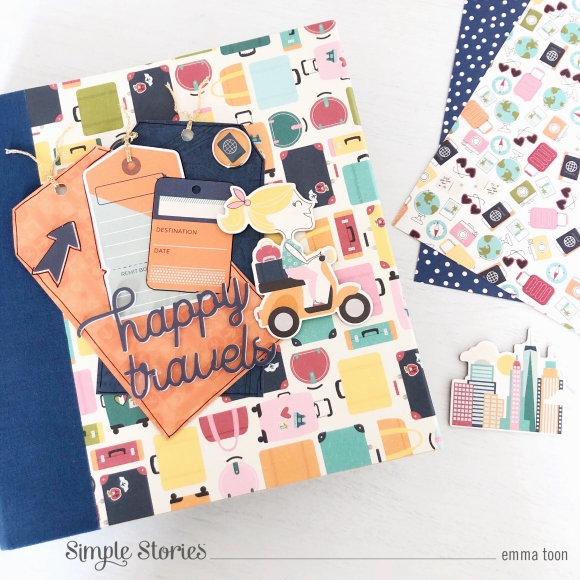
Hello, it’s Emma back with you today. I’ve been setting up the Navy 6x8 Sn@p! Binder, using the Going Places collection. I’ve decorated the front of the binder by papering and layering, I cut some large tags out and used one of the foam words, a brad and a chipboard piece for more detail. 

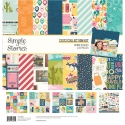
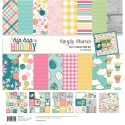
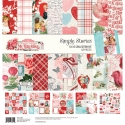
If you are a traveller, then this is the perfect collection for you to document your adventures!

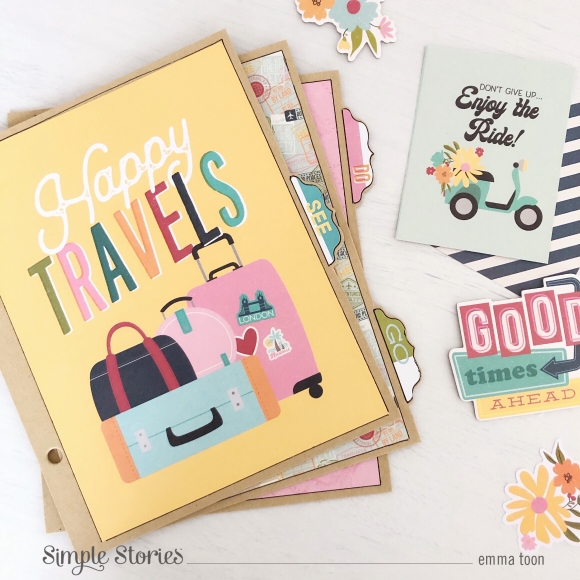
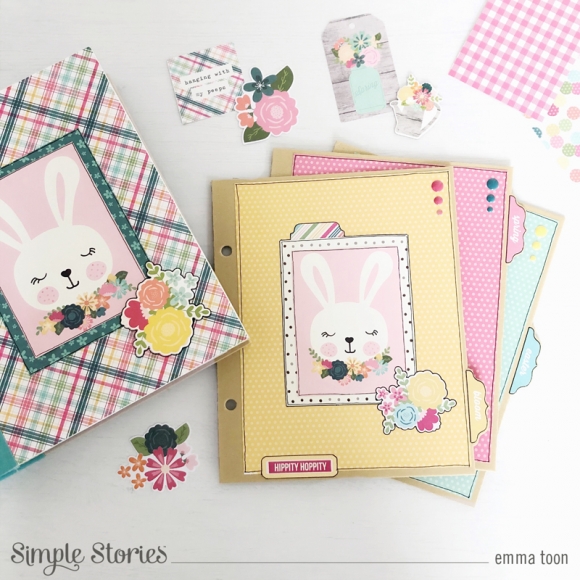
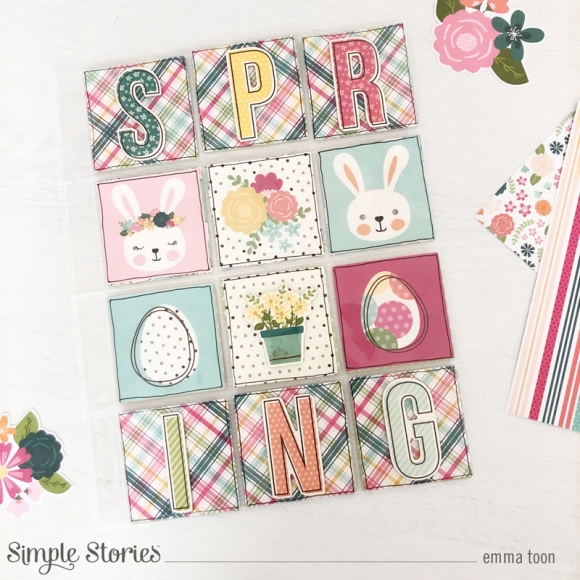
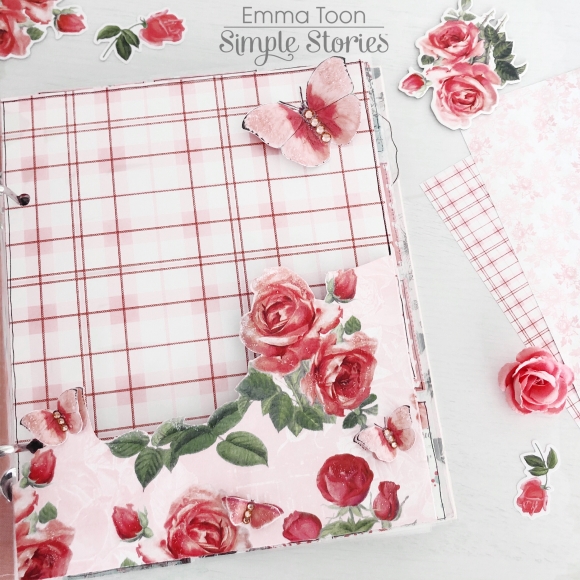
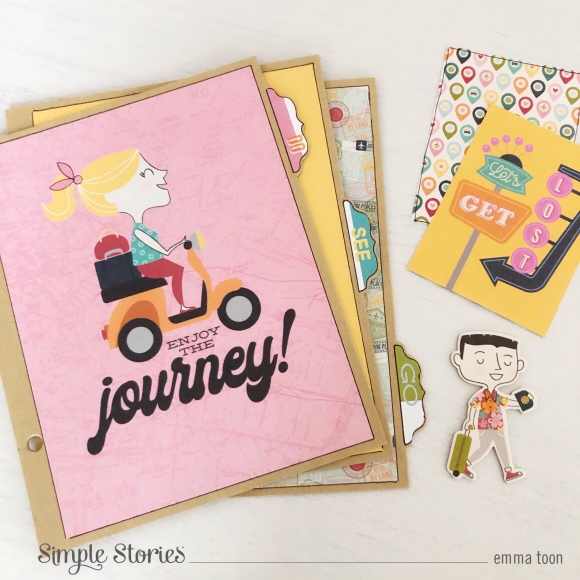
I love decorating the dividers in these binders, using the 6x8 paper pad makes it super easy!!

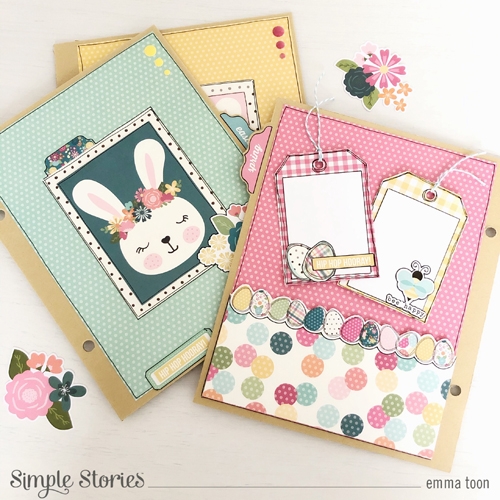
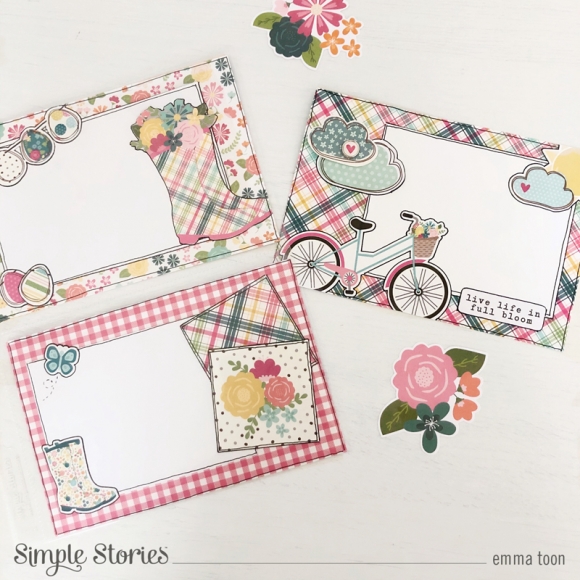
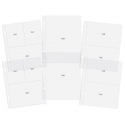
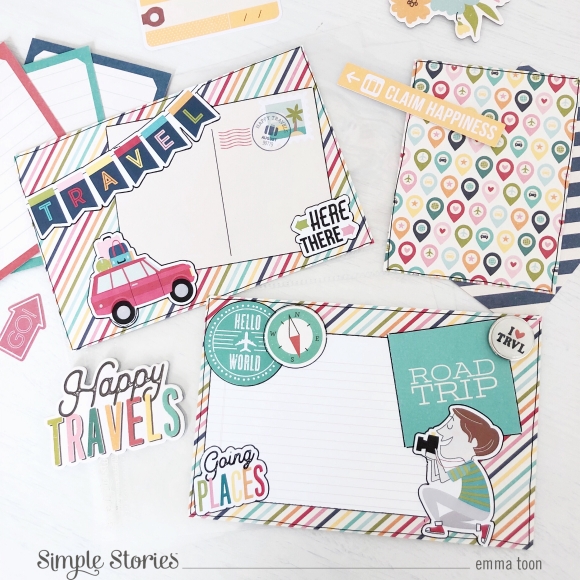
I’ve filled some of the 6x4 pocket pages with some fun cards, adding detail with stickers from the 12x12 Sticker sheet, enamel dots, brads, ephemera and also using some of the smaller 2x2 cut aparts.

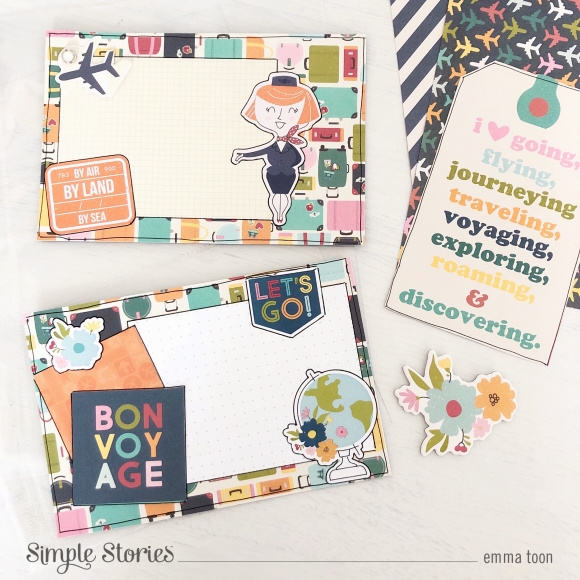
I know I say this every time...but, I do love to outline all the stickers, photo mats ect...it makes them stand out and pop! Do you have something that you always like to do when you’re crafting? I think I’d feel like I hadn’t finished a project if I didn’t outline everything!

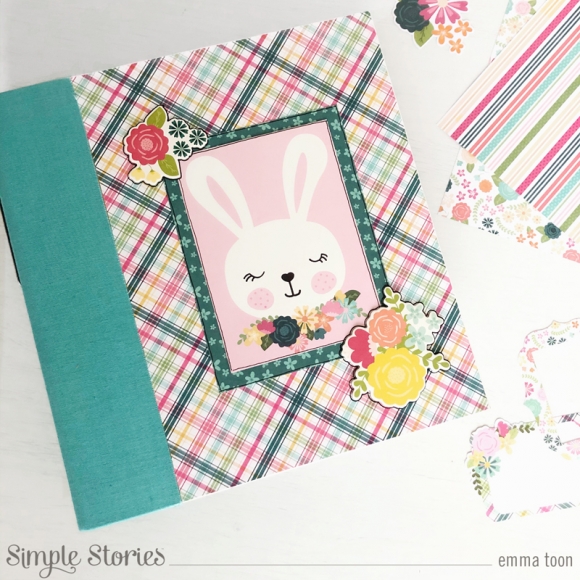
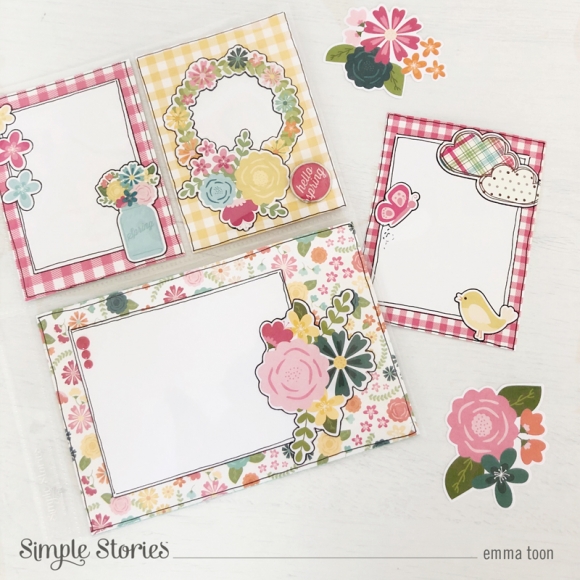
I’ve also decorated one of the 6x8 patterned cards out of the navy binder. This particular one I’ve done by cutting out two areas for journaling from the small 6x6 Basics paper pad. 

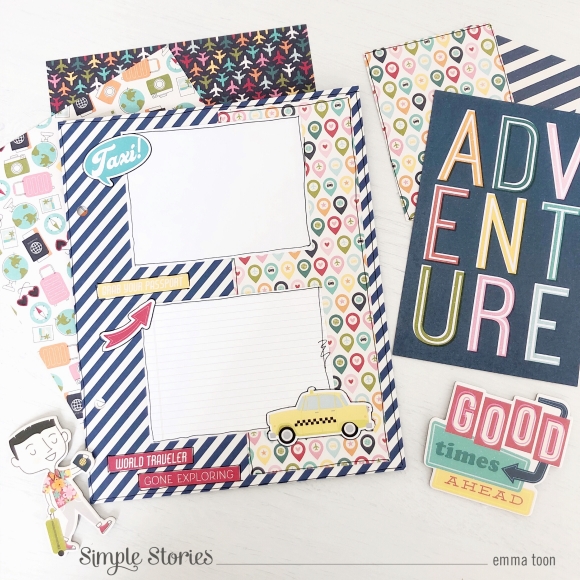
I hope you’ve enjoyed taking a little look at how I’ve started using the Going Places collection and also a fun way you can incorporate pages from the Basics collection. You can find lots more pictures on my IG account where I’ve used Simple Stories collections.

Supplies

Hello, it’s Emma with you today. Hands up who’s excited for Spring! Me! Me Me!! It’s no secret that I love Spring & Summer!! So I’m definitely excited to start playing with the new Hip Hop Hooray Collection, as always Simple Stories have knocked it out the park with this spring design. The colours, the prints and the super cute bunnies!! Let’s take a look at how I’ve started using this collection to set up my Teal Sn@p! Binder! Firstly I covered the front of the binder with the ‘Hello Peeps’ 12x12 sheet of paper which you’ll find in the collection kit. I then used one of the cute bunny images which I layered up, this helped it stand out nicely and I also used a couple of the floral chipboard pieces. 

The binders come with some chipboard dividers which I always enjoy decorating. The sheets out of the 6x8 paper pad are the perfect size and then I use some of the stickers from the 12x12 sticker sheet on the tabs. 

On the back of the dividers I like to make little pockets, these are great to add memorabilia, photos, anything you fancy! Here you can see some of the handmade tags I’ve done ready for journaling on!

I really enjoy filling up the Sn@p! Pocket Pages, I like to add as much detail as I possibly can, adding stickers, enamel dots, chipboard pieces, ephemera and I’m loving the new brads that co ordinate with the Hip Hop Hooray Collection! 

How fun are the wellies I’ve cut out to use on this pocket page! Remember you can always cut out flowers and other images you find in the collection kits. Fussy cutting is so calming, I really enjoy it! 

Out of all the different sized pocket pages I think the 2x2 insta pockets are my fave! Here I’ve used the SPRING chipboard letters and backed them with more of the ‘Hello Peeps’ paper. Then the other pockets I’ve filled with pictures from the 12x12 sheet of cut a parts from the collection kit. Hope you’ve enjoyed a little look inside my spring binder and praps taken some ideas you can use in yours! You can find lots more pictures on my IG account where I’ve used Simple Stories collections.

Supplies

Hello again, Emma with you today! I’d like to share with you how I’ve decorated the front of my Blush Sn@p! binder with the beautiful My Valentine Collection by Simple Stories. This collection is so pretty, full of florals and fun retro style images! I adore florals so wanted to use them to decorate the front of my binder. I chose to fussy cut out lots, and I mean lots, of the roses from the ‘my sweetheart’ 12x12 sheet of paper. Dotted through this paper are butterflies which I also cut out. 

Now the fun bit, firstly I covered the front, back and insides of the binder and then I placed out a rough idea of how I wanted the roses to sit. I gradually built up layers of roses in an oval shape. 

Once I’d got the roses all stuck into place I then used gold thread, pearls and little crystals to add more detail, also gluing the butterflies into place. 

You can see on these close up pictures the layering and how I put tiny crystals onto the butterfly’s. As if that wasn’t enough detail, I decided to also add some of the ‘bits & pieces’ .

I’m a sucker for making pockets to fill with tags. Tags are such a simple way to include journaling and additional photos into your binder. I’ll let you into a little secret, I don’t like my handwriting as it’s quite messy, so tags are a great way to hide away my journaling on the reverse!! ;) 

I had such fun adding more detail to my pocket divider, butterflies, gems and glitter glue all added to the interest! 

So there we have it, the start of my project using the My Valentine collection.

I hope you enjoyed hearing a little bit about my valentines binder, you can see more of my projects over on my Instagram, which you can find here https://www.instagram.com/heartsbyemma

Supplies

Pages