Emma Toon's Blog Posts

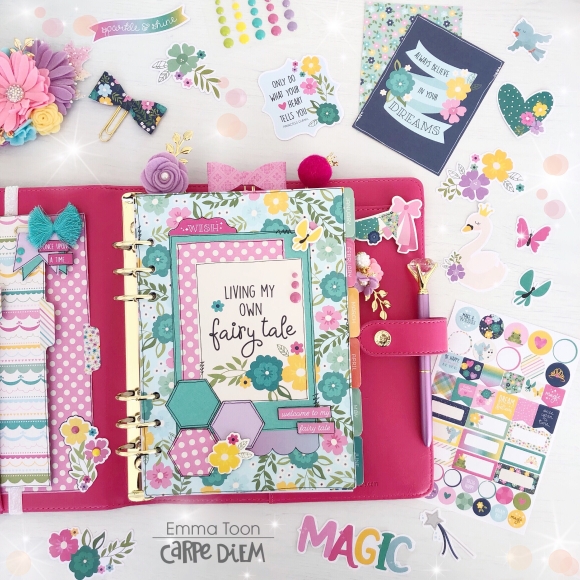
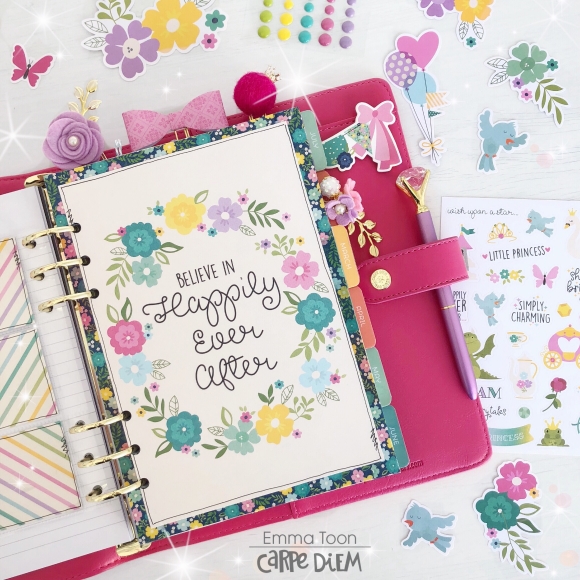
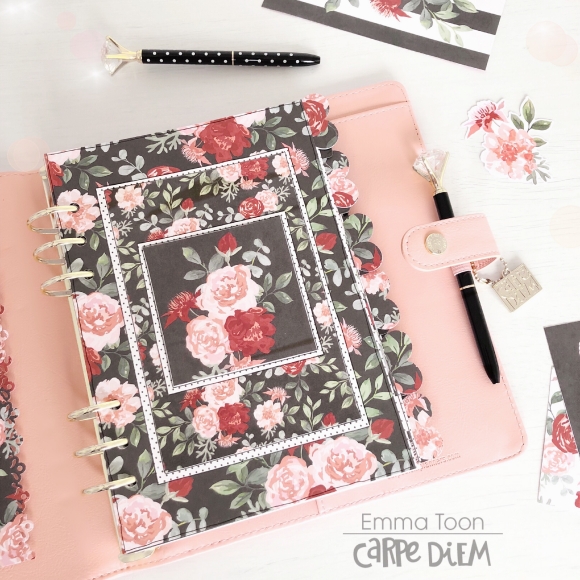
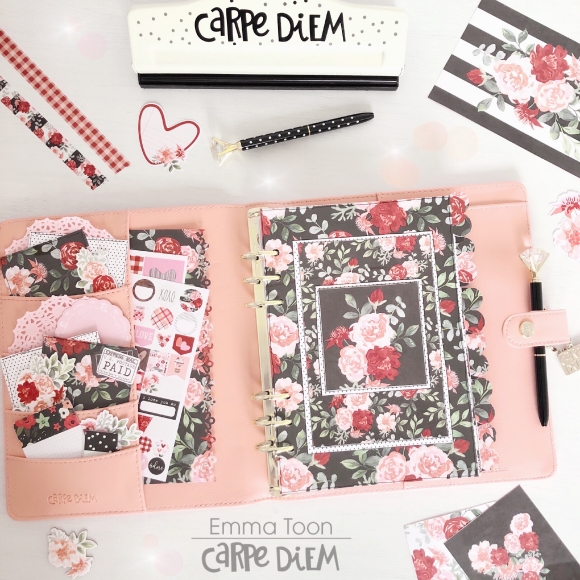
Hello, it’s Emma here to wish you a Happy Easter and share my Easter set up! I’ve used the Bunnies & Baskets Collection by Simple Stories of course! It’s so ‘me’ pastels and florals!! My favourite!! This is one of Simple Stories ‘Simple’ sets, there’s three designs which you get two 12x12 sheets of each, and a set of 6x12 cardstock stickers. I’m wanting to show you how with one of the ‘simple’ sets you can still set up a whole planner! I’ve chosen to use my A5 Robins Egg Carpe Diem planner, the colours work so well together...look!

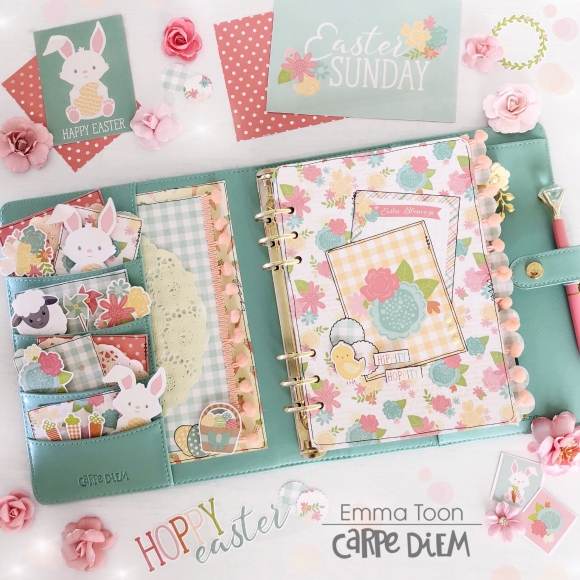
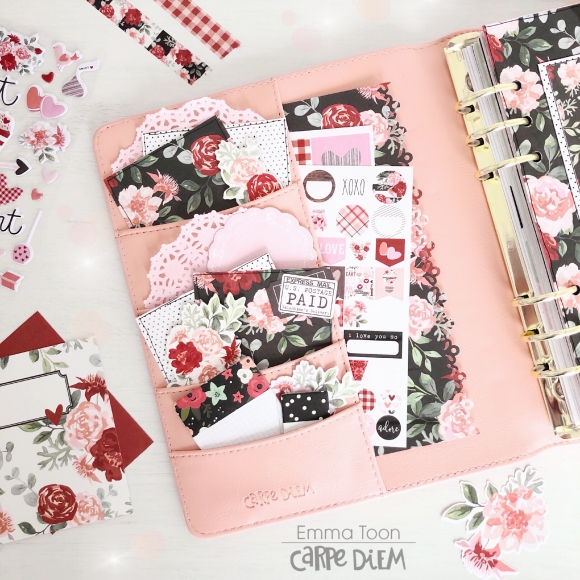
I have made die cut pieces to fit in the pockets by sticking the stickers on to off cuts of the paper and cutting them out, I also used foam sticky pads to lift them and give the look of chipboard pieces! 

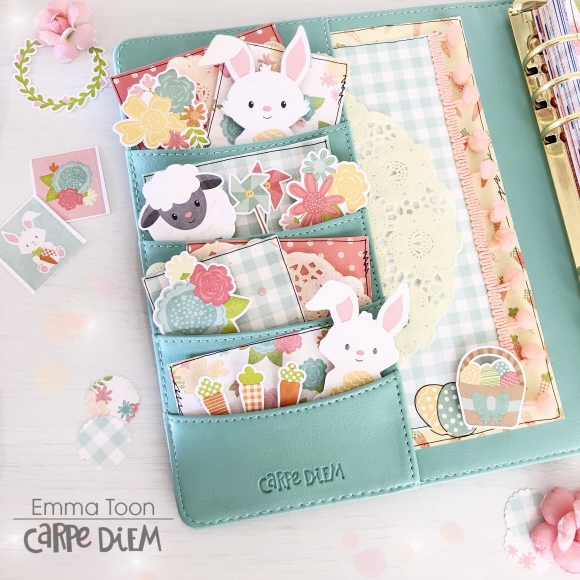
I also used a doily which I cut up to fit in a couple of the pockets and then used some more off cut paper and voila!! Pockets filled and looking super pretty!

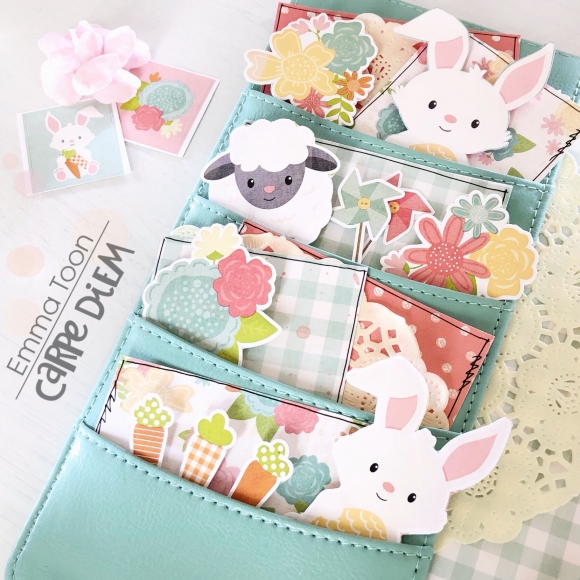
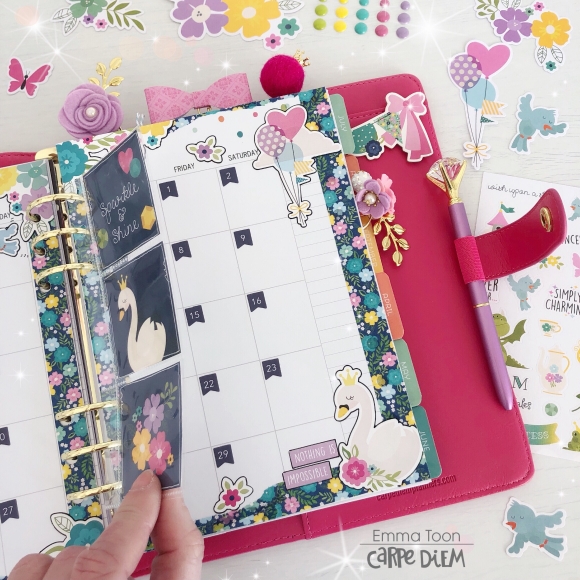
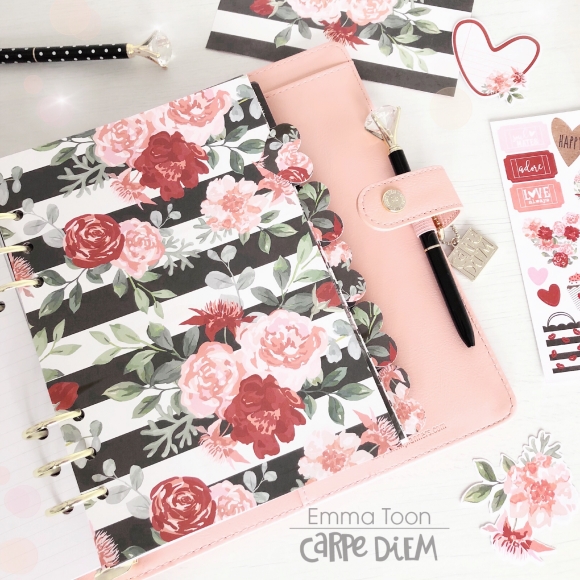
One of the paper designs has 4x6 cut apart elements, so I cut these up to use for decoration on my dividers and dashboard. 

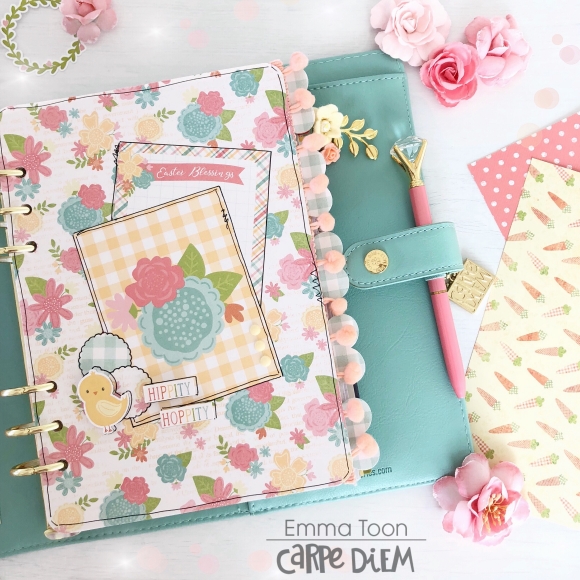
Using the Carpe Diem planners A5 templates and the A5 punch makes it so easy to make dividers, and for the dashboard, I simply traced around, missing out the tab! 

You can see how using the cut apart elements, and a sticker raised up on a sticky pad, how simple it is to create a decorated dashboard, and you can use this throughout your decorating of dividers too. I used some Pom Pom trim also running along the edge of a separate dashboard which I placed behind my decorated one, pom poms are a fun way to add more interest to your set up!!

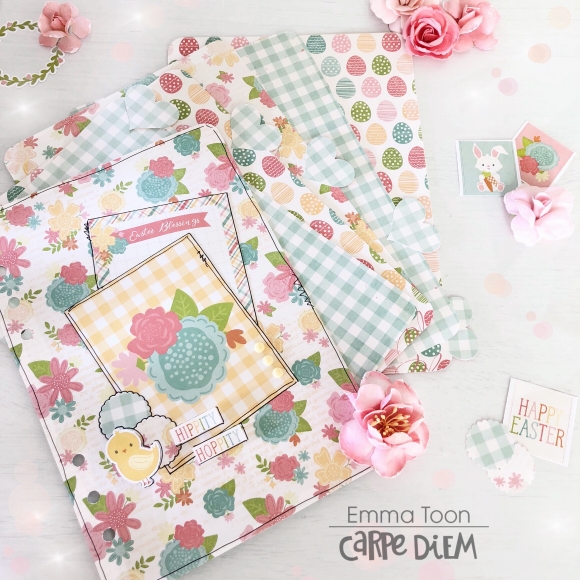
Here’s the dividers, I used a heart punch to make the tabs, I’ve shown how easy this is in a previous blog. How lovely are all these papers together, such beautiful pastels!! So, there we have it, my nice and simple Easter set up! Have a great Easter, hope the Easter bunny visits!! If you would like to see more pictures Simple Stories products then checkout my IG account.

Supplies

Hello again, it’s Emma back with you today, and I’d like to share a little bit of fairytale magic! I’ve been setting up the beautifully bright new Pink A5 Carpediemplanner and what a gorgeous planner it is!! 

I’ve used the A5 Good Vibes Monthly Inserts and the A5 Horizontal Weekly Inserts to get this planner all set up ready for use. 

You might be surprised that a mid forty year old would choose the new Little Princess Collection for setting up her planner....well, probably not that surprised actually if you follow me on Instagram!! ;)

The colours in this collection are so bright and cheerful and well what can I say about the florals, other than as always with Simple Stories, the florals are fabulous!!!


I’ve chosen the pink polka dot from the 6x8 pad and the then the teal from the Simple Basics 12x12 pack as my main focal colours. I’ve used off cuts in the pockets which I have slid behind two of the frames from the Tags & Frames pack and punched out a couple of teal butterflies which I’ve embellished with the Enamel Dots, YAY for the Enamel Dots to be back again!!! 

For the dash I’ve used the teal floral paper which I cut to size using the A5 template and the Carpediem A5 hole punch, boy does it make it super easy to create dashboards & dividers!! 


The 6x8 pad makes it so simple to make dividers, or in this case to cover dividers...I wanted to cover the March divider from the Good Vibes set as I wanted my ‘little princess’ theme to continue, I cut down a couple of the 6x8’s which you’ll see here and a bit further down my blog, to cover the front & back, a little bit of glue and the fabulous floral washi as a border and hey! It’s as simple as that!!


The monthly overview page is something I rarely use, but I do always need extra space for scribbling little reminders down, so I have covered up the various titles really easily with a few punched out circles and it has then left me with a prettily decorated page, perfect for jotting down those few reminders! 


I love to incorporate little sections using the various sized snap pockets, here I’ve used the 4x4 cut apart sheet and a section of a snap pocket that I’ve cut down, it just adds a bit of fun to my planner, sometimes I even add some sequins too, which make a shaker pocket, they’re really easy to do and just seal with some washi! 


As always with my monthly spread I’ve used the ‘I can’t live without’ Numbers Sticker Tablet! I’ve done a border of the floral washi and a few floral stickers and that’s pretty much it, so quick and simple but I think it’s a great way to add some colour! 


Here’s the other side of the March divider which I covered with one of the 6x8 pages and a border of washi. 


Did you see how this collection has a whole pack of floral ephemera?!...I think it was especially for me!! ...and also a whole sheet of florals in the sticker pack!! Look how I’ve decorated my weekly pages using only the floral stickers and some strips of washi!! I’m really pleased with how it turned out!! 

Well, that’s all from me for today, 


If you would like to see more pictures using Simple Stories products then checkout my IG account  https://www.instagram.com/heartsbyemma

Supplies

Hello again! Is it really that time again?...blimey that’s gone quick! Anyway!  Shall we take a look at what I’ve been up to since last time?  I’ve set up my A5 Blush with the dividers I made with the ‘heartsbyemma’ twist!! If you’re not sure what I mean, check out my last blog and all will become clear! 

So, if you remember I was saying how I’d picked out the beautiful floral papers as I wanted a set up that could be used all year round, not just valentines! 

I’ve used the floral papers in my pockets, which is a great way, and let’s face it, easy, way to tie it all in together! I’ve then softened with light pink doilies and grabbed every floral die cut and chipboard piece I could to add even more flower power!!

I have even popped a couple of sticky notes in from the bloom collection to look vaguely functional!...which we all know by now, I don’t do functional!...I do PRETTY!!

I made enough dividers to do six months and then I’ll move the last six months of the year over to the front...if that makes sense?! Have you seen the washi tape with the Kissing Booth Collection? Oh boy!! The floral!! I have to admit! I went a little washi wacky and covered February’s monthly spread in it!! What do you reakon? Too much?? 

I also used the number sticker tablet to number the whole of the month, picking out the gorgeous pink! That’s what’s so great about the number sticker tablet, there’s every colour and size sticker you could possibly ever wish for!!

I hope you’ve enjoyed having a peek inside my planner, and if you love floral prints like me, then I’m sure you’ll have definitely feasted your eyes on those beautiful papers! If you would like to see more pictures using Simple Stories products then checkout my IG account

Supplies

Pages