May 2020 Blog Posts

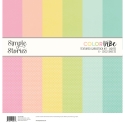
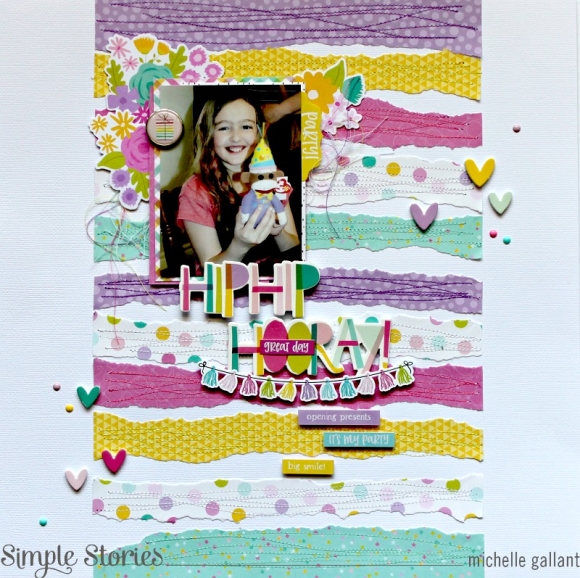
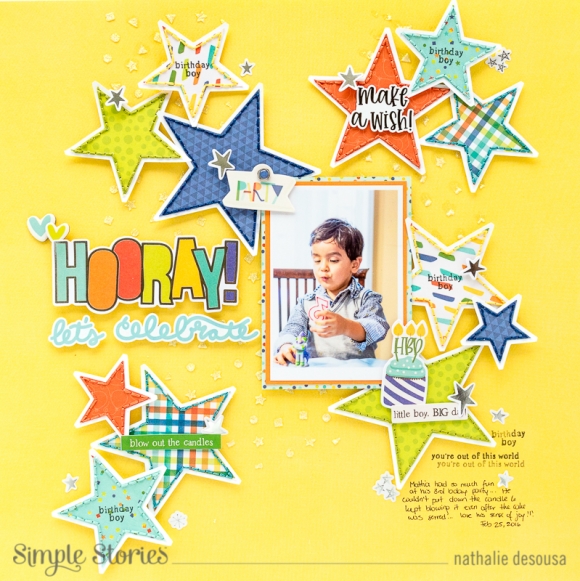
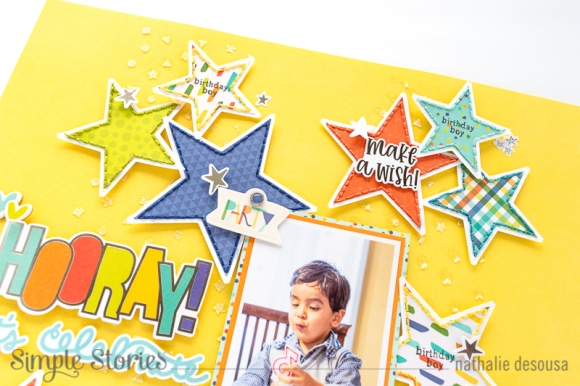
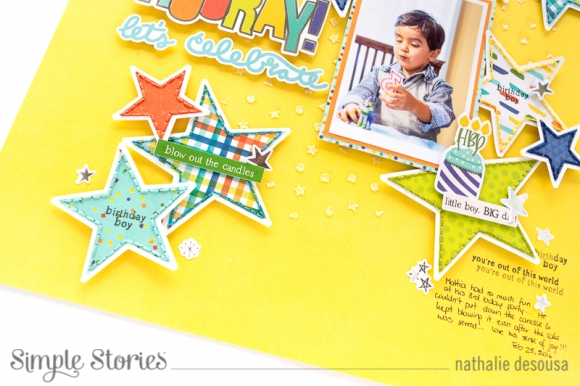
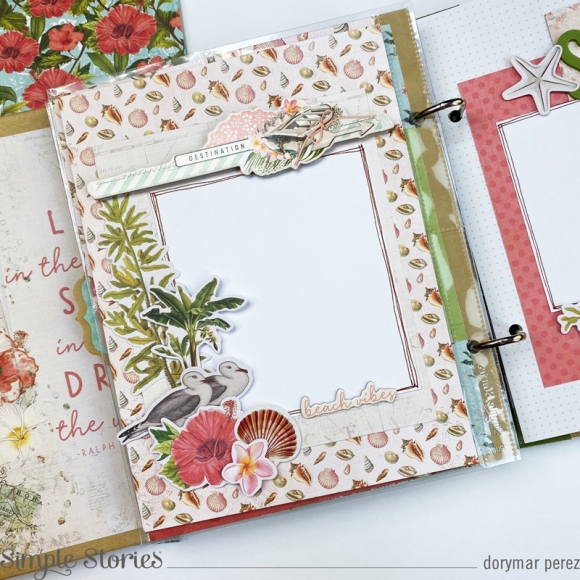
Hi beautiful Simple Stories friends. Cristina here with you today to show you a new project I made with the brand new Color Vibe and Summer Farmhouse collections. I chose the Color Vibe textured cardstock lights that has pastel colors that I love the most. Beautiful texture and very high quality for these sheets that have a side in a solid color and the back one with tiny lovely white polka dots, really amazing.

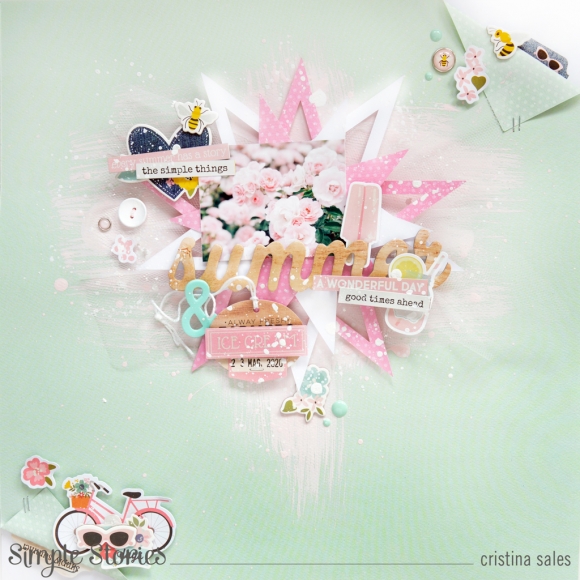
I decided to use the solid side because I would make a mixed media layout using an acrylic paint that I spread directly on the sheet using a brush. I really love the effect from the light green and pink. When the paint was almost dry I mixed a little bit of the acrylic paint with water and I spread many drops on the cardstock using a watercolor brush. The total matte texture of this paint perfectly fits with the background sheet so I really love how it turned out. After that I let everything dry I started to make my composition.

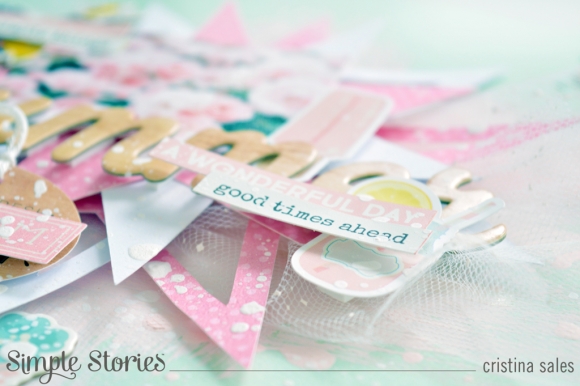
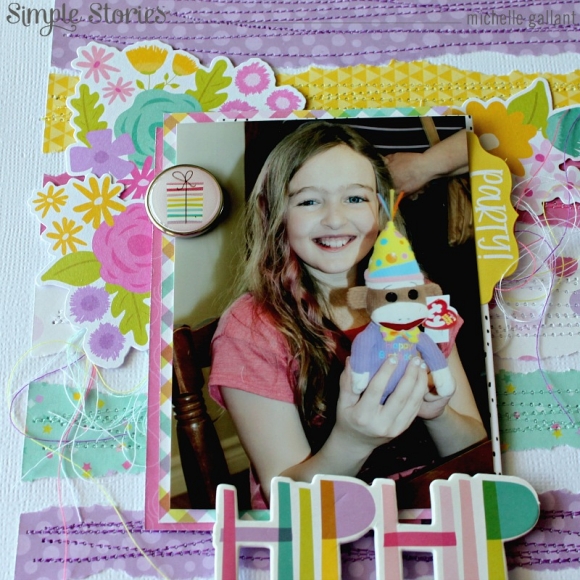
As my pic is a little bit romantic I decided to add a delicate touch using white tulle on the mixed media background to create a contrast - Really cool!!! After that I cut my star file using my cameo using the hot pink cardstock and a white one, I superimposed the cut outline of the stars and then I did the same with the cut of the whole stars. Finally, I glued everything to the tulle using double-sided foam adhesive.

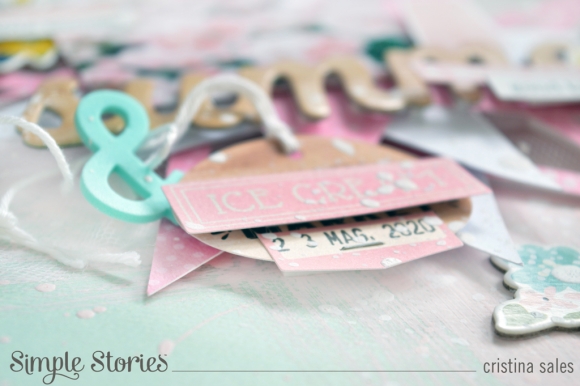
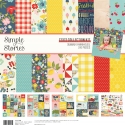
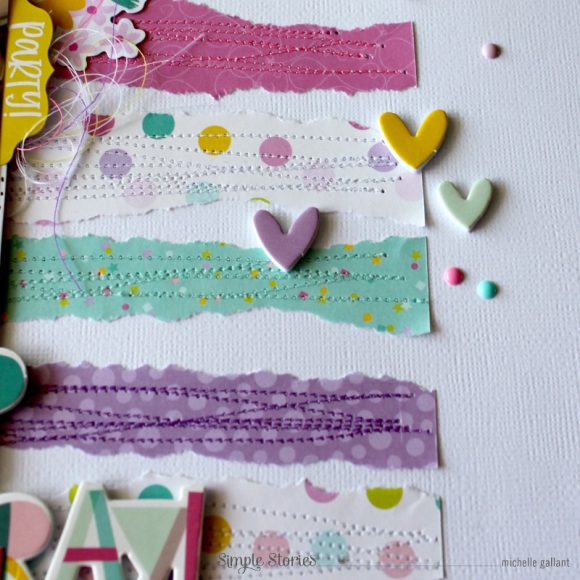
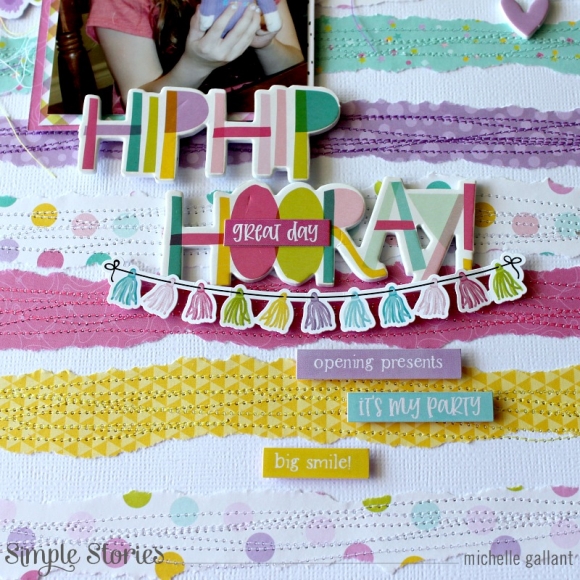
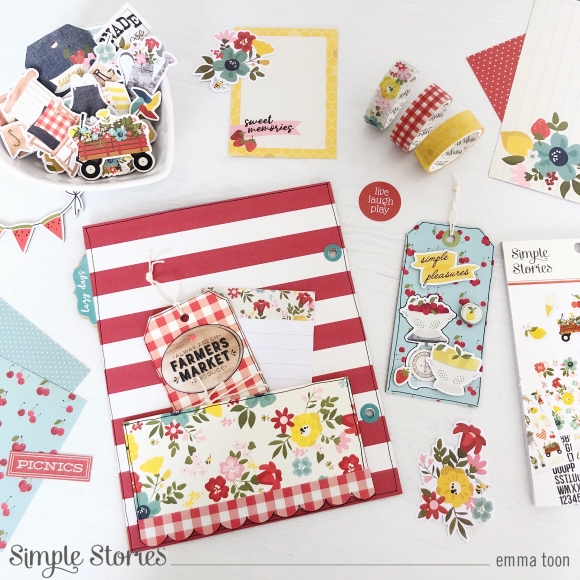
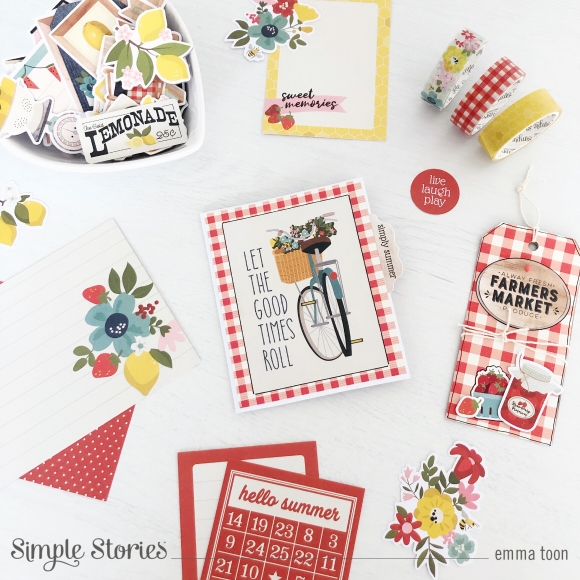
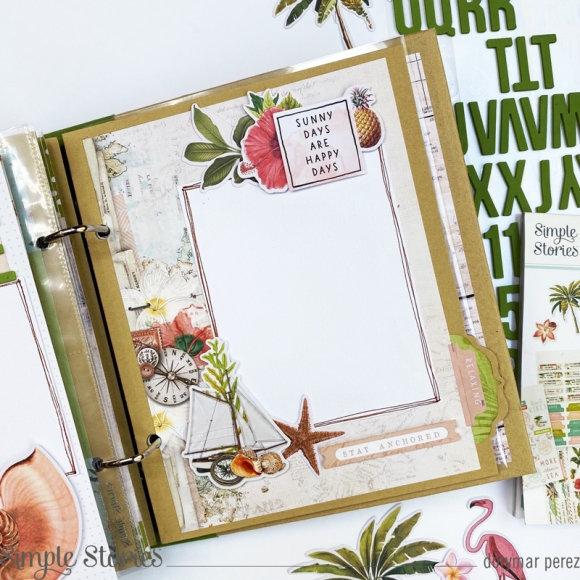
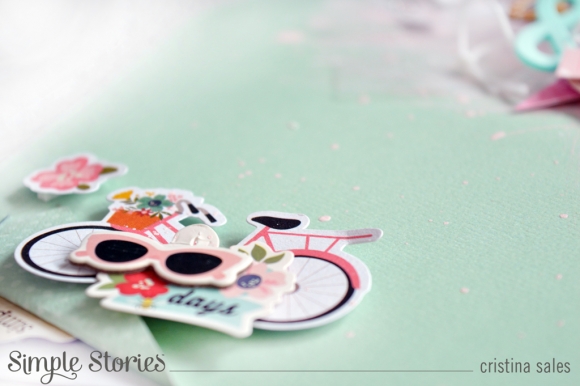
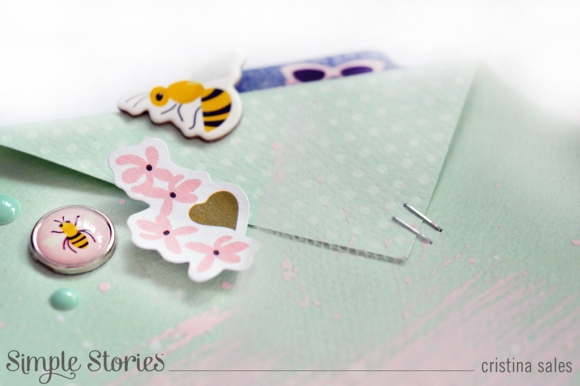
Each decorative element is from the Farmhouse collection and I chose some chipboard stickers. I just love the big title that is really gorgeous thanks to the lovely font used. I flipped over the opposite two corners and added some stickers there. To complete my decorations I spread many drops of gesso mixed with water and added some enamel dots and brads all around the page.

I usually love to create my composition using many layers and for that I added double tape foam adhesive to have a 3d effect. I think this way is much more affordable on the mixed media projects. This is my own idea about that so if you like my page take a chance to try to make something having fun with any kind of paint, watercolor, acrylic, gesso, everything goes because the Color Vibe textured cardstock it is very thick. This high quality paper helps you to add water based paints without any issue. Try it!

This is my project and I hope you are inspired by it. So please don’t forget to leave us a comment below and tell us which is your own idea on how to use these collections. Thank you so much for joining me today and see you to the next post.
Bye.
Cristina xxx

Supplies

Hi friends!  I hope you’re having a great day!  Memorial Day weekend is always the start of Summer in my mind.  The days are longer and it’s time to take life a little slower.  DH is working the grill and the tropical drinks are on me!   

And while lots of us will be having staycations this summer this collection can be your sweet escape to your favorite tropical hideaway and a little island living. 

This collection is beautifully color coordinated in shades of turquoise, coral and greens.   The prints include map prints, bamboo and weathered wood, as well as flirty flamingos and gorgeous orchids.

There are two packs of bits and pieces with pretty orchids and hibiscus, water birds, and different palm and banana trees!

I love the juicy pineapples and realistic looking flowers and sea shells.   There are lots of sentiments perfect for summer greetings or invites.

If you look close you’ll also notice the decorative brads in this collection.  The sheet has several different sizes – some with images under the glossy bubbles, others solid and shiny for a little eye candy.

The washi set includes three different prints – one with orchids, another with a map print and a third that is a printed roll of pineapples.  You’ll find a brad as well as a bit of washi on each card shown today.  Can you find them?

I love the chipboard pieces to add dimension to my cards, and the sticker sheet for bitty sentiment strips.   They’re fun to mix and match for one of a kind card creations!

Wishing you sunny days and thoughts of your happy place as you explore the Vintage Coastal collection!

Hey everyone, Michelle here today with a new layout to share using the Magical Birthday collection.  I love all the pretty and girly colors of this collection.  It was a perfect match for the little sock monkey on my photo!

I tore some strips of paper from the 6x8 pad to create my background.  I then added some messy stitching with coordinating thread.

My favorite thing about these new collections are the foam stickers!  They are perfect for a quick and easy title!

My daughter had a collection of sock monkeys when she was little.  She was so excited to get this birthday one!

I finished it off by adding some loose thread, enamel dots and little hearts.

Thanks for stopping by!

Supplies

Hello, oh how I love summer! How about you? This fabulous Summer Farmhouse Collection by Simple Stories is the perfect mix of ginghams, bunting, florals and fruit for documenting your summer fun! I just had to use the floral paper on the front of the red 6x8 Sn@p! Binder, you know how much I love florals!! 

I used lots of layers to decorate the front, paper doilies, tags, ephemera, chipboard pieces, enamel dots, rolled paper strips, brads and tied it all in with some gingham ribbon! 

I do enjoy doing 6x8 layouts, here I’ve cut out a pocket from one of the images and used it as a pocket to store little library cards which I can journal on. Also I’ve used one of the 4x6 Sn@p! Cards to list my summer top ten’s!

I’ve decorated the chipboard dividers which come included with your Sn@p! Binders, using the large pictures from the 6x8 paper pad, and on the reverse of each divider I’ve made pockets. 

I made some fun tags to go in one of the pockets, a card to store the coordinating Washi tape and also I’ve made a cute little booklet which opens up! 


I have also started making some 4x6 elements where I can add photos, I like to include plenty of interest using die cuts, stickers and word strips. 

I hope you enjoy your summer, although, I know it’s going to be very different to any we’ve had before!! If you’d like to see more of how I use simple stories products, pop over to my IG page

Supplies

Hi everybody! I´m Celes from GuiadeManualidades.com and today we are going to have a very special celebration! As we are all at home, taking care of each other… many of our loved ones have had their birthday. Besides doing a video call and sending beautiful messages… We can create something special for them.

During these isolated days my goddaughter celebrated her birthday. I still haven't seen her (60 days and counting…) But I decided to make something colorful and interactive for her. So the explosion box was the best option. It’s a funny and lovely project and the Magical Birthday Collection was perfect for it.

I made 3 boxes for it and decorated it with a lot of complements and details from this amazing collection. Feel free to use any model of this box you have. But in case you don’t have one, I will leave some cutting files at the end of this post. You can cut them with your cutting machine or by hand. The first thing to do is to cut the 3 boxes. I used white cardstock for them but you can use another color if you like.

Next… the magic begins! We are going to play with all the beautiful papers from this collection! We have to choose 4 papers for every box (2 for the outside, 2 for the inside)

We are going to decorate the exterior of each box and all the lids. Note: for the smaller box I used the 6x8 Paper Pad

When this step is ready, it’s time to decorate. Love to do it!  I combined die cuts, washi tape, chipboard, foam stickers, stamps, enamel dots, stickers. I added the pink foam alpha stickers from the Color Vibe Collection. Besides, I used foil paper to create a bow.

Note: remember not to glue all boxes together until decoration is finish

When you finish the decoration, it’s time to glue all the boxes together. Our explosion box is ready! What a lovely project!  I hope you like it!

Can’t wait to be here again! Have a happy week!

Cut Files PDF

Cut Files

Cut Files FCM


Supplies

Hello Simple Stories Friends!

Nathalie with you today to share a colorful and fun page with the new BIRTHDAY BLAST collection.   This new collection is filled with fun designs, colors and sentiments that are perfect to record those special celebrations.   

I love the masculine tones in the collection, and all the galactic designs were just ideal to document this picture of my nephew a few years ago ( his party was all about spaceships).    

The new Color Vibe collection Basic cardstock are amazing, and provide an amazing background for any layout.  For this page, i used the Buttercup paper from the Sn@P Color Vibe Light pack, and added a bit of sparkle to the background using glitter paste and the 6x6 CONFETTI stencil.   While the glitter dries,  i cut a few stars from the 6x8 paper pad and papers from the collection and hand stitched them to a white cardstock offset of the shape.

I  used a bit of foam adhesive to attach clusters of the handstitched  stars to the page, making sure that i had a combination of the colors of patterns.   I added a few small embellishments to each of the clusters.

To create the title, i  used a combination of ephemera and stickers from the collection.   Once, i set the title down, then i used a  few papers to back the picture and attach it to the right of the title.

To finish this page, i used the BIRTHDAY BLAST stamps  to add a few sentiments to some of the stars, and to help tell my story.    A few silver stars from the Sticker tablet and ephemera packs complete the page.

I hope this inspires you to mix color and design on your next celebration page.  The new BIRTHDAY BLAST is so perfect to document those happy moments.

XO

Supplies

Hello friends, it’s Dorymar today and I’m sharing a beautiful Snap Album with the new Simple Vintage Coastal Collection. I’m from the Caribbean and when I saw the collection I freaked out with the gorgeous patterns and beautiful tropical flowers. 

On the cover, I used the “Let’s Get Lost” paper because has a beautiful vintage design and I didn’t need too much decoration to my cover. Then I selected one of the 4x4 cards and used it as the title of my project. Closer to the title I added some gorgeous pieces from the die cuts and stickers. To add a beautiful texture, I added a little bit of gesso and some mini art stones to give the ocean look.

The designs in this collection are very tropical and have many beautiful images perfect to combine to any pictures from your travel to the Caribbean or any coastal visit. On my first divider, I used one of the 6x8 paper included in the 6x8 paper pad as a background, then I just added a beautiful banner and some die cuts, and my page was ready. The elements are so beautiful, this brings you the opportunity to make your pages so fast.

I love to use many elements from the collection to decorate my pages, here you can see how on the sides of my photo mats I made some clusters to give a perfect touch to the project.

One of the new elements that Simple Stories brings for this summer are the Foam Alpha Stickers, they come in many colors and are perfect for adding your own titles on the pages. In this project, I used the green ones and you will be able to see how they make the page stand out.  They have the perfect size to use it in any project.

What I love most about snaps are the pocket pages, being able to combine the cards and pieces that I will use with the designs I prepared for my pages, is so fun! I love to adhere stickers and die cuts on the pocket page to highlight the designs and my photos.

I used the pages with lines included in the album and make a few 3x4 cards to add journaling, then I decorated with the beautiful sticker included in the 4x6 Sticker Book.  The sticker pad is perfect to add beautiful sentiments and decoration to the spreads.

On this page I fussy cut the side of one of the 6x8 paper because it has a lovely coastal scene, I added it with foam tape on the side of my photo mat and looks like they come together. This page is perfect to document a beautiful photo from the ocean.

The banners of the collection are perfect to add photos or just to add your journaling. In this case I used one of the 2x2 cards with a beautiful sentiment and added it to the frame.

I hope you’ve got some inspiration from this project and use the new Simple Vintage Coastal Collection to create a beautiful project to document your lovely memories on the coast.

Thanks for stopping by!

Supplies

Hello everyone! Anya here today and it's my turn to share creations that were made with the Magical Birthday collection. I made two cards and a little mini book in a shape of a gift box. I've had this idea for a long time and this paper line seemed simply perfect for that.

I used a downloadable cut file and a Silhouette to cut the pages and a large bow. For the cover, I've cut a large bow and added machine stitching to it. I decorated pages with element pieces, ephemera and other decorative elements. Having a mini book ready will save me lots of time. I'll simply fill it with photos and stories when time comes!

For the cards, I used one of my favorite techniques: using two complimentary patterned papers for the background, adding a lighter center piece and decorating it with popped up elements. This collection has so many fun pieces to play with! I used some of my girls' favorites for these cards.

Thank you for visiting Simple Stories and stop by again soon!

Supplies

Pages