May 2020 Blog Posts

Hi Friends!  Thanks for stopping by!  I hope you are having a great day and the sun is shining wherever you are! Today I’m sharing EIGHT cards made with the Simple Stories Summer Farmhouse Collection. This collection is sure to make you smile with images that are reminiscent of a simpler time. 

I live in a small town in Indiana and this collection feels right at home to me.   We still sit on the front porch in the summer and drink lemonade while we chat with neighbors and everyone is welcome. 

The patterns in the collection have a comfortable feel too!  Honeycomb, stitched denim, calico, and gingham are right at home with the summer fruits and flowers.

The collection has papers available in 12” and 6x8”.  For card making I prefer the 6x8” pad because the prints are a bit smaller and by cutting the pad sheets in half I can cover two A2 card fronts.

The die cut pieces are fun to mix and match.  I love adding the chipboard stickers to add dimension.

The Journaling Bits and Pieces include lots of sentiments as well as the stickers in the 4x6” pad. 

The collection has lots of embellishments too – three different patterns of washi tape, enamel dots, and decorative brads that shine like candy for the eyes!

I’m going to use these cards for personal notes for friends and family that I send throughout the summer.  I think this one would make a great invite to dinner – on the back porch of course!

There’s a little bit of something for everyone in this collection.  It will make you want to recapture the summers of your youth and share them with the newest generation.

Supplies

Hey everyone, Michelle here today with a new layout to share using the  Birthday Blast collection.  This collection has everything you would want from a birthday collection, the bright colors, the fun embellishments, quotes and saying...  It's a must have!

I rolled up some pattern paper to make some candles for my cake layout.  I then hand cut some flames and added them with pop dots. 

I went a little crazy on the stitching for the first layer of my cake.  I think I tried all the different settings on my machine.  I like the fun look it created!

This layout is fun and bright.  A little busier than my usual but I love how happy it looks!

Thanks for stopping by!

Supplies

Hello again, hope you are all well, Emma with you today! I’d like to share with you how I’ve started using the beautiful Coastal collection by Simple Stories. 

I’ve used one of the stunning 12x12 papers to cover the front of the 6x8 Robins Egg sn@p! binder and then used a chalk ink around the edges to finish it off. This print is so gorgeous I didn’t feel the need to add anything else. 

I really enjoy decorating the chipboard dividers that come with the sn@p! 6x8 binders! I thought it would be fun to show how easily you can get three completely different colour ways, using the 12x12 basics papers. 

For each divider I’ve cut out a 6x8 size of paper and then layered it with a coordinating patterned paper & cut a part image. 

And then below I’ve used a smaller piece of the patterned design and one of the banners out of the ‘Bits & Pieces’ pack. ...oh, and of course, edged each piece with my ‘trademark’ black ink faux stitching!, and a few enamel dots! 

I love making large designs to fit in the full 6x8 pocket pages, these pineapples were screaming out to be used! I layered up the images and used some foam dots for the die cuts. 

On this large design I cut some lined paper from the sn@p! Basics 6x6 paper pad, to use for journaling and layered it up on one of the floral designs out the 6x8 paper pad. 

If you’d like to see more of how I use simple stories products, pop over to my IG page.

See you next time! 

Supplies

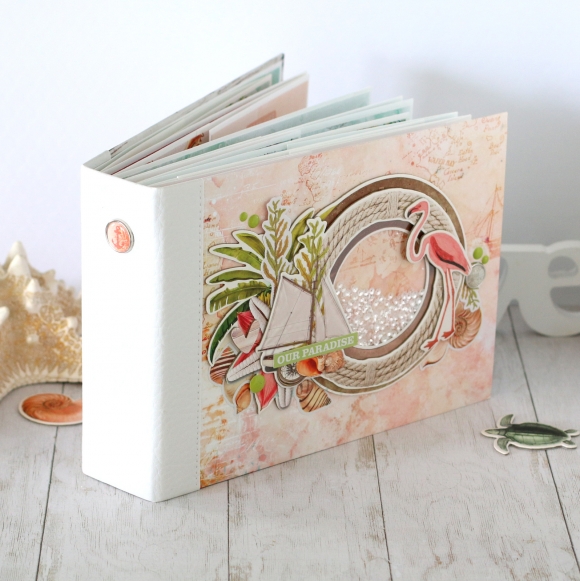
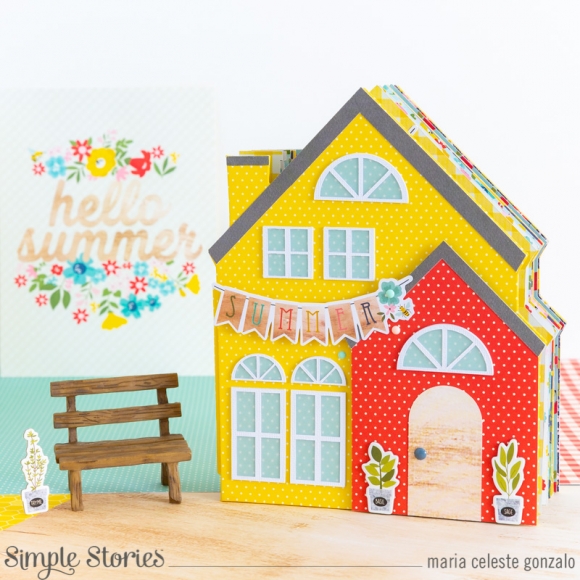
Hi everybody! Welcome back! I’m so excited to show my new project! Would you like to create something sweet and beautiful to keep your summer memories? This is going to be a very special summer… I´m Celes from GuiadeManualidades.com and I want to share with you this lovely mini album!

Summer is coming and as we are all living in a very special situation… This summer is going to be different. Looking for a design in the Simple Stories Store in the Silhouette Design Store, I found this beautiful house from the Happy Together collection. You will find it HERE. So I decided to use it to make a mini book.

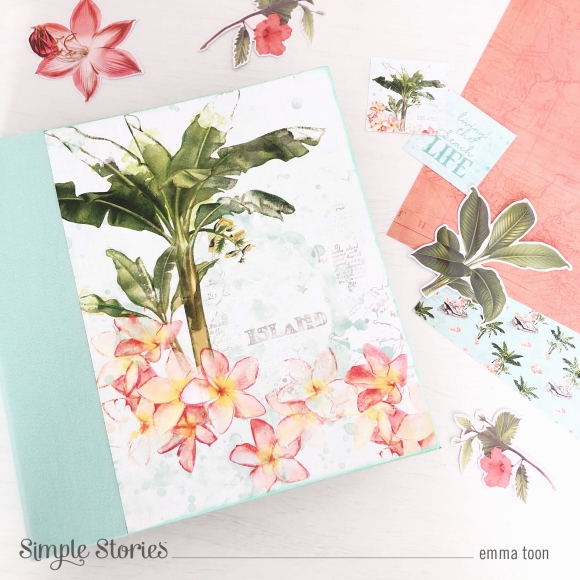
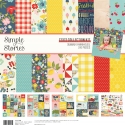
The collection for this project is called Summer Farmhouse and its all new! It’s full of lovely details and colors that shout "summer" and make you feel happy and ready for a picnic… Let's get started!

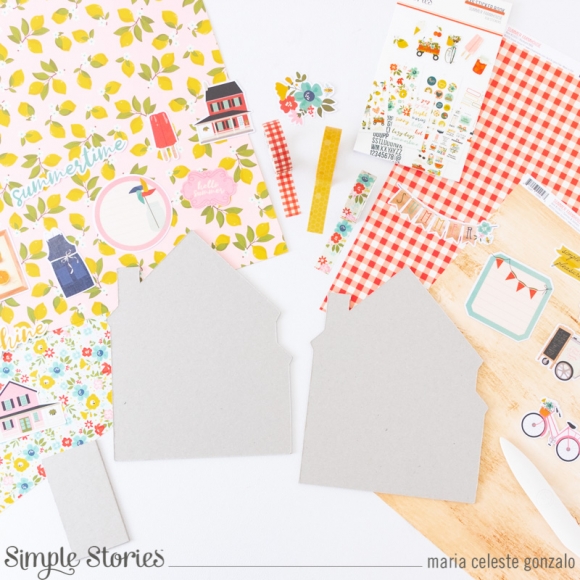
The first thing you need to do is to edit your cut file and separate all the house pieces. I recommend you to edit the house silhouette and modify the base of it (make a straight line). Then, separate all the other pieces without modifying them.

My final project is around  6 3/4” w x 8 1/4” h. I cut 2 pieces of the house silhouette in stable cardboard adding 1 piece of 2” w x 3 3/4” h.

I used two of the collection kit papers for the mini book. One of it to cover all the structure and the other one for the inside. I cut the inside paper using the same house silhouette file.  But, you have to wait to add the inside paper until you prepare the spine.

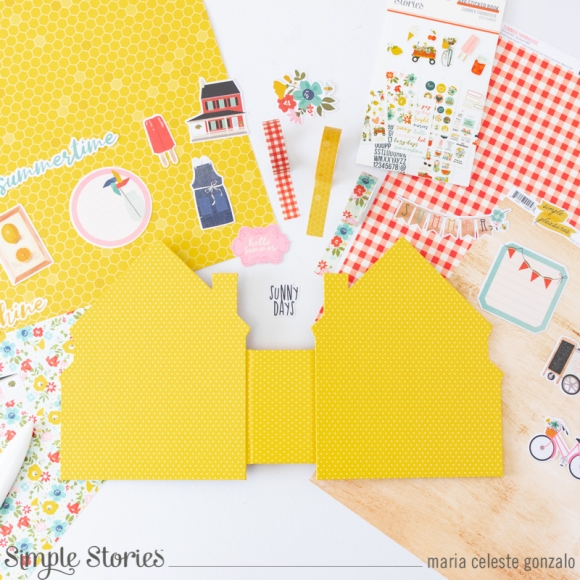
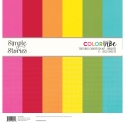
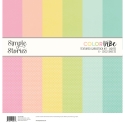
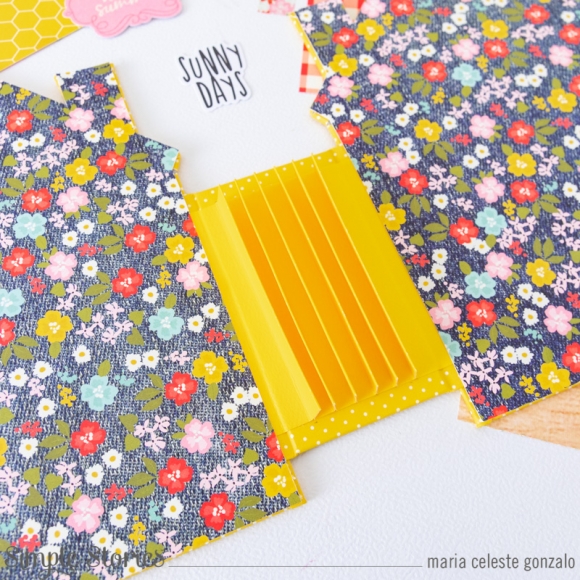
I made a basic spine. For making it I cut a piece of yellow cardstock paper from the Color Vibe “Brights” Kit of 10 1/4” w x 3 1/4” h. Then you have to scored it in 1 ½”, 2”, 2 ½”, 2 3/4”, 3 1/4”, 3 3/4”, 4” , 4 1/2”, 5”, 5 1/4”, 5 ¾” 6 1/4”, 6 1/2”, 7”, 7 ½”, 7 ¾”,  8 ¼”, 8 ¾”.  As a result you are going to have a spine with 6 hinges. Once it´s ready, you can glue the spine and then add the interior papers. The spine is smaller than your structure. Just leave 1/4” up and down.

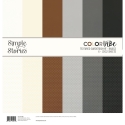
Now we are going to work on the cover. We need to prepare all the pieces. You need white cardstock paper, charcoal cardstock paper from the Color Vibe “Basic” Kit, vellum and three of the collection kit papers. For the windows we are going to prepare something special. For each window you need to cut: #1- 3 pieces of the structure of the window in white cardstock paper, #2-  2 pieces of the base of the window:  1 in vellum and 1 in one of the collection kit papers.

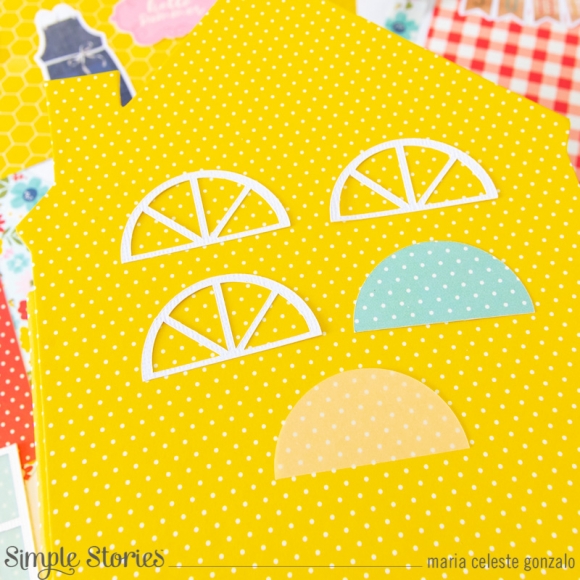
Glue 2 of the white paper pieces, the add the vellum piece and add the last white paper piece on top. Finally, add the piece of the design paper at the back. Repeat the process with all the windows.

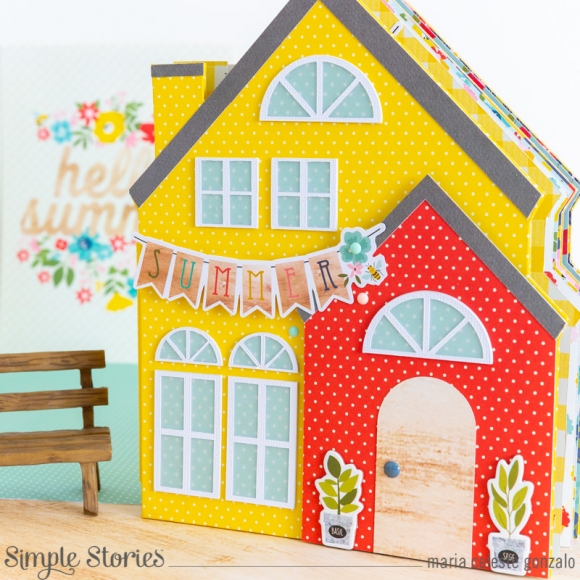
Besides the windows, you will have 2 pieces for the roof of the house and 1 piece for the fireplace. Cut them in charcoal cardstock paper from the Color Vibe “Basic” Kit. Use one of the design papers to cut the door and another one to cut the front house shape.

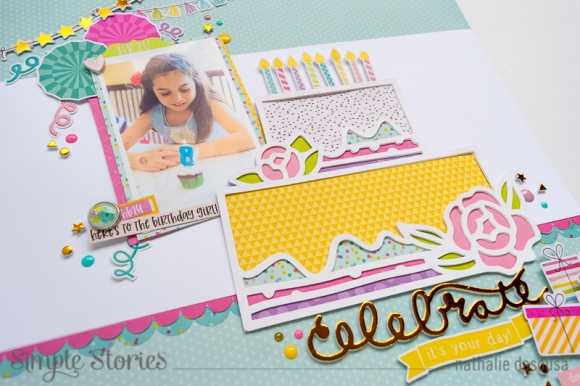
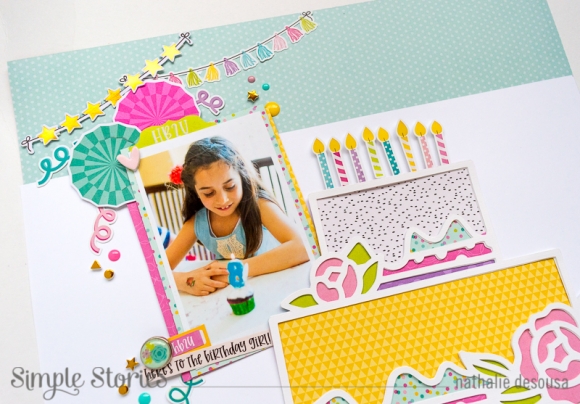
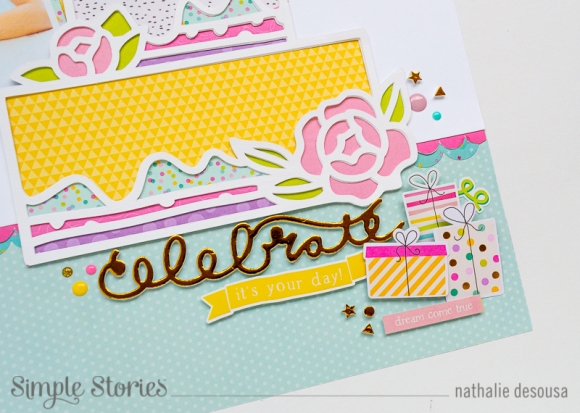
Once you have all ready, you can start to assemble the cover. Add the front house shape with 3d foam and then the rest of the pieces. I didn’t use the plants cut file. I preferred to use some of the chipboard for it. Then I added one of the die cuts and some enamel dots to complete the cover.

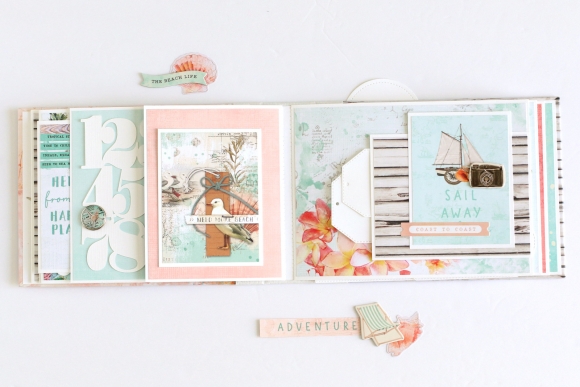
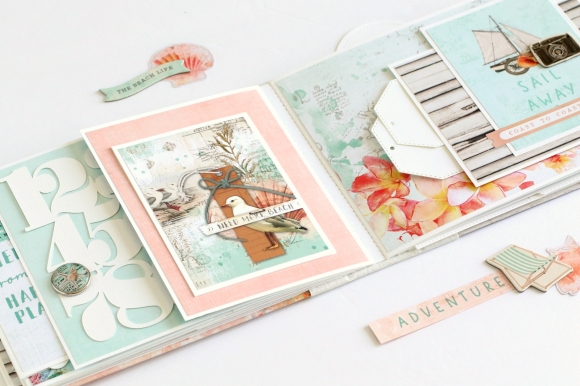
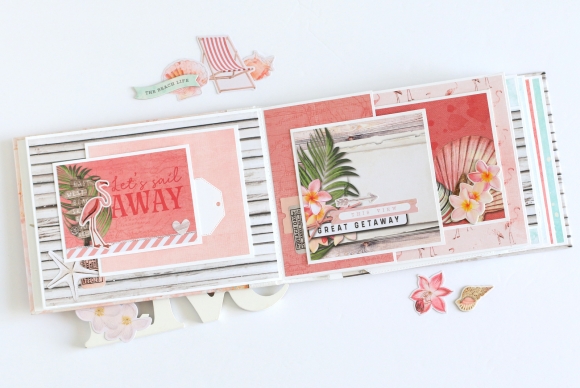
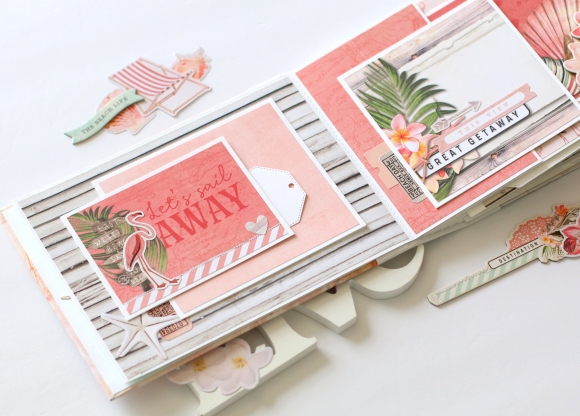
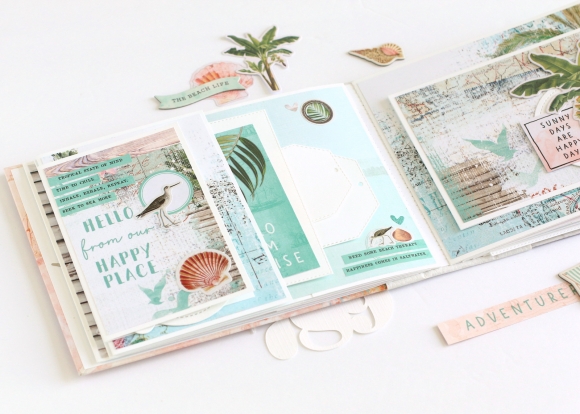
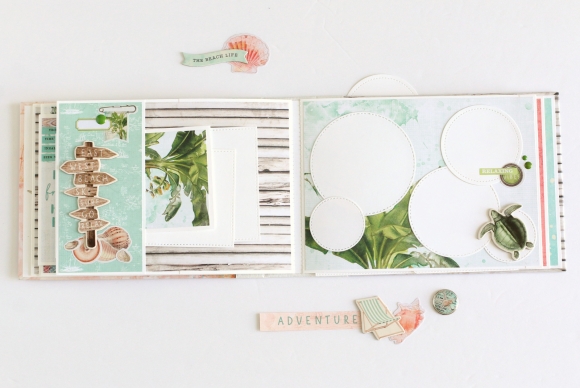
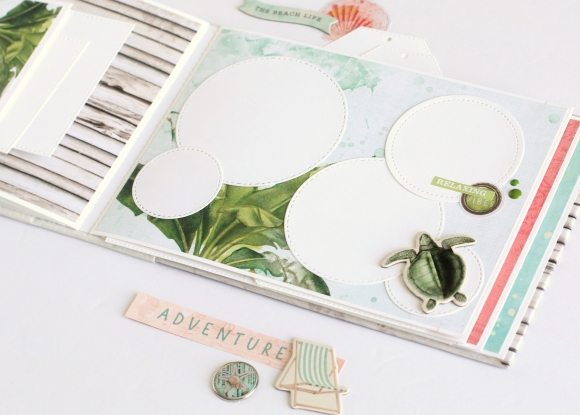
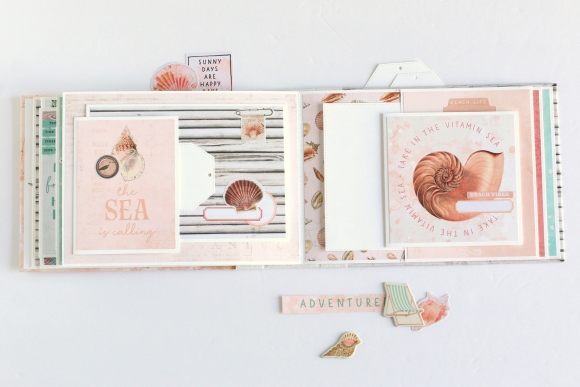
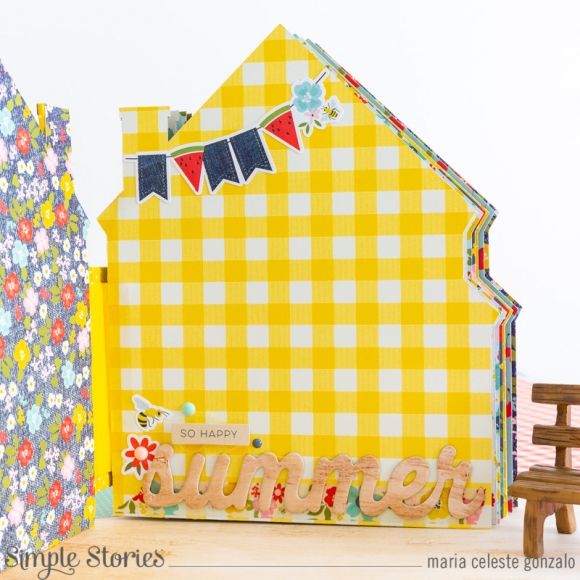
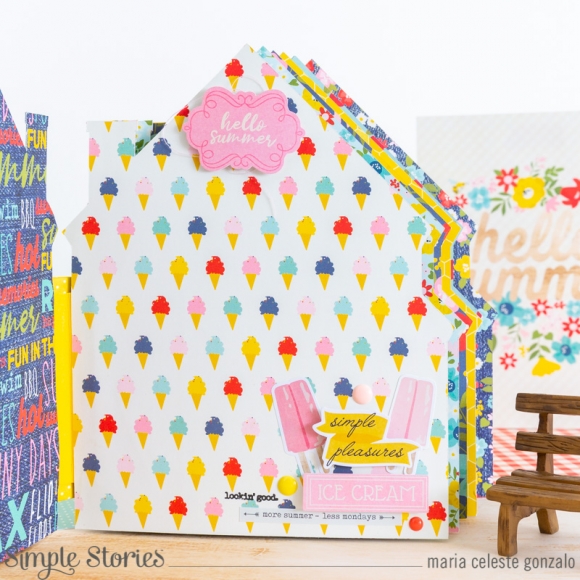
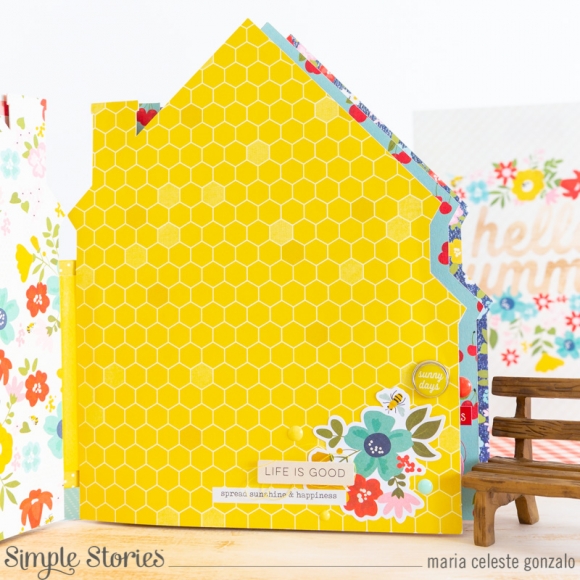
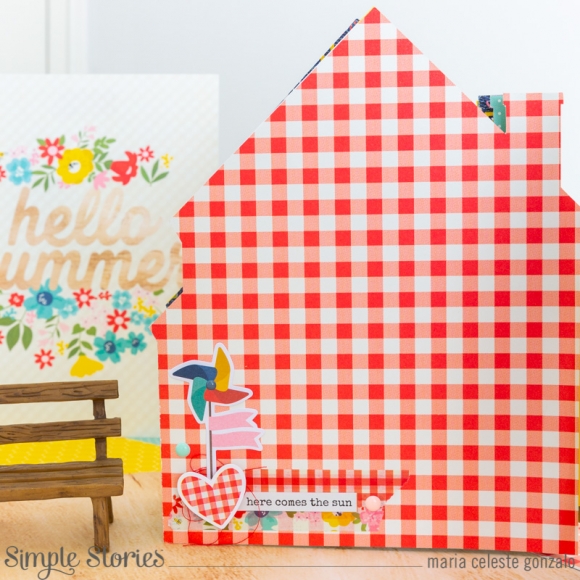
Let´s go to the inside! We are now going to make special pocket pages… we are going to cut the same house silhouette file for making our pages. Cut all the design papers you like and then add them to the spine.

For doing it, you have to glue them together but leave a “small pocket” between them. You will use that “pocket” to glue the page to the spine. It’s easy! Just check the alignment of the page with the structure. Repeat this process with all your pages.

IMPORTANT: If you are planning to make some inside structures as a cascade or anything else, you have to add them before you glue the pages together. The same thing must happen if you are planning to decorate with some brads as I did.

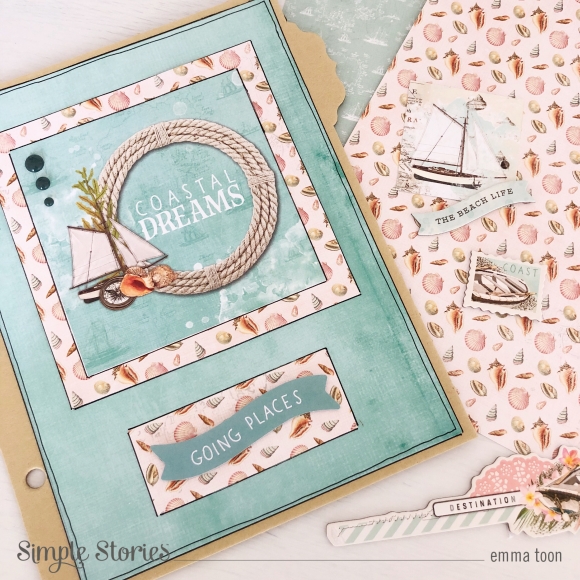
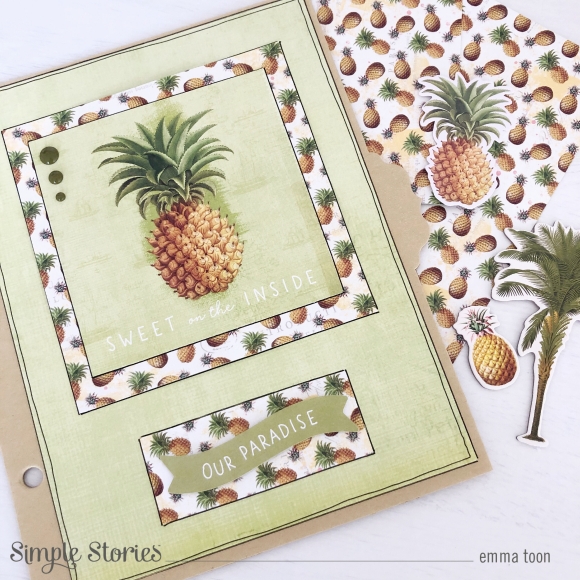
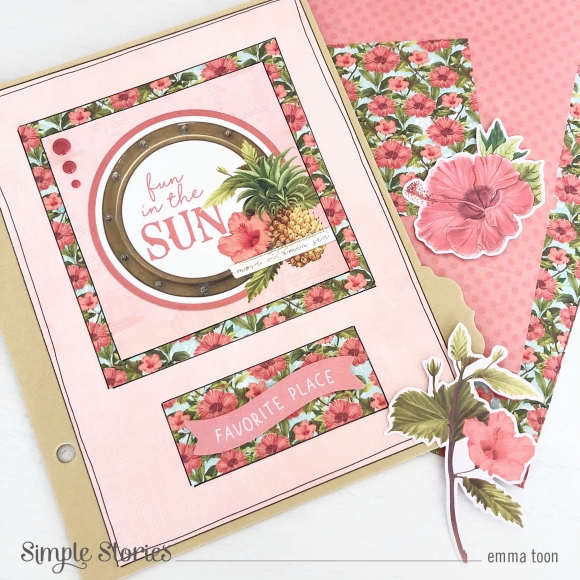
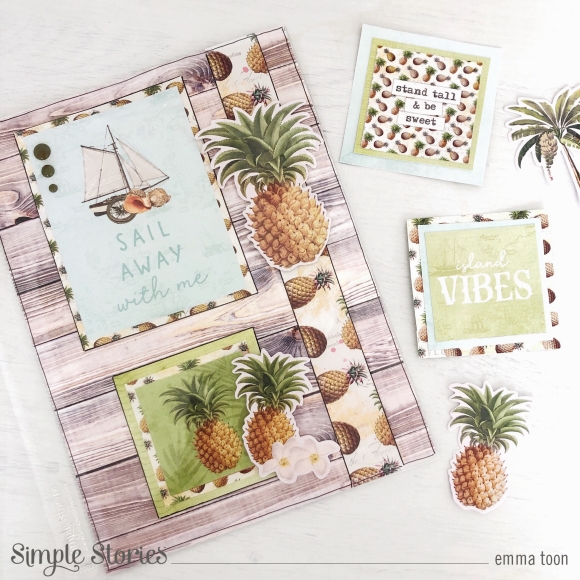
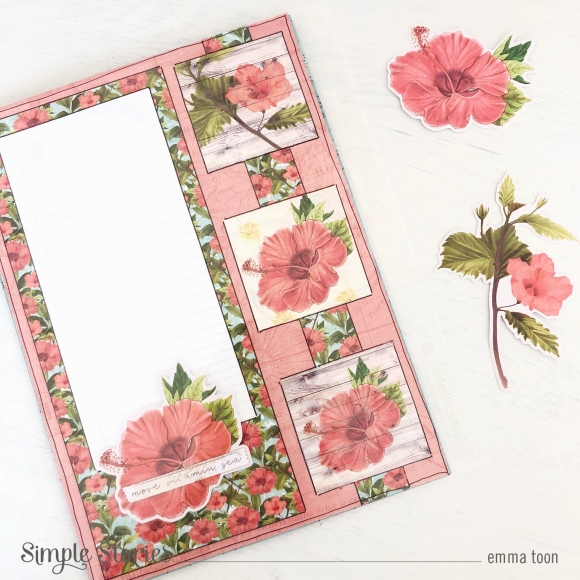
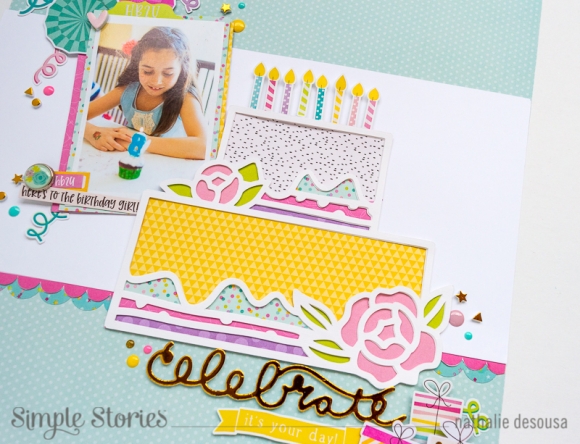
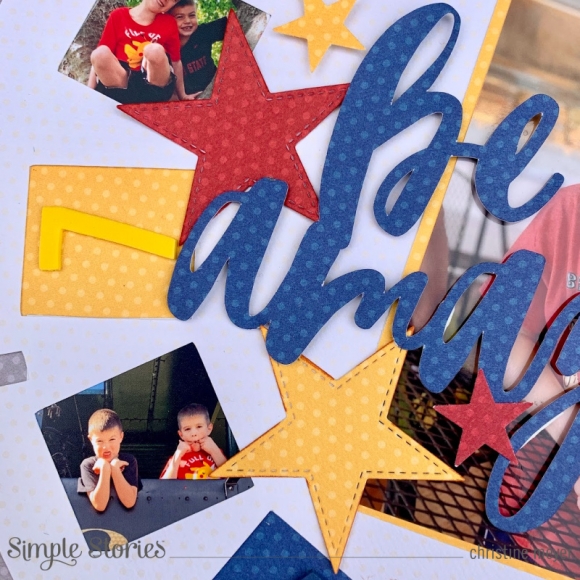
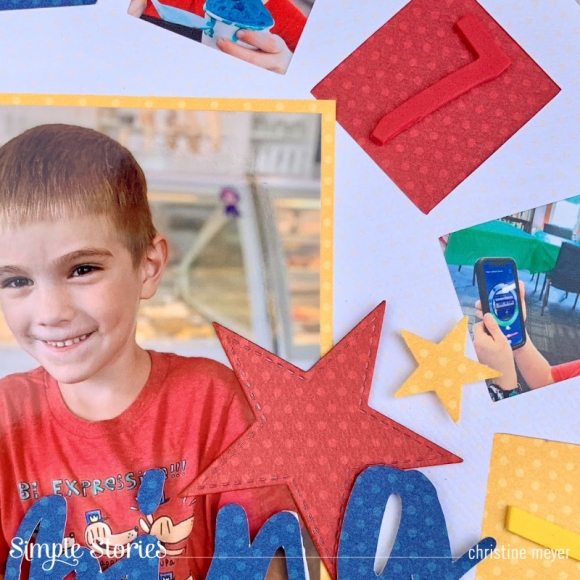
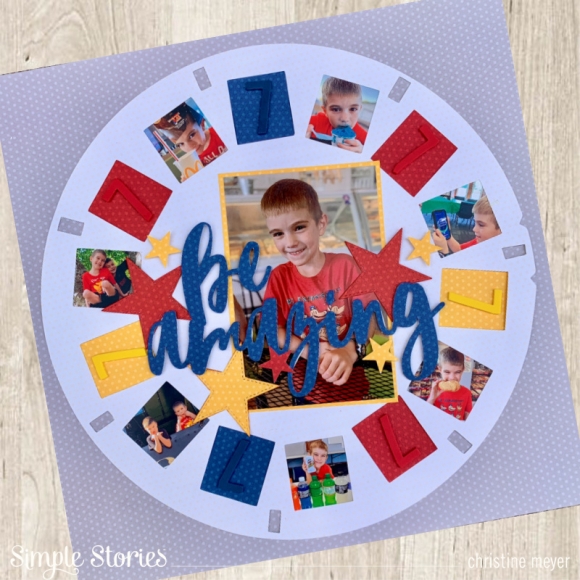
To decorate the pages you can use all you have. Die cuts, stickers, chipboard, enamels dots and washi tape.

I hope you like this idea! Play with papers and your cutting machine and create something beautiful.

See you next time!
 

Supplies

Hi there Simple Stories friends!

Nathalie with you today to share a fun and colorful layout all about celebrating those magical birthdays. I always think of birthdays as a cheerful day, and the new MAGICAL BIRTHDAY collection  from Simple Stories is filled with small details that will help you document your special day.    

I love the colors and designs in the papers, but the reason  i pulled this picture of my niece for the layout is all due to the eight candles that come in the 12x12 sticker combo, call it serendipity.   I used a cake cut file from Handipaper and cut it three times from white cardstock.  These were stacked and glued together so that they add dimension to the page.

All the colorful papers made it so easy to back the cut file.  I pulled the It's Your Party, Birthday Girl, 3x4 Elements, as well as the 6x8 paper pad to bring color to the cut file.  To construct the layout, i cut a 12"x5" white cardstock strip and attached it to the center of the Hey Crafty Girl basic paper.  I fussy cut a scalloped strip from the HB2U paper and layered it under the white cardstock along with the sticker border from the 12x12 sticker combo.

Embellishing this layout was so fun, literally fun.  My idea was to recreate the party in the page, so i started by adding a few of the banners at the top right corner of the layout.  That foiled star banner from the ephemera pack is amazing!  Then i added the picture (i backed the picture with some of the collection papers) then added a few more decoration to the top of the picture ( thinking of the party decor).  Then added a few stickers around the picture.  The brad was perfect to hold the stickers together and bring texture to the page.

I placed all the presents embellishments at the bottom of the cake, and then used the beautiful foil foam stickers to create my title.  A few enamel dots and gold foil stickers complete  the page.

I love how this page came together with the beautiful MAGICAL BIRTHDAY collection, it is a must for your Birthday documenting!!!

XO

Supplies

Hello friends, it’s Dorymar today and I am super excited to show this fun Sn@p! Album I created using the lovely Magical Birthday Collection.  These pages were especially fun for me to create because I'm a mom of two girls.  Pink and girly themes are my favorites, and this collection has such a mixture of beautiful colors and gold in the lovely graphics and the designs.

This time I used my 6x8 Pink Sn@p binder in a different way, I decided to use it the horizontal way and I loved it. The binder design is made to be used vertically, but I think this way is a little different twist on a Sn@p! Album and the result is the same, a beautiful project to document my memories. On the cover, I created with the new Color Vibe Lights collection and made four rosettes to mix up the beautiful patterned papers and goodies from the Magical Birthday Collection. I selected different pieces from the ephemera and chipboards stickers and for my title, I selected one of the 4x4 cards included in the 4x4 Element paper. All the pieces were adhered with foam tape to create dimension.

Since my cover is horizontal, I wanted to create my pages and dividers in the same way.  To start, I painted my chipboard dividers with white paint to match perfectly with the papers in the collection. Then I used papers from the 6x8 paper pad to decorate them and add the layers. I just love the way they turned out.

This collection includes the fun new foam stickers, I am delighted with them. I used them to create the titles on my pages and others to highlight pocket pages. I always love to incorporate different textures and add things that will highlight the collection, in this case, I added a lace ribbon and created some beautiful bows with threads and decorated them with the beautiful brads from the collection.

As you know I adore adding pages of different sizes in my albums because this gives an added touch to the project. In this case, I reduced one of the pages included in the Snap binder to 6 inches, then with one of the flower papers included in the 6x8 paper pad,  I made a pocket to house different cards to add photos and journaling inside.

Below you can see some of the beautiful pages of that this lovely project includes.

The 2x2 insta-pocket page could not be missing in my project, I love it too much. I put several of the beautiful 2x2 cards included in the collection and made some shakers to give it a gorgeous look. Many, many beautiful goodies from the collection. I’m totally in love with them.

The cards included in the Elements papers always include messages in vertical as well as  horizontal designs. It's so easy to just slip a card into one of the pocket pages to finish off the design.

I hope you love this project as much as I do and it has inspired you to use the beautiful Magical Birthday Collection and also to try to use your Sn@p! Binders in another way. In my opinion, the result was wonderful, and I think it will be the first of many that I use horizontally.

Stay safe and happy!

Supplies

Hello everyone! Are you enjoying this warmer weather? We absolutely love it! Doesn't this kind of weather makes you think about past vacations or the ones you are planning to take this year? Anya here today and I am really excited to share with you a mini book I created using the gorgeous Simple Vintage Coastal collection. I used this fabulous little book to record one of our vacation trips to Myrtle Beach.

As soon as I saw those round chipboard Layered Frames I new I would be doing a mini album with a shaker on the cover. I filled the shaker with tiny white sequins and decorated the cover with additional stickers, chipboard, brads and enamel dots. 

When it comes to decorating the page spreads I like to pick a main color and stick to that color palette. Also, my favorite part in decorating mini books is adding as many 3x4, 4x4 and 4x6 elements as possible. They perfectly coordinate with patterned papers and provide a great decorative piece to any page. I always adhere them to a folded piece of white cardstock first, which adds them a nice border and provides additional space for photos.

By spreading pages apart about 1/4” every double page, it gives me room to add more layers and lets me use bulkier items like chipboard and brads for decoration. This is what I like the most about handmade mini books – you decide how big or small, skinny or wide it will be. My mini book measures about 5x7” and has a 1.5” binder; it includes 12 full pages and a lot of flips and pockets.

Thank you for visiting Simple Stories blog and stop by again soon for more inspiration!

Supplies

It feels like life lately has had us getting back to the basics.  Perfect timing to create a layout with some new basic products from Simple Stories, the Color Vibe collection! This collection has basics to help supplement your patterned paper collections or to take out on it's own.  Today I am going to show you how I used it on it's own!

When I am working with simple patterns, I often go to cut files!  Today was no exception!  For this layout I used an older viewfinder cut file from the Simple Stories store.  By enlarging it to fit on a 12 X 12 layout, I was able to add a lot of pictures to it!  

The Color Vibe papers are textured with one side being solid and one side have dots.  I love the dots as an added option!  I utilized that side for my entire layout combining both the Basics & Bolds paper collections.

One advantage to working with Color Vibe is that you can totally tailor the colors to match your photos exactly!  Having a lot of reds, yellows, and blues in my pictures; I opted for those as my main colors!  I cut out stars and the title in those colors.

I also used the Foam Alphabets in coordinating colors to add "7" to my spots without pictures.  This was a nice way to add in a meaningful element!

If you'd like to check out more of this project and how it came together you can find more details in my process video here

Thanks so much for stopping by today!

Supplies

Pages