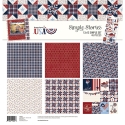
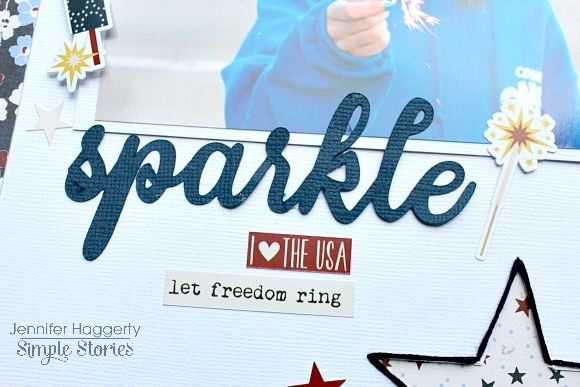
Hello friends! Jennifer on the blog today to share a page I created using the Hometown USA Simple Set! The 4th of July is a big holiday for our family as we enjoy yearly traditions such as watching local fireworks and cooking out with neighbors! Hometown USA includes classy prints with the patriotic red, white, and blue which was perfect for this favorite photo of my daughter enjoying a sparkler before fireworks!
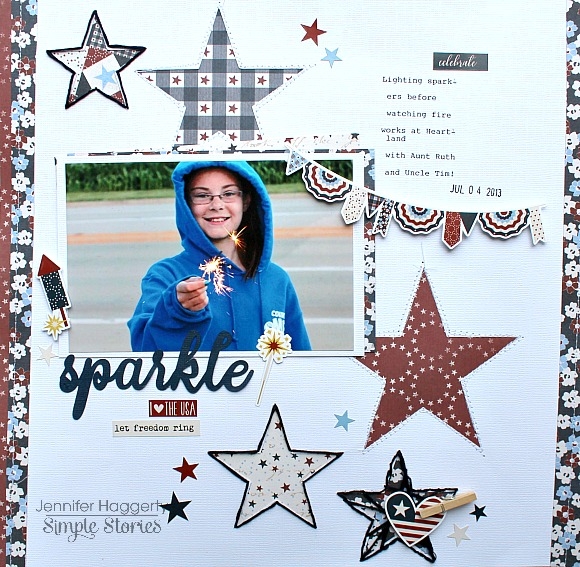
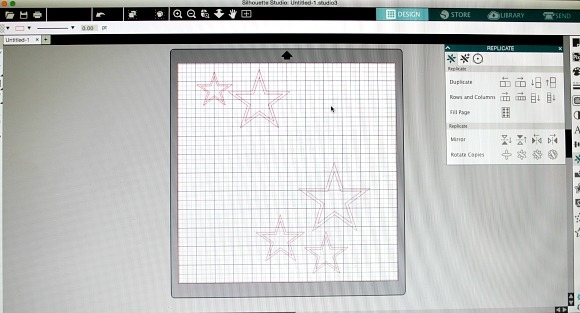
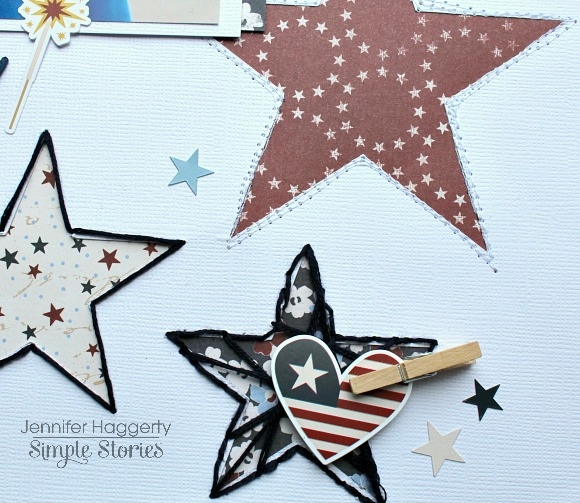
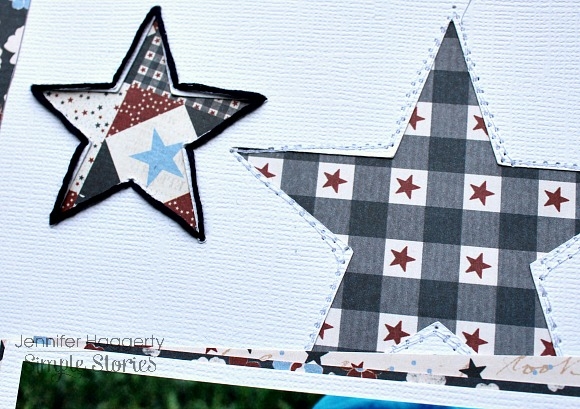
I wanted to incorporate stars for my background so I utilized the "Star" Cut File from Simple Stories (file #170092) found in the Silhouette shop. I opened the replicate screen to duplicate the shape as well as alter size as I see fit. Once my background was cut, I backed each open space with patterned paper from the collection.
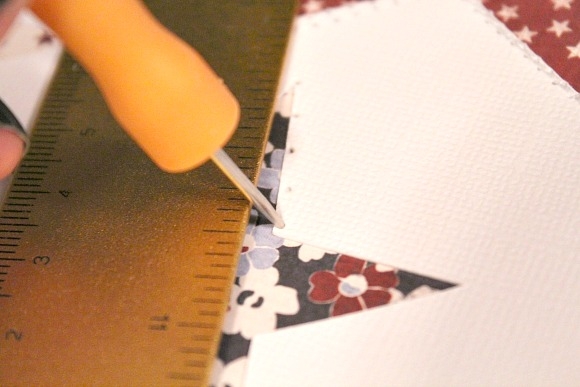
Next, I knew I wanted to use some hand stitching as well as my usual sewing machine. With a paper piercer and ruler, I placed holes around my star. Then, using embroidery floss in dark blue, I stitch around selected star shapes.
Here is the end result of the stitching! Some of the stars I decided to just punch holes at each point so there would be less stitching (which means smoother transitions). One my bottom star, I used a pop dot to adhere the heart flag sticker to accent.
Simple Stories has a large selection of cut files to choose from including this "Sparkle" I used for my title (file #83862)! I then accented with two of the cute sentiment stickers found on the Hometown USA 6x12 Sticker Sheet. Of course, I had to use the sparkler as well!
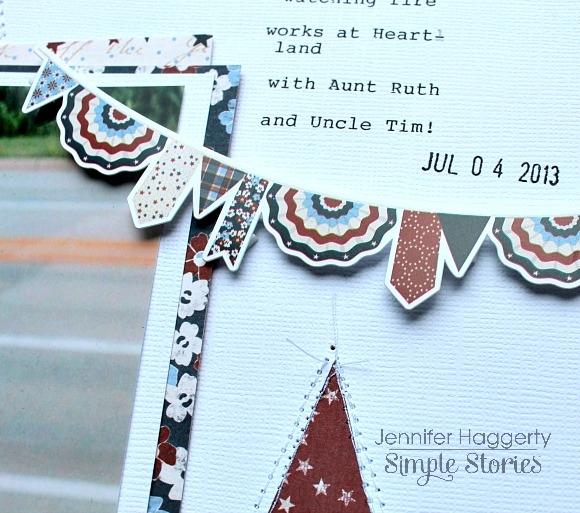
I'm so loving this banner! I adhered it with pop dots across my page to help break up the sections as well as to accent my journaling.
Thank you for stopping by today! Check out the entire Hometown USA collection by visiting the Products page! While you are there, see what is coming up for Simple Stories! Have a great day!