Nathalie DeSousa's Blog Posts

Hello Simple Stories friends!

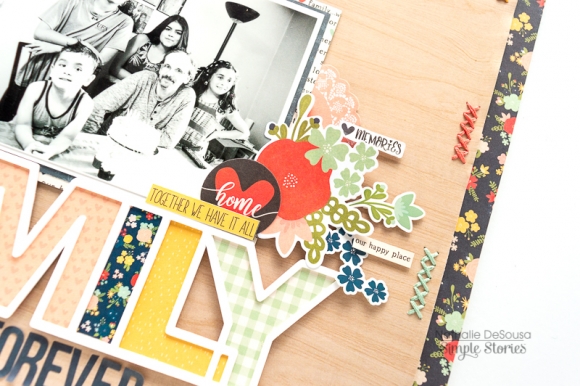
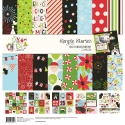
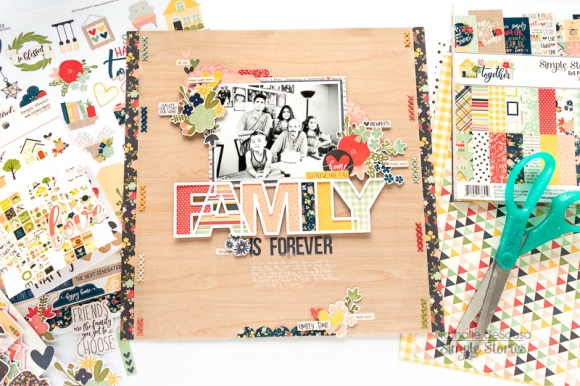
Nathalie with you today with an new project all about Family Love!  The new  So Happy Together collection from Simple Stories is the perfect combination of design and sentiment.   I couldn't resist using it to document a picture of my family at my husband's birthday.
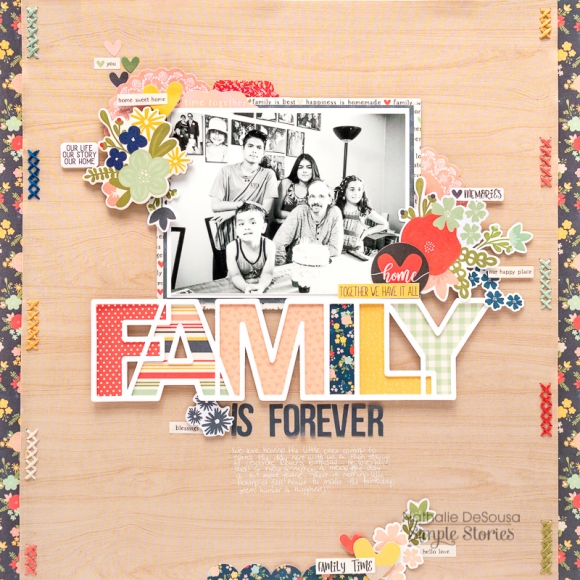
I started this page by using a cut file from Paige Evans to cut the word Family three times from white cardstock.  These were stacked and glued together to add dimension to the title, then backed each letter with papers from the collection.  The 6x8 paper pad is the right size to back the empty spaces.
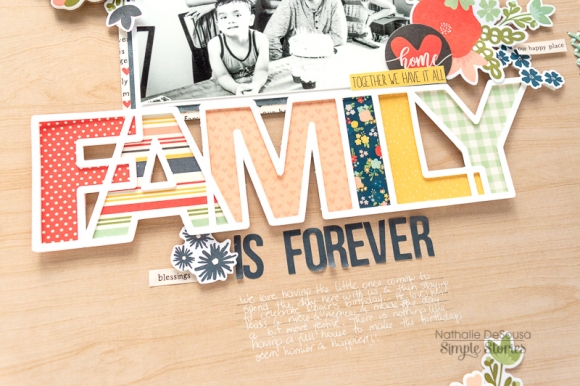
The woodgrain paper - Hello Love paper- is the ideal background for the page.  I trimmed the paper to fit 11x12"and then glued it to the Our Story paper.   A bit of handstitching adds dimension and texture to the page
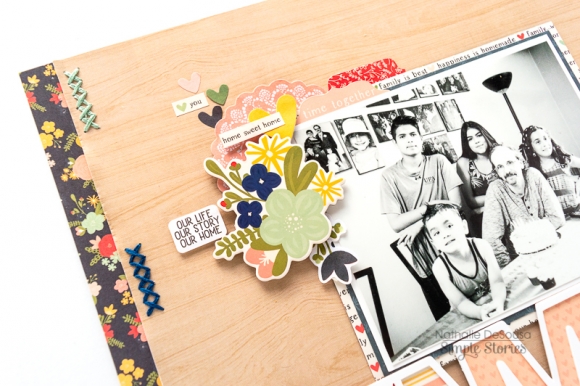
With so many beautiful sticker and sentiment embellishment in this collection, it was so easy to layer them in clusters around the picture and title.  
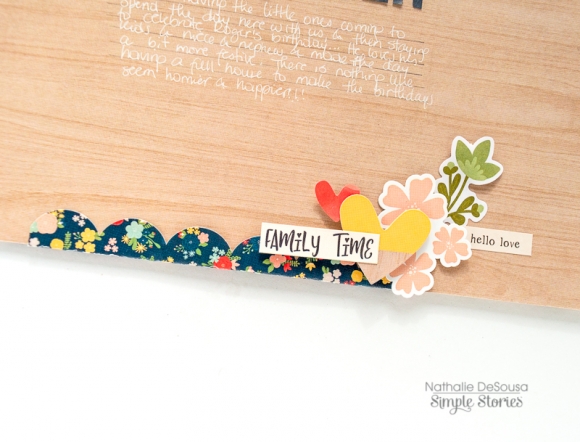
To finish the page, i added a cluster of embellishments to the bottom of the page.  The scalloped border sticker was a fine detailed that helped soften the edge of the page a bit.   All that was left to do was add my lines of journal.
I hope this has inspired to check the new So Happy Together collection from Simple Stories, you are going to love all the details and sentiments.   

Have a  Merry Christmas and a happy New Year!

XO

Supplies

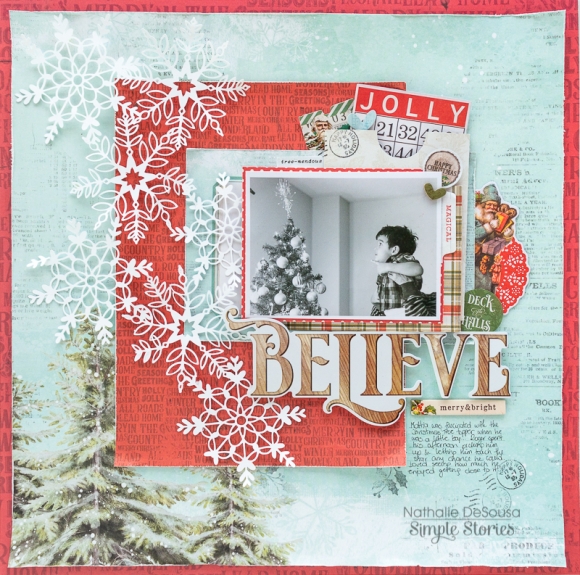
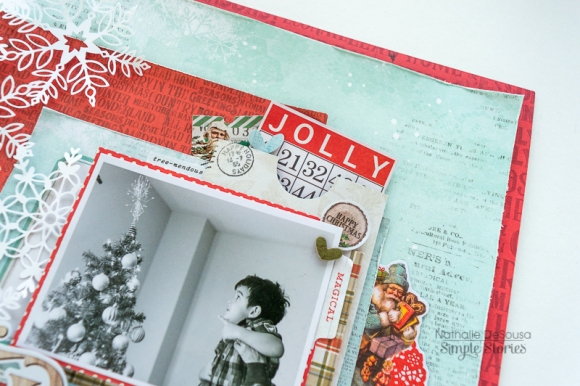
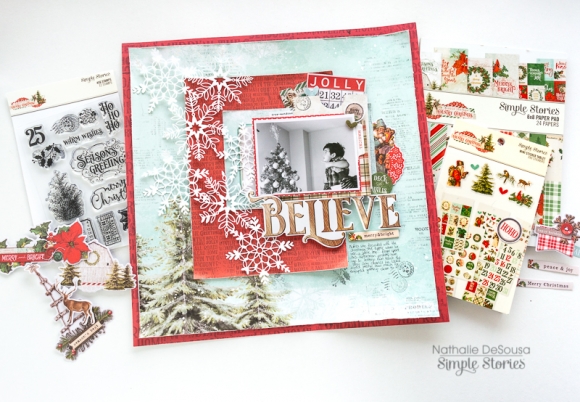
Hi there!  Nathalie with you today to share with you a new layout about documenting the Magic of Christmas using the beautiful Country Christmas.   I love the vintage, classic designs of this collection, and  it was perfect to bring the sentiment of the season to this page.

I wanted to showcase the papers in this collection, so i started by trimming  and distressing the edges of the O Christmas Tree paper, and adhere to the b-side of the Glad Tidings paper.   The color combination of these papers makes the page so festive.

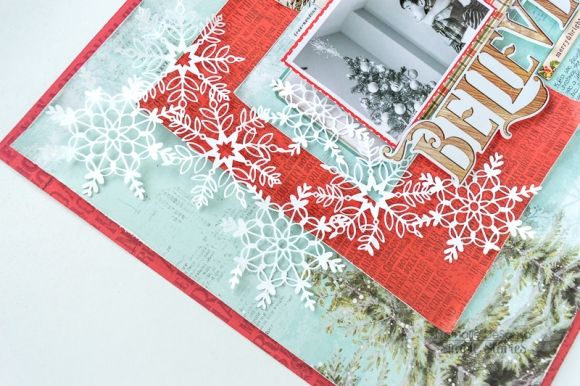
To make the papers shine, i chose a simple design for the page.  First, one of the papers from the 6x8 paper pad was glued to the background ( i picked the paper to match the Glad Tidings paper).  To bring the snow details in the background, i used a cut file from Handipaper to create the snowflake cut out, and then attached it along the left side of the 6x8 paper.

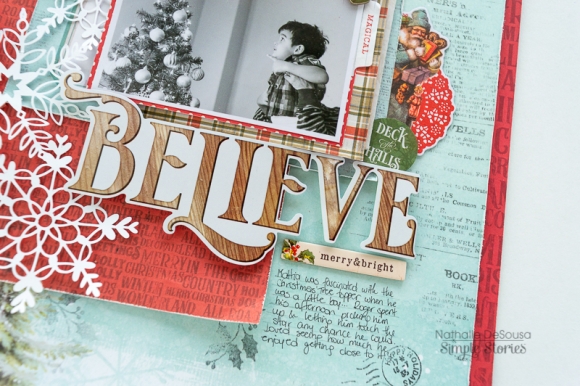
The Sn@p cards are perfect to create layers, and i used one of the 4x6 and 3x4 ones behind the picture.  Then used  the Simple Basic paper pack to create a small pocket that is also layered behind the picture.  Once i attached this to the page, i used a few embellishments from the collection to bring color and fun to the page.

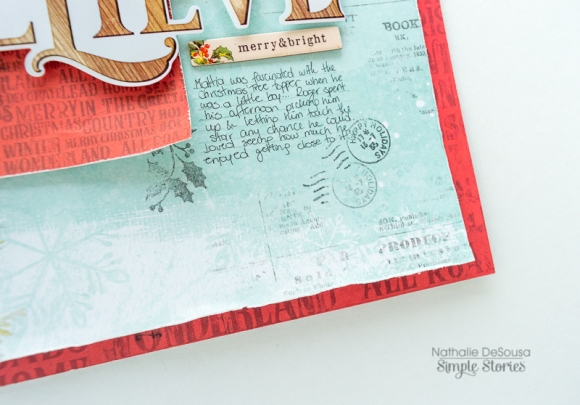
To finish the page, I used the large "Believe" sticker from the combo sheet and  then a small chipboard stickers.   I  chose to handwrite my journal, but finished the paragraph with a few stamped images from the coordinating stamp set.

I love how this turned out, a simple page made perfect by all the papers and embellishments from the beautiful COUNTRY CHRISTMAS collection.   Remember to check the collection, you will love how it can easily bring the magic of Christmas to your pages.

XO

Supplies

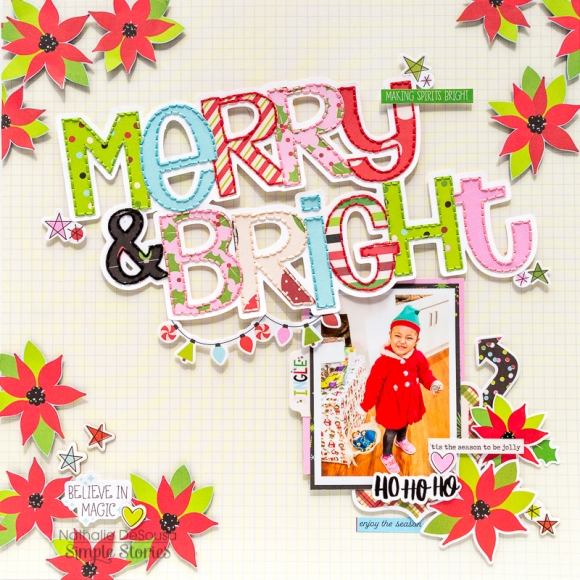
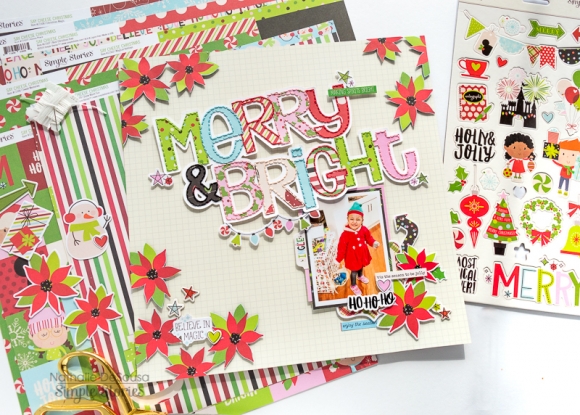
Hi there Simple Stories friends!  Nathalie with you today with a new project that brings the joy of the Christmas season to a layout.  When I saw the new  Simple Stories Say Cheese Christmas, I knew that the colorful designs and papers will be perfect to document this picture of our Goddaughter as an elf last Christmas.

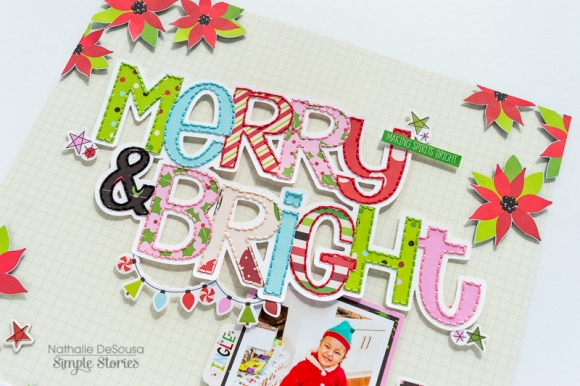
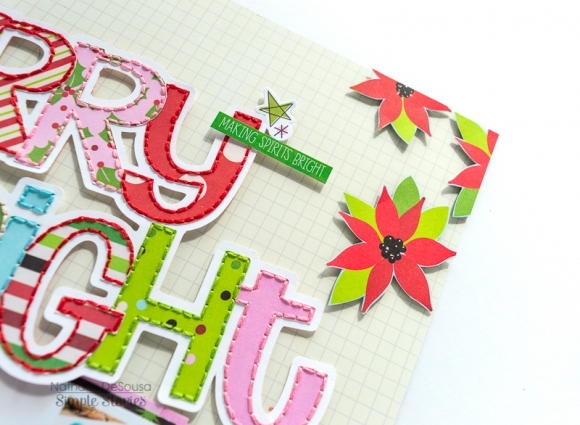
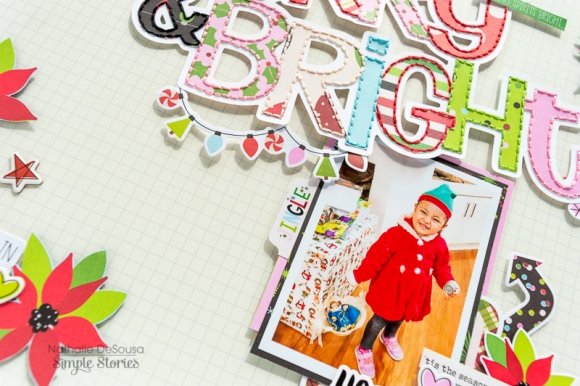
I started by creating a fun title for the page. I chose an alphabet from the Silhouette store, and cut each  letter from different papers from the Say Cheese Christmas collection.  In addition, I arranged the letters in order -for the title- and created an offset around the words.  I cut this offset from white cardstock and used it as a base to handstitch the letters of the title together.

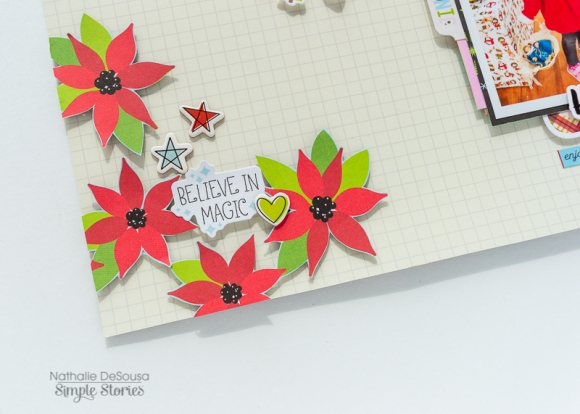
For the background of the page, I chose the Sn@p Basics Hickory/Cream grid paper . I chose to fussy cut a few florals form the Making Spirits Bright paper and attached them around the  outer edge of the background using foam adhesive

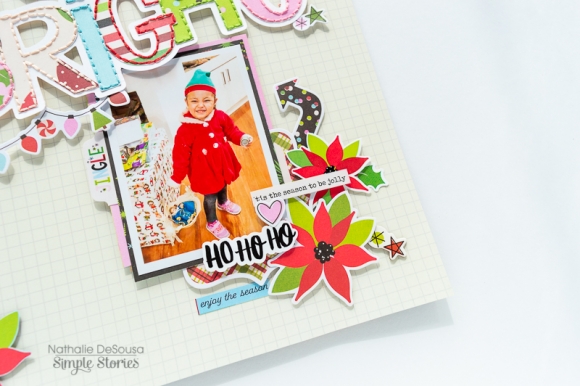
Once the title was glued to the background, the layout came together quickly, First i used a few of the papers to frame the picture and add layers behind it. I tucked the picture under the title, and started to add small embellishments around it,

All the cute and festive stickers and ephemera pieces were perfect to add sentiment to this page. Plus they are so easy to combine that it makes this page come together in just a few minutes.

I hope this has inspired you to check the new Simple Stories Say Cheese collection.  You are going to fall in love with the designs, colorful images and how versatile it can be.

Til' next time

Supplies

Pages