Nathalie DeSousa's Blog Posts

Hi there!

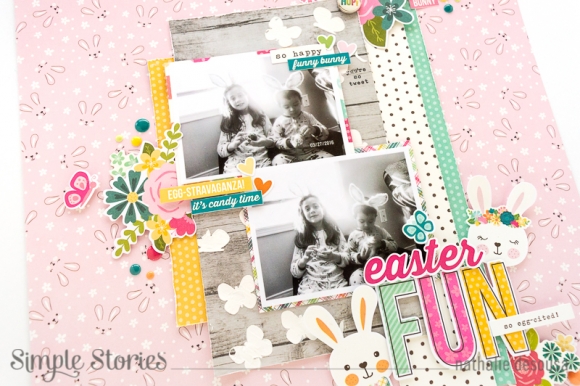
Nathalie with you today bringing you a new layout all about those sweet memories of Easter Egg hunts.   I think we all have memories of our children (or younger us) enjoying all the egg hunt finds, and what better way to enjoy them than to document them with the new Simple Stories Hip Hop Hooray collection.  It is just the perfect Easter and also Spring collection.
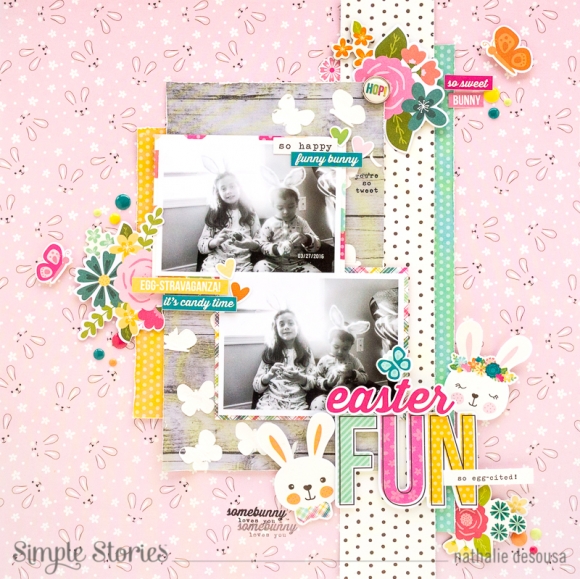
I created a simple design for the page so that i can mix all the beautiful paper colors and cute embellishments.  First i used the Butterflies stencil and some white texture paste to create a few impressions on a piece of the 6x8 wood grain paper. 
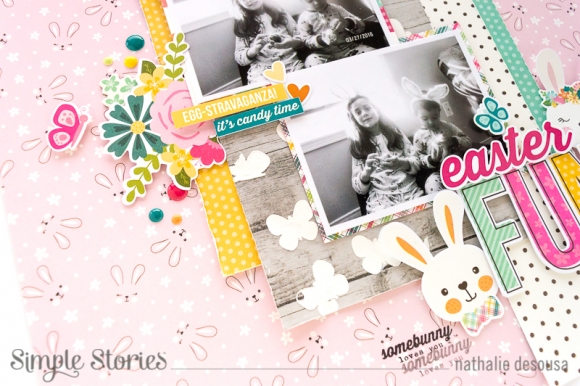
Since both my little (niece and nephew) are wearing bunny ears, i quickly chose the Hippity Hop paper for the background of the page.  First i chose a strip of the Puddle Jumper paper as an anchor for the page.  I decided to keep add a few more paper layers behind the paper strip from the 6x8 paper pad and Hello Peeps paper.
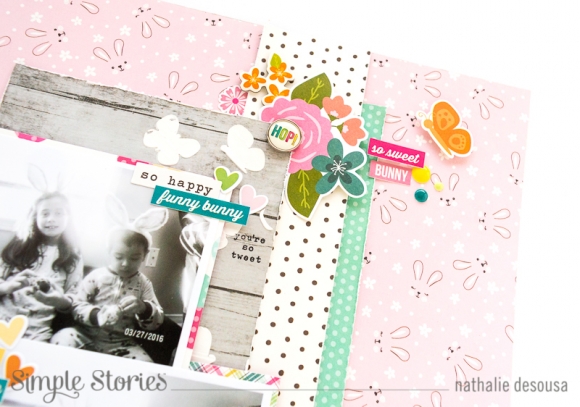
I used the Bunny Tails and Hello Peeps paper to back the pictures, and then set them on the wood grain paper piece ( once the texture paste impression had dried).  I set the paper on the middle of the page and  then started adding embellishments around the photos and paper strips.  With so many cute and colorful embellishments it was easy to mix and match them on the page.
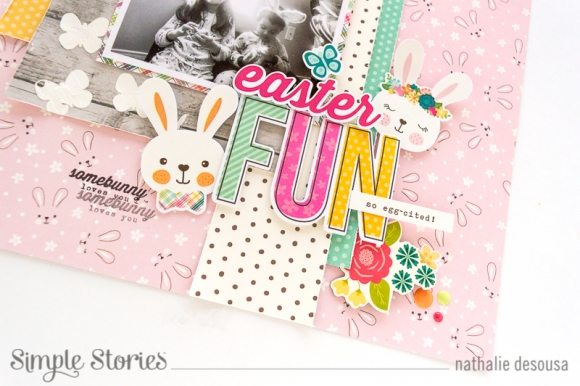
The cute little bunny embellishments are so adorable, and so perfect to embellish the title of the page.  I combined the sentiments from the Bits and Pieces and Combo Sticker sheet to create the title at the bottom of the page.  Here i added the bunnies and a few more embellishments in a large cluster.  To finalize the page, I used the Hip Hop Hooray stamp set to add a few sentiments to the page.
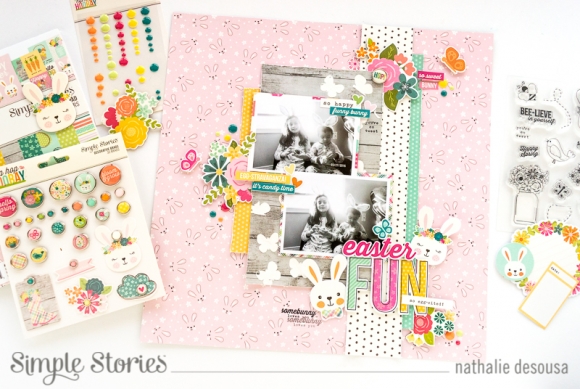
I just love all the color and cheery nature of the page.   The textures in the paste, papers and embellishments complement the picture of my littles nicely.  I am sure that you are going to love documenting your Easter/ Spring memories with the new Simple Stories HIP HOP HOORAY collection, make sure to check it out!

Til' next time.

Supplies

Hi Simple Stories friends!

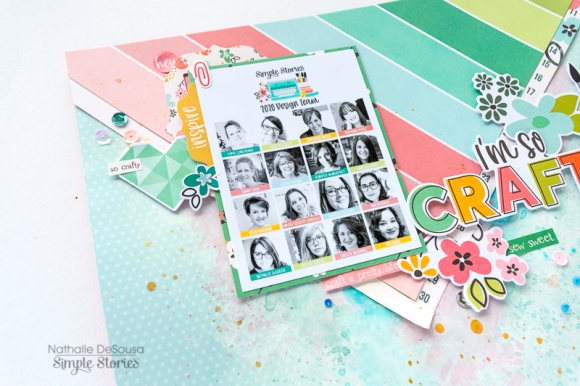
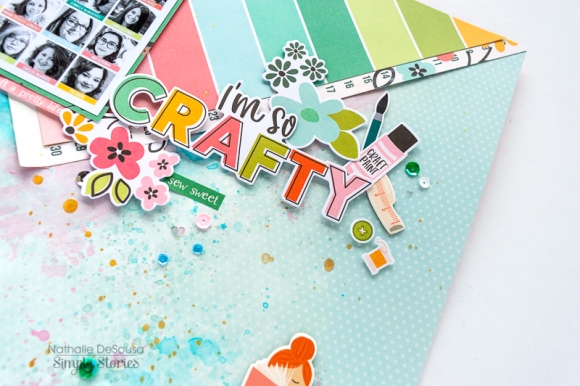
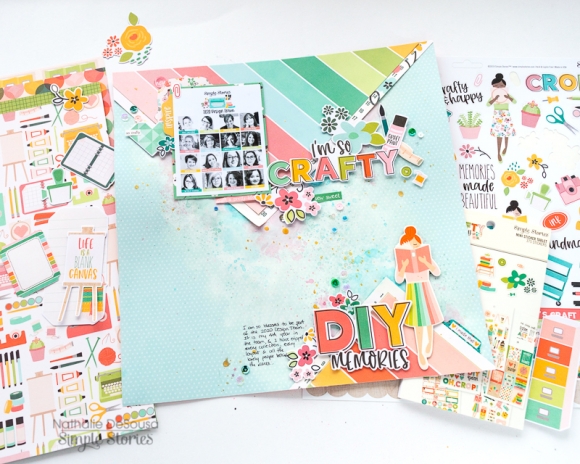
Nathalie here with a new layout all about my crafty life.   I have been blessed to be part of the Simple Stories Creative Team for the past three years and are delighted to come back for  a new term ( so happy to have been invited back.  So, what better way to celebrate this new term than documenting the moment with the new Hey Crafty Girl collection.

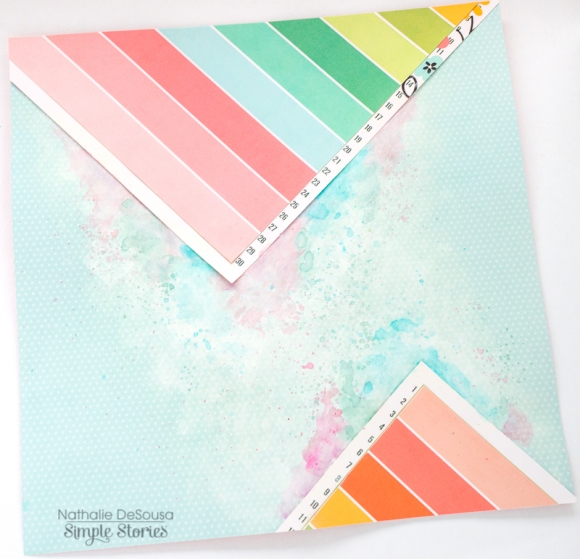
I started this page by creating a very colorful background.  For this i reached for the Sky Dots basic paper as the background for the page.  Then added a bit of mixed media just to help me add a touch of art to the page.

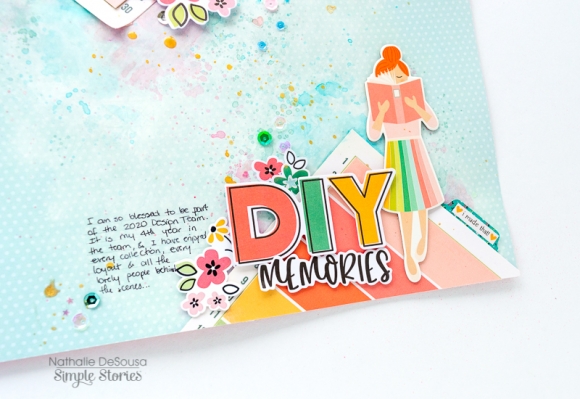
My design choice was to create large triangles of paper on the top and bottom edges of the paper.  I layered the Happy and Crafty paper on top of the Create Beauty.  These were then glued to the background forming the large triangles you see in the page.

Next, i backed the picture with the So Artsy paper and then glued it on to the top left side of  the page.   Then started using Bits and pieces, Journaling Bits and Pieces, stickers, chipboard stickers to create clusters around the picture making sure to stretch them past the triangle shape.  So many cute embellishments made this so easy to put together.

All that was left to do was add a large title to the page.   I started with the large crafty girl image on the chipboard stickers - this helps balance the page- and then used the Bits and Pieces to add the title next to her.   A few extra embellishments complete the title.  All that was left to do was add my lines of journal and a few sequins all over the page.

I love how this page turned out!  The colors and designs in the collection are so cute and versatile.  What better way to document the start of this new term with Simple Stories than to use the new Hey Crafty Girl for it.  Remember to check it out, you are going to love it!

XO

Supplies

Hi there!

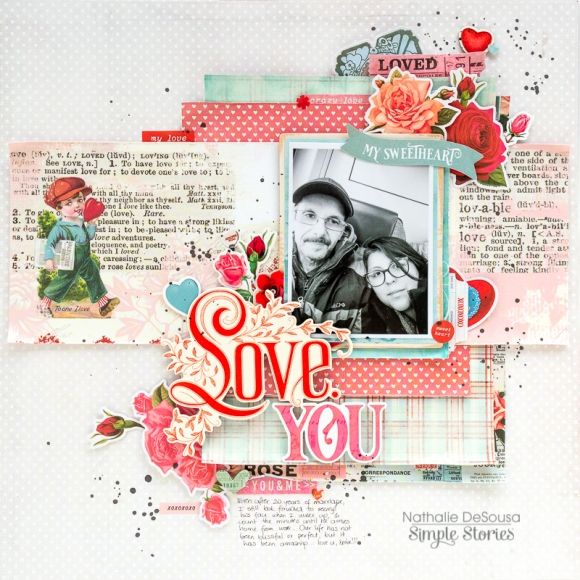
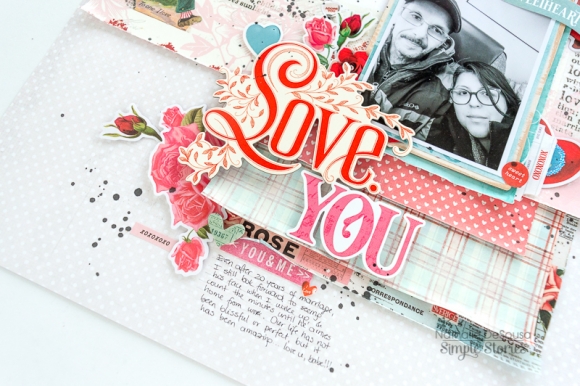
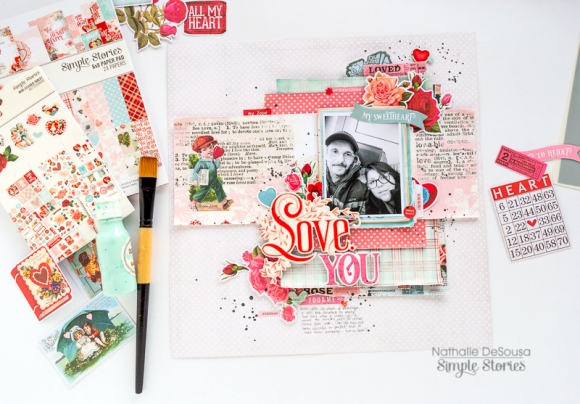
Nathalie with you today with a new layout that is all about documenting LOVE.  With Valentine's Day approaching, i wanted to share with you a fun idea to create a page about your loved one using the beautiful SIMPLE VINTAGE MY VALENTINE collection from Simple Stories.

I love the Sn@p Basic paper packs as they are the perfect background for your pages.  This time, I chose the lace dots as the background, and cut a large strip of the Love You paper to serve as the anchor of the page.

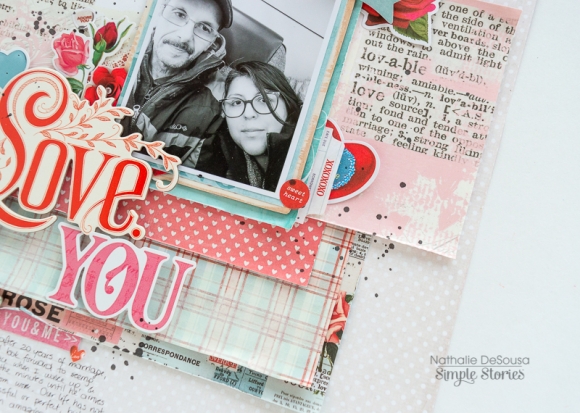
Before gluing the paper to the page, I pulled papers from the 6x8 paper pad and the 12x12 collection to create layers behind the picture.  I  added a bit of paint to some of the edges of the paper to continue the look of the Love You paper strip.

I made sure to distress the edges of all the papers I used, and glued them together to the center of the page.  I backed the picture with one of the Chipboard frames, so that it peeks out behind it and glued it on to the paper strip.

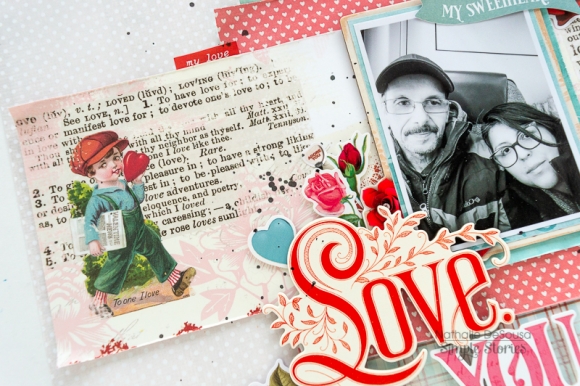
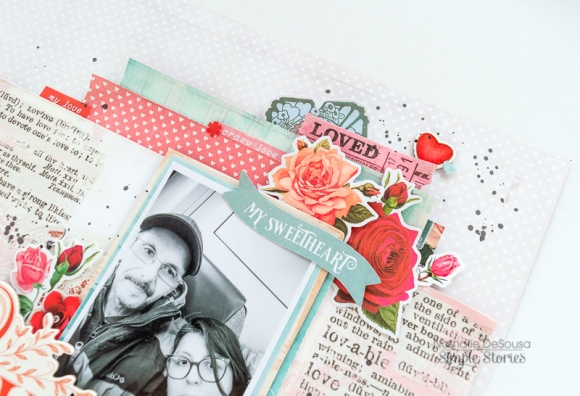
With so many cute embellishments -including all the flower die cuts- i just started layering them between the paper strips so that they formed a diagonal line on the page, and cluster at the corners of the picture.

I combined the Chipboard stickers and Stickers to create the large title of the page, then layered a few more embellishments beneath the stickers. I added my lines of journal at the bottom of the paper layers and then added a few splatters of black ink to complete the page.

This was so easy to put together, and I just love how it turned out ( in a small amount of time!).  The new SIMPLE VINTAGE MY VALENTINE collection is just perfect to document your loved one.  Remember to check it out.

XO

Supplies

Pages