Nathalie DeSousa's Blog Posts

Hi there!

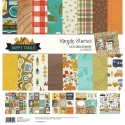
Nathalie with you today with a new layout all about the glorious outdoors.   There is nothing like fresh air and good company to create great memories, and when the new Happy Trails collection from Simple Stories arrived at my door, i quickly pulled a few of those memories to create this page.
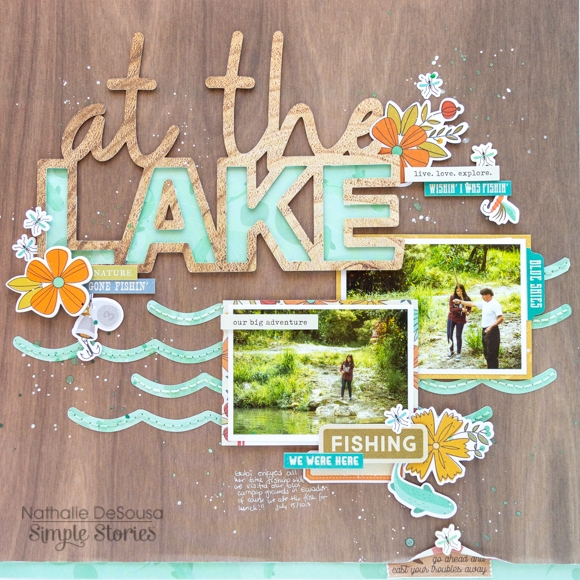
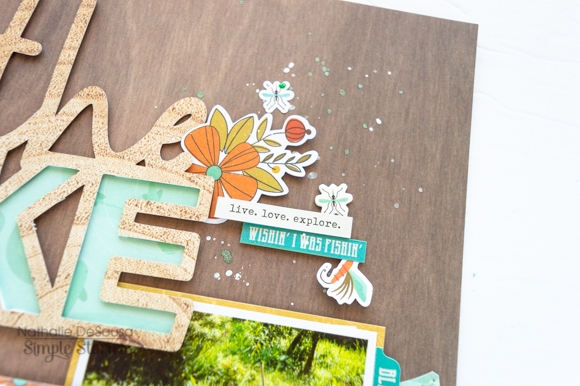
I am a sucker for wood grain paper, so i quickly pulled the Happy Camper paper to cut the title from it using a cut file from the Silhouette store.  At the same time,  the letters and waves were also cut from the Lakeside paper.
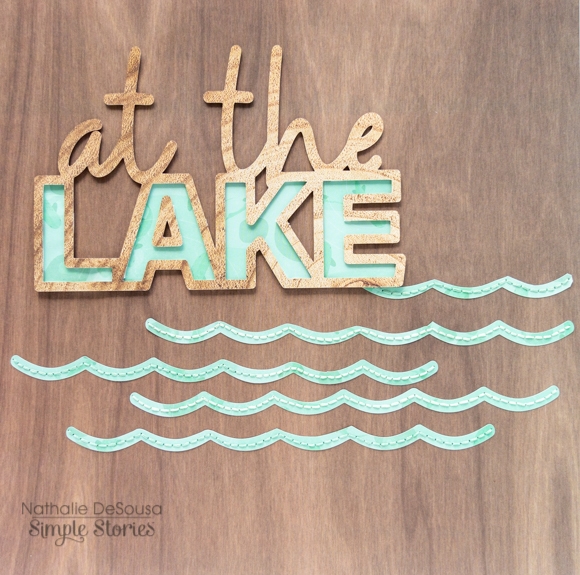
The title was backed with the patterned paper and foam adhesive to create a bit of dimension on the layout.   The waves were then hand stitched to the Love You S'more paper, and then the title was glued in place above the waves.
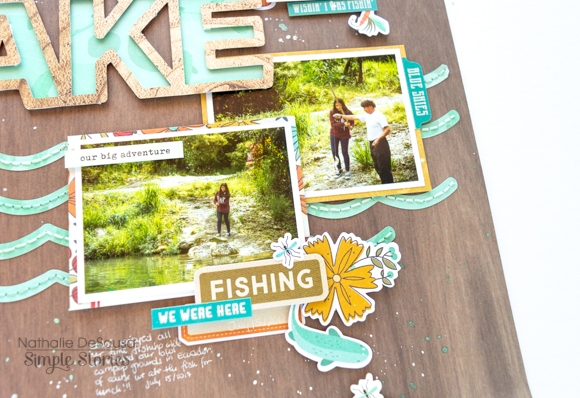
I used the Happy Trails 3x4 and 4x6 element papers to back the pictures, and then attached them to the bottom of the title.   I used elements from the Chipboard and cardstock stickers as well as both Bits and Pieces packs to create the clusters around them.
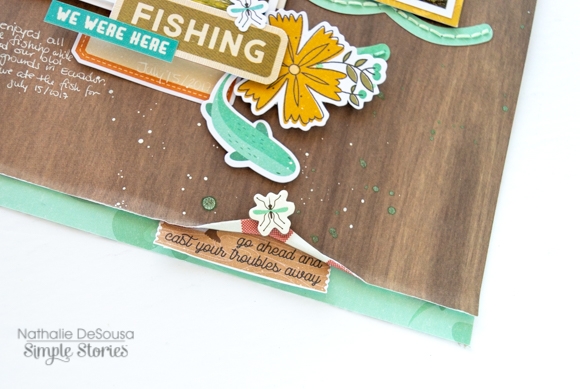
To break up all the wood grain of the background, i decided to trim the bottom of the page a bit and back it with a piece of the Lakeside paper.   A small fold was created at the bottom of the page,  here i added a few stickers and pieces of ephemera to bring a bit more interest to the page.
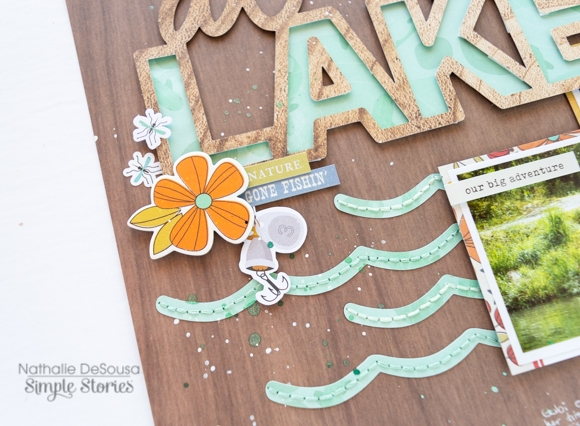
To finish the page,  i chose to add clusters at the  corners of the title work, so that they bring the colors of the collection, and celebrate my daughter's fishing adventure.
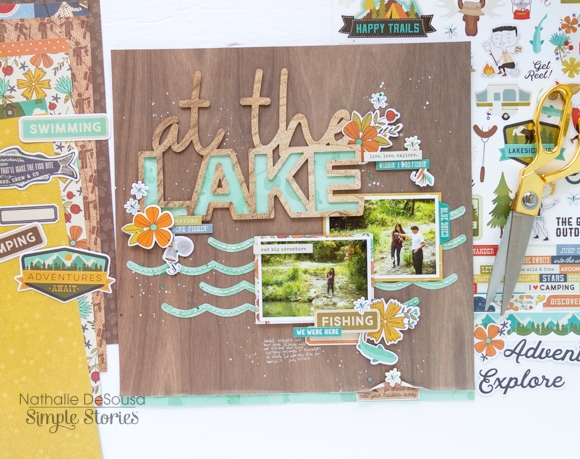
I hope this has inspired you to document those sweet and glorious outdoor adventures using the new Simple Stories Happy Trails collection.   Remember to check it out, you are going to love it!

Supplies

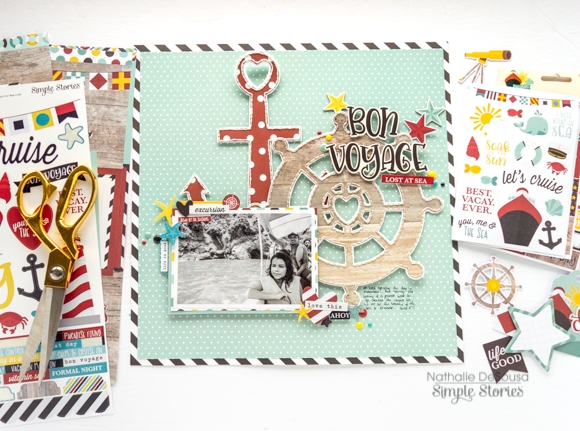
Hello Simple Stories friends!  Nathalie here today with a new project that celebrates the fun excursion days at sea in my native Ecuador.   I was so happy to receive the new Cruisin' collection from Simple Stories as it fits all those special pictures of the many excursions we went on while visiting my family back home.  So let me show you what i created.

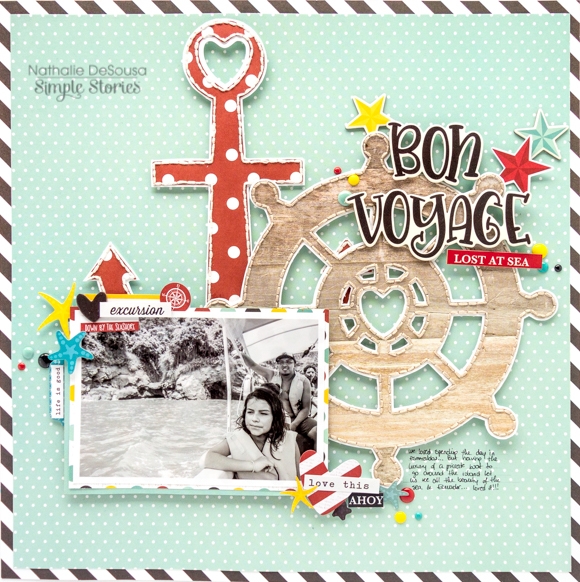
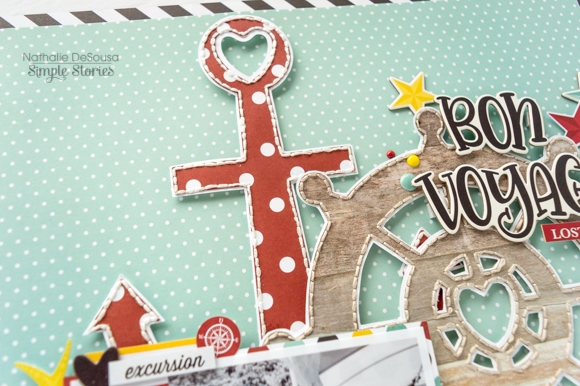
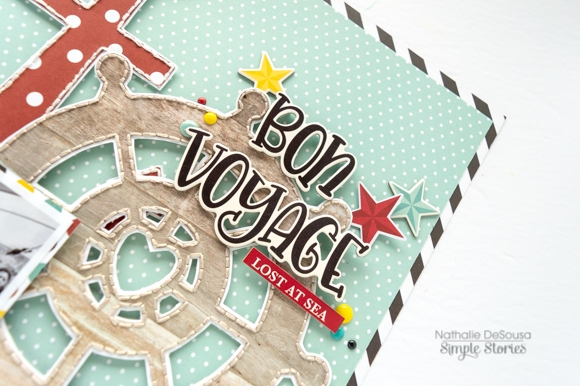
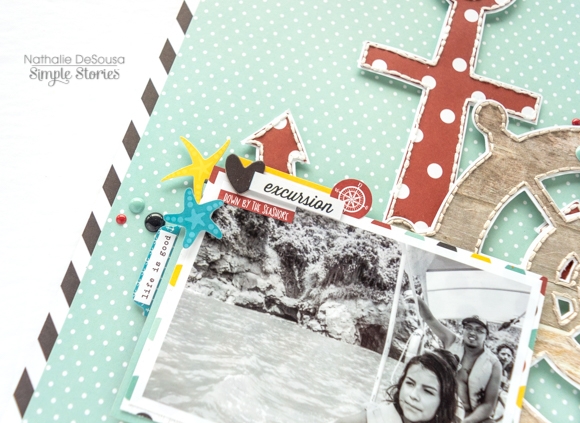
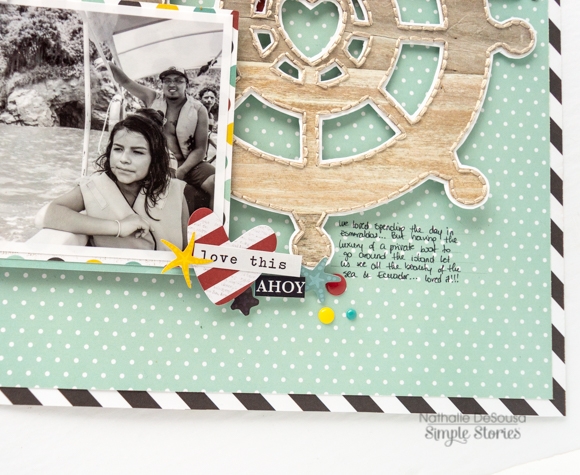
To start this layout, i chose a cut file from The Cut Shoppe and used it to create the anchor from the Set Sail paper and the helm from the Man Overboard paper.   A bit of hand stitching was added around the shapes to bring some texture and dimension to the page.

These two pieces were then attached to the b-side of the 2x2 element paper using some foam adhesive  so that they create depth on the background of the piece.

The beautiful chipboard stickers from the Cruisin' collection were ideal to create the title of this page.  I simply added them to the top right corner of the helm along with some stars.   Before adding the picture, i trimmed the page a bit, and glued it to  the  Explore the Shore paper.   This helped framing the page completely.

I used pieces of ephemera and stickers to create clusters at the corners of the picture.  Just love all the fun elements that make it so easy to bring the sentiments of the day to the page.

This page was so fun to put together, and just love how it turned out.   The fun Cruisin' collection from Simple Stories is not just perfect to document your cruising memories.  Make sure to check it out, you will love it!!!

Supplies

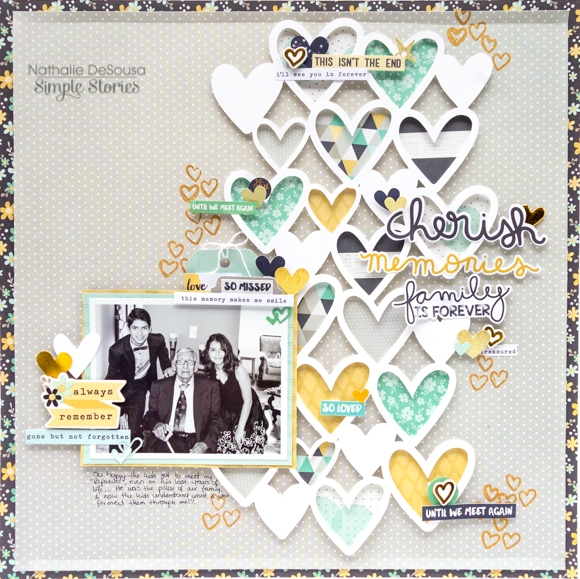
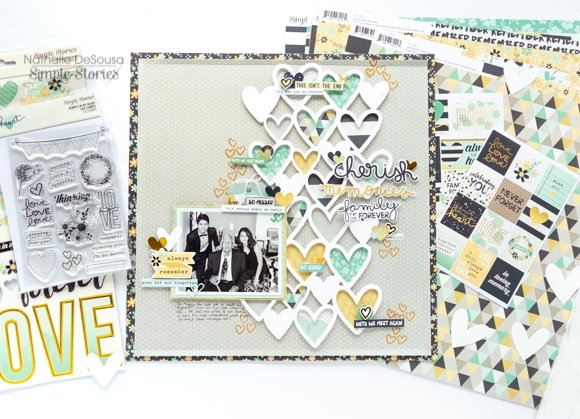
Hi there!  Nathalie with you today bringing you a new project very dear to my heart.   A couple years ago, i fell in love with the simple set Heart collection, and bought doubles of each piece (which still sits nicely in my favorite stash drawer), so imagine my joy when Simple Stories announced that they will be relaunching my beloved HEART collection as a complete collection!  Well, i quickly went through  my picture folder to find the last picture of my kids with my grandfather to create this page using this beautiful collection.

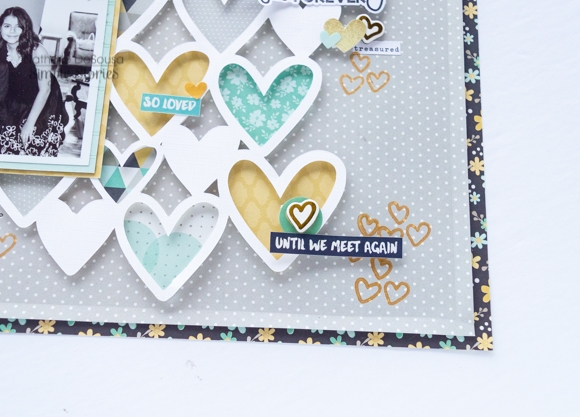
Unfortunately, we lost my grandfather a bit after this picture was taken, so i set to bring the feelings the picture conveys to live.  For this, I pulled a cut file from JustNick studio, copied and welded two of the images so that it created the column of hearts, and had my Silhouette cut if from white cardstock.

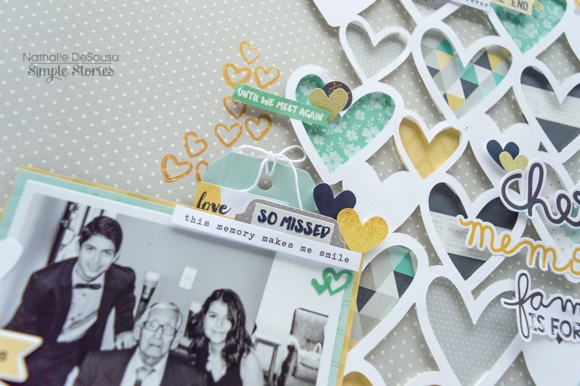
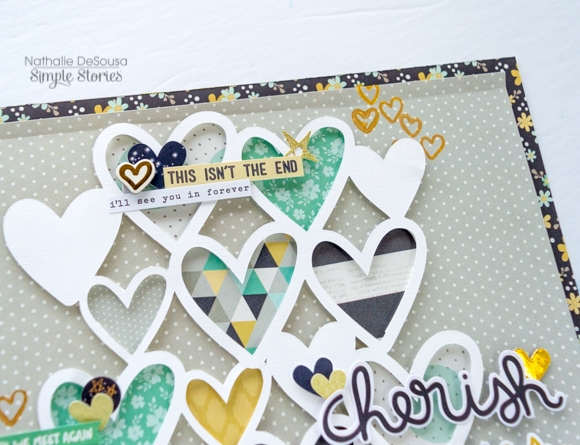
The empty heart spaces were backed with different papers from the collection found in the 6x8   paper pad.  A bit of foam adhesive in between patterned paper and cut out create that soft shadow/ dimension on the page.

The cut  out was glued to the b-side of  the So Loved paper - i had this paper trimmed about one quarter of an inch on each side, and attached to the b-side of the 2x2 Elements paper.  Before securing the cut out to the page,  i used some gold ink and the Always in my Heart Stamp set to add a few hearts to some places in the background.

 Once i glued the background, i used some of the Snap cards to back and create layers behind the picture , and attached it to the bottom left side of the cut out.        I chose to add a cluster of embellishments (stickers, ephemera and chipboard stickers) to the corners of the picture.  

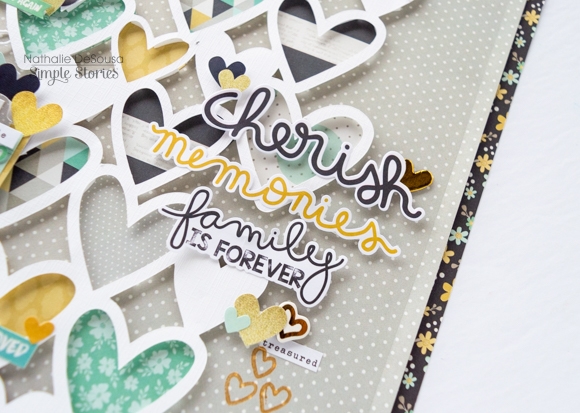
To finish the page, i added a title for this page by mixing ephemera and a few stickers. A few lines of journal complete this fitting tribute to my "Papacito". 

I hope you too are inspired by the new HEART collection from Simple Stories. It truly is the perfect collection to express your love. As always please do not hesitate to contact me if you have questions on how it all came together.

Supplies

Pages