Nathalie DeSousa's Blog Posts

Hi friends!  Nathalie here today with a new layout that celebrates Mom's Love, and what better way to document it than with the new Simple Stories "MOM'S DAY" collection.

The colors and florals in the Mom's Day collection were the inspiration for this layout all about  the relationship my sister and nephew are building.  For this I pulled a cut file from Handipaper to create the large title of the layout.

I used the papers (including the cut apart elements) to back the empty spaces of the cut out, and then decided to glue the title in the center of the background - Sn@p Basics Birch/ White Grid paper- with a bit of foam adhesive.  

Before gluing the pictures down, I fussy cut lots of florals from the elements paper, and the My Mum paper; in addition, i also cut out the banners from the elements to use in the cluster and as part of the title.   I trimmed the edges of the background, and added strips of the Mom's Day collection to its sides.

The pictures were then glued on opposite sides of the title so that they form a vertical line on the page, and added the fussy cut florals and embellishments from the Mom's Day collection to just frame the pictures.  A few lines of journal and some pink gems complete the page.

The new Mom's Day collection  is simply perfect to document all your Mom special moments and the upcoming Mother's Day celebrations.  Hope you all have a blessed Mother's Day!

XO

Supplies

Hi there! Nathalie back with you today.  I am so blessed to continue working with Simple Stories for another term, i truly love their products and the people behind the scenes. As we start a new season, Spring -here in the Northern Hemisphere-, we are also getting ready to celebrate Easter, so i want to share with you a new project created with the new Bunnies and Baskets collection.

For this layout, i chose a cut file from Handipaper to be the centerpiece of the page, and cut it from white cardstock, backed it all with vellum.  To add color to the flowers, i used some Vicki Boutin Art Crayon and Stencil Brush to add color to the back of the vellum, then backed the entire cut file with the Black/Cream basics paper from the Spring Farmhouse collection.

To build the layout, first, a piece of the White Dot/Chestnut Sn@p Basics paper was hand stitched to the b side of the Easter Blessings paper.  I set the bunny on the right corner of the paper, and layered a few Easter egg cut outs (also from Handipaper) along the bottom part of the layout.

I used the other papers from the Bunnies and Baskets collection to create layers behind the picture of my little niece and nephew from a few Easters back, and  then tucked the picture to the left side of the  bunny.  I fussy cut a few florals from the the Easter Blessings paper and  used them to create clusters around the layout along with the stickers from the collection.

For the title of this page, i simply used the large word sticker from the collection, and propped it with some foam adhesive.  A small cluster of fussy cut florals and stickers complete this page.

I really love how this turned out and how cute the picture of my littles looks nestled around lots of Easter icons.  The new Simple Stories' Bunnies and Baskets collection is sure to bring the special touch to your Easter memories. 

Til next time,

Supplies

Hello Simple Stories friends and fans!

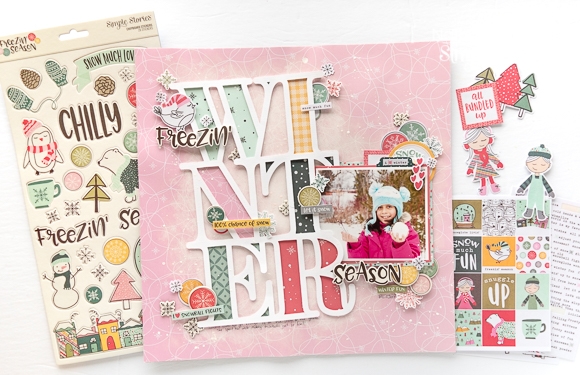
Nathalie with you today;   it looks like Spring is slowly coming our way, so I want to get started on those happy and colorful feelings using the new Spring Farmhouse collection from Simple Stories  to document a recent picture of my family.

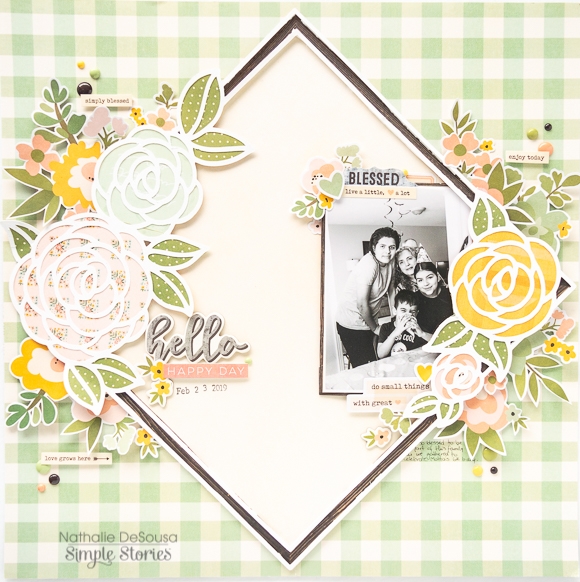
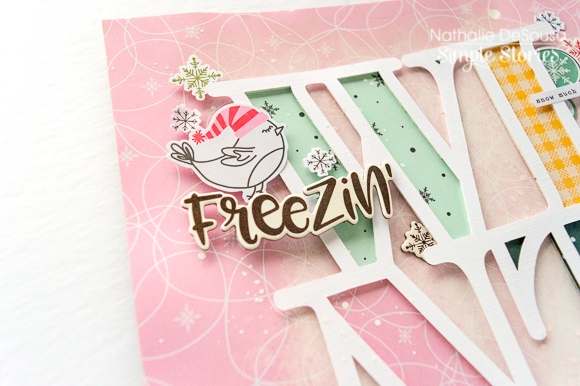
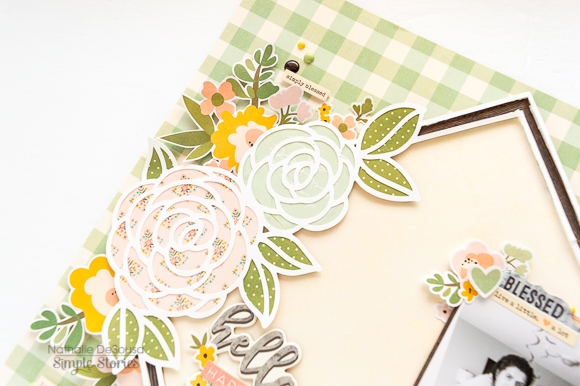
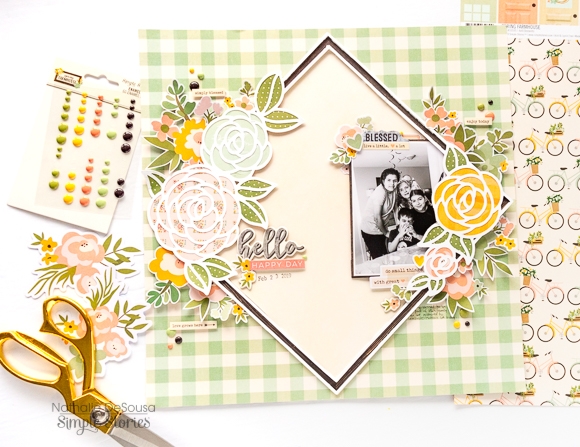
This new collection is packed with beautiful sentiments, designs and colors, so, what better way to showcase them all than to back a cut file with it.   For this page, i used a cut file from Handipaper and backed each of the flowers with papers from the 6x8 paper pad and papers from the collection.

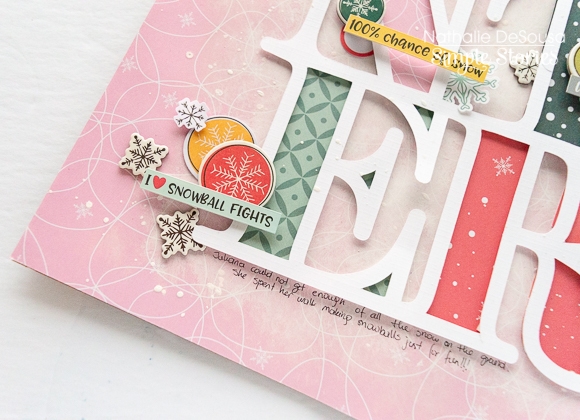
To take advantage of the angles of the cut file, i chose to back the center frame with the Cream paper from the Spring Farmhouse collection, and then glue it to the B side of the Well Said paper on an angle.

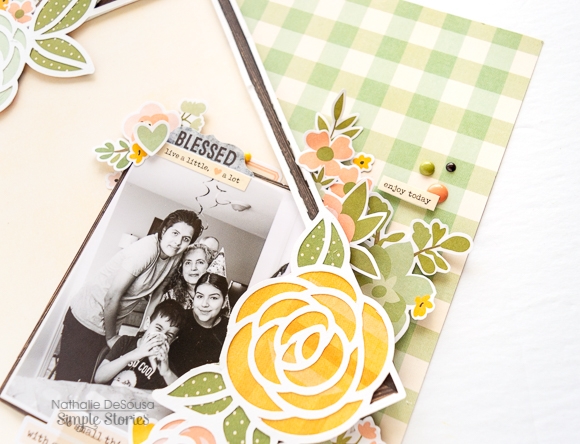
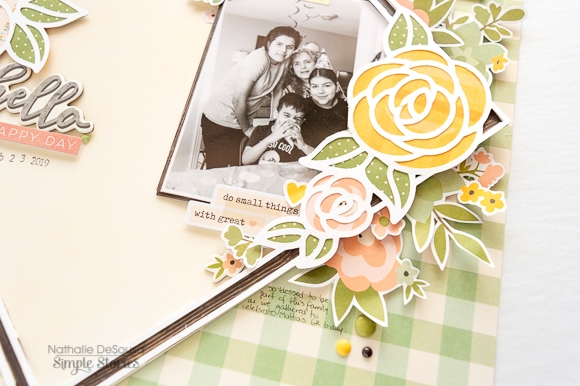
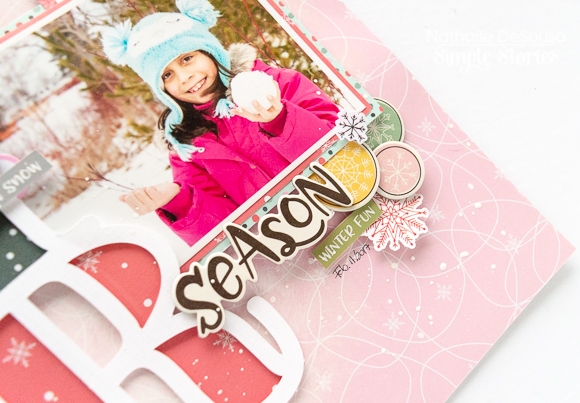
The new position of the cut out on the page created the perfect placing for the picture, so once i layered it with some papers from the 4x6  elements paper i glued it in place and added embellishments around it in clusters.  So many embellishments to chose from, so easy to combine them in this page.

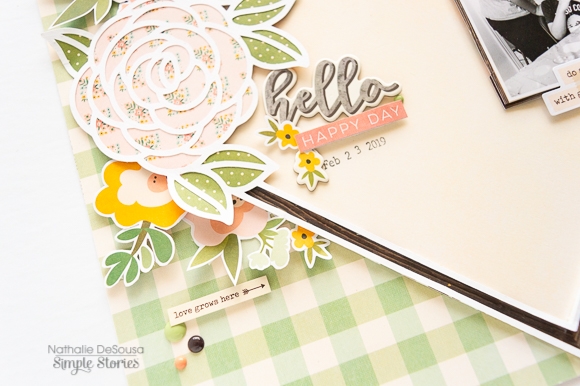
To enhance the florals in the cut file, i used the Floral  Bits and Pieces  to add to floral clusters.   I simply fussy cut a bit of the white edge of each floral image, and added them with foam adhesive.   For the title of this page,  i used a combination of stickers and placed it at the bottom of the large floral cluster.

I love how this page turned out, and how colorful it is, perfect for Spring -even when the picture is not a colorful one-.  The new Spring Farmhouse collection from Simple Stories is perfect to document all types of memories and put you in a Spring-kind-a-feeling. Remember to check it out, you are going to love it, too

XO

Supplies

Pages