Anya Lunchenko's Blog Posts

Hello everyone! Are you enjoying this warmer weather? We absolutely love it! Doesn't this kind of weather makes you think about past vacations or the ones you are planning to take this year? Anya here today and I am really excited to share with you a mini book I created using the gorgeous Simple Vintage Coastal collection. I used this fabulous little book to record one of our vacation trips to Myrtle Beach.

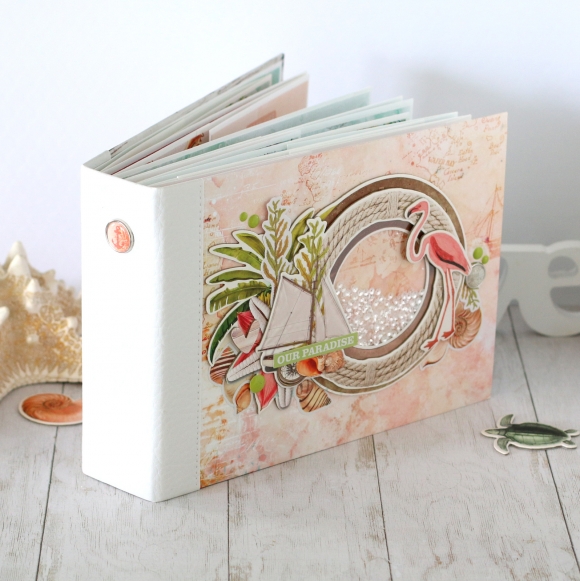
As soon as I saw those round chipboard Layered Frames I new I would be doing a mini album with a shaker on the cover. I filled the shaker with tiny white sequins and decorated the cover with additional stickers, chipboard, brads and enamel dots. 

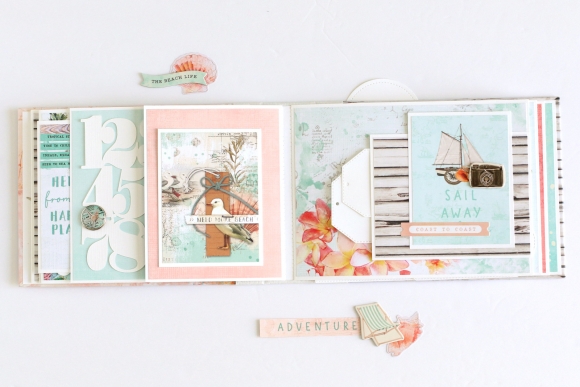
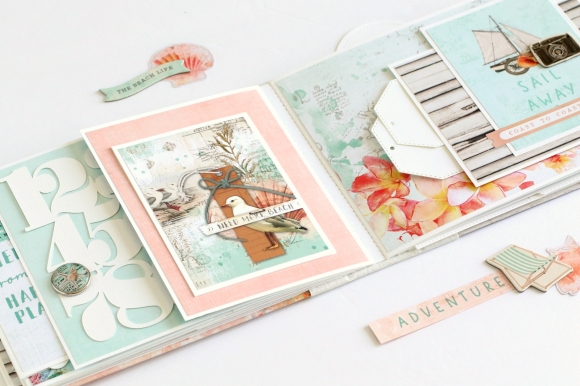
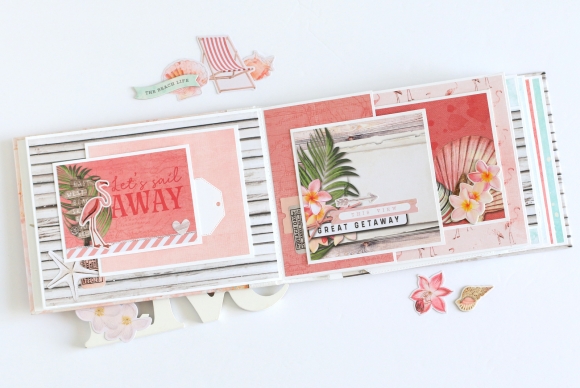
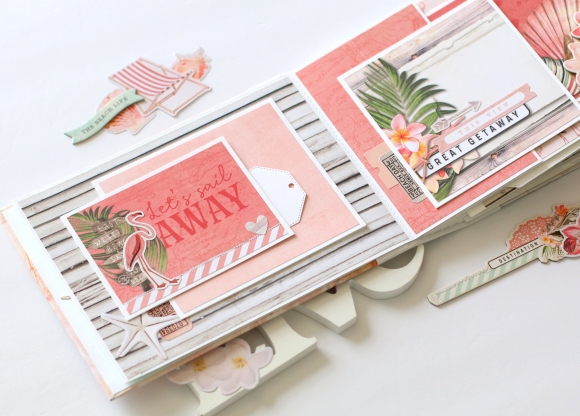
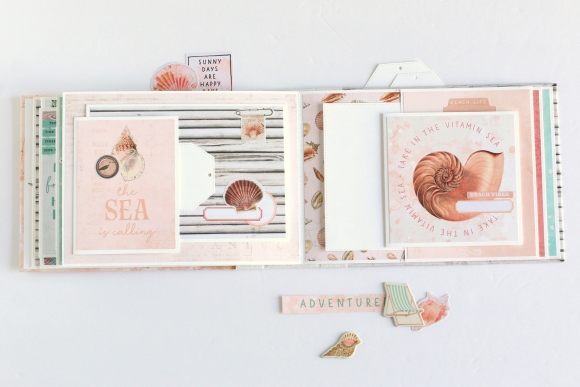
When it comes to decorating the page spreads I like to pick a main color and stick to that color palette. Also, my favorite part in decorating mini books is adding as many 3x4, 4x4 and 4x6 elements as possible. They perfectly coordinate with patterned papers and provide a great decorative piece to any page. I always adhere them to a folded piece of white cardstock first, which adds them a nice border and provides additional space for photos.

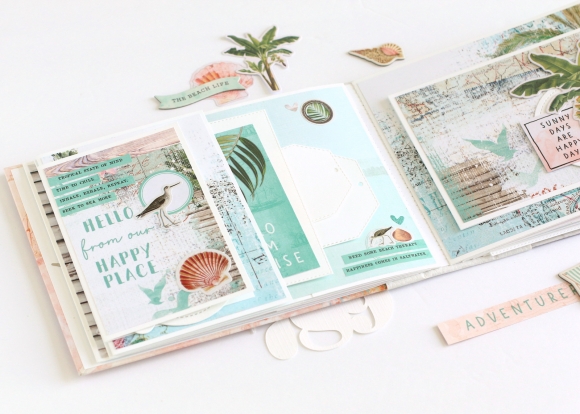
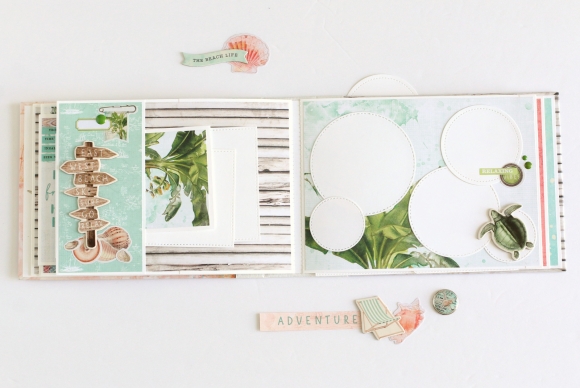
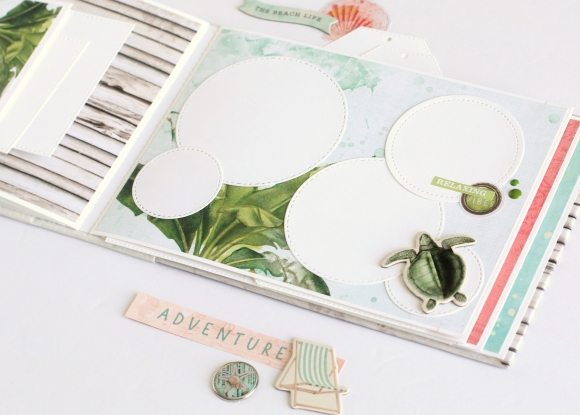
By spreading pages apart about 1/4” every double page, it gives me room to add more layers and lets me use bulkier items like chipboard and brads for decoration. This is what I like the most about handmade mini books – you decide how big or small, skinny or wide it will be. My mini book measures about 5x7” and has a 1.5” binder; it includes 12 full pages and a lot of flips and pockets.

Thank you for visiting Simple Stories blog and stop by again soon for more inspiration!

Supplies

Hello Simple Stories friends! Anya here today and I would like to share with you a few cards that I created using the gorgeous “Simple Vintage Garden District” collection and a few cardmaking tips along the way. Here are all the cards we will be looking at today:

For my first two cards I used a sheet of patterned paper with 2x2” elements. I have shared a similar card idea before, but is is totally OK to repeat your favorite designs! With all the beautiful cut apart pieces Simple Stories provides in each paper lines, I feel like creating same card for every collection.

To create these cards I used six coordinating 2x2” element pieces for each card that were cut to 1.75” squares and adhered to a piece of white cardstock. I stitched around three of them with sewing machine to add texture and adhered that whole piece to a white card base. These pieces are pretty enough you don't need a whole lot of other decorations. All I did is added a few popped up stickers and a few enamel dots to finish this set of cards.

Next two card have an opening at the bottom instead of the usual side. To make them a little unique, I made the front panel a little shorter with a rounded edge. To create round edge you can use a plain desert plate as a template as I did here. I covered the bottom of the back panel with 2” strip of gingham patterned paper and decorated the front as usual.

Layers always look good in any project. I love adding layers to my cards, and sometimes I fell like adding more layers, while other times I like to leave them on a clean and simple side. Here I want to show you same cards with less and more decorations and you decide which option you like best.

This first option has enough layers and looks good just like that, but I also wanted to show you that adding a few more pieces also looks great. I found green foliage pieces and butterflies and added those on top of layered frames. Play with your choices and find the best balance that makes your eyes happy when you create.

And for my last card today I used three rolls of washi tape to create the background piece. I trimmed a piece of white cardstock and added strips of washi tape alternating colors and patterns that looked good to me.

After covering the whole piece you can either cut off edges or fold them to the back as I did here. I adhered this piece to another piece of white cardstock and then adhered everything to a card base.

From this point I treated it as a usual card with a piece of background paper. Added a piece of white die cut circle gave me a good spot to add decorations. Keep in mind, that our background is bright and colorful enough and does not require a whole lot of decorations. A few popped up elements and enamel dots finished this card.

I hope you found these tips helpful and may try applying some of them next time you create your own set of cards.

Supplies

Good morning Simple Stories friends! Anya here today to share some Valentines Day card inspiration with you. To make these cards I used the gorgeous “Simple Vintage My Valentine” collection and created the cards in pairs of two.

This collection comes with a beautiful line of Bits and Pieces, but the “My Sweetheart” patterned paper in this collection is full of gorgeous flowers that can provide additional decorative pieces by fussy cutting them. I used a few of those in clusters on my cards.

Also, you can also create a variety of unique ephemera pieces by taking 3x4” cards and cutting them in different shapes. I used simple stitched circle dies to turn 3x4” cards into elegant sentiment pieces and backed them up with a larger die cut circles cut from white cardstock. I like finding ways to stretch my supplies, especially when I love the paper line so much! I hope you enjoy these cards as much as I enjoyed creating them!

Supplies

Pages