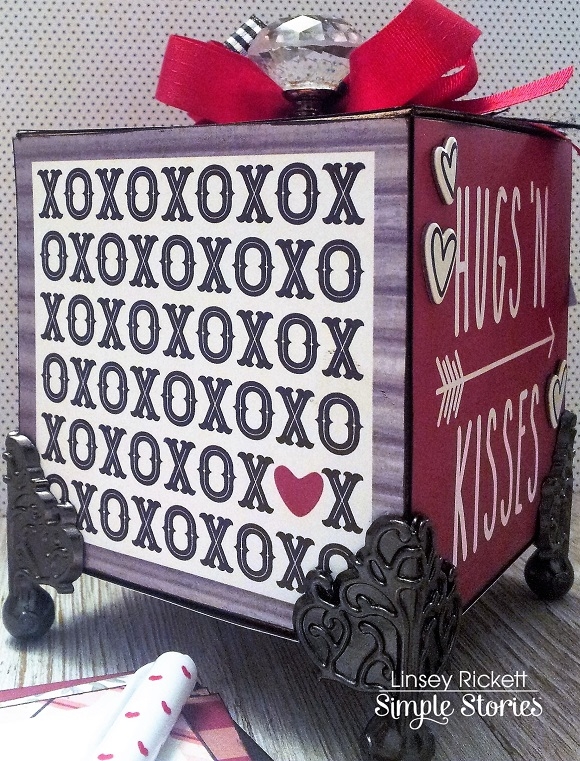
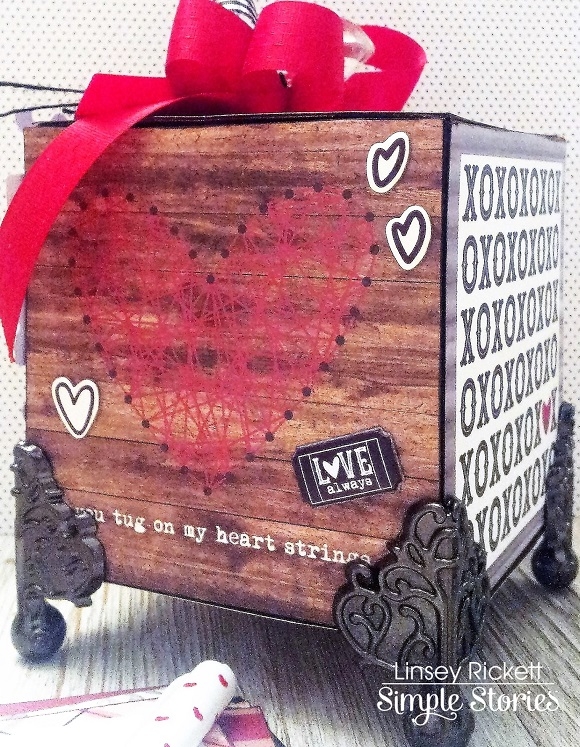
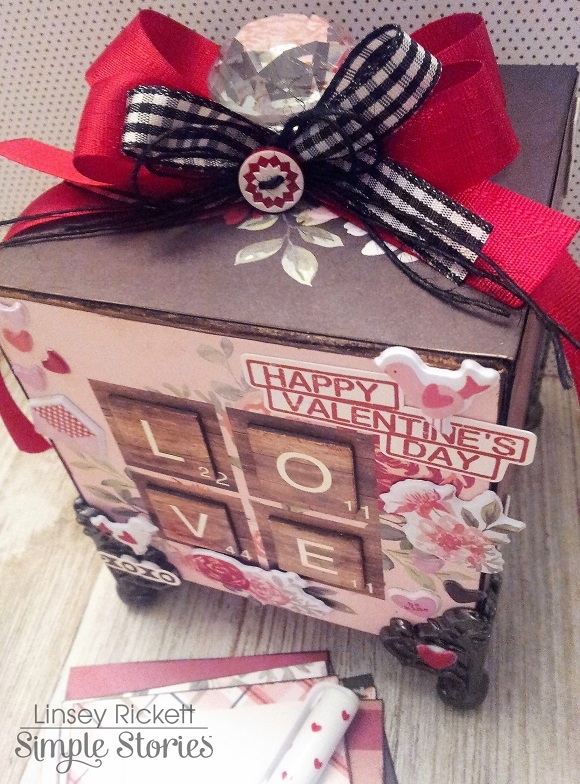
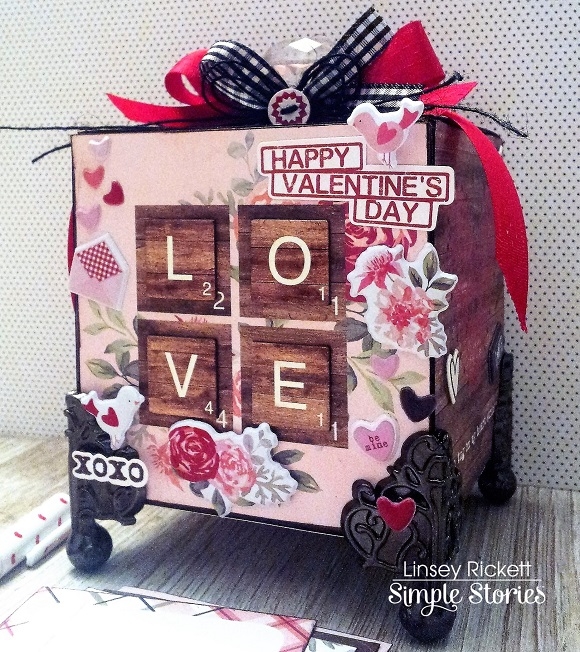
Hello and happy Friday! Linsey here sharing my latest altered project, this super sweet love note box decorated with the beautiful Kissing Booth Collection! It's a fun and easy way to spread the love this Valentine's season!

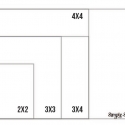
My box was a 4x4x4" blank canvas and so the 4x4 Elements were a perfect fit, covering every side with a different and lovely design. So quick and simple! So L.O.V.E that!

Each side was prettied up even more using a variety of 6x12 Chipboard, 4x6 Stickers and Puffy Stickers. Just as in every Simple Stories collection, everything in Kissing Booth coordinates beautifully together making it so easy to mix and match elements and papers. I'm definitely crushing on this collection!

The 3x4 Elements are great for jotting down a quick note to a loved one! Place the box in a family-friendly area along with blank note cards and a pen--then have fun checking the box each day to see who leaves a note! The idea is to encourage one another, build each other up, let them know you love them. The idea is simply LOVE. Spread the love and see what happens!

And that's all for me! I hope you've enjoyed my love note box project and feel inspired to create something with the Kissing Booth collection too! Until next time, happy crafting!

Supplies

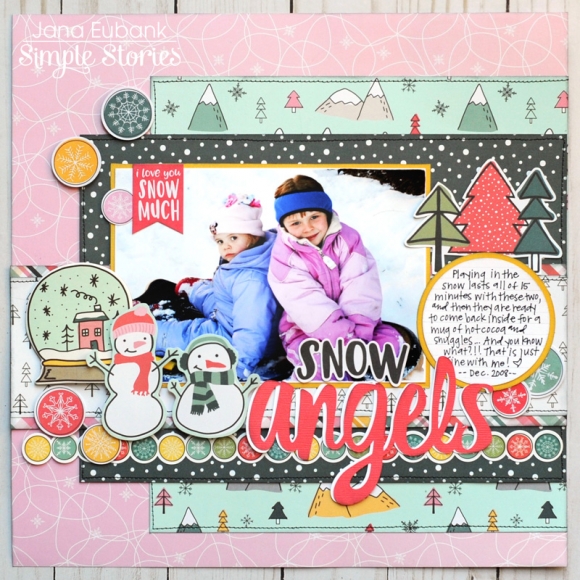
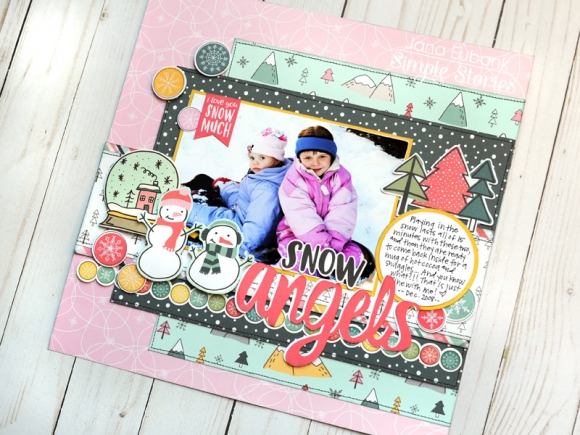
Hello Scrappers! Jana Eubank here. When I think back to the winter days of my childhood, I fondly remember playing for what seemed like hours out in the snow. Now that I am a mom, I realize that I probably was only out there for about 20 minutes before I was ready to come back inside for a mug of hot cocoa. Ha! At least, that was the way it was when my own children were young.

For today's page, I pulled out some older photos of my girls frolicking in the snow in our yard. The Freezin' Season collection complimented their brightly-colored snowsuits perfectly!

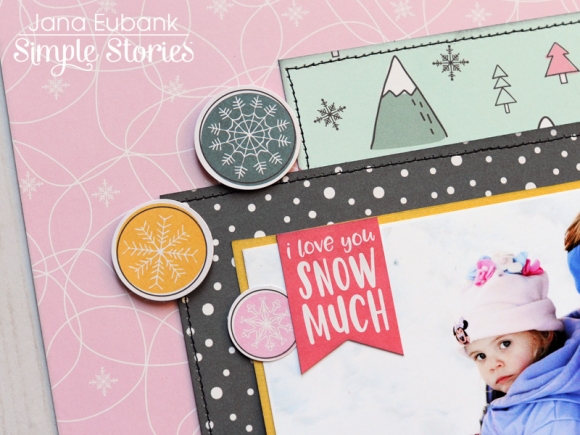
Even though my journaling for this page is a bit snarky, I assure my girls that I still love them "snow much" with this cute banner die cut from the Bits & Pieces pack. I stitched around the edges of the paper layers with black thread to tie them in with the black lines of the adorable hand drawn art in this collection.

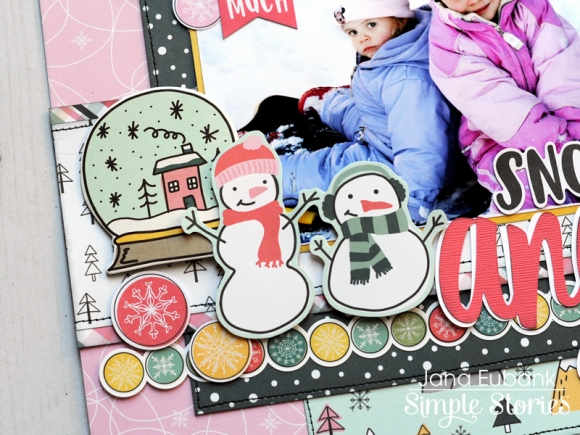
I love this chipboard snowglobe with it's cozy little house. Looking at the wisp of smoke coming from the chimney makes me think of the smell of chimney smoke outside on a cold winter day! I added the pair of snowmen, fussy-cut from one of the 4x4 Elements cards, to mimic my girls in the photo.

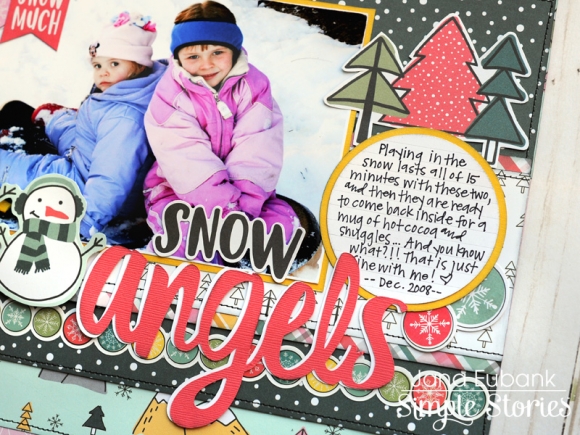
I used the "SNOW" sticker word, combined with a word I created with my electronic die cutting machine for the title. I used large circle punches to create the journal spot and then accented it with pine trees cut from the 4x4 Elements cards and a pair of snowflake circle die cuts from the Bits & Pieces Pack.

I love scrapbooking photos of my kids playing in the snow and need to make a point to get out there this winter with my camera. Have you snapped any winter photos lately?

Thanks for coming by today!

Supplies

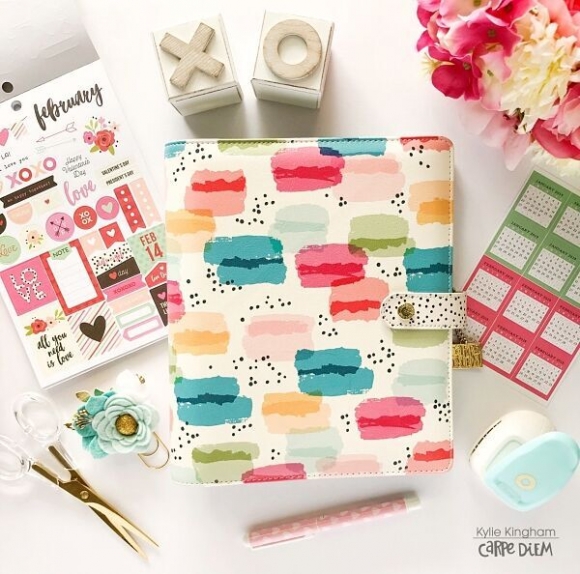
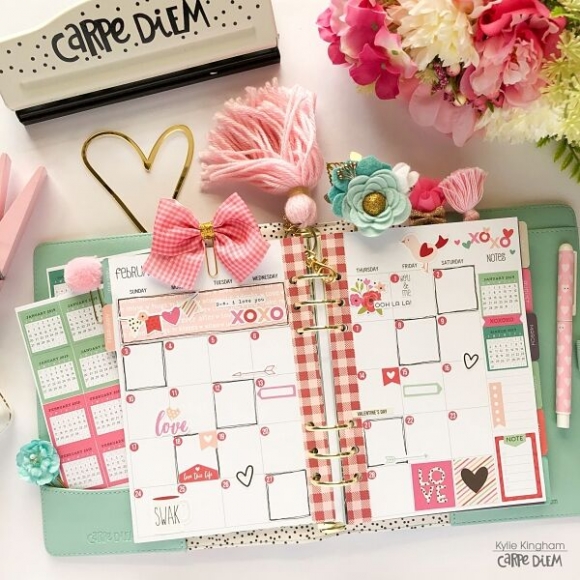
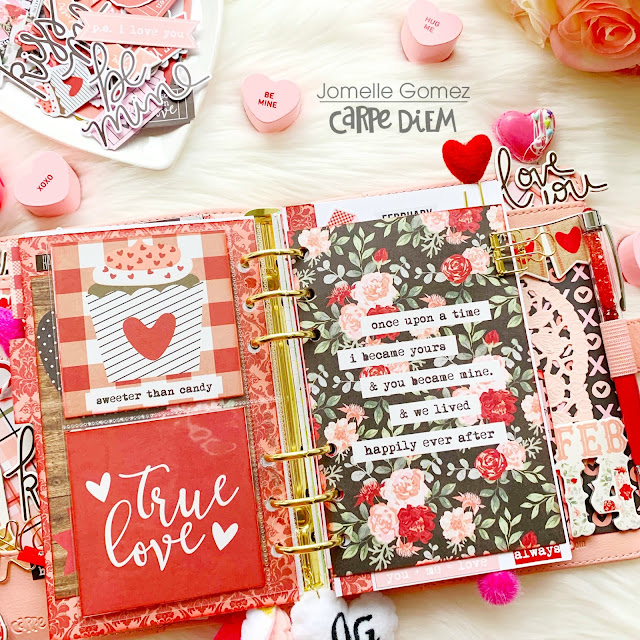
Hello lovely planner friends! It’s Kylie here with you today and I’m going to share with you how I have been using the Seasons A5 Monthly Planner inserts as well as some of the fun sticker tablets!

I love the bright colours of these monthly inserts and each month features a beautiful theme. I decided my A5 Colour Wash planner was the perfect match.

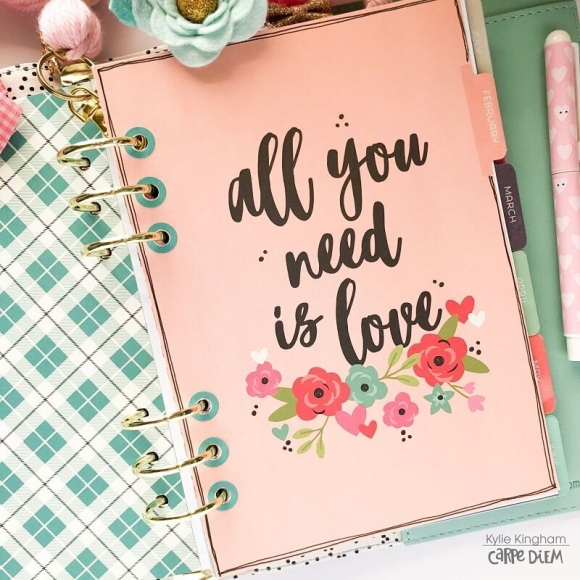
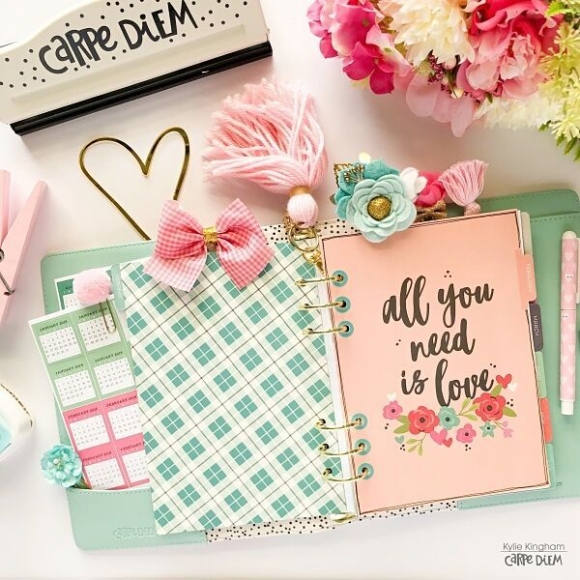
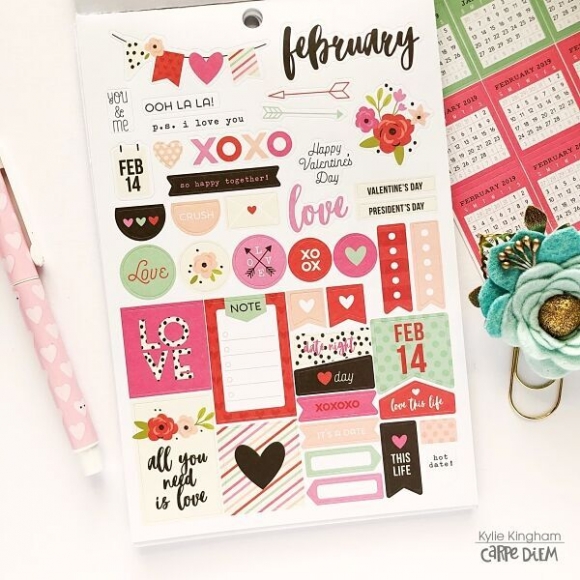
Today I am sharing my February monthly page and it’s ‘All about Love’. I’m teaming it with the Seasons Sticker Tablet.

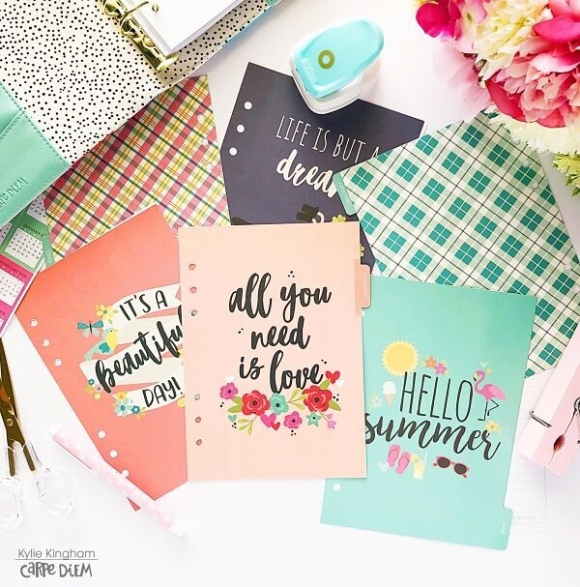
The Seasons sticker tablet also matches perfectly to the Seasons monthly dividers so your planner will be beautifully co-ordinated!The stickers have some decorative pieces as well as practical banners and tabs.

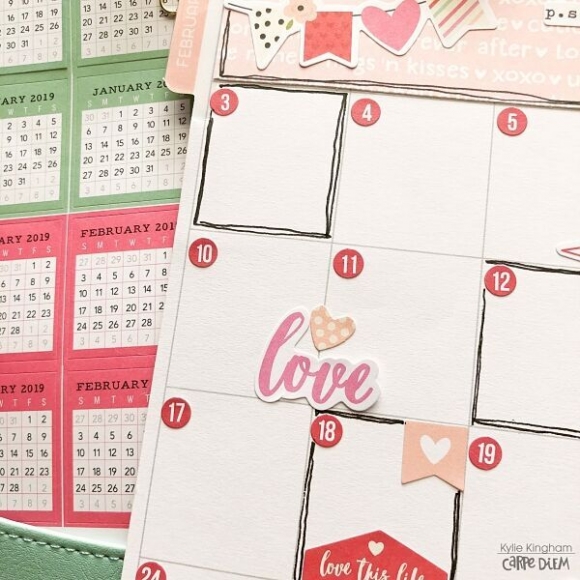
The monthly inserts come undated so to begin with I added some date stickers from the Numbers A5 sticker tablet.

Once my pages were dated I was able to add in some decorative stickers as well as some extra banners etc. Down the centre of my pages I add a strip of paper from the Kissing Booth collection and re-punched my ring holes. Not only did this add some nice colour to my pages but it also reinforced my ring holes.

For the spare planner boxes at the start of the month, I again cut some of the paper from the Kissing Booth collection to act as a decorative border.

Through my note column I have added one of the monthly stickers for both the past month as well as the coming month.This is ideal for quick reference. I’ve also added some of the highlighted tab stickers for any important notes I want to add. Now my month is all set to go to start adding in all my important events and notes.

I hope you have enjoyed seeing my monthly set up today,

Chat soon,

Kylie

Supplies

Recent family photos have been sitting on my desk just begging to be added to an album, and when I saw Kissing Booth I didn't immediately think of these pictures. It's a beautiful Valentine collection, but my family photos were taken in the fall. Would it work? You bet! I'm thrilled with the way I was able to document family love and togetherness with these pretty papers!
 
Family photos courtesy of Capturing Bliss Photography
 
I used a black 6x8 Sn@p album and incorporated black and white card stock in with the patterns. The die cuts are so pretty ... lots of flowers, hearts, and cute sayings that are perfect for Valentine's Day or general everyday family moments.


Even though I love the divided photo sleeves, I used more of the full 6x8 pages for this album. I enjoy creating full scrapbook pages, and with this size I don't have to commit to an entire 12x12 page.
In addition to bits & pieces die cuts, I also used chipboardpuffy stickers, and combo stickers throughout the album. And by the way, my granddaughter IS sweet, don't ya think :) ?
I confess that the Feb. 14 chipboard doesn't match up with the photo I tucked into the pocket, but I loved the piece on this page.  I'll add Valentine photos of this little sweetie when I have some in a few weeks.
 
Visit me here on instagram to take a peek into more of my albums!   https://www.instagram.com/artsyalbums

Blog * Facebook * Instagram * Pinterest

Supplies

 
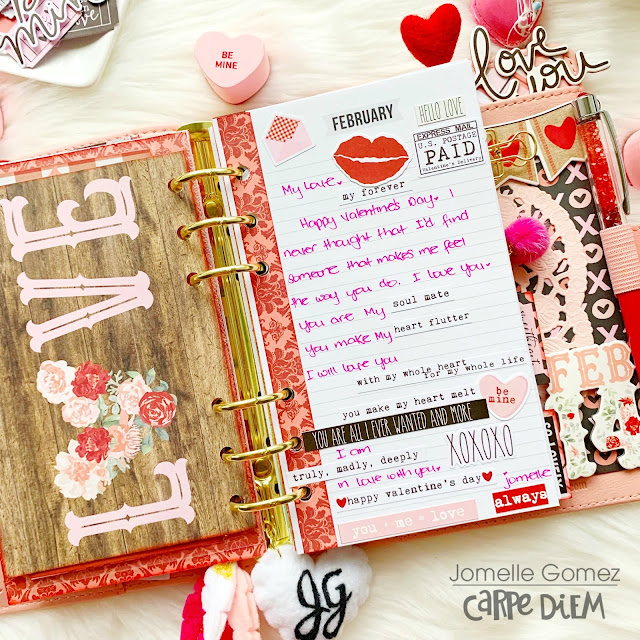
I am truly, madly, deeply in love with you. 
 
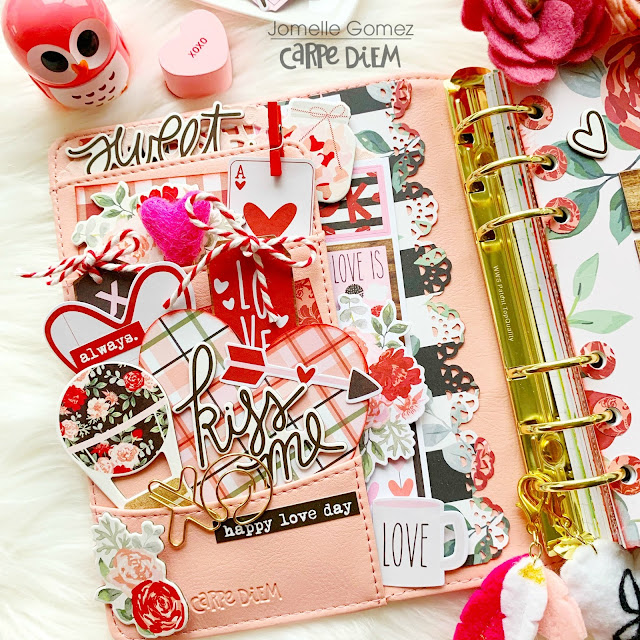
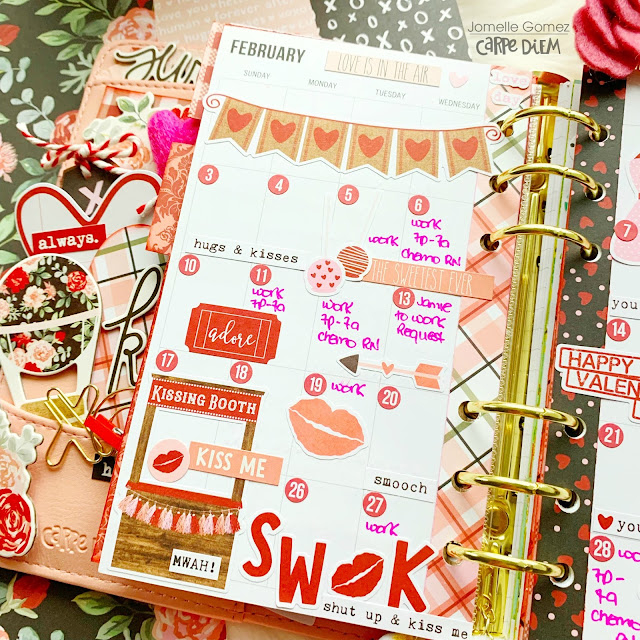
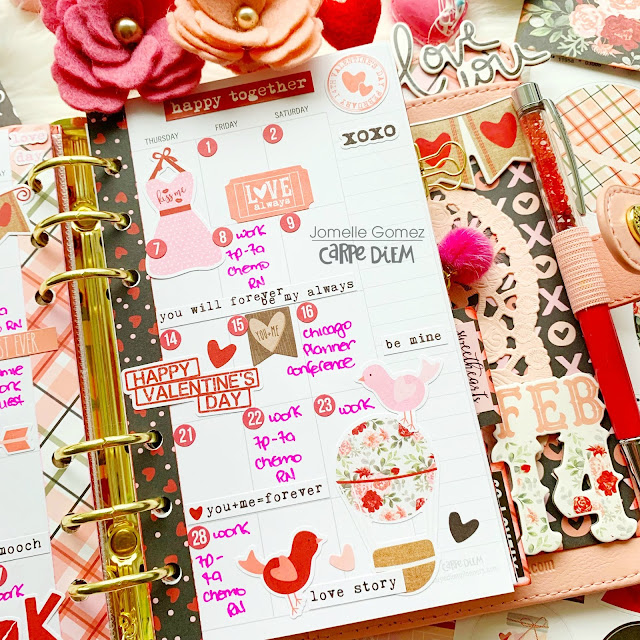
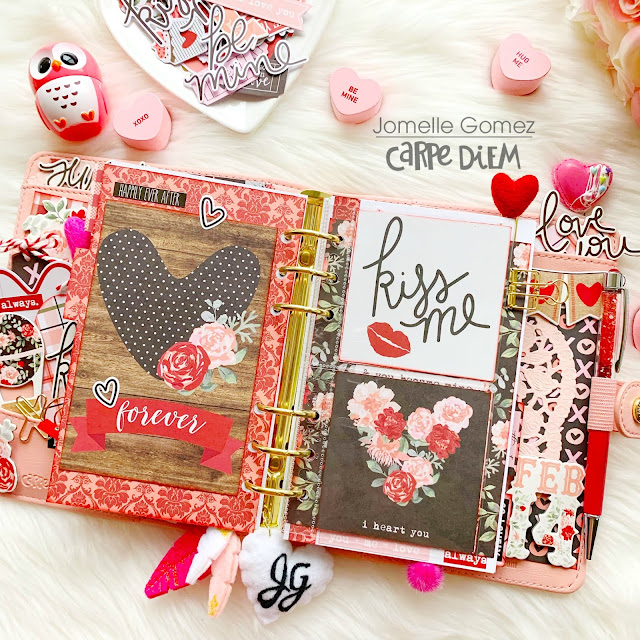
Today I am sharing how I used the Kissing Booth to set up my Blush Personal Planner. I can't believe I have forgotten how cute and very portable personal size planners can be, especially as my everyday carry.
 
I added many bits & pieces of my heart into the planner to create my "Pocket Love"
I've also punched some hole reinforcers using one of the red 12x12 paper. It has a double purpose, one as reinforcer and the other is decorative.
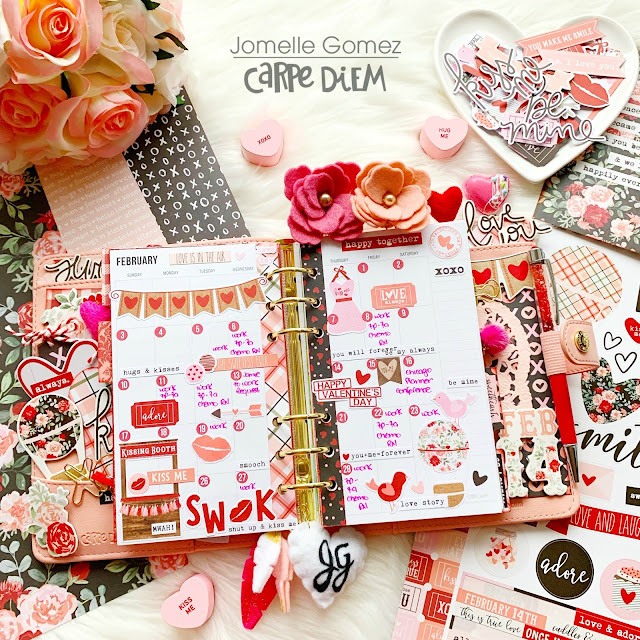
 I love decorating my dashboard by layering different elements from this collection. I decided to use the "always be true" 12x12 paper with the light pink flower as my background. Then I added the scrabble pieces "LOVE" from the chipboard stickers. I added a light pink doily on the bottom right of the page and I finished it off with stickers.
 I wanted to use the kissing booth as my main focus of this page, hence the name of this collection. I chose sticker pieces that has anything to do with kissing such as smooch, shut up and kiss me, mwah, and of course kiss me,
 
I made dividers using different pattern 12x12 paper. I used the personal divider template. I've decorate some of the dividers and some I left them plain. I also decorated one of the vertical pocket pages to add some layers in my set up.

  Happy Valentine's Day My Love. You are my everything today, always and forever.
How are you spending your Valentine's Day? You can set up your planner using the Kissing Booth collection and jot down your plans or you can just have a set up all about love. Thank you for stopping by.

Supplies

It's the final day of our Spring AND Summer Release Reveal & today brings a brand new Carpe Diem release!  From 3 gorgeous new A5 Planners, new Monthly Insert Sets, Sticker Tablets and FOUR new Spiral Planners - including Home and Budget! - you'll find everything you need to get & stay organized in a simple, yet beautiful way.  

Make sure to visit us on Facebook & Instagram for chances to WIN the new products before you can buy them!   
 
A5 Planners & Monthly Insert Sets will be availalbe later this month; Spiral Planners and coordinating sticker tablets shipping in May.  


Head on over to the carpediemplanners.com and sign up for emails so you receive notice when these fun new products are available!  

Make sure to visit us on Facebook & Instagram for chances to WIN the new products before you can buy them!   

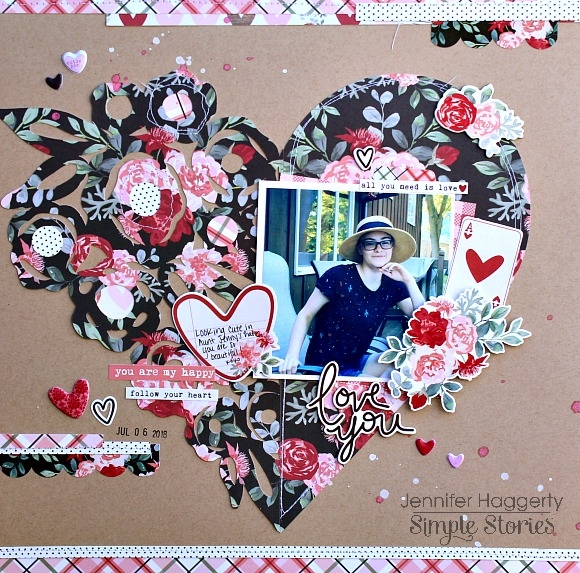
Hello! It's Jennifer on the blog today to share with you a layout I  created using the fun Kissing Booth collection! Of course this line is geared towards Valentines Day, however it really can be used for just about any theme! For example, this photo of my daughter was taken this past summer! It's such a "girly" picture and there are so many great patterns in Kissing Booth!

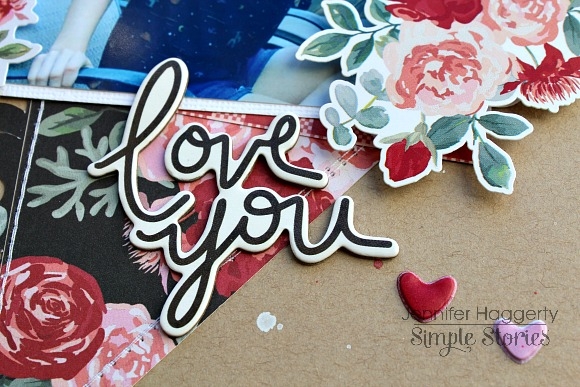
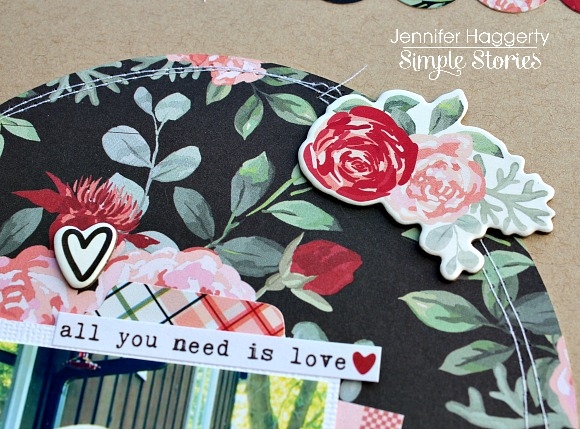
I almost always start with a plain background for my layouts so I  began with a piece of kraft cardstock. Then using the beautiful floral print of "Love & Adore", I  cut a heart die cut from my Silhouette (Flower Heart by Paige Evans #222462).  For my title, I  used the  script "love you" from the 6x12 Chipboard. I really love the black/white color combination against the bold reds and pinks!  I also added a floral cluster found on the Combo Sticker sheet which I  popped up with foam tape!

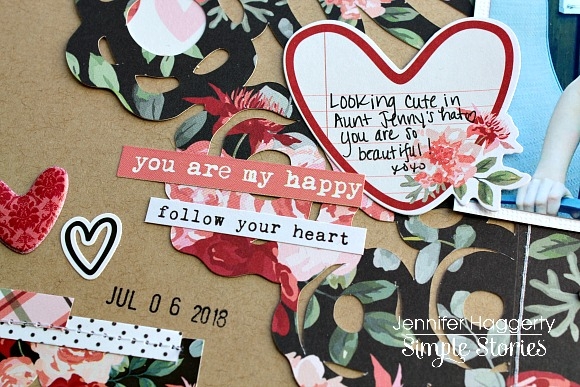
The Bits and Pieces pack never disappoints with cute journaling spots such as this fun heart shaped ledger print! The little flowers are a nice addition, too!  I  always love to add a couple sentiment stickers from the Combo Sticker sheet as well as one of the 4x6 Stickers!

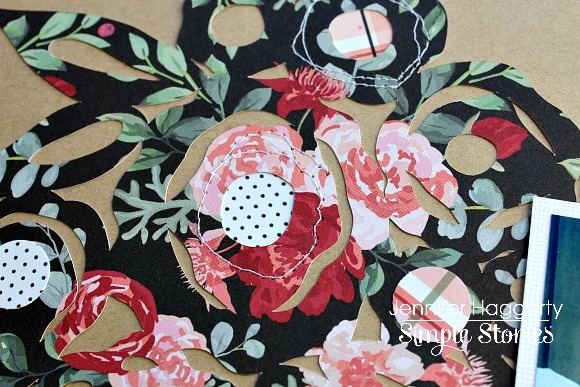
Here, you can see I  added in additional patterns under some of the flowers by using my circle punch. I  then finished the look with a bit of stitching with my sewing machine.

Around the edges of my heart, I  added smaller embellishments such as this floral cluster from the 6x12 Chipboard. I  also tied in the plaid pattern of "Crazy In Love" with this sticker tab tucked underneath the top of my photo (I adhered strips of the same paper at the top and bottom of my layout as well as in the center of some of the flowers of my die cut).

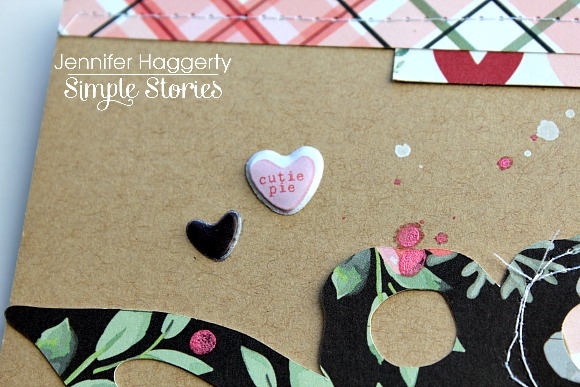
The Kissing Booth collection also includes Puffy Stickers which make a fun accent! I  love the tiny ones that look like candy hearts!  I  added a few around my layout to add extra dimension along with some paint splatters. 

Thank you for stopping by the blog today! Be sure to check out Simple Stories' social media sites for upcoming releases and giveaways! Have a great day!

Ok so we're in the cold, seemingly endless, days of Winter. What better way to cheer yourself up than to get into your craft room and make a bright and fun season inspired project!

The 'Freezin' Season' paper collection by Simple Stories will definitely give you chills but in the best way! Adorable characters and wintery images in pretty pastel colors are just the cure for a snow day! This sweet zig zag mini scrapbook is just waiting to be filled with playful pictures and mementos of a winter wonderland!

I made this album using two sheets of 8.5"x11' card stock and then covered each page with the delightful and charming patterned papers of the collection. I also used lots of the paper along with journaling cards to create oodles of pockets, flaps, tags and inserts that have been decorated and embellished with the darling and colorful stickers, chipboard and Bits & Pieces!

All in all, there were nine pages to fill with this entertainingly snowy collection and I had 'snow' much fun adorning each page! Here is a closer look at the front sides of the pages:

And a closer look at the equally adorable back side pages!

Don't let Winter get you down! Grab this collection to show the coldest season just how much fun it can be!! There is a short tutorial on my YouTube channel if you want to make one of these zig zag minis of your own!

Supplies

Happy New Year! Emma back with you, and today I’d like to share with you my ‘heartsbyemma’ twist on divider making! Now, it’s a trade secret, so this is purely between you and me! ;)

I’ve chosen to use the delightful Kissing Booth Collection that Simple Stories have brought out as the ‘Valentines’ collection. Firstly, let’s scrap the whole ‘valentine’ theme!! The florals in this collection are far to beautiful to only be seen in February!! I want to use them all year round! ...if you fancy it too, then, keep reading!!
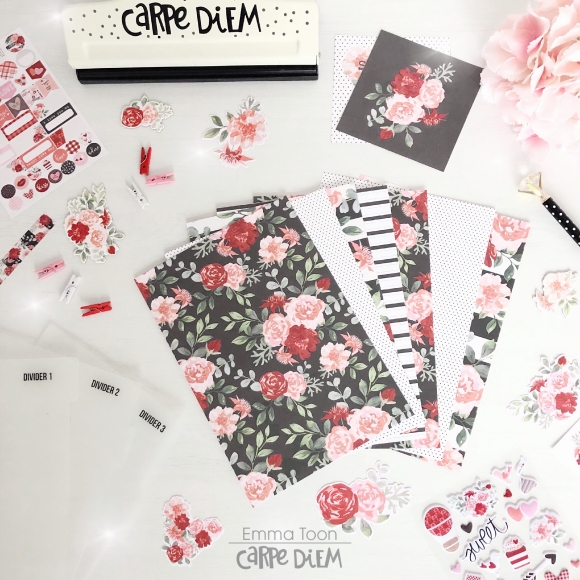
I picked out my favourite sheets of paper from the 12x12 collection pack, grabbed my divider templates from Carpediemplanners essentials and got cutting! You need to cut out as many dividers you’d like to have for your planner and one extra for the dashboard (pretty front cover) When you cut them out, there’s no need to cut the tabs out for each one, leave them off. So, really, it’s like cutting out lots of dashboards...you still with me? 

Hearts! Yep, I know I said I was skipping the whole ‘valentines’ thing, but, this is my ‘heartsbyemma’ secret! You need to cut out or punch out twice as many hearts as you have dividers. I’ve done six dividers, so, punched out twelve hearts. Oh, and don’t forget to use your trusty Carpediemplanners A5 hole punch, every planner girl needs one! 
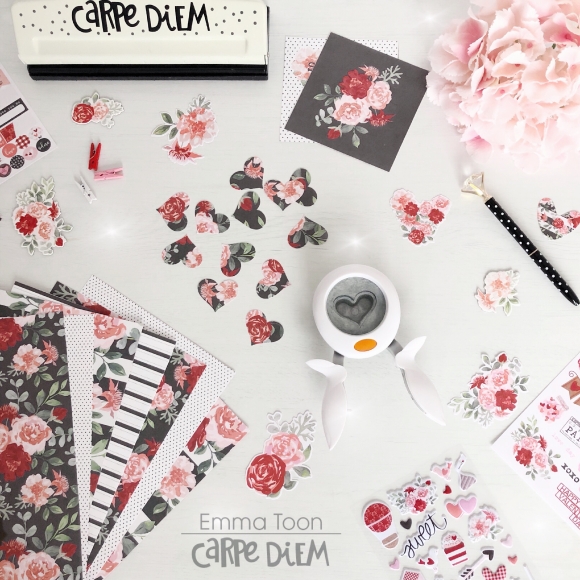
Using a punch makes this much quicker than handcutting each heart, but it’s not essential! I like to use, just an ordinary stick glue, as this gives you time to manoeuvre your hearts around into the perfect position! You want to evenly place the hearts as you would with your usual style tabs, depending on the number of dividers you have chosen, will depend on how big or small the gap is between each one. You’ll need a heart on both sides of the divider, this makes them look visually nicer, but also double the thickness, gives double the strength! 
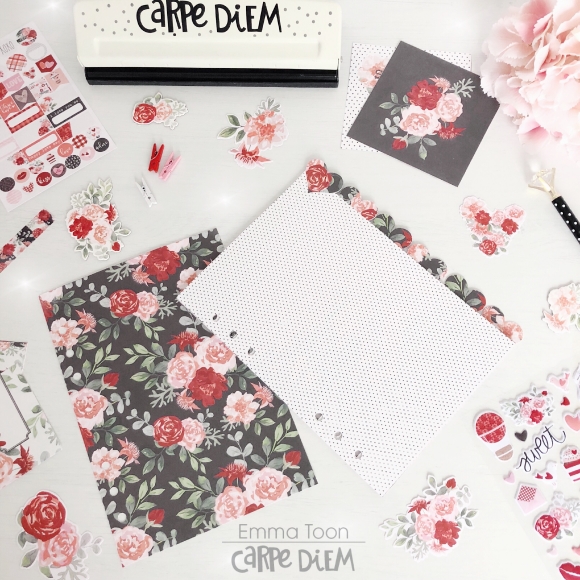
You can see here how the finished result gives a wonderful scalloped effect! Now it’s time for the fun bit! Decorating!! I have to warn you, you’re going to be shocked when you see my ‘minimal’ decoration! 
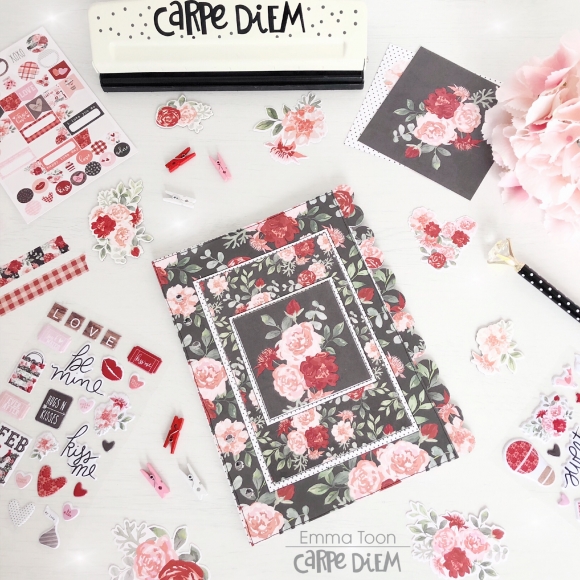
I know, I know, Emma, Minimal?? You never thought you’d see that did you! Let me explain myself! I have chosen big, bold, in your face, florals! These florals are centre stage, they speak for themselves, why cover something up when it screams beauty, like these florals! 
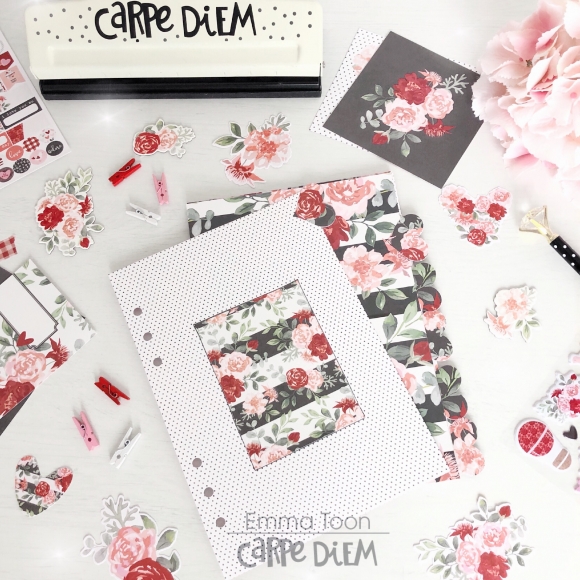
I have interspersed the florals with polka dots & stripes, this is to break up the florals, making them stand out and shout even more. Here is where decoration can be added, but, you guessed it, I’ve gone minimal again!  
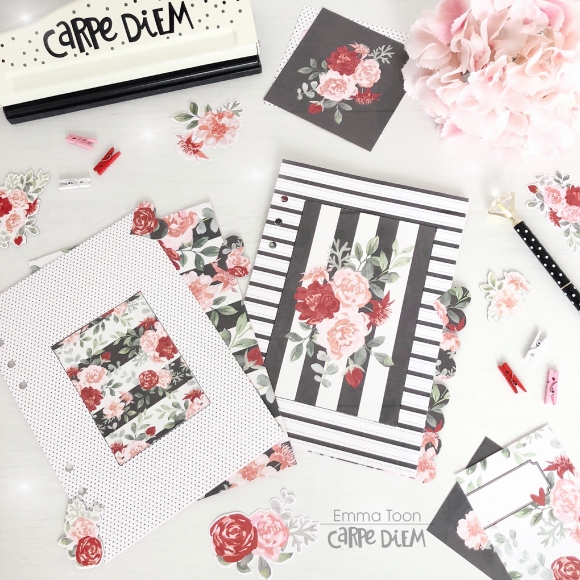
Using only images from the 12x12 cut apart sheets for decoration. You could just as easily cut out some pieces from the floral sheets if you prefer. To make the journaling cards ‘pop’ , I have simply drawn around the edge of each one with a black ink pen, and as daft as it sounds, it really makes a difference! 
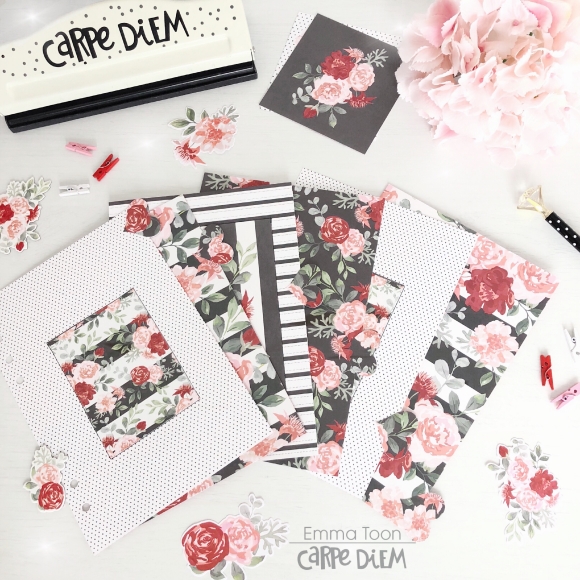
There we have it, a full set of dividers, which although the papers are from a ‘valentines’ collection, these can be used all year round! Always look beyond the title, I say! Well, thank you for sticking with me, I hope you’ve perhaps taken some ideas from this blog, or, if it’s just made you smile, then, I’d say that’s pretty good! If you would like to see more pictures using Simple Stories products then checkout my IG account  https://www.instagram.com/heartsbyemma
Supplies

Hello Simple Stories friends and fans!

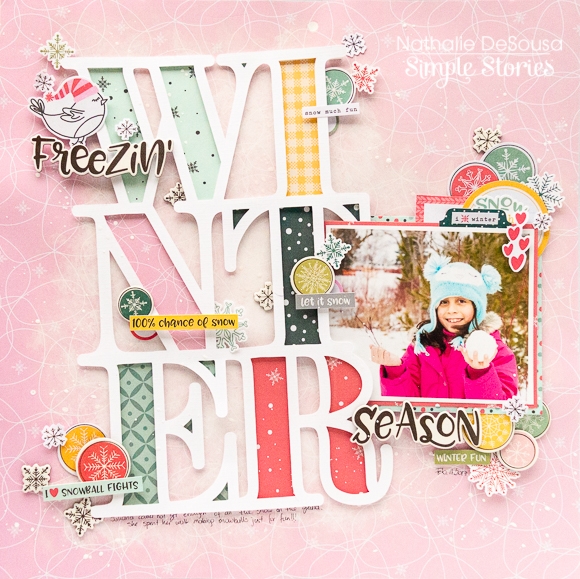
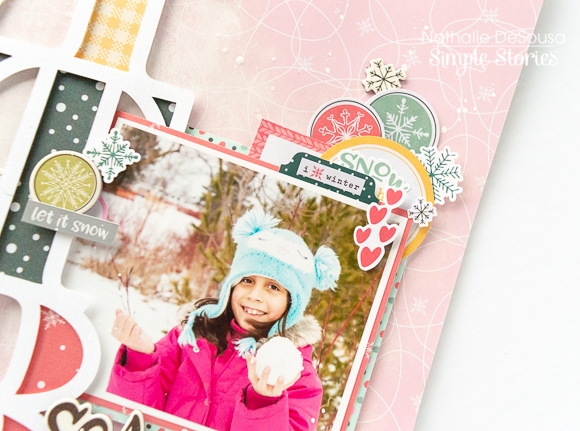
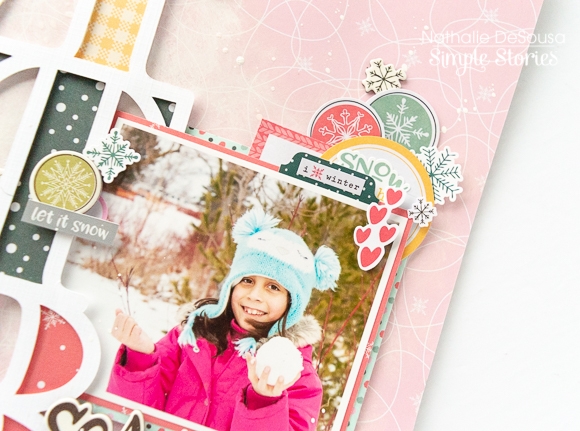
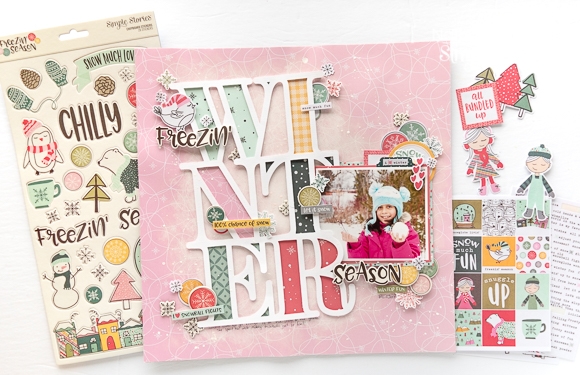
Nathalie with you today to celebrate the arrival of Winter (here in the Northern Hemisphere) with a colorful and fun layout using the beautiful Simple Stories new line Freezin' Season.  Though, Toronto-Canada has yet to get some snow, i have so many memories of snowfalls past, and the colors in the collection were perfect to bring the fun of Winter to my scrapbook album.
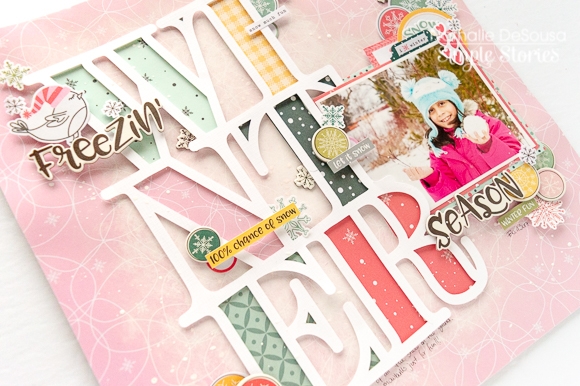
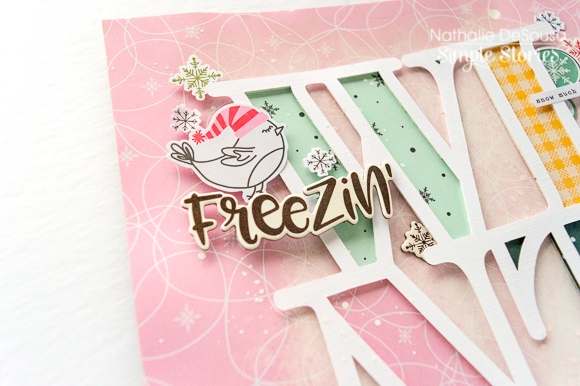
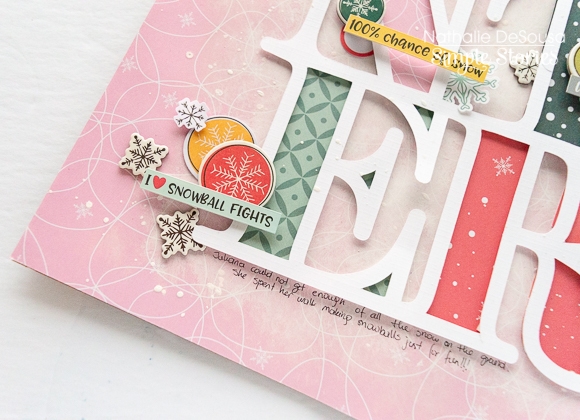
To start,  a bit of white acrylic paint was added to the Hello Winter paper -this hazes the pattern in the background, while creating a whiter canvas for the layout-.  While the paint dried, the"Winter" cut file (from Paige Evans) was cut from white cardstock, and backed with papers from the Freezin' Season collection.

The cut out was placed on a slant on the background, so that it adds playfulness to the page.   The picture was backed with papers from the collection ( the element pages are a great to layer and back pictures!), and then it was nestled in between the background and the cut out.

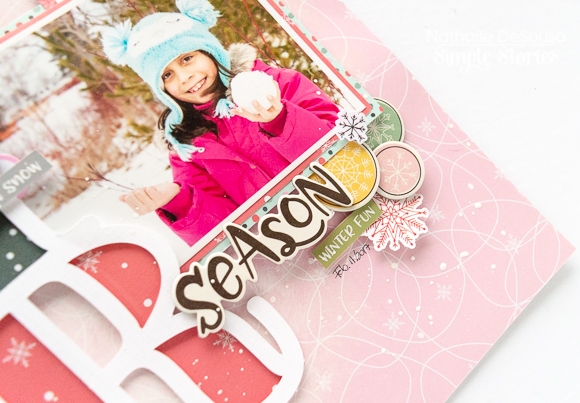
Since the picture shows my niece holding a snowball, i decided to continue the circle motive throughout the page.   For this all the circle snowflake embellishments from the collection were used to create clusters around the picture, along with some die cuts and stickers.  Love all the colors!

To complete the title of the page, a cluster of snowflake embellishments was created at the top left corner of the cut out.   Here the the "Freezin'" chipboard was added.  In a similar manner the "Season" chipboard sticker was added at the opposite -diagonally- corner of the cut out, so that the title reads "Freezin' Winter Season".

Those circle snowflakes were perfect to create clusters around the layout.  Some were tucked under the cut out, while others are floating on the page along with sticker words and embellishments from the collection.   Just a few lines of journal and some white ink were the final touches of this page.

I hope this inspires you to check the colorful designs and colors of the Simple Stories' Freezin' Season collection.  It is  the perfect collection to document all those happy Winter memories.

XO

Supplies

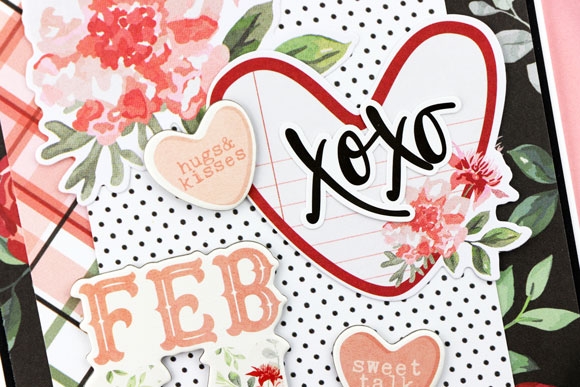
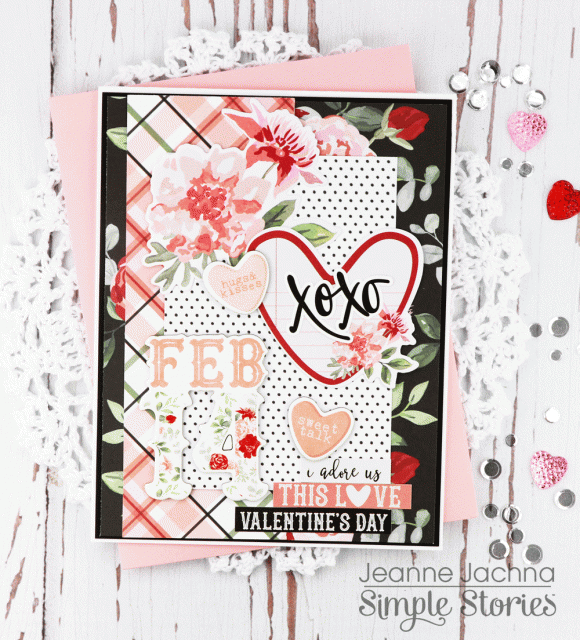
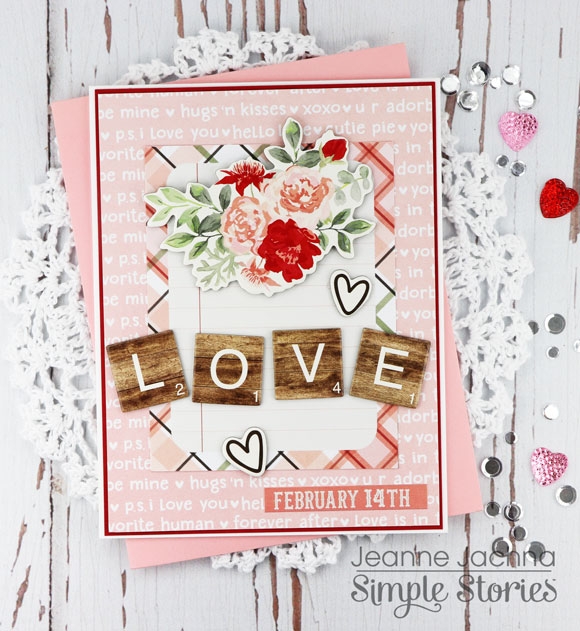
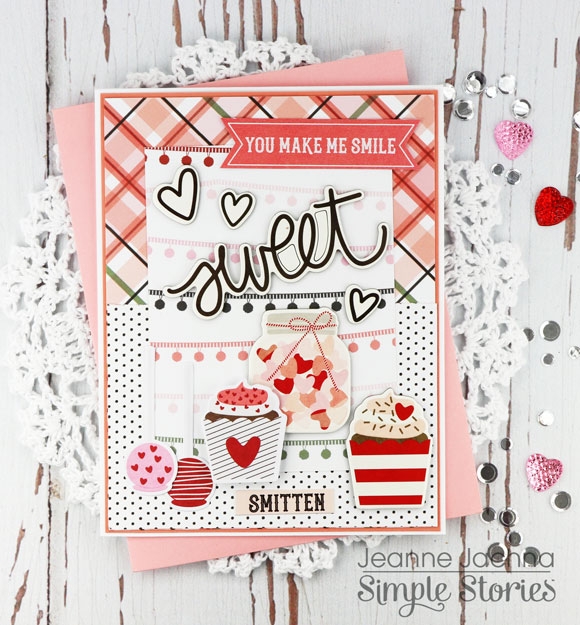
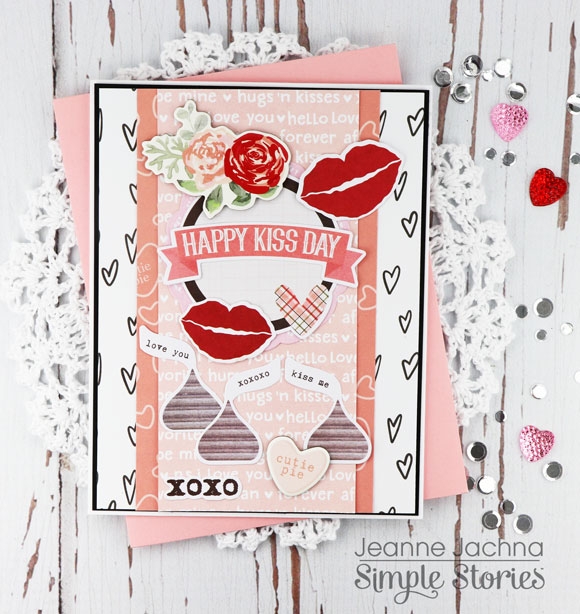
I hope you’re having a great day! Today I’m sharing projects created with the Simple Stories Kissing Booth Collection.  You’re going to ADORE this collection.. it’s got romantic dramatic florals, pretty plaids and polka dots, and flirty hearts and kisses!

You'll find die cut Bits and Pieces, 6x12" Chipboard and stickers that make creating with the collection a breeze.

I like to use the 3x4 journalling cards as a focal point for my cards.  They’re quick and fun to embellish and the possibilities are endless!

The Collection Kit includes a sticker sheet.  I sprinkle them with powder to remove the adhesive backing and then add adhesive foam tape so I can add dimension to my creations.   If I later decide I want to adhere them flat I use liquid adhesive.

This collection is sure to make your Valentine’s Day cards, gifts, décor and page layouts a treat!

Supplies

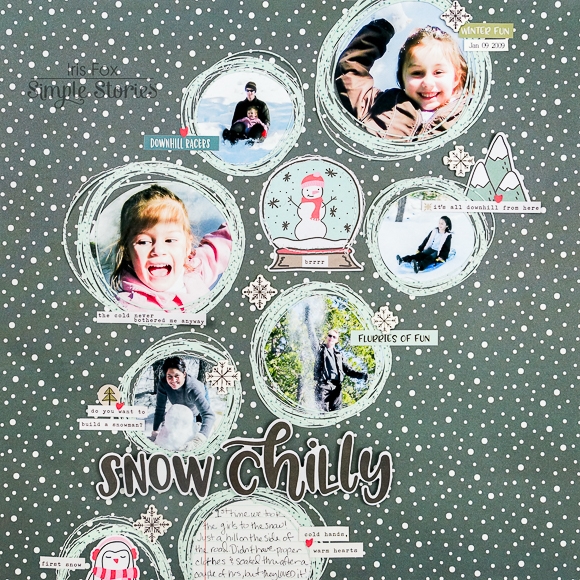
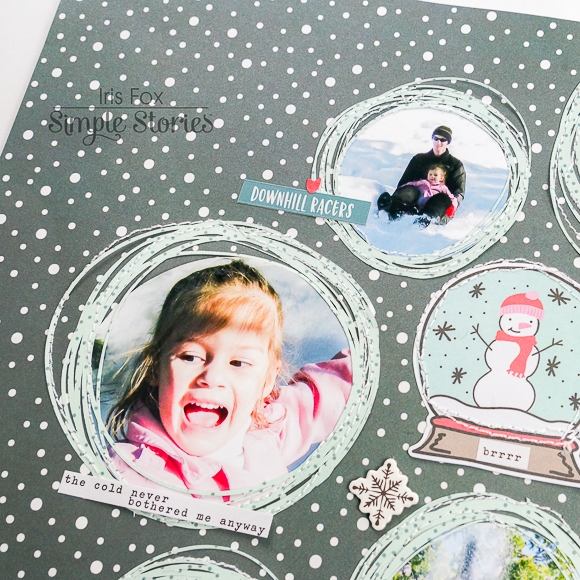
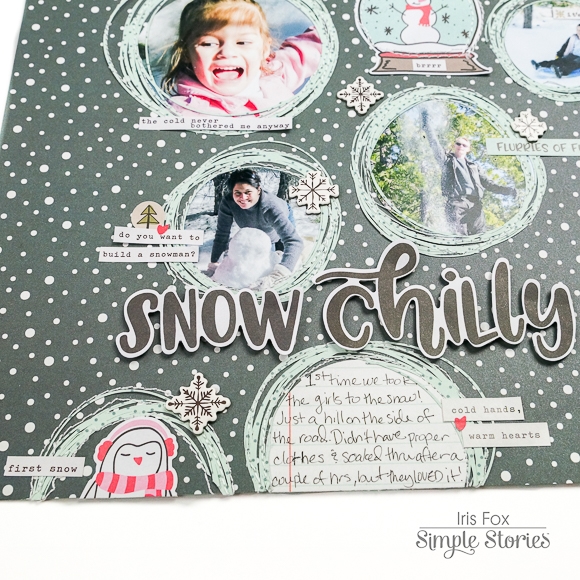
Hello, Iris here with a layout that's all about embracing the Freezin' Season!  This whimsical collection was perfect for documenting the first time we took my girls to play in the snow!

I picked the dark, snowy Shiverin' paper as my background to provide great contrast.  I wanted a design reminiscent of snowballs tumbling down, so I printed my photos at 2", 2.5", and 3", and punched them with circle punches of those sizes.  Then I cut some Doodle Circles (Silhouette Store Design ID: 68077) from the Snuggle Up paper with my Cameo to frame them.  I arranged them across the diagonal, varying placements and leaving space to intersperse some cute elements.  The circles along the edges are cut off because that gives the design even more movement.  For texture, I machine stitched several times around the frames.

I added some of the die-cuts from the Bits & Pieces pack to fill in the gaps, including the snow globe to add some interest in the middle of all those photos.  There's stitching around the globe as well.  I placed word strips form the Combo Stickers and the 4x6 Sticker pack to caption each photo. I always delight in finding just the right little phrase to go with my photos.  Chipboard snowflakes help bring the die-cuts and word strips together into clusters.

The final piece was to add my title, which I propped up on foam, across a small gap between my photos and the journaling. For my journaling, I punched a circle out of one of the journaling cards from the 4x6 Horizontal Elements. See that cute penguin poking up from the bottom instead of another photo within the circle?  He adds something a little unexpected. 

Freezin' Season is so stinkin cute, with fresh fun colors and icons that will make documenting all those chilly winter outings super fun!

Supplies

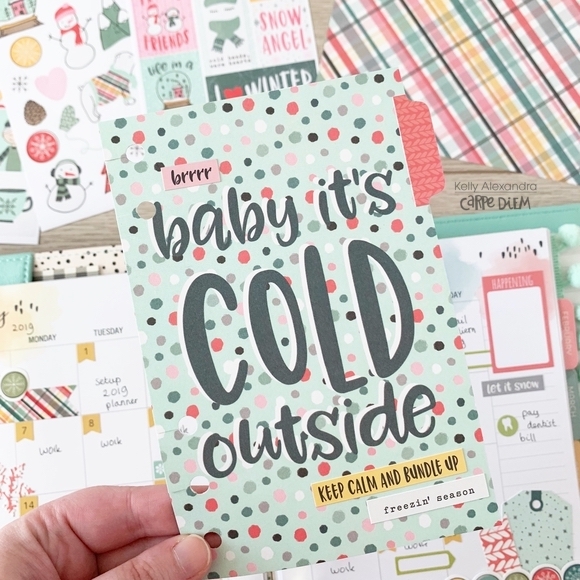
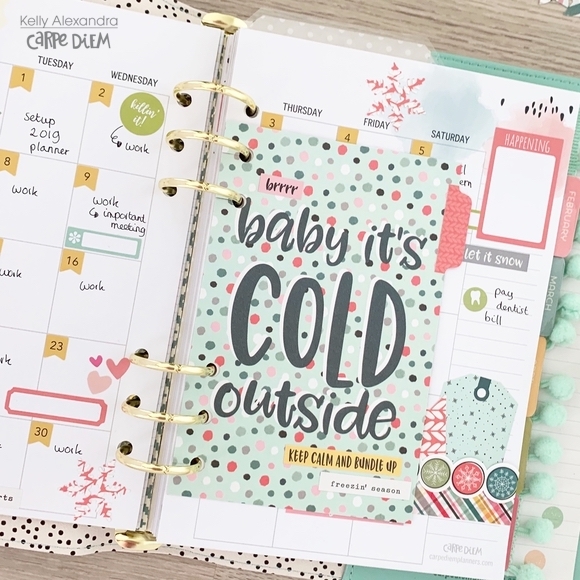
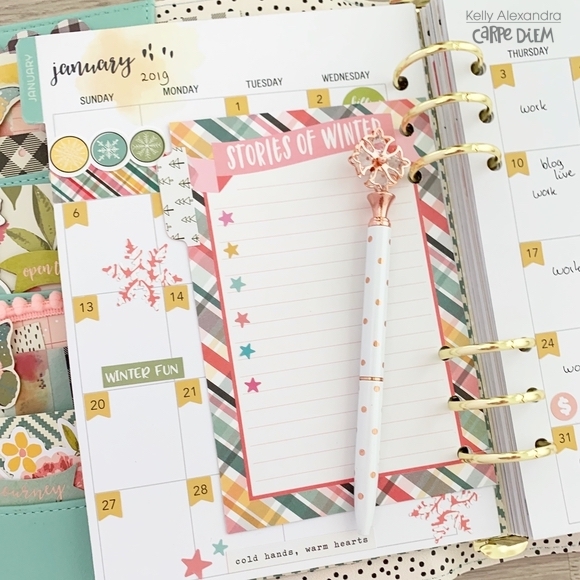
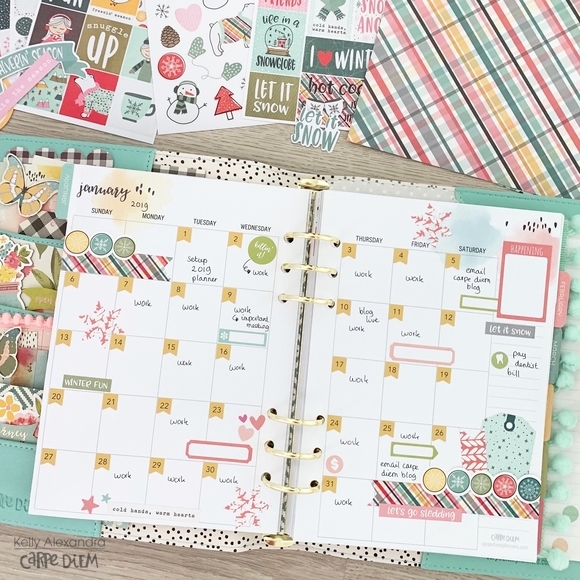
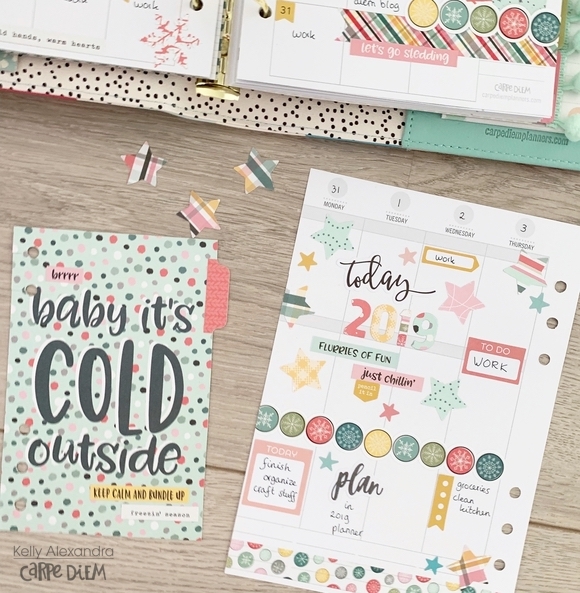
Hello, it is Kelly here today on the Carpe Diem blog. Last year I showed you how I have setup my Color Wash Carpe Diem planner for 2019 using the ‘Hello’ monthly inserts. In this blog I will show you how I have decorated my spreads for the winter.

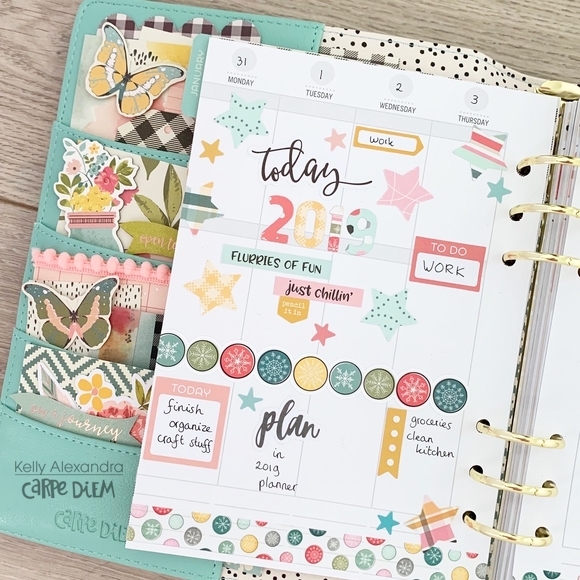
I first decorated the first week of the new year. This month, I am using vertical inserts and because I did not have very many appointments or to do’s I decided to decorate the whole page with some stickers and punched stars. I punched ‘2019’ from four different papers of the Freezin’ Season collection. I love how this spread turned out!

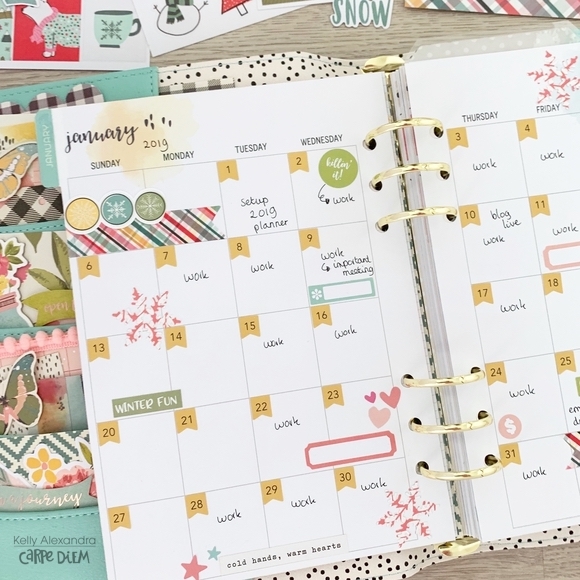
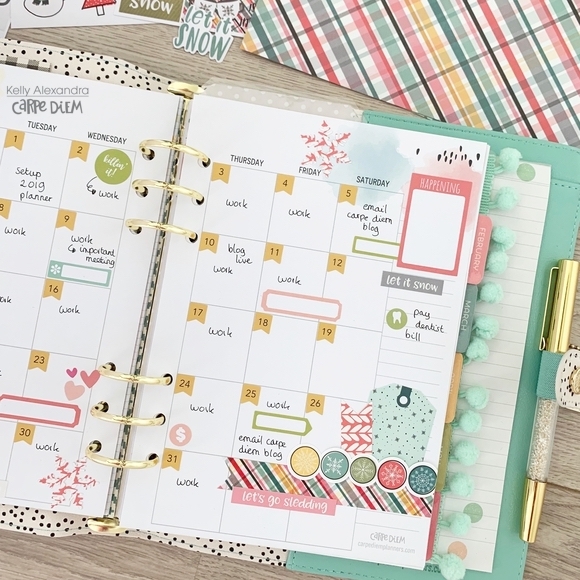
Next, I used the Numbers sticker tablet to date the entire monthly spread with the yellow flag number stickers. I added some functional label stickers from the Basics sticker tablet and decorated the page with some stickers and washitape from the Freezin’ Season collection.

For this month I already know I have a big to do list. Therefore, I created an extra 4x6 card: I used the 4x6 vertical elements paper and cut two 4x6 cards. I glued them together and used the planner punch to punch 5 holes. I used my scissor to cut some slits in the holes so I can easily take the card in and out.

On the back side I stuck some little stars from the Basic sticker tablet to serve as bullet points for my to do list. Now I have to start writing everything down!

I hope you enjoyed reading this blog, you can find more planner inspiration on my instagram. Have a great day!

Supplies

Hello Simple Stories friends!

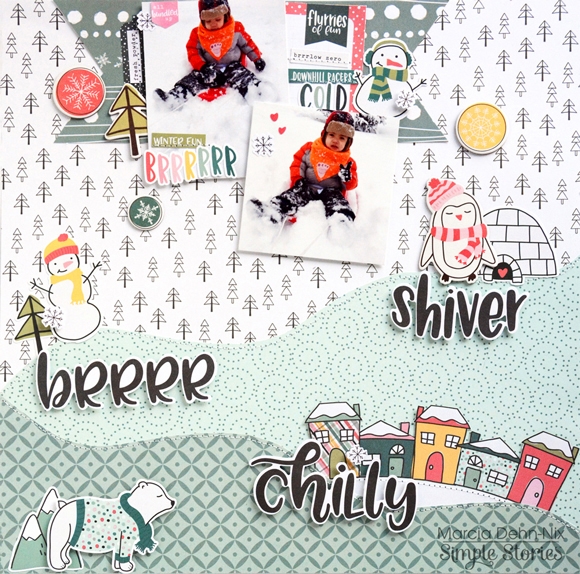
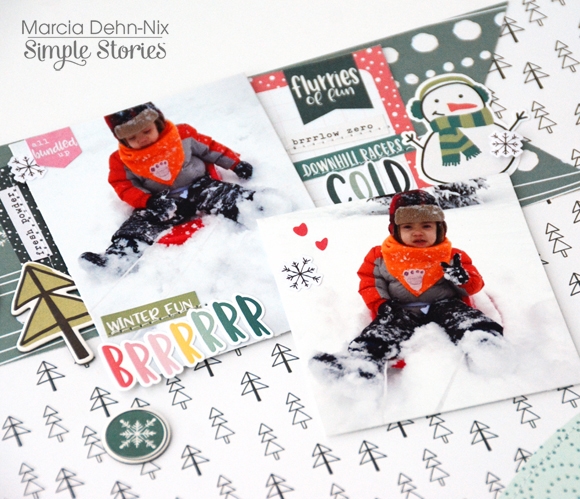
Marcia here today with a fun Winter layout I created with the Simple Stories Freezin' Season collection. I live in Minnesota, so am all too familiar with snow ... and cold. Somedays you just need to get outside and play though or that cabin fever sets in. One of my favorite outdoor winter activities is sledding. All you need is a hill and a sled. The bigger the hill the better. I love the adrenaline rush you get as you are hurtling downhill with the wind in your face. It was so fun seeing my nephew enjoying sledding too.

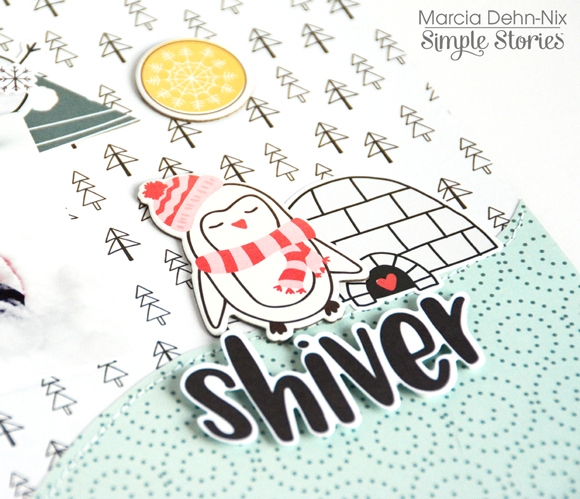
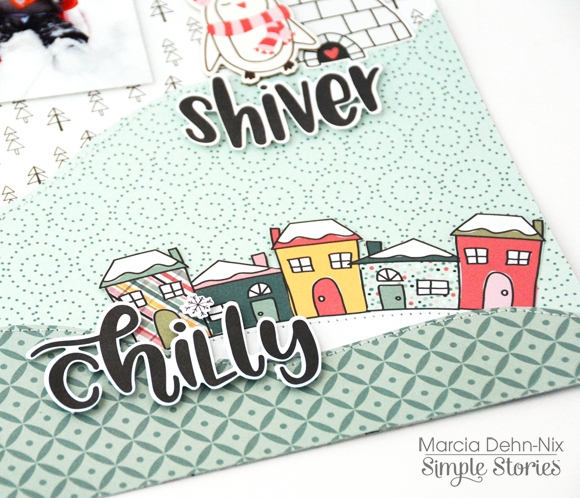
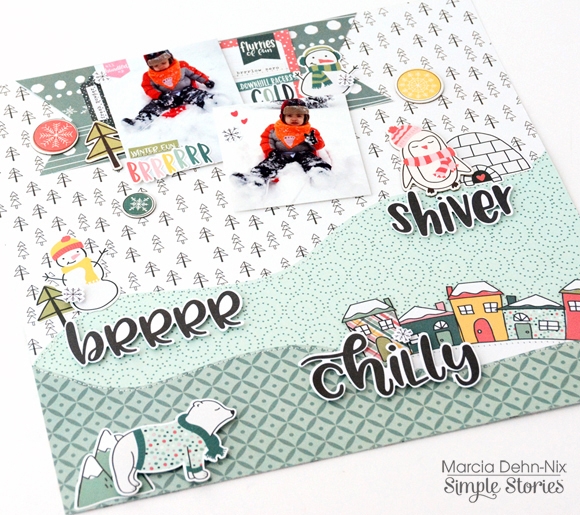
I knew I wanted to create hills of snow on my layout. I used various pattern papers to achieve this and cut them in curves to resemble hills. Then I embellished my hills with an adorable snowman, a penguin, a polar bear, and a village of houses. It was fun layering the bits and pieces words "brrrr', "shiver", and "chilly" along with other fun elements.


When sledding, you start at the top of the hill ... so I wanted to arrange my photos at the top of my page. Tucked in an around my photos are another cute snowman, some snowflakes and phrase stickers, and a bits and pieces tree (because you got to watch out for those trees when sledding!).


Thanks so much for stopping by today! I hope you get a chance to get out and play in the snow! Don't forget your camera so you can document those moments with the Freezin' Season collection.

Supplies

The Simple Stories 2019 collection makes it so easy to document the New Year! I did a bit of a look back along with some pictures from our family New Year’s celebration in a 4x6 SN@P! album. I love the small size for little stories.

I started out my album with an empty 4x4 page protector with some song lyrics using the Basic Alpha stickers in an off white. I love how it lays on top of the page beneath it. I added a tab from the Planner Tabs Sticker tablet and a clear tab sticker to make it a bit more durable. I use these tabs SO much in my layouts, they’re a great way to add simple tabs to a layout and the booklet comes with lots of styles and colours. I also used some of the reinforcing tabs from the same booklet on the holes on the protectors to give it a bit more contrast since the protector was empty. 

Under the clear protector I printed out a roundup of great moments from the year before. I cut down one of the papers from the 2019 kit (with my photo crops of course!) and added some stickers to round it out. The countdown sticker makes a great border for the page.

On the other side I used one of the 4x6 elements from the 2019 kit with a word sticker from the sticker sheet in the middle. Simple and sweet! On the other side are my year in colour from the year past and a cute Instax picture of my boys mounted on one of the papers from the kit cut down. With more stickers, of course!

To finish it off I used some pictures from our New Year’s celebration along with some of the 3x4 elements from the kit. The word stickers in the 2019 kit rounded out my page nicely along with the black and white stars.

The 2019 Collection kit was perfect for some sweet layouts going into the new year. The black and white colours go with everything and the stickers were super fun.

Supplies

Howdy Simple Stories fans! Today kicks off almost TWO FULL WEEKS of our Spring AND Summer release reveal!

Be sure to visit our Facebook and Instagram accounts each day for chances to win and to keep up with all of our product reveals over the next two full weeks!!

Hello Friends! 

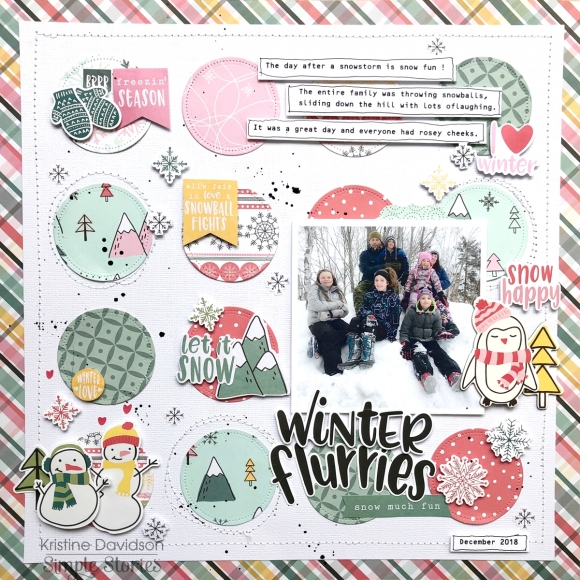
It's Kristine here today and I'm going to share my latest layout using the Freezin' Season Collection. I live on the east coast and right now it's WINTER! We have snowdays where we don't really go outside because it's a storm too cold. The day after a storm is usually so calm and beautiful and that's when everyone goes out to play!

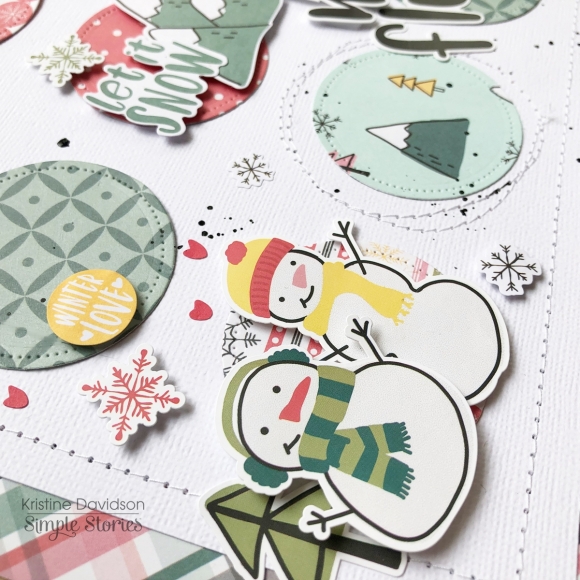
To create my layout I first used a 2" metal die to cut out circles. I placed my circles on a piece of white cardstock about 11"x11" and then placed my cardstock on a piece of pattern paper. I did a bit of messy sewing on the egde of my cardstock and around 3 circles. This just added texture for me and a few subtle details. 

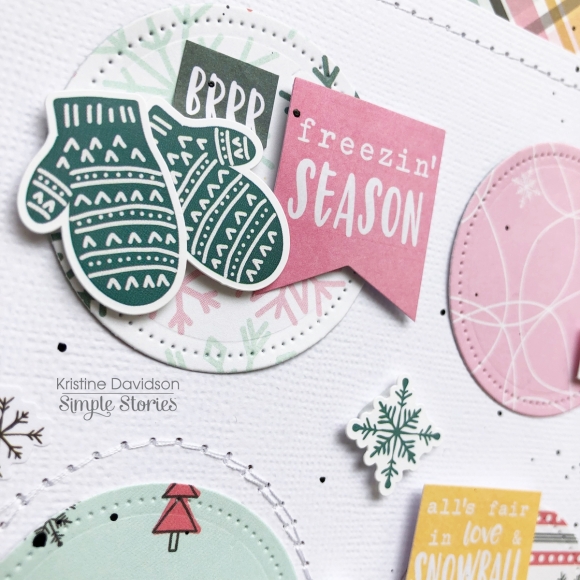
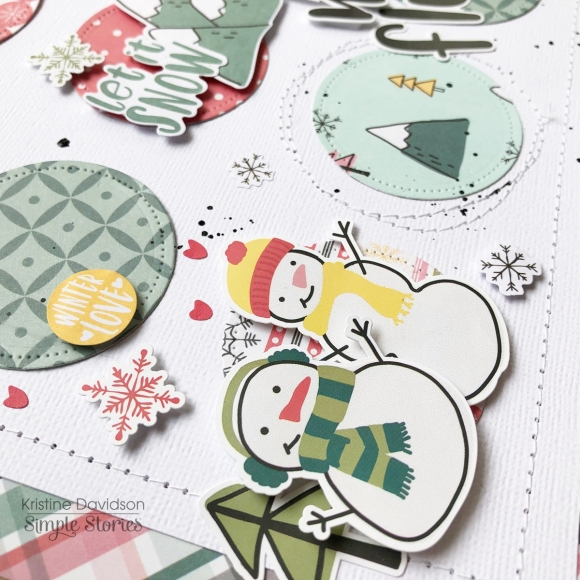
I added little stickers, bits and pieces as well are chipboard pieces to decorate my page and of course used some dimensional adhesive on most of my elements. To create my title I used the Winter and Flurries stickers from the sticker sheet. Once my layout was finished I added journaling and some black ink splatters. I know that's probably out dated by I love it on my layouts. 

As you can see this collection is super fun to create winter pages. Please tag us on social media @SimpleStories_ #SimpleStories to show us your latest Freezin Season layout!

Have a great day !

Supplies

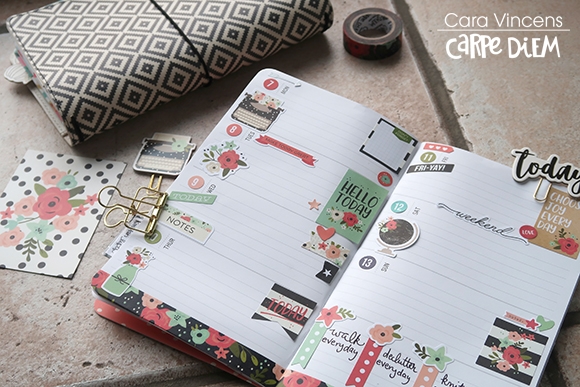
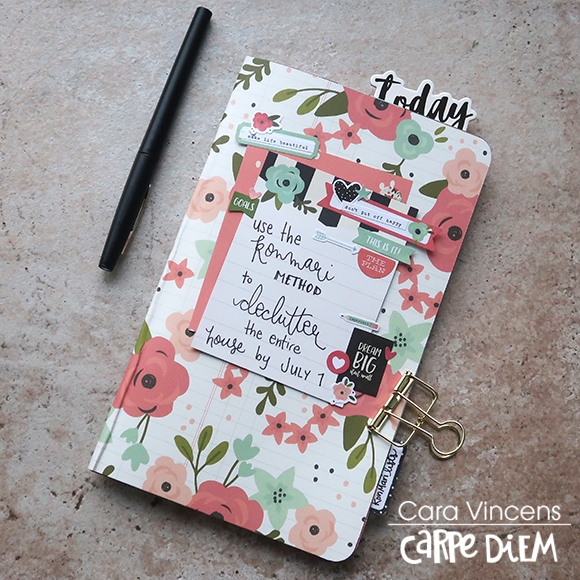
Happy New Year! It’s Cara here today and I LOVE a fresh start and that’s why I love Mondays. I love that fresh new week, a blank slate, but the very first Monday of a new year? Wow, it’s like my birthday!! And so, I’m super excited for this coming Monday and this coming week.

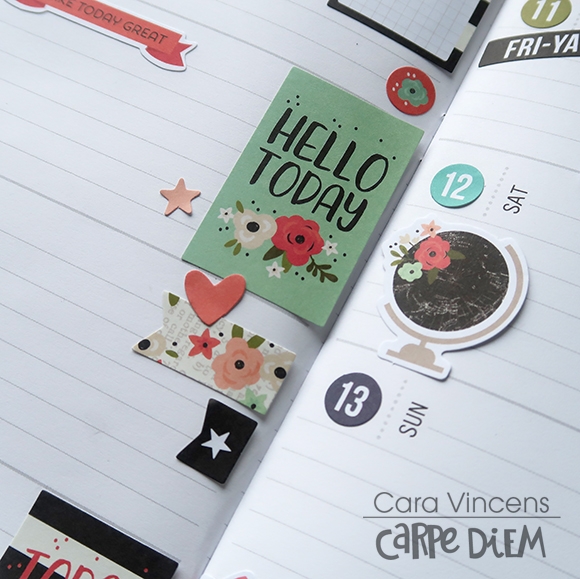
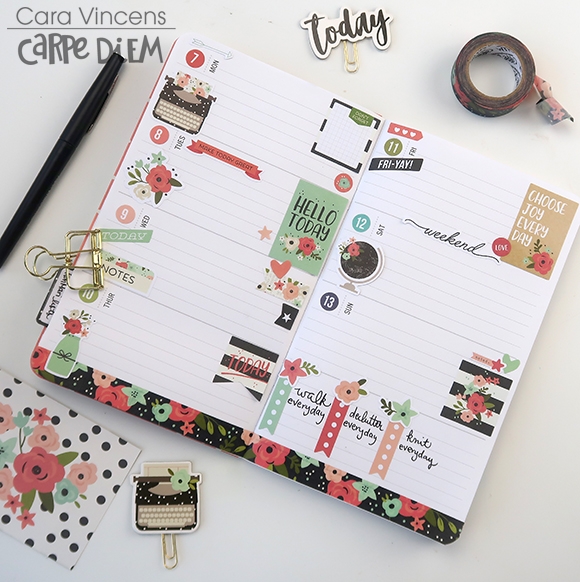
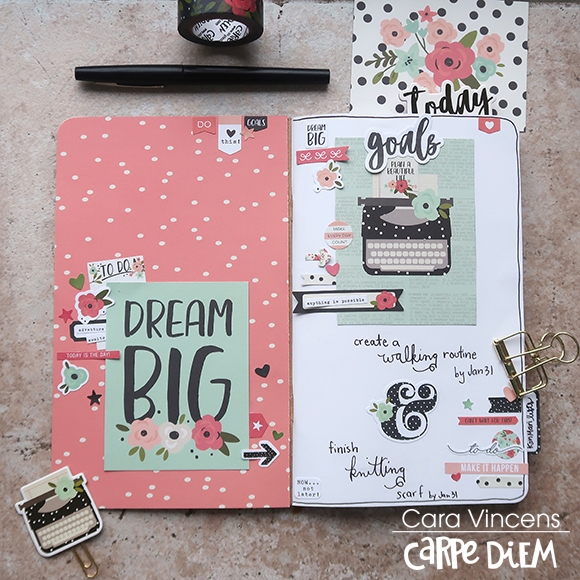
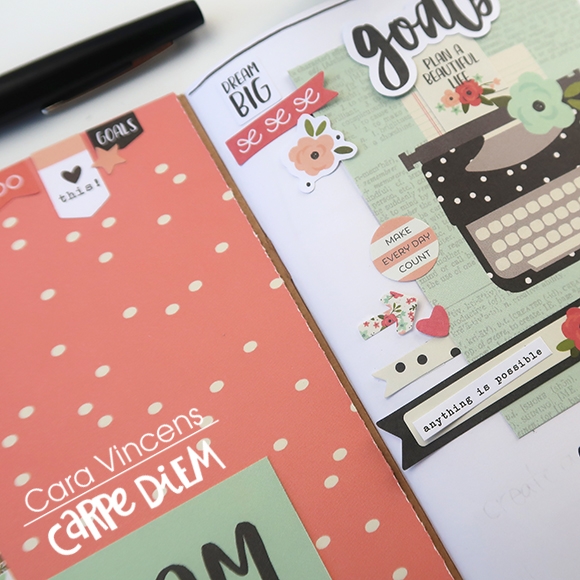
I’m using the gorgeous Bloom collection today to pretty up my January planner and that very first full week of this year. These stickers are so pretty and feminine, which is a great way for me to get motivated to work towards my goals. I have both the regular sticker tablet and the mini one, which is a fabulous way to always have the right size sticker on hand. No more thinking ‘I wish this sticker was just a bit smaller’.

What I really want to do is to put my first few goals for 2019 front and centre in my planner to keep them top of mind. I want to make sure that I’m reminded every day of what I want to accomplish this month. My three main goals for January are written in the notes section of my weekly spread with little check box banners with enough space to check off one per weekday.

I’ve also written each goal out at the front of this weekly insert so that I’ll see them often and I flip open my planner. My big goal gets the place of honour on the front cover and the other two are written just inside. I used the matching Bloom scrapbook papers to cover the insert and the inside front cover along with cards from the cut apart sheets.

A tip for when you are covering inserts: make sure that the book will open and close smoothly after you'd added the paper. Close the book before sticking down paper completely on the outside. I'll stick the front cover, close th book, then I'll even wait to cut the width of the paper until after it's stuck down so that I'm sure there's enough. When adding paper to the inside leave a fraction of an inch near the binding to make oping and closing a cinch.

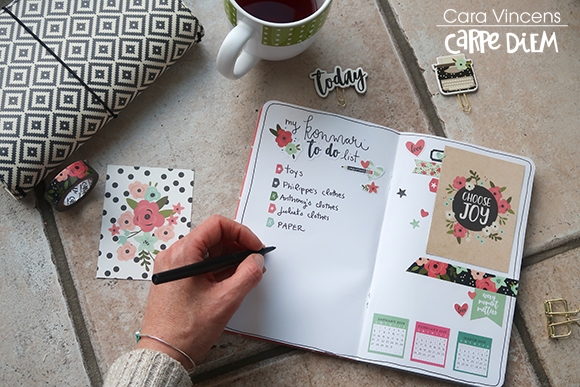
Since my first goal is a big one, I am also including an entire spread dedicated to it. I 'borrowed' some pages from a blank insert and stuck them in. I started a list of the steps I need to take to make progress on my goal, but I didn’t include the entire list because I don’t want to overwhelm myself. That would just backfire and I’d make no progress. This list is already long enough to get me started and once I get close to finishing it, I can add in new steps. I also added in 3 mini monthly calendar stickers to the bottom because I’d like to make some real progress towards this goal in January, February and March.

I also used the Bloom chipboard to make a couple of planner clips. I added a bit of the Bloom washi, dated the page with stickers from the Numbers tablet and added a tab and covered it with a clear tab sticker.

I will have a process video up on my YouTube channel on Monday, so stay tuned for that and if you are reading this after Monday and can’t find the video, simply search Forgotten Resolutions along with The Hooting Pirate and you should find it.

Happy Planning!

Supplies

Pages