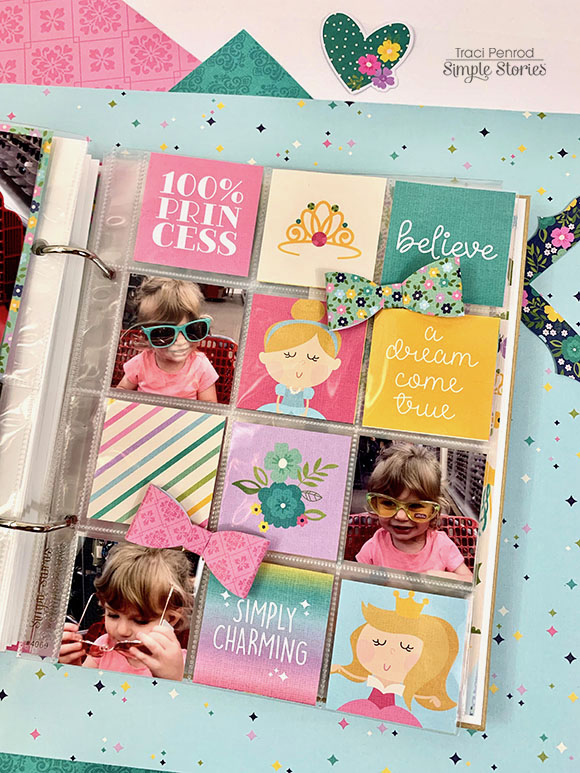
Hi everyone!  It's Traci, back to share my Little Princess Sn@p album with you.  These pages were especially fun for me to create because I'm a mom of two boys.  Pink and princess themes haven't always been something I did a lot with ... until now!  My granddaughter has made my albums more colorful, and a lot more pink!

The 6x8 Little Princess paper pad is SO CUTE!  I loved this page so much I just adhered a few little bird die cuts with foam adhesive to give the paper some dimension.

I also had fun adding enamel dots (yes! they're back! Yippee!) around the little frame on the 3x4 card, and then repeated them around my 4x6 piece.
 

I used bits & pieces die cuts (love that dragon!), chipboard pieces, and those cute bow clips to embellish the pages.

I even tucked some darling bows into my 2x2 layout!  I think these insta-pocket pages add so much fun to a sn@p album.
The colors in this collection are perfection!!
This will be my last post here at Simple Stories so I want to thank you all SO much for letting me share my love of Sn@p Albums with you over the last two years!  Please come visit me over @artsyalbums on Instagram, and at my Artsy Albums blog, where my album addiction continues!

Blog * Facebook * Instagram * Pinterest

Supplies

 
Every girls dream is to be a princess waiting for her prince charming and live happily every after.
I decided to use the "Little Princess" Collection to set up a fairy tale theme TN for my 3 year old daughter. She's at that age where she loves all the princesses.
 
  The little girl inside of me was so excited and I felt giddy when this collection came out. This collection has many gorgeous papers that I couldn't decide what to use for my front insert cover. 
I decided to create a simple and yet colorful insert cover. I used the paper with the quote "Believe in Happily after" This paper is already decorated with lots of flowers and it didn't really need much more embellishments. I just added the chipboard "Princess" sticker to the top, the princess chipboard sticker to the right bottom and scattered some butterflies with the flowers. I finished it off with adding some enamel dots.
 Of course, every princess deserves planner pockets full of love with magical embellishments.
Deep down inside we all want our own "happily ever after"
 I just love the side view of this set up with the princesses tabs sticking out to the side.
I had so much fun creating this section. I used different papers in which I cut them in different sizes and layered them to give it more of that 3D appeal. I also used my flower punch for the edges. I used couple of bits & pieces to decorate the middle area. I am planning to add pictures of my daughter later on when we visit Disneyland to see the princesses.
 Gotta love the side view which shows the layers I created.
As I mentioned in the beginning, I set up this TN for my 3 year old daughter. She love tracing her hands and I love documenting it. We can look back at this page to see how much she's grown.
 I also let her write and draw on the page as you can see here. I then decorated around her drawings. For now I didn't let her add stickers and washi tapes since I have a little OCD and I want everything to look perfect. Maybe later on when she's old enough I will let her add her stickers and decorate her own page with the washi tapes. Until then, mommy will control the pages.
 The planner community has always been my inspiration in creating my projects and layouts. I love love seeing every one's beautiful work. Everyone is going gaga over pen sleeves that I was inspired to create my own to match my Princess Set Up. I used the "hello princess" double sided paper and cut into the size I wanted to hold my pens. I cut two square pieces. One to go in the front and one in the back. I laminated both pieces and I sewed all around the sides except for the top.
I ran over a little challenge while creating this pen sleeve. I first used a 10mm laminating sheet but it was too heavy and too hard to sew. So I decided to use 5mm instead and it worked out well. I was able to sew through both laminated pieces.
I am super excited for my daughter to fill the pages with her drawings and I cannot wait to add pictures.
Thank you for stopping by and hope you have a great day.

Supplies

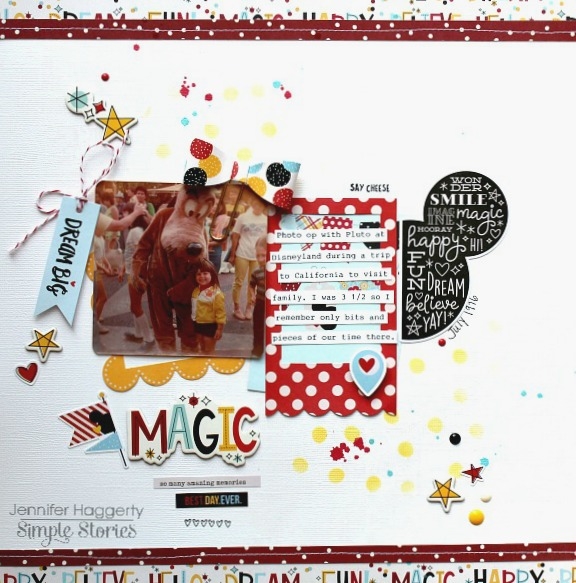
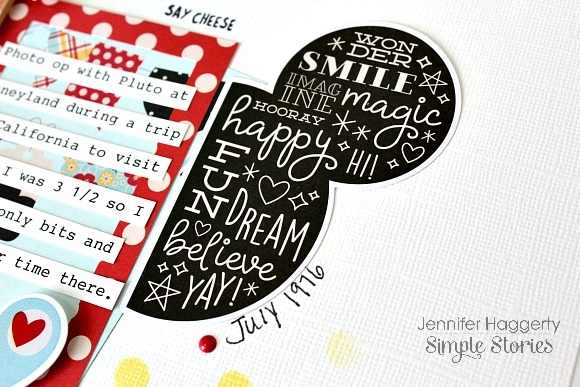
Hello! It's Jennifer on the blog today to share a layout I  created with the new Say Cheese 4 collection! I  was so excited to hear that Simple Stories was adding on to their Say Cheese line! What is even better is that all of the collections can be intermixed and used together! I originally was going to scrap some of our family vacation photos from this past fall to Orlando, but decided to  pull out some "vintage" pictures of me and my first trip to Disneyland!

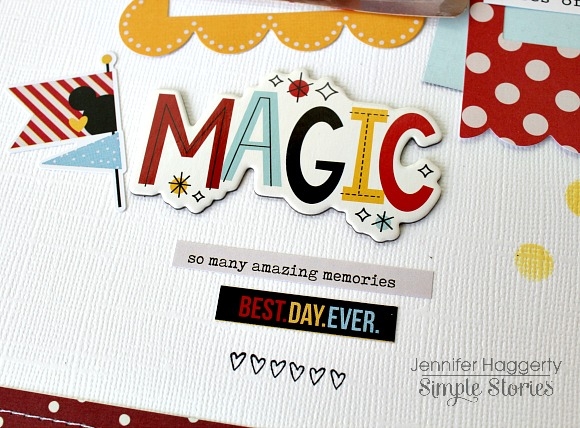
I  love all of the new additions in embellishments this year including the Say Cheese 4 Chipboard Word Stickers! They make for great titles as I  used the "Magic" for my layout.  I  accented with some stickers from the Combo Sticker Sheet and 4x6 Stickers. I  also got out my Say Cheese Roller Stamp to add the line of hearts under my sentiments!

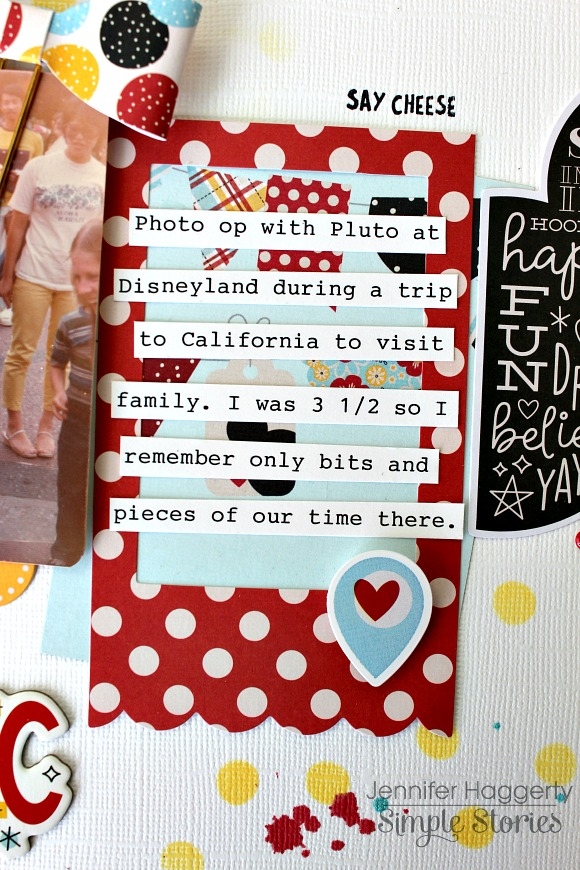
Say Cheese 4 also includes a pack of Tags and Frames which I  used to create a banner of sorts across my page! I  love the scallop red/white dot frame backed with a 3x4 Element that I  cut out. I  then added some typed journaling to the center as well as popped up a geotag sticker at the bottom.

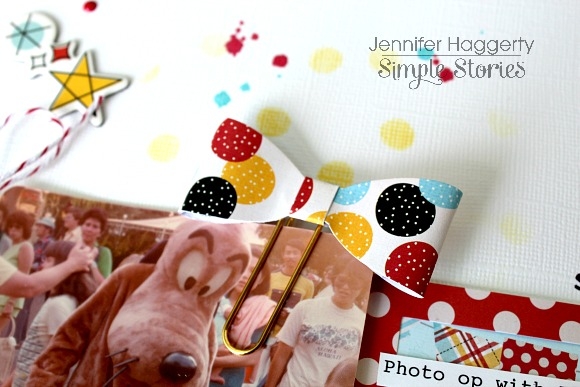
Another fun addition of embellishments are these Bow Clips! You receive four different prints in a pack which are great for sliding under a photo or at the top of a page!

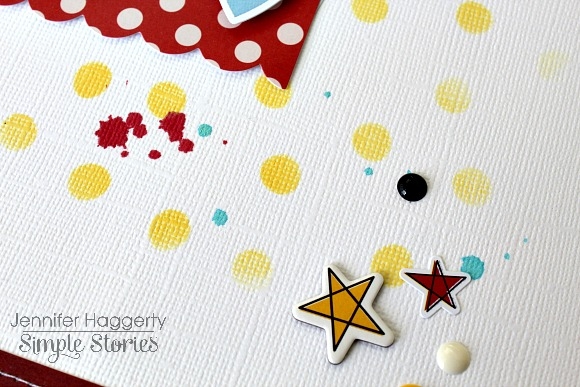
To create a colorful background on my white cardstock, I  used the new Magic Dots 6x6 Stencil with some yellow Distress Oxide ink! I  then used some spray ink to splatter reds and blues to my background as well as added some enamel dots from my stash.

I  adore this die cut from the Bits and Pieces pack and thought it would look cute at the end of my frame! 

Thank you for reading today!  Check out the Say Cheese 4 collection in its entirety by going to the Products page! Have a great day!

Hi everyone! Tara with Secretbees Studio here! Simple Stories has some new paper collection releases and they are fabulous! One of my new favorites is the 'Simple Vintage Traveler'. I love to travel and I think one of the best (and cutest!) ways to document a trip is a mini album!

I made this mini into a travel folio with lots of places for photos, journaling spots and mementos! There are even some hidden pockets too!The folio, which measures 5"x7 3/4" when closed, has a tie closure and I included a luggage tag from the Bits & Pieces along with some travel charms as accents.

This inside flap has both a photo and journaling spot as well as a hidden pocket with a pull-out card! The tickets on the edge are from the combo stickers included with the kit! The other flap is actually a large pocket with a long pull-out card that features quite a few spaces for photos or journaling.

The flaps open up to reveal a pocket with a large tag that also holds photos. The pocket has a few sticker embellishments and been stamped with one of the new clear stamps from the 'See The World' stamp set! In the center are a couple of multi photo flips that have been decorated with small stickers and sentiments.

The center of the folio has three sections. The left flap features a beautiful frame from the Layered Frames packet and the right flap has one of the Bits & Pieces adhered to the corner to hold a couple of photo and tag card! For the center, I folded a Simple Stories pocket page in half to hold more photos. Behind the pocket page is another hidden pocket holding another cute card!

The center section folds up and flips over to reveal the back of the folio. There is another frame, ready for a photo, and a pocket that hold a travelers notebook that I made using a piece of the patterned paper. I cut notebook paper down to size and used that for the inside of the notebook. Super cute! Now I just need to got a trip so I can fill up this folio!

There is so much more amazing detail to this folio that you really should see! Head over to my YouTube channel to check out a short walk-through video to see it all!

Supplies

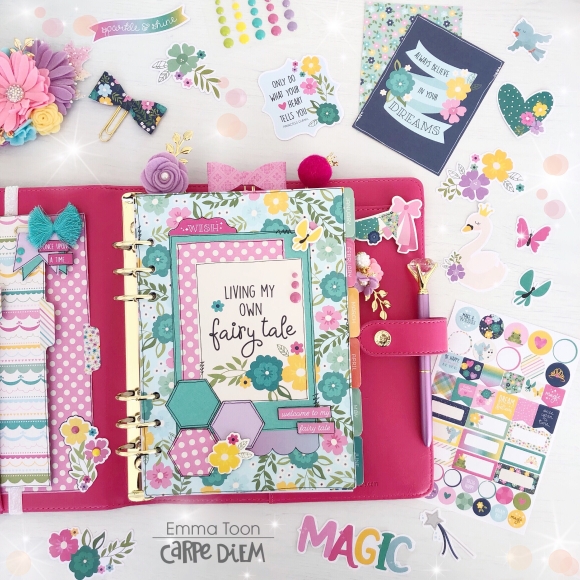
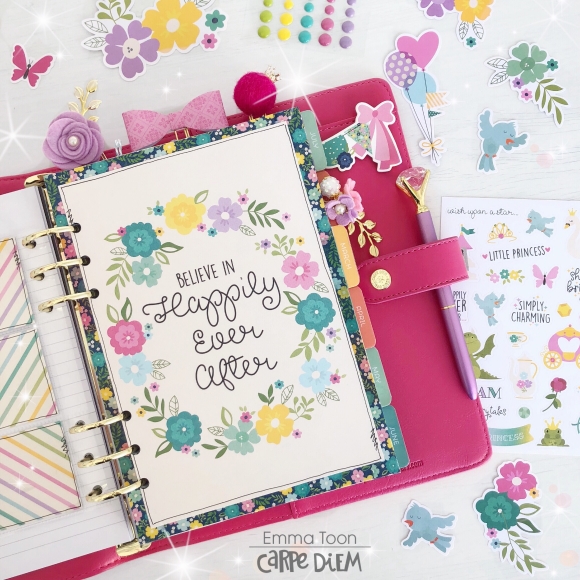
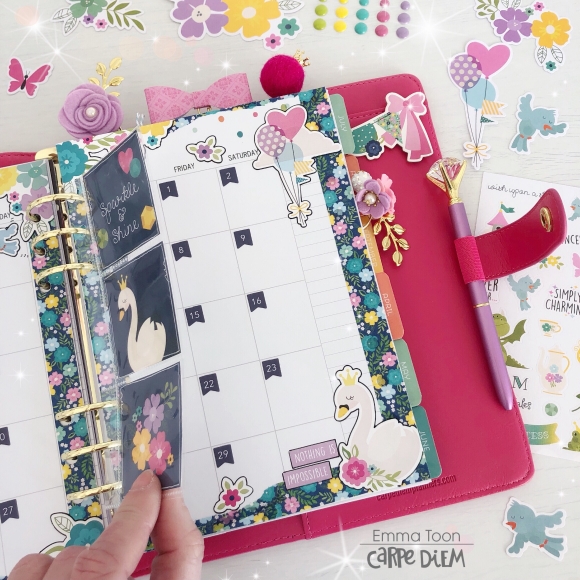
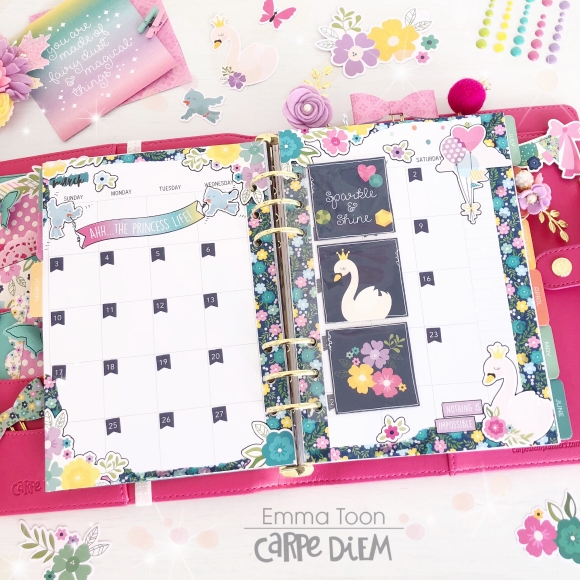
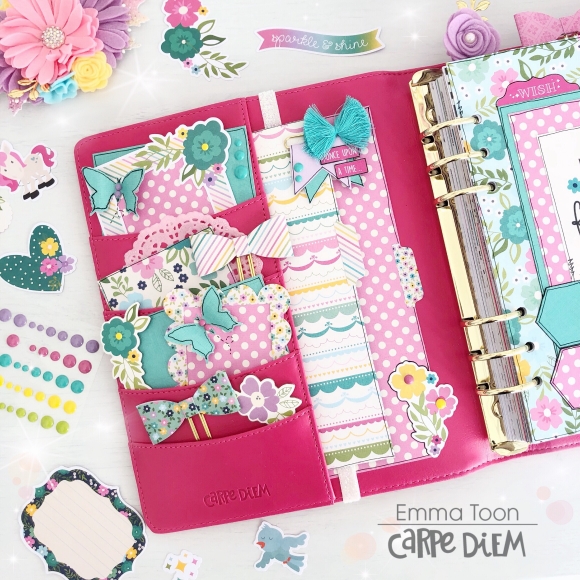
Hello again, it’s Emma back with you today, and I’d like to share a little bit of fairytale magic! I’ve been setting up the beautifully bright new Pink A5 Carpediemplanner and what a gorgeous planner it is!! 

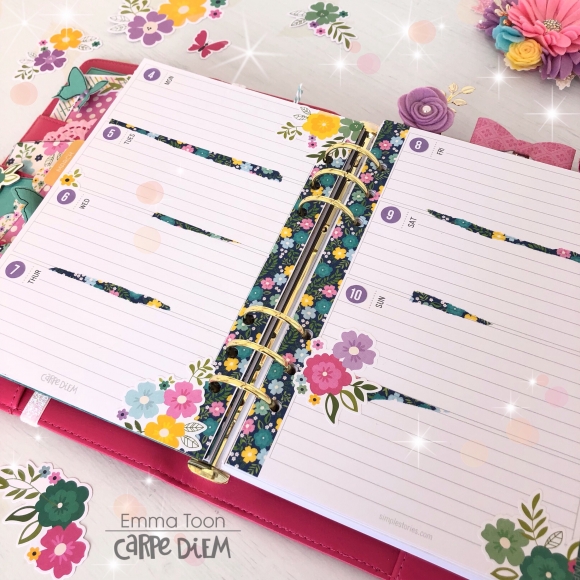
I’ve used the A5 Good Vibes Monthly Inserts and the A5 Horizontal Weekly Inserts to get this planner all set up ready for use. 

You might be surprised that a mid forty year old would choose the new Little Princess Collection for setting up her planner....well, probably not that surprised actually if you follow me on Instagram!! ;)

The colours in this collection are so bright and cheerful and well what can I say about the florals, other than as always with Simple Stories, the florals are fabulous!!!


I’ve chosen the pink polka dot from the 6x8 pad and the then the teal from the Simple Basics 12x12 pack as my main focal colours. I’ve used off cuts in the pockets which I have slid behind two of the frames from the Tags & Frames pack and punched out a couple of teal butterflies which I’ve embellished with the Enamel Dots, YAY for the Enamel Dots to be back again!!! 

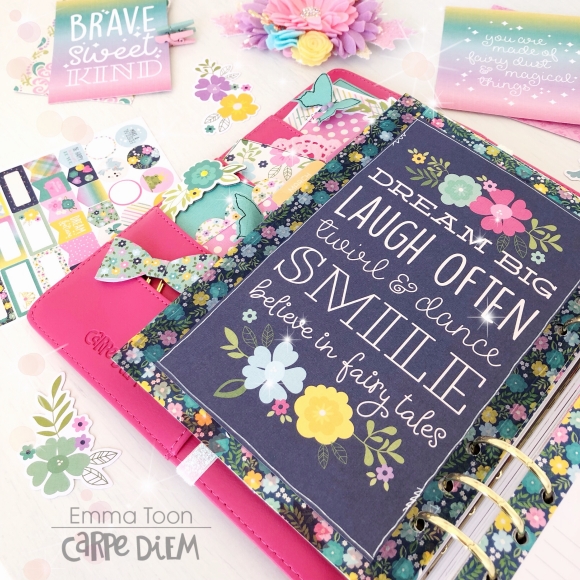
For the dash I’ve used the teal floral paper which I cut to size using the A5 template and the Carpediem A5 hole punch, boy does it make it super easy to create dashboards & dividers!! 


The 6x8 pad makes it so simple to make dividers, or in this case to cover dividers...I wanted to cover the March divider from the Good Vibes set as I wanted my ‘little princess’ theme to continue, I cut down a couple of the 6x8’s which you’ll see here and a bit further down my blog, to cover the front & back, a little bit of glue and the fabulous floral washi as a border and hey! It’s as simple as that!!


The monthly overview page is something I rarely use, but I do always need extra space for scribbling little reminders down, so I have covered up the various titles really easily with a few punched out circles and it has then left me with a prettily decorated page, perfect for jotting down those few reminders! 


I love to incorporate little sections using the various sized snap pockets, here I’ve used the 4x4 cut apart sheet and a section of a snap pocket that I’ve cut down, it just adds a bit of fun to my planner, sometimes I even add some sequins too, which make a shaker pocket, they’re really easy to do and just seal with some washi! 


As always with my monthly spread I’ve used the ‘I can’t live without’ Numbers Sticker Tablet! I’ve done a border of the floral washi and a few floral stickers and that’s pretty much it, so quick and simple but I think it’s a great way to add some colour! 


Here’s the other side of the March divider which I covered with one of the 6x8 pages and a border of washi. 


Did you see how this collection has a whole pack of floral ephemera?!...I think it was especially for me!! ...and also a whole sheet of florals in the sticker pack!! Look how I’ve decorated my weekly pages using only the floral stickers and some strips of washi!! I’m really pleased with how it turned out!! 

Well, that’s all from me for today, 


If you would like to see more pictures using Simple Stories products then checkout my IG account  https://www.instagram.com/heartsbyemma

Supplies

Hello Simple Stories friends and fans!

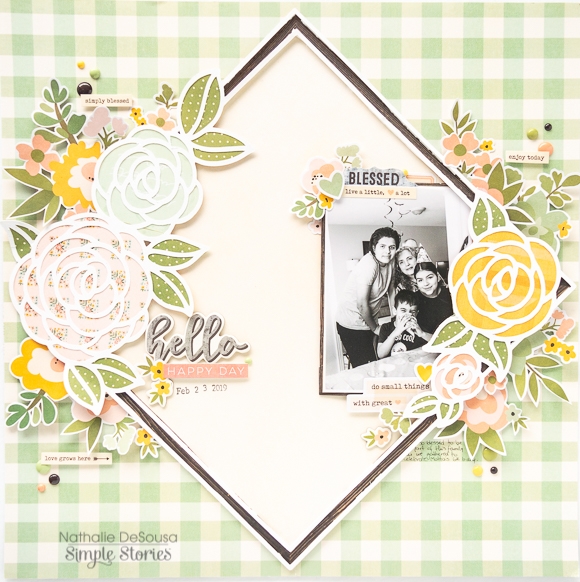
Nathalie with you today;   it looks like Spring is slowly coming our way, so I want to get started on those happy and colorful feelings using the new Spring Farmhouse collection from Simple Stories  to document a recent picture of my family.

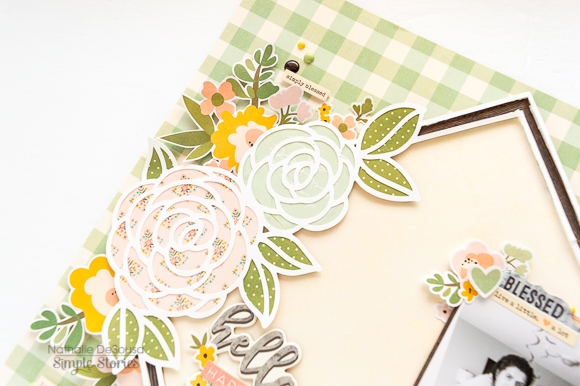
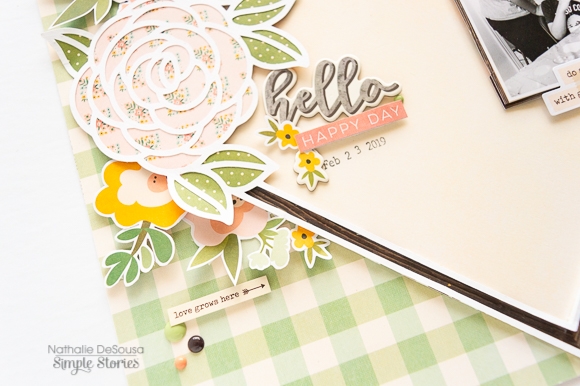
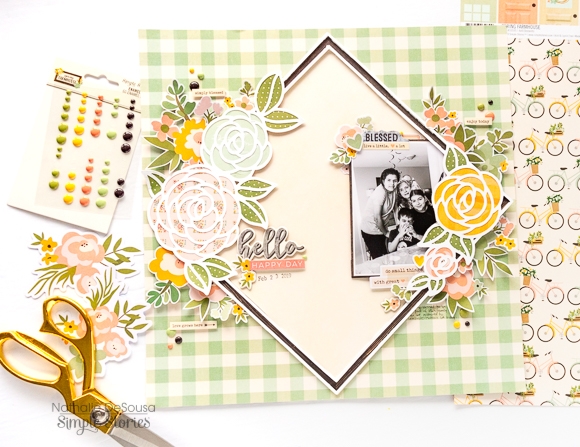
This new collection is packed with beautiful sentiments, designs and colors, so, what better way to showcase them all than to back a cut file with it.   For this page, i used a cut file from Handipaper and backed each of the flowers with papers from the 6x8 paper pad and papers from the collection.

To take advantage of the angles of the cut file, i chose to back the center frame with the Cream paper from the Spring Farmhouse collection, and then glue it to the B side of the Well Said paper on an angle.

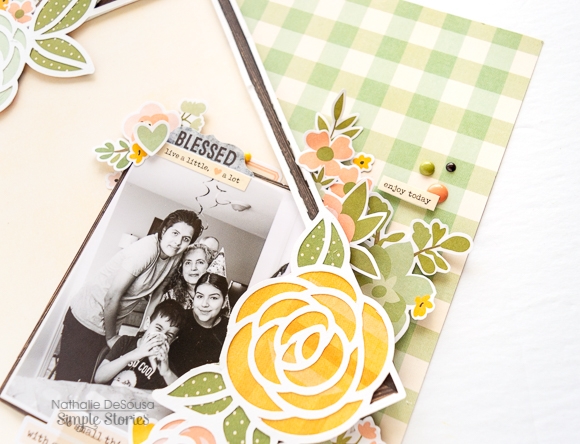
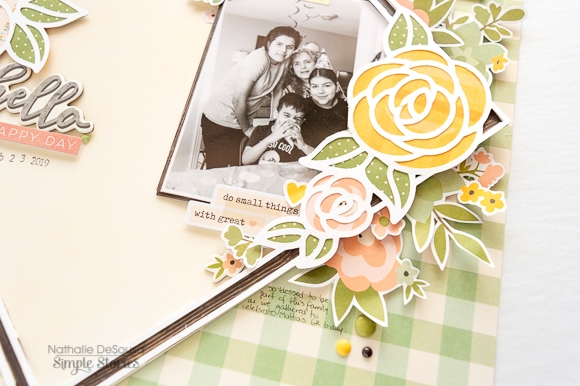
The new position of the cut out on the page created the perfect placing for the picture, so once i layered it with some papers from the 4x6  elements paper i glued it in place and added embellishments around it in clusters.  So many embellishments to chose from, so easy to combine them in this page.

To enhance the florals in the cut file, i used the Floral  Bits and Pieces  to add to floral clusters.   I simply fussy cut a bit of the white edge of each floral image, and added them with foam adhesive.   For the title of this page,  i used a combination of stickers and placed it at the bottom of the large floral cluster.

I love how this page turned out, and how colorful it is, perfect for Spring -even when the picture is not a colorful one-.  The new Spring Farmhouse collection from Simple Stories is perfect to document all types of memories and put you in a Spring-kind-a-feeling. Remember to check it out, you are going to love it, too

XO

Supplies

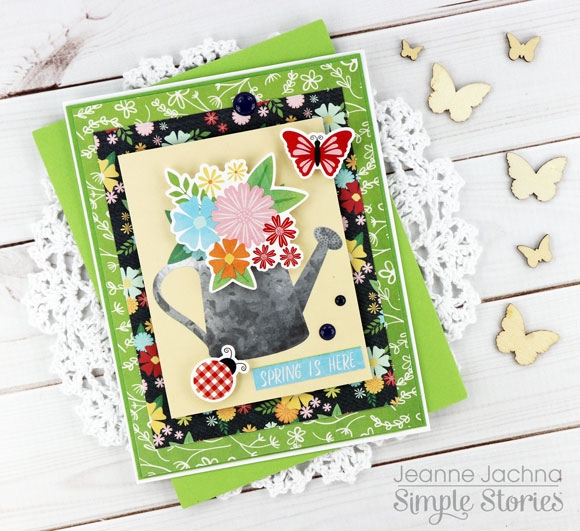
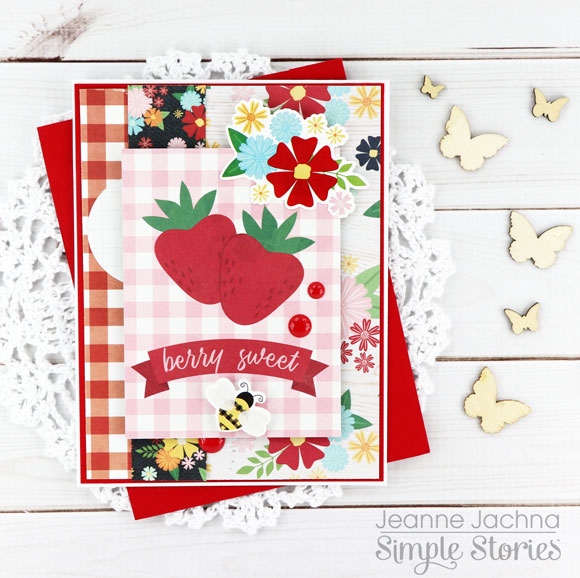
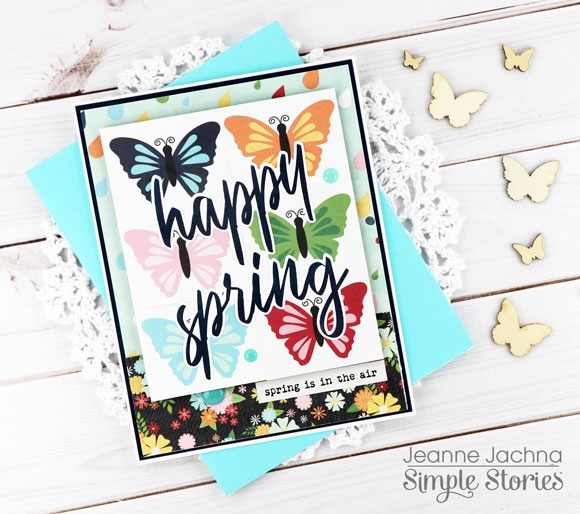
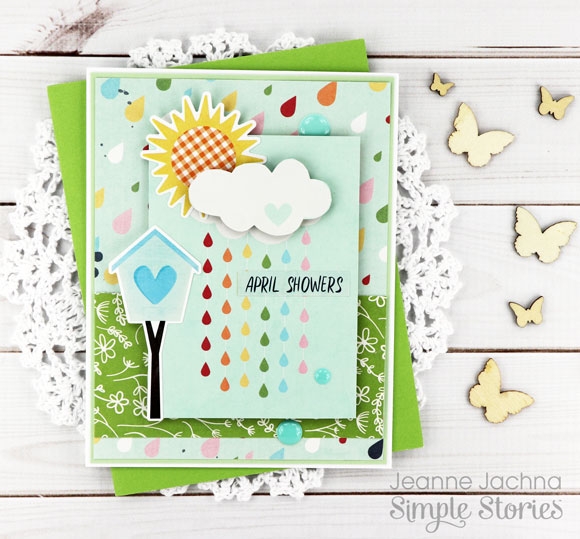
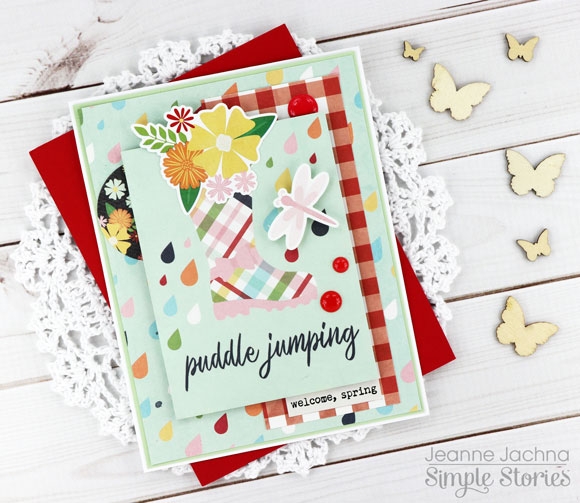
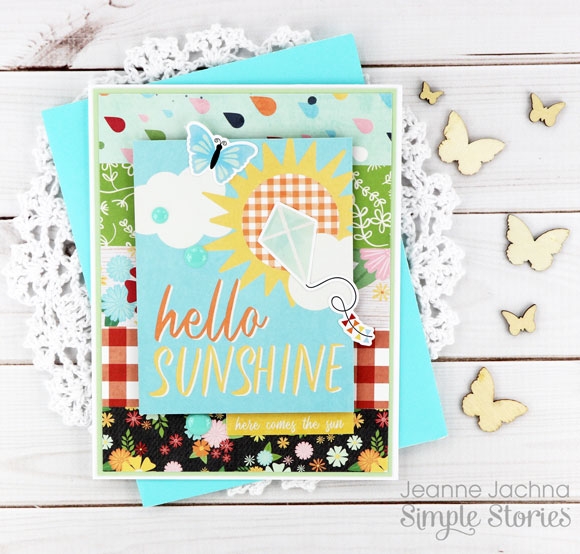
Oh Happy Day!  The sun is shining and spring is on it’s way!    The Simple Stories Springtime Collection is  just the thing to get you in the mood to celebrate!

I love the Simple Stories Collection Kits.  They’re a great investment because they’re reasonably priced and you can make so much with everything that’s included.

The kit includes sheets of 3x4” journaling cards that make great focal points for your cards.  Since there are two sheets you can make LOTS of cards.  I like to cut the duplicate card – fussy cutting images and layering them over the original to add dimension.

The sticker sheets are perfect for embellishing.  I use my embossing buddy to powder the backs so they’re not sticky.  I add dimension by adhering them with adhesive foam stickers

And the papers are perfectly coordinated to mix and match.  There are five different patterns in the collection kit. The sheets are 12 x 12” so there’s lots to play with. 

There’s a little something here for everyone on your list!

Supplies

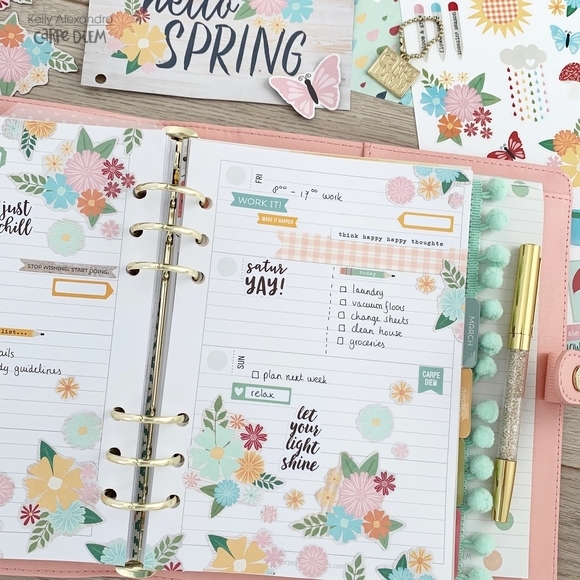
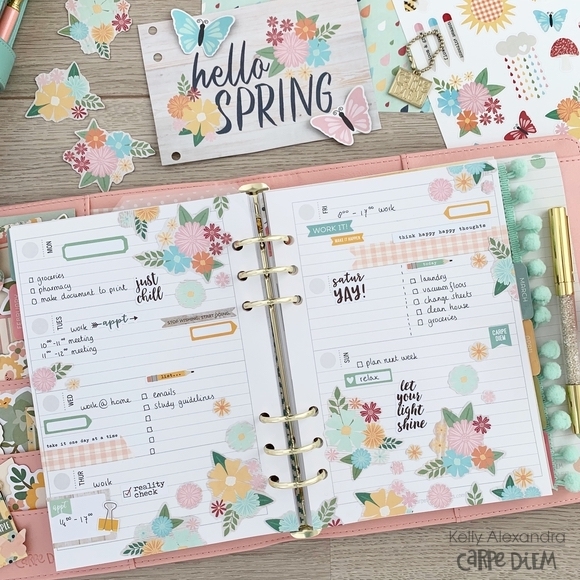
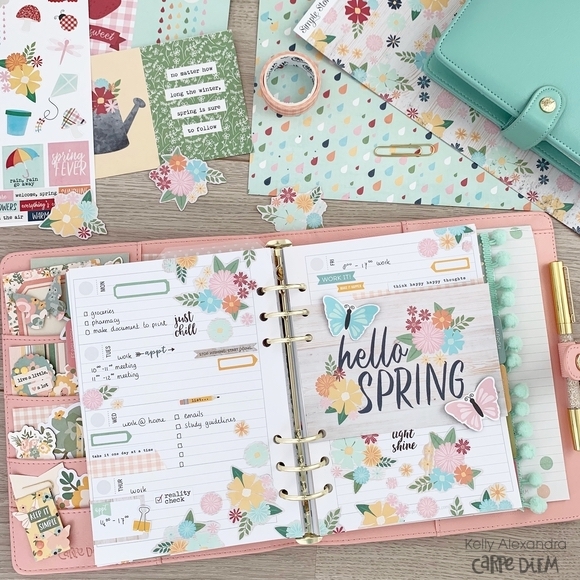
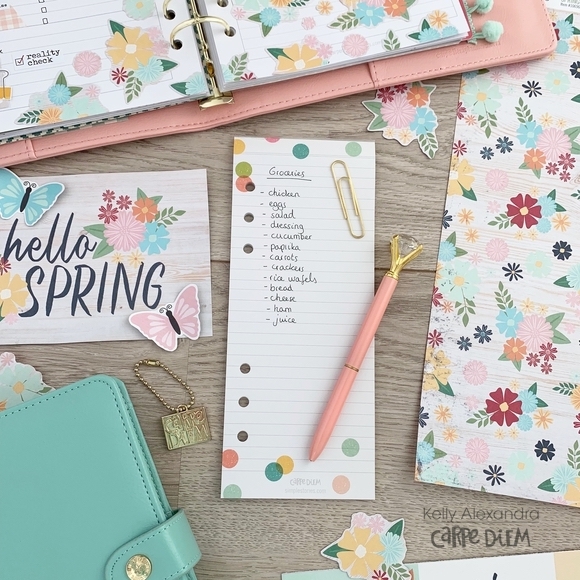
Hello! It is Kelly here on the Carpe Diem blog and today I am going to show you how I use a few scrapbook papers to decorate a weekly spread. I am using the springtime Simple set in my blush A5 planner. 

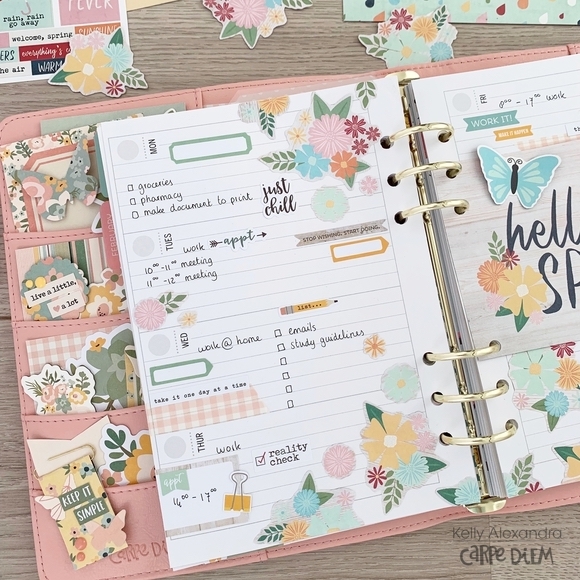
The Springtime Simple set includes three different 12x12 papers and one half stickersheet. The Welcome Spring (#10696) paper is filled with cute florals. If you follow my style for a while, you know by now that I love to fussycut floral papers. Of almost half of the paper I fussycutted all the florals to use in my spread.

On the bottom of the two pages I glued lots of the florals in a fun arrangement. I also glued a few florals on the top page. The pink gingham washitape is from the Spring Farmhouse set and matches very well with this collection. I added some phrase stickers from the ‘Hello’ Carpe diem sticker tablet and some functional stickers from the ‘Planner Basics’ tablet. I think in almost every spread lately I am using this basics tablet, I love it!

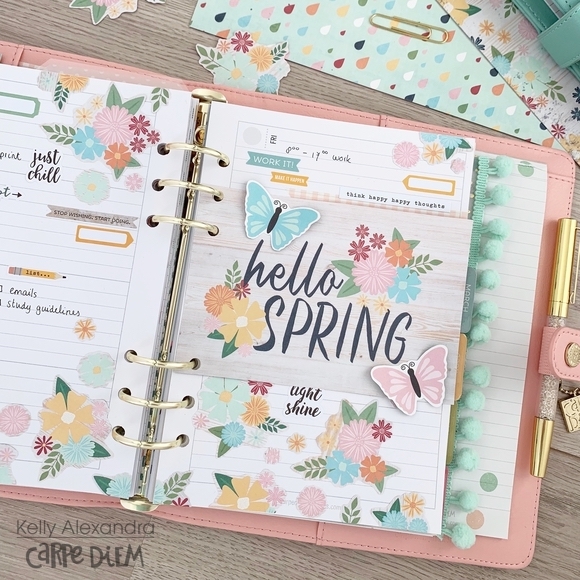
The 3x4 and 4x6 Elements paper (#10698) includes a 4x6 card with Hello Spring on it. I cut it out and used the Carpe Diem plannerpunch to punch the holes so that it fits in my planner. I also fussycutted two butterflies from the Elements paper and only glued the middle part of them on the card, so that they can pop up a little.

Lastly, the bookmark tablet that fits in the back pocket of the planner is perfect for quick groceries lists! Just tear them off and bring it to the supermarket. I hope you enjoyed reading this blog and you can find more planner inspiration on my instagram account.

Have a lovely day!

Supplies

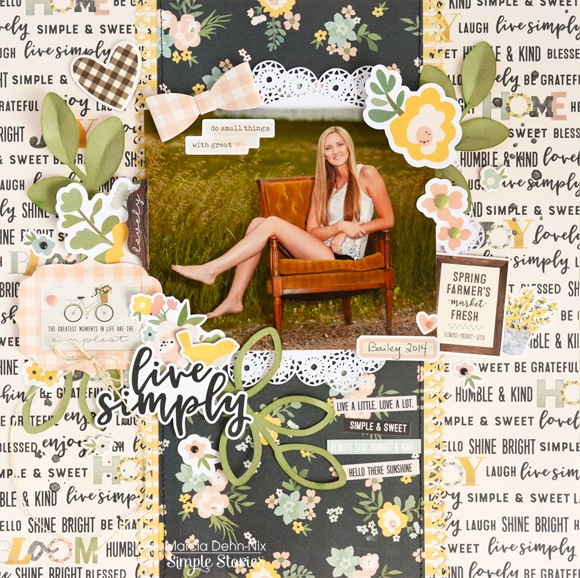
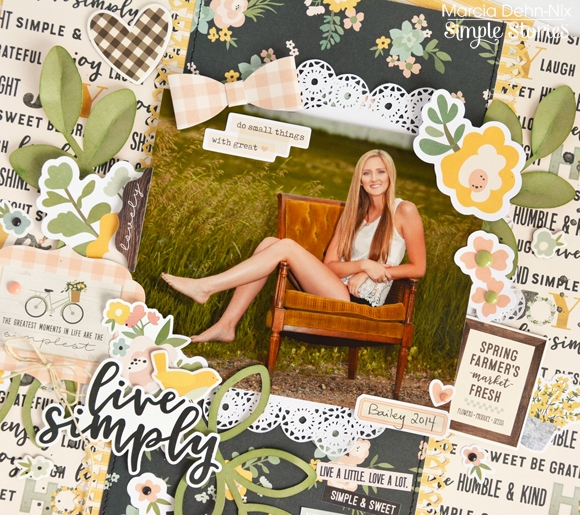
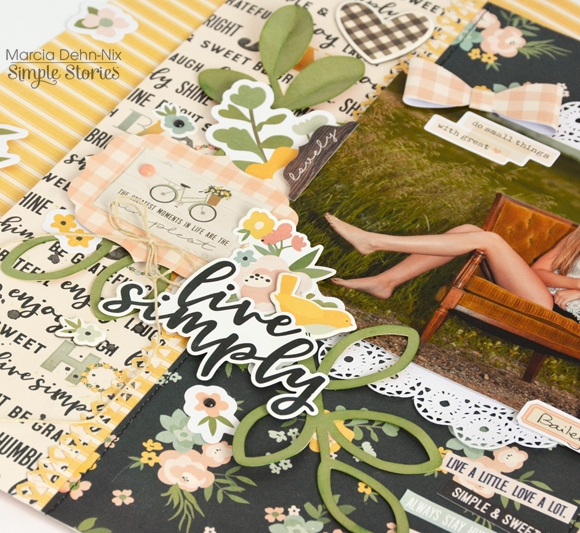
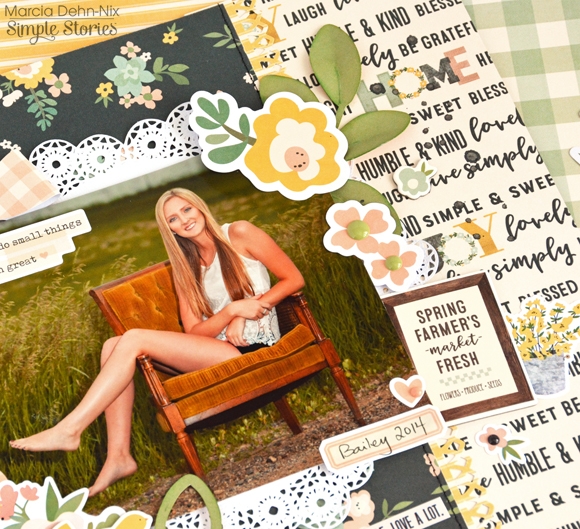
Hello Simple Stories friends! Marcia here today with a Spring Farmhouse layout for you. This is such a gorgeous collection! I love all the flowers with the spring color palette. The black in the collection really sets off the soft pastel colors. For me, it is so much needed after a hard winter that just doesn't want to go away any time soon. I knew immediately what photo I wanted to scrap. My niece had a senior photo taken outside where she is lounging in a chair. She lives in the country, so the field behind her and the chair give the photo a homey quality, just perfect for the farmhouse feel of this collection.

I started out with the Love This Life pattern paper for my layout base, then placed a strip of the black floral Love A Lot pattern paper down the middle of my page. To add a little warmth, I added a yellow punched border on both sides. To help my photo stand out against the patttern papers, I put a pretty doily behind the photo. I love how the doily mimics the lace in my niece's shirt.

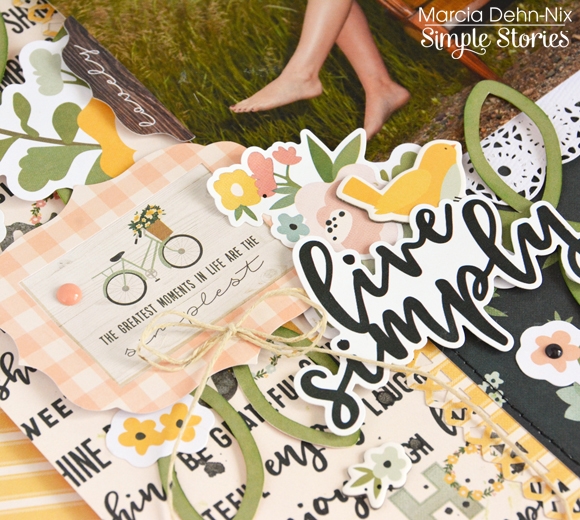
Spring calls for flowers, so I added some along both sides of my photo. The Live Simply sticker was perfect for a title. I put some foam behind it to give it some dimension. In the bits and pieces ephemera pack was this pretty pink gingham frame which worked perfectly around this fabulous bicycle with quote sticker. I also tucked in some die cut leaves and this cute little bird from the chipboard sticker sheet. A twine bow adds to the farmhouse feel. Isn't this a gorgeous cluster of embellishments!

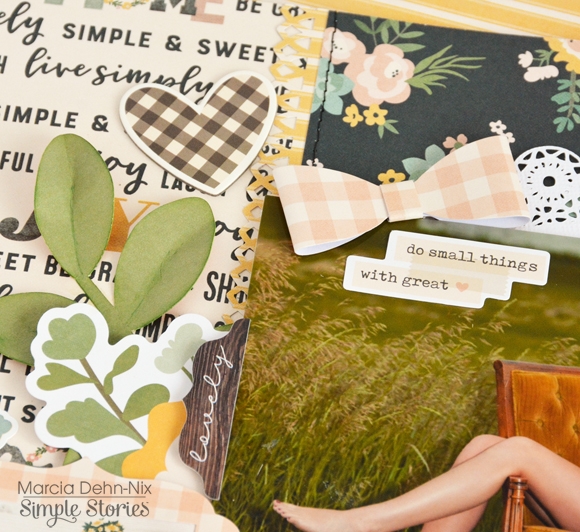
Did you also see the beautiful bow clips in this collection? I used the pink gingham bow to match the frame I used in my large embellishment cluster and placed it at the top of my photo.

More flowers and a chipboard frame make up a smaller embellishment cluster to the right of my photo.

You don't need to live in the country to appreciate this gorgeous collection. It is versatile enough to be used for your everyday photos at home too. I think I have a new favorite collection! Thanks so much for stopping by!

Supplies

Hi, Odessa here with some SN@P! inspiration using the Spring Farmhouse collection. It is still super winter here but I am craving spring so much. I decided to bring the spring anyways by pairing Spring Farmhouse with some wintery photos. The bright pastels and upbeat vibes is just what I need right now.

I love all the pinks and yellows in Spring Farmhouse and I wanted to make them the focus of this page. I cut down the Love this Life cardstock to add to one of the pockets because that pink floral is gorgeous and a journal card to the other. The colours in them really set the tone for the rest of the layout. 

Spring Farmhouse had some fun new things in it and I had to include them! The bow clips are just darling. I used one to attach a bus transfer from the day to the page which acts as a title card with the date for my story.

Here I mix up a regular pocket page next to a page full of 2x2 squares. I used all of my 2x2 pictures on the other side of the page so I cut down a 4x6 photo to stick in the squares along with a 4x4 journal card from Spring Farmhouse and some ephemera from the day. 

The yellow in Spring Farmhouse is so good! It’s the perfect spring-y touch I needed in my layout and I made sure to add pops of it throughout.

Spring Farmhouse has the Live Simply coordinating stamps that are just so perfect. I used one of the phrases from the stamp set beside one of the die cuts from the bits & pieces pack to add some more words to the page.

I have all the 2x2 pockets going on here. I had a lot of pictures of similar things so instead of pages and pages of photos I printed them at 2x2 to get it all together. Each side of the layout is a different story made up of a bunch of photos. I added in some journal cards, stickers and more to finish off the layout and pull it all together.

Another new thing I was excited about was the enamel dots. The sheet has the main colours of the kit in a few different sizes perfect for adding an extra touch to my page. I used them to balance the circle on this page.

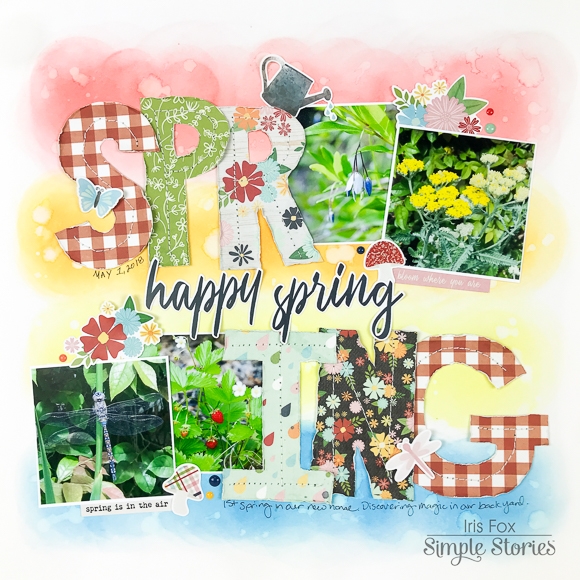
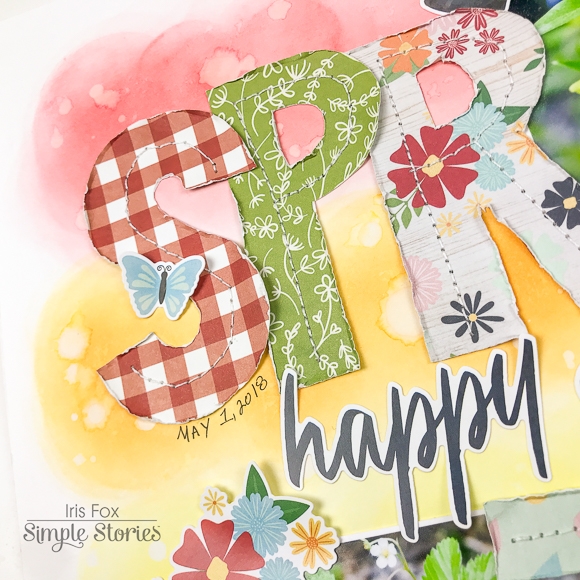
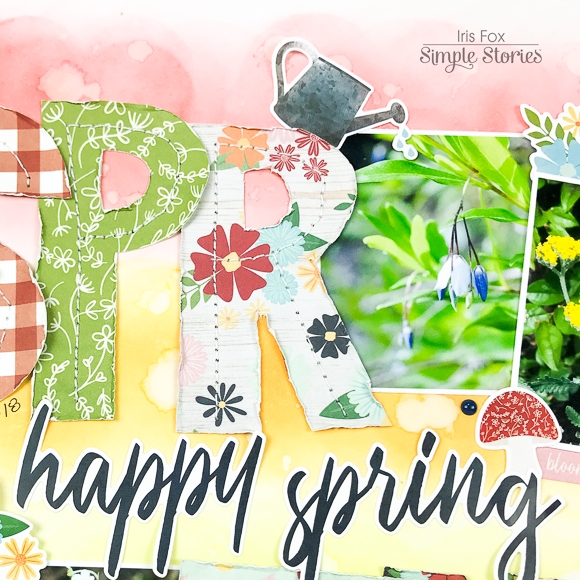
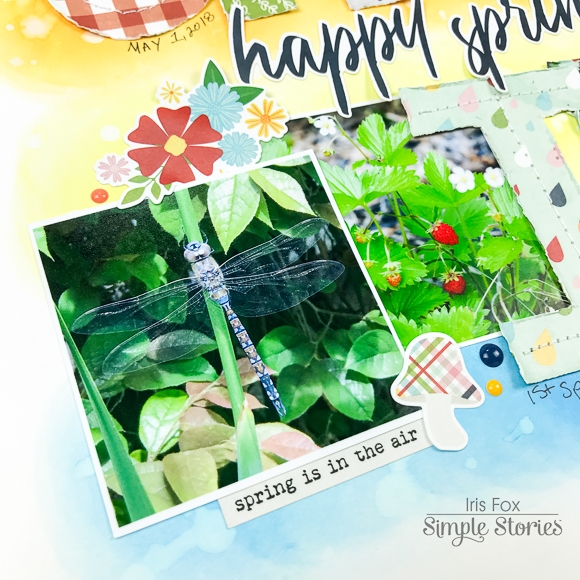
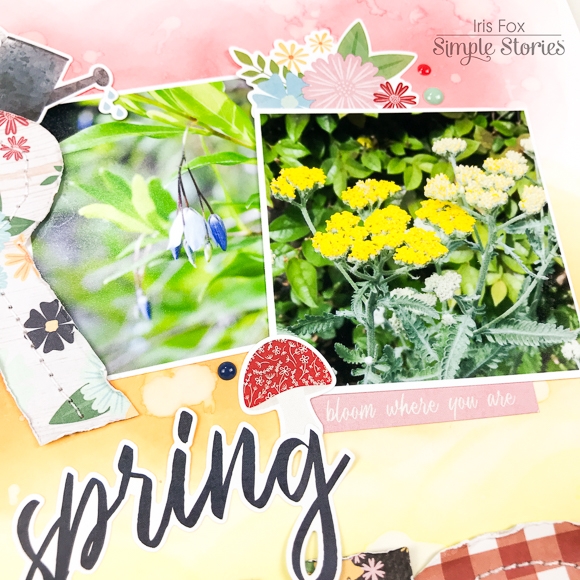
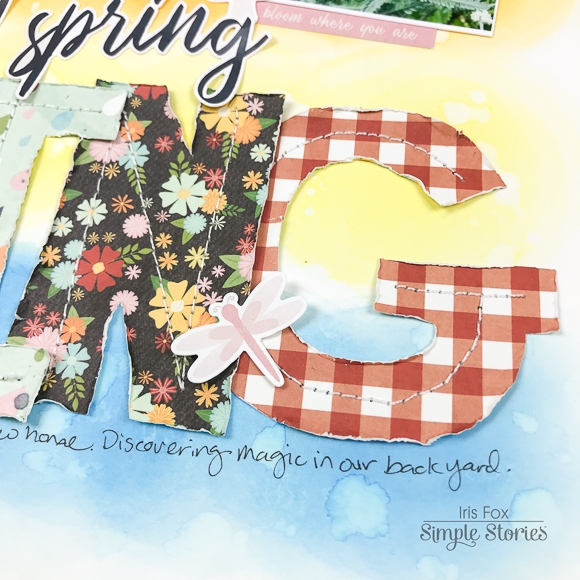
Hello my fellow Simple Stories crafty peeps. Iris here with a bright, cheery layout to showcase photos when I first got to discover the magic of pretty things blooming in my backyard last year. We'd only been in our new house fall and winter, so it was all a delightful surprise.

I started off by using The Cut Shoppe Open Letter Alpha cut file to cut letters on my Silhouette out of white cardstock, but I didn't use those pieces on my layout.  Instead, I used them as templates to rough cut my letters out of all the papers in the Springtime Collection because I wanted a hand-cut look.  I then played with the placement until I could fit my photos along with the large letters, switching the order in each line. 

I used the Tim Holtz Distress Oxide inks in Candied Apple, Spiced Marmalade, Squeezed Lemonade, and Salty Ocean to add tons of color to my background. I used a blending tool in a circular motion to get an ombre effect and sprinkled water all over.  After letting it sit a minute for the oxides to react, I blotted the excess water off, creating a droplet effect.

I machine stitched the letters down, and ruffled their edges.  I'd placed the two lines of letters and photos roughly equidistant from the top and bottom, leaving space in the middle, which I filled with the large scripty title from the Sticker Sheet.

I concentrated most stickers where the photos overlap each other, flowers on top and a mushroom and word strip at the bottom, continuing the symmetry of the design. But then I also added a butterfly, dragonfly, and watering can to form a trio that stands out from all the symmetry, giving the eye some definite points to travel on. 

The finishing touch was journaling and enamel dots from older Simple Stories lines to fill in a few gaps. I love that I can pull out older SS product and it matches!

I had so much fun making the most of this collection, showcasing the variety of papers and Springtime icons.  It's a Simple Set, so smaller than the normal collections, but it sure packs a punch! You can find the process video for this layout by hopping over to my Youtube channel. www.youtube.com/c/whimsyfox/videos

It's been a pleasure and honor being part of the Simple Stories Team this past year. Some of the best products and the best people in the industry! I'll be moving on to some other commitments, but will continue to admire and use all the cuteness Simple Stories has to offer.

Supplies

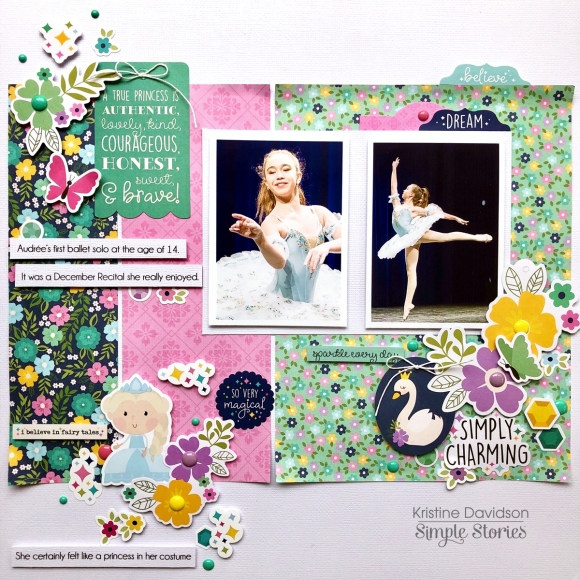
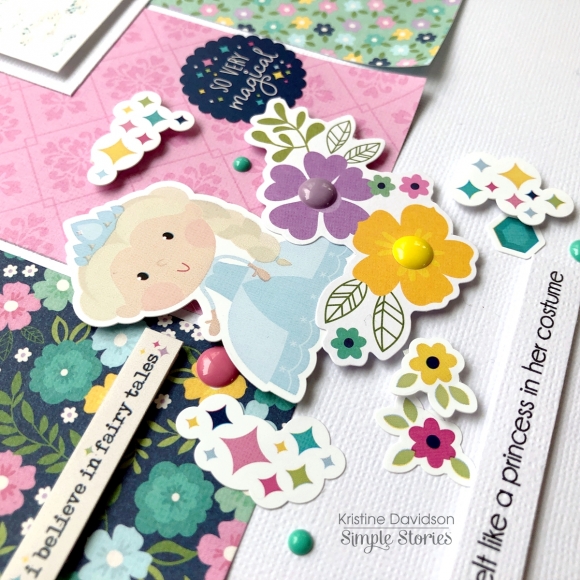
It's Kristine here today and I'm going to share a layout I recently created using the NEW Little Princess collection. This collection is filled with wonderful elements such as princess diecuts, beautiful tags with swans, quotes, bright flowers and so much more. The pink in this collection is a nice bright pink a bit on the fushia side and it would make any page look so spectacular. I am sure you will love this collection for your little ladies.

I used a photo from one of my friends daughters who is in dance. The dark blue background from the photo went well with the blue in the flower papers and it gave my page a great contrast in color. This little lady is also so charming and a wonderful dancer as well!

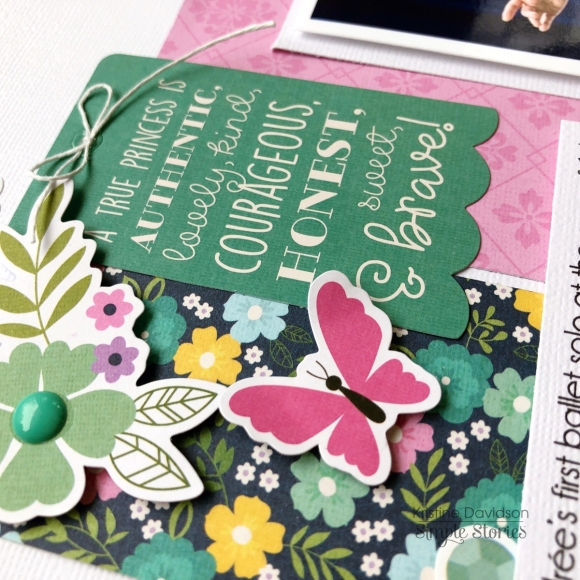
The small flower stickers, the enamel dots and diecut sequins really add some extra details to a page. 

I created my layout by first using 3 pieces of 6x8 papers and cutting them in different sizes. I placed them on a white piece of cardstock and left a small space between them to show a bit of white in the back. I did use my fingers to curl the edges of the papers for some detail. 

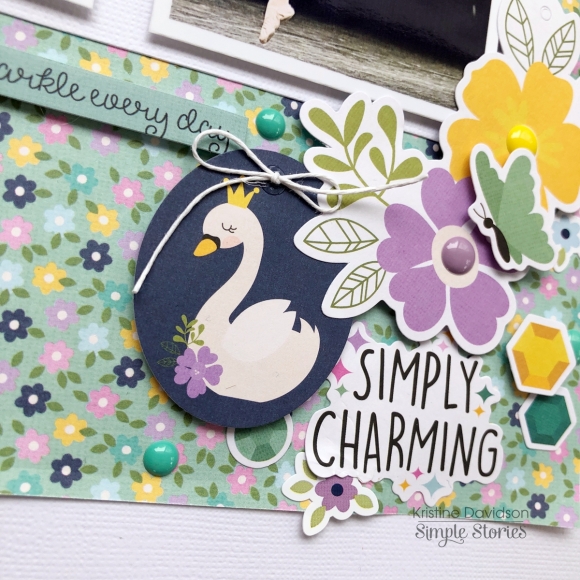
I added a tag with a swan and placed some dimensional adhesive to give some height and dimension to my diecuts. I added a little piece of twine to the tag but you could also use an enamel dot or leave it as is if you wish.  I also added enamel dots on my flowers and popped up my butterfly. 

I used one of the cutest princess' from the Princess Bits & Pieces. Take a look at all these options available to you from this little packet! Aren't these amazing?

I hope you enjoyed my layout today and please come join us on social media. Simple Stories post daily inspiration that will surely give you some ideas for your own scrapbook project. 

@SimpleStories_  or myself @KristineDavidson on instagram.

Can't wait to see your pages using this super cute Little Princess collection.

Hello, I’m Cara and like most of the world right now, I’m excited for Spring. Officially there’s only about a week left of Winter, but I’m not sure the weather has gotten the memo! So to let Mother Nature know what time of year it's supposed to be (man, I wish she used a planner!) I’ve filled my TN with lots of beautiful spring flowers from the Spring Farmhouse collection.

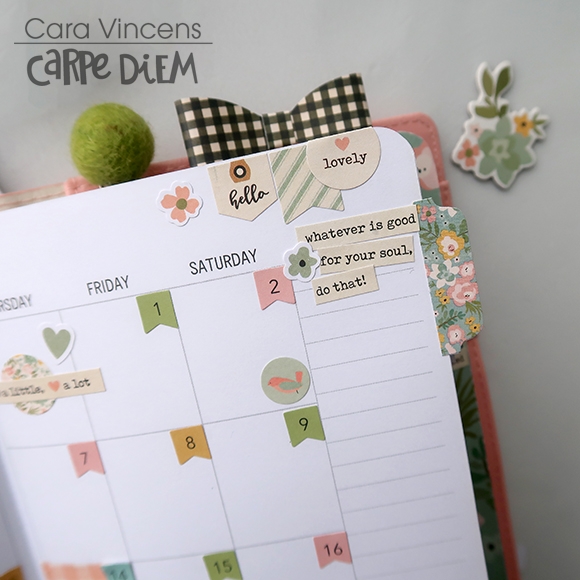
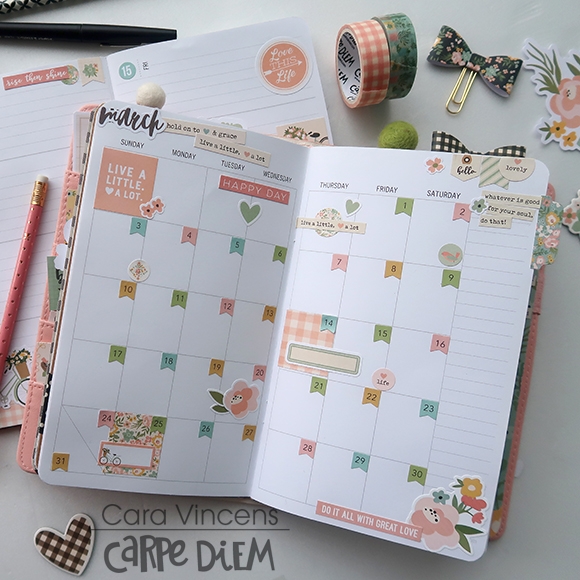
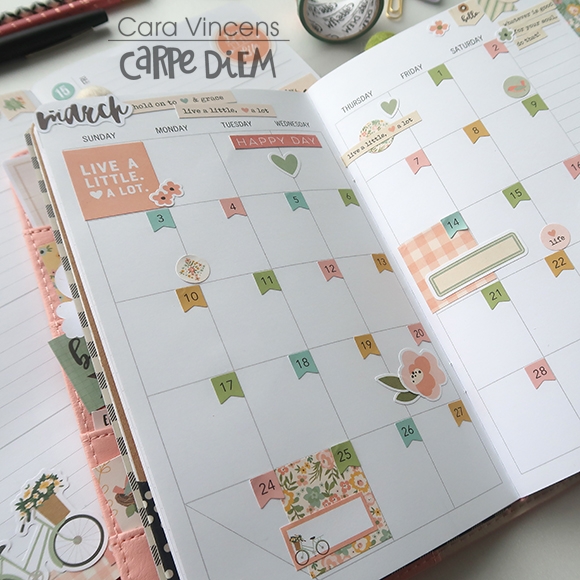
My favourite is this March monthly spread, these soft Spring colours put a huge smile on my face and I can tackle any storm outside. I used number flags from the Numbers Sticker Tablet and the ‘March’ is from the Seasons Sticker Tablet.

Don’t be afraid to layer stickers. I’ve used stickers from the Spring Farmhouse 4x6 pack that has flowers and leaves that you can layer up for a custom look. I’ve added them to March 20th to mark the first day of Spring. I also added some label stickers on top of boxes. That long label is perfect to write in an event that spans two days.

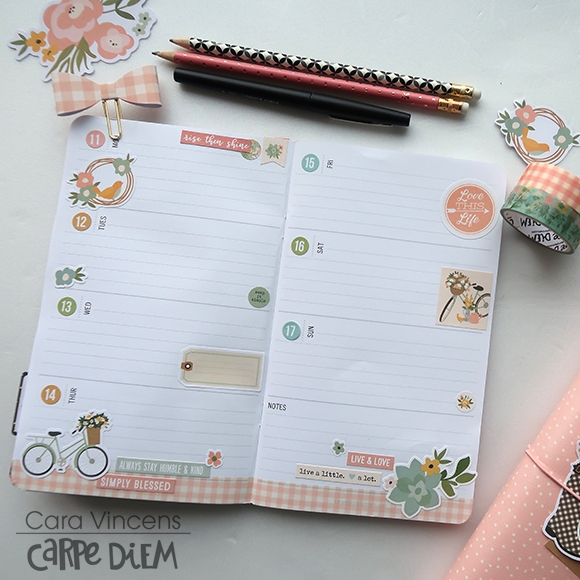
This week’s spread is also full of Spring colours and icons, isn’t that bike the cutest? And that bow!!  Darling!

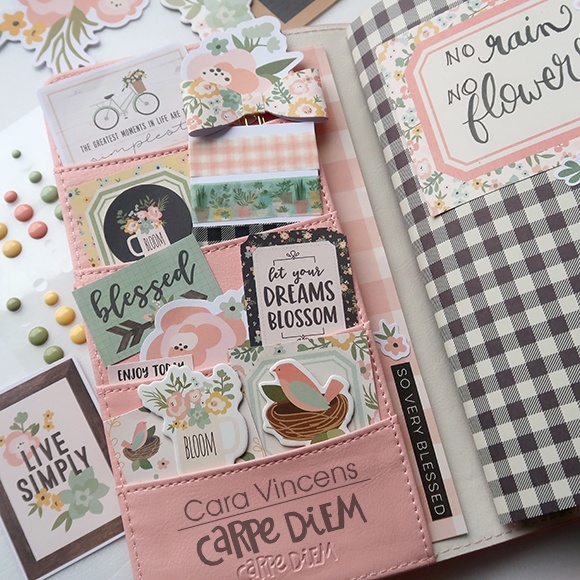
The pockets seem to scream Spring with all the birds and flowers. There’s a mix of chipboard, die cuts, cards from the cut apart sheets, washi and stickers. I tucked some patterned paper with some stickers into the long pocket in the back and my planner is ready for some sun.

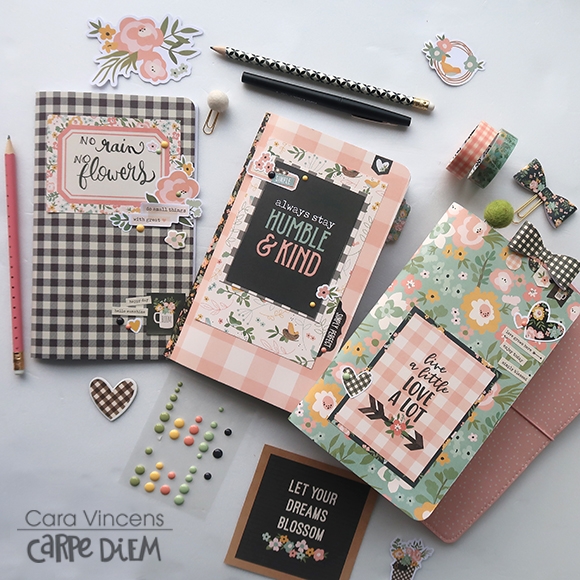
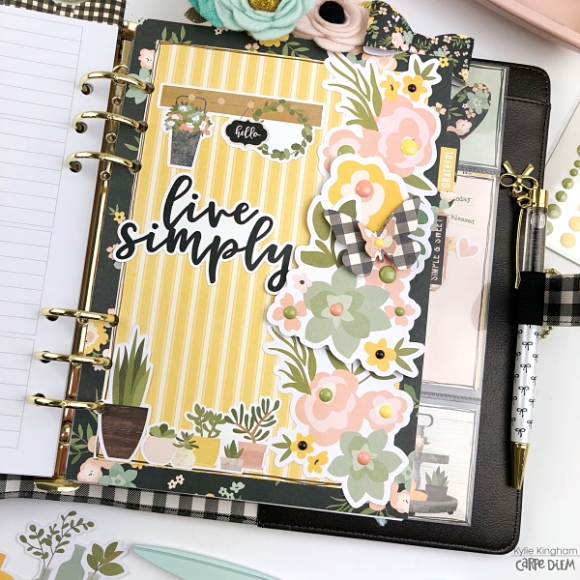
There are lots of great motivational phrases in this collection and since we see the covers of our inserts everyday, I thought these would be a great spot to give myself some motivation. 

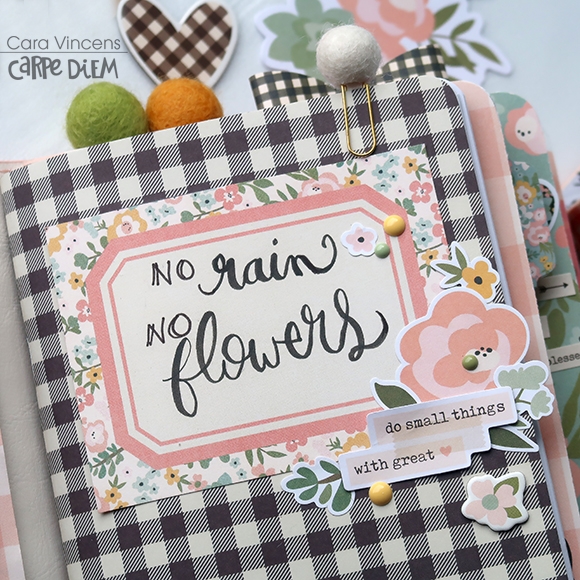
The ‘no rain, no flowers’ die cut was too small, so I hand wrote that one.  

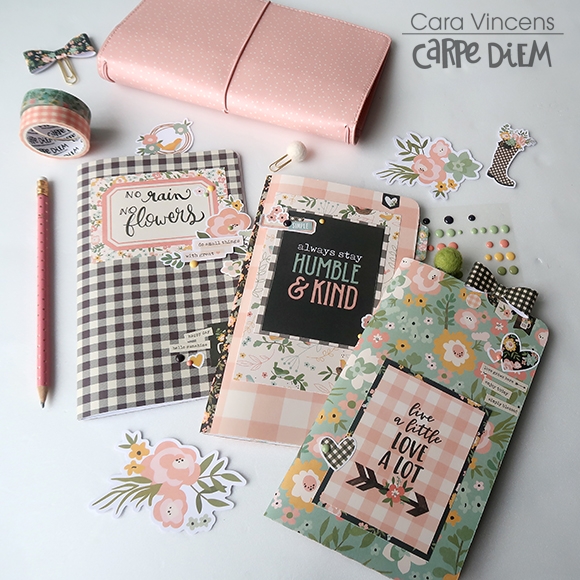
I covered the weekly and monthly TN inserts with patterned paper and the black gingham one comes with the Blush Speckled TN. I layered patterned papers, stickers and enamel dots on the covers and I even ran a line of washi down the spine of the pink one. 

If you like process videos, I’ve got one up on my YouTube channel for my monthly spread here: Process Video March 2019

There is also a video featuring these other projects on my channel here: Cara’s channel

Happy planning!

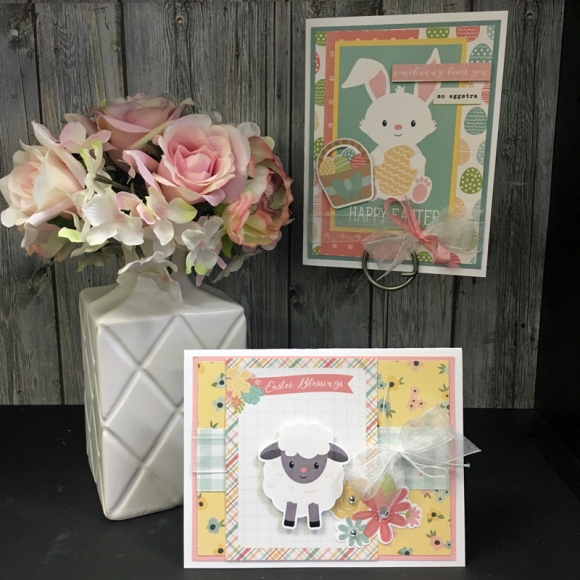
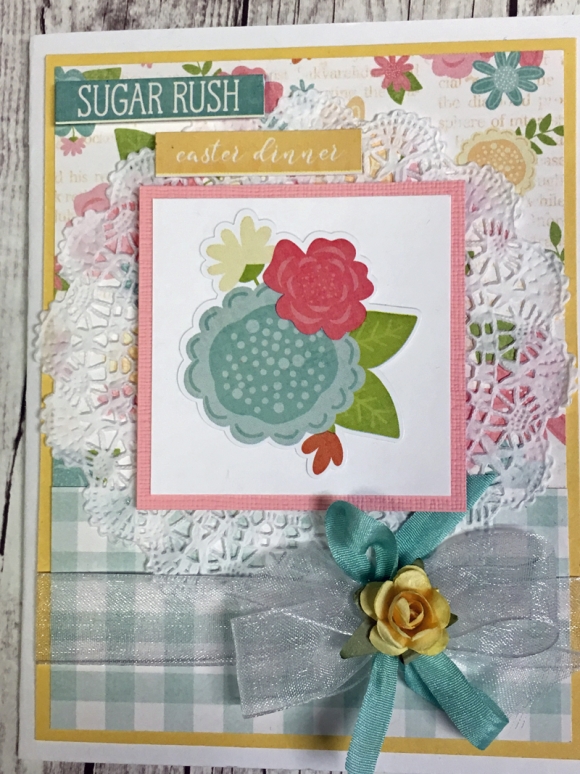
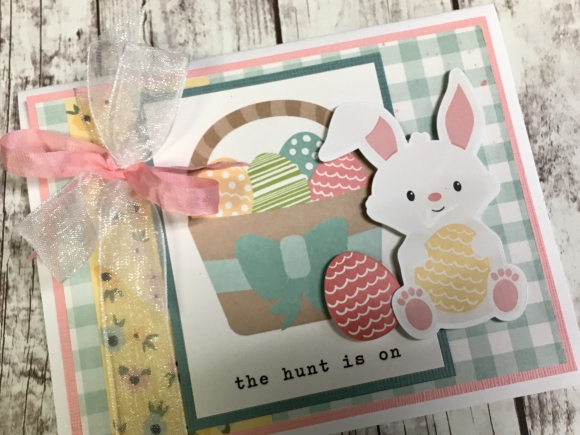
I’m looking forward to spring and these Easter Cards were just “Egg-sactly” the perfect project to work on. I love the cute colors in the Bunnies and Baskets Collection.

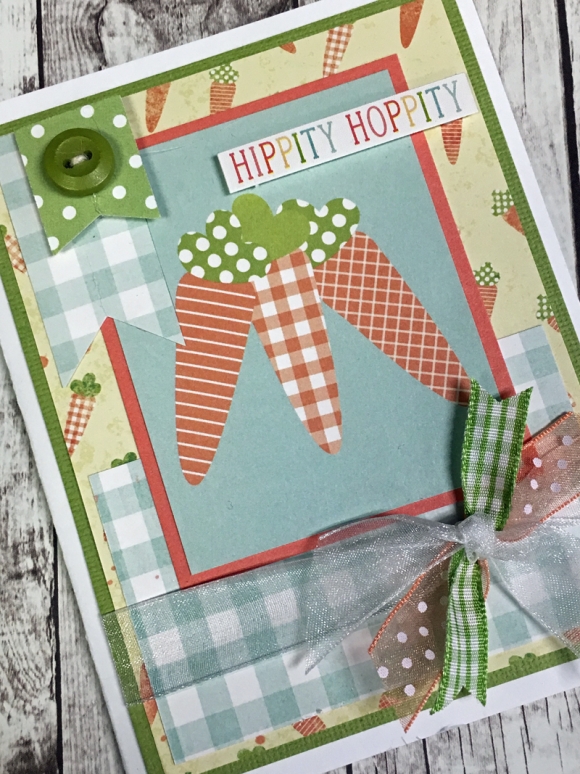
These cards were so fun to make I just couldn’t stop creating....

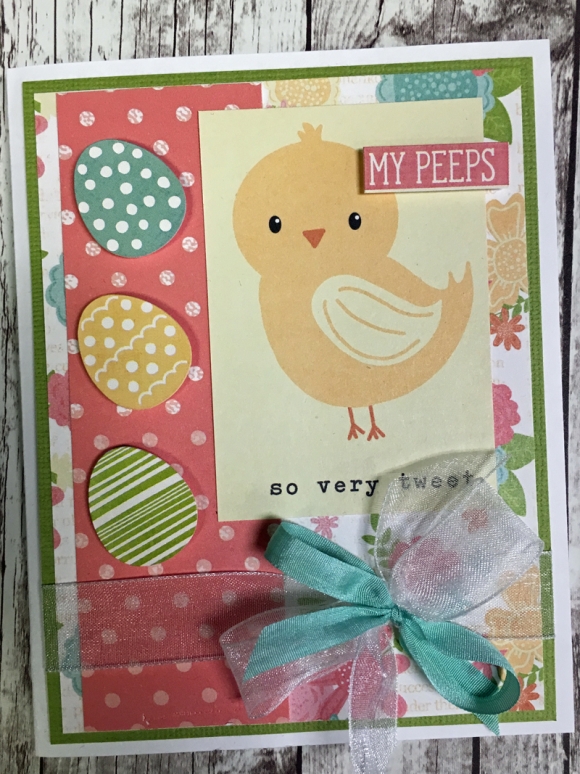
I love this cute happy chick....

These 3x4 cards are the perfect size for cards!!!

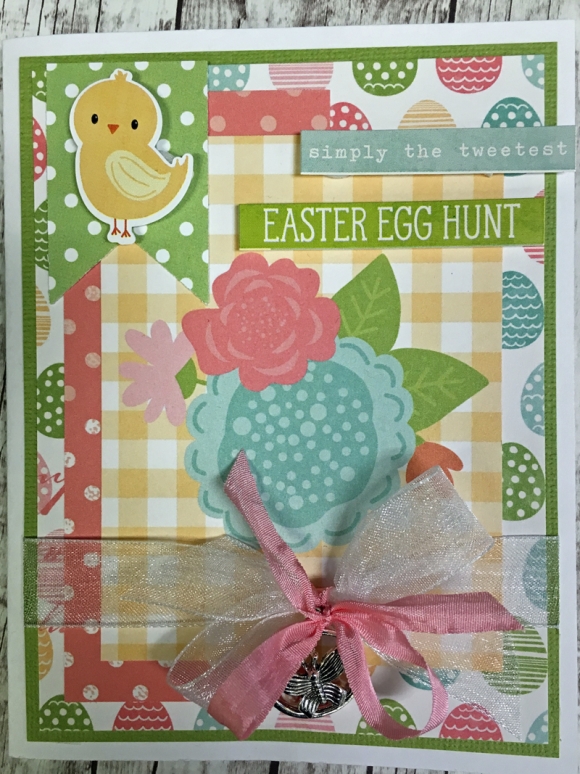
I love all the cute stickers!!!

These cute cards were made using the Bunnies and Basket collection kit!!!!

Supplies

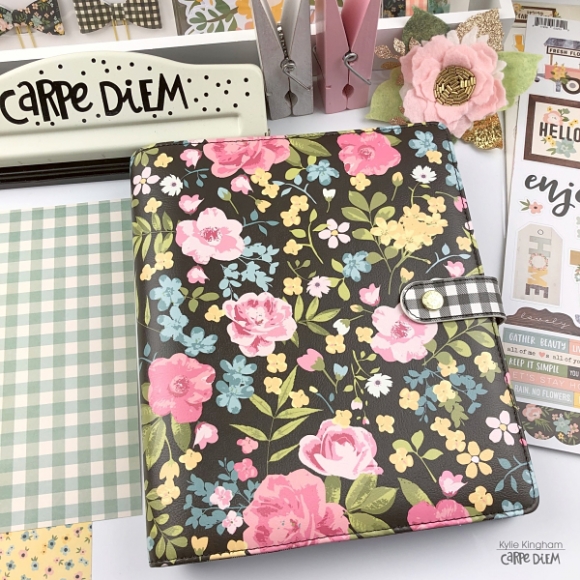
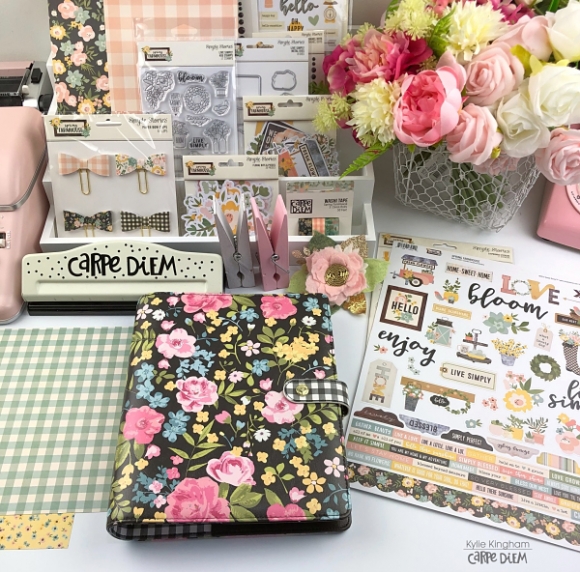
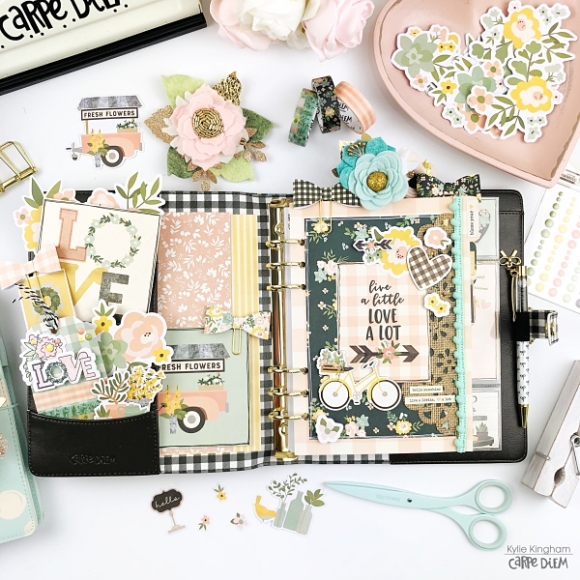
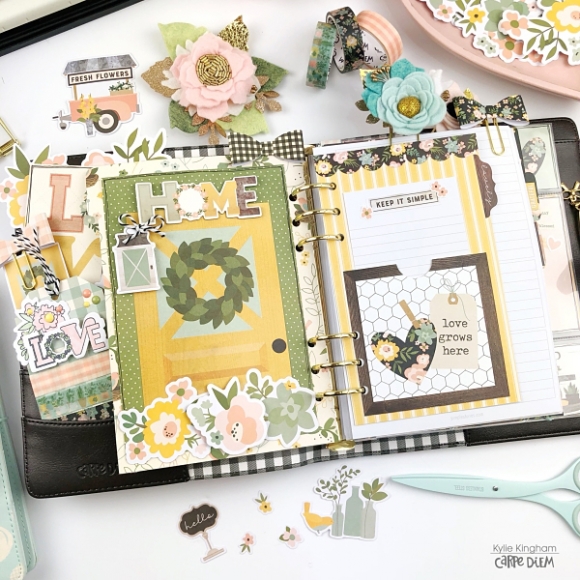
Hey there friends! It’s Kylie back with you all on the blog today and I am going to share how I’ve set up my new A5 “Hello Floral” planner. Of all my Carpe Diem planners this beauty has become one of my absolute favourites ever! I’m completely in love with the floral design of it as well as the gingham check, both on the inside as well as the closure tab.

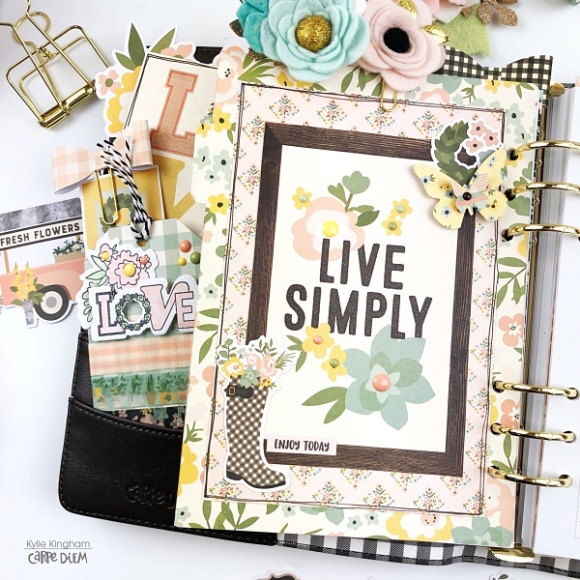
Part of the reason I love planning is not just the practical ‘being organised’ side of things but being creative in how I customise each month. I love making my own dashboards, dividers, note holders and more. This month I decided to use the new ‘Spring Farmhouse’ collection by Simple Stories. It’s a match made in planner heaven!

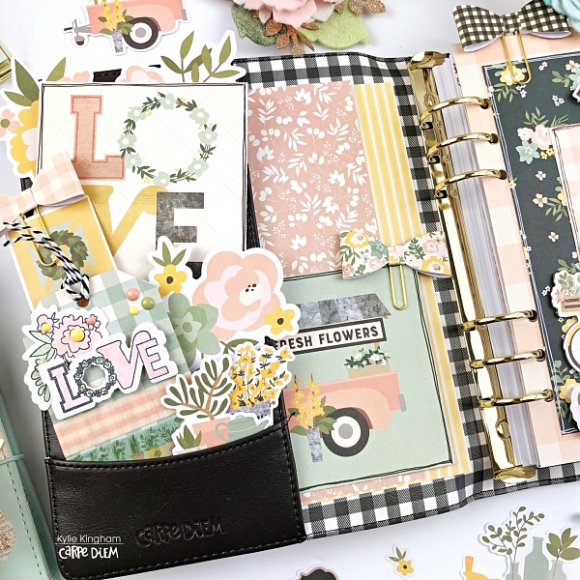
The inside cover of my planner features lots of roomy pockets for filling up. I love to add cards, extra die cuts and my washi tag which makes it perfect for planning on the go. It also looks colourful when open on my desk.

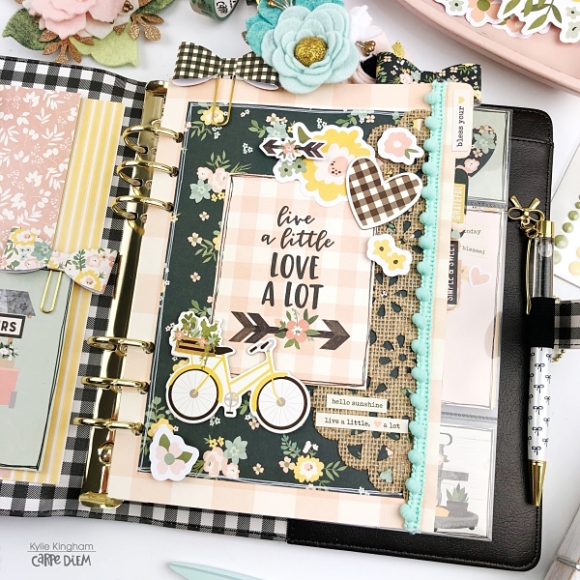
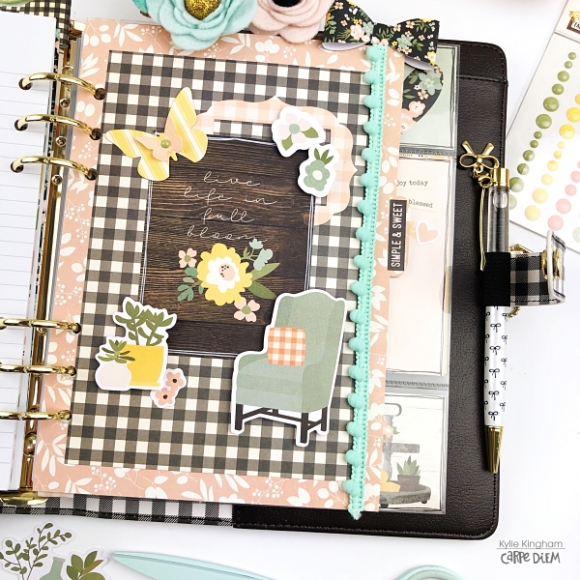
For March I made 3 custom dividers using the divider templates. I’ve layered lots of different paper patterns together before embellishing. I had a ‘hession’ looking doily in my stash which I have cut down to fit one side of my first divider. I’ve also used one of the 3 x 4 element cards as a centre piece. The pom pom trim was also an extra in my stash.

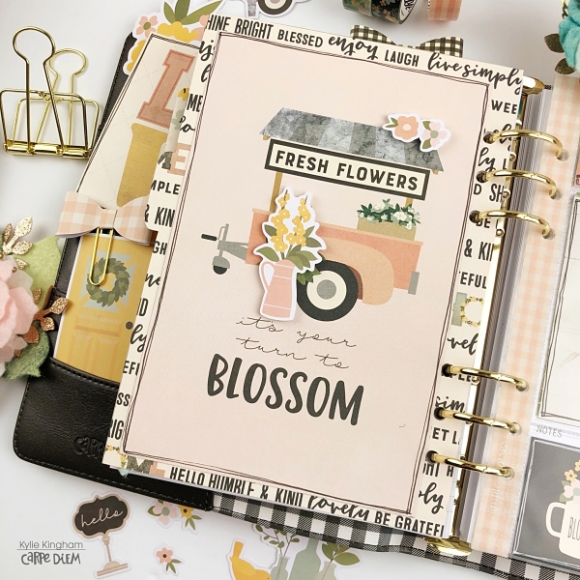
Usually I will leave the back of my dividers plain but I haven’t this month with so many pretty elements available to include in my planner. I used one of the 4 x 6 element cards which was a barn door. To finish it I have layered some of the flower die cuts over the bottom centred by the pretty enamel adhesive dots.

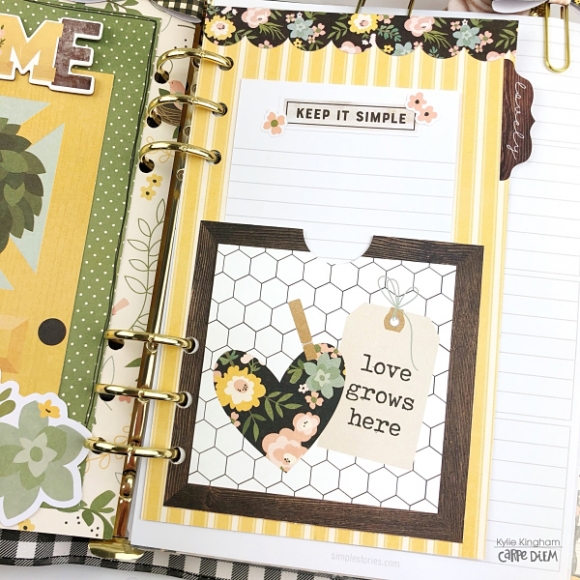
I created a little notepad holder featuring one of the 4 x 4 element cards, making it into a pocket. I adhered it to a backing piece of paper by running double sided tape around the two sides and bottom edge. I also punched a half circle in the centre for effect.You could also store photos or receipts in here.

For my second divider I added a floral border to one side using the gorgeous floral die cuts. I added some with foam tape so they sit up a little on the divider. It adds a nice dimension to it as does the adhesive enamel dots I centred the flowers with.

On my last divider, again it is centred by one of the 3 x 4 elements. As with all my dividers I have made some sweet little layered Butterfly’s from a punch and centred them also with an enamel adhesive dot.

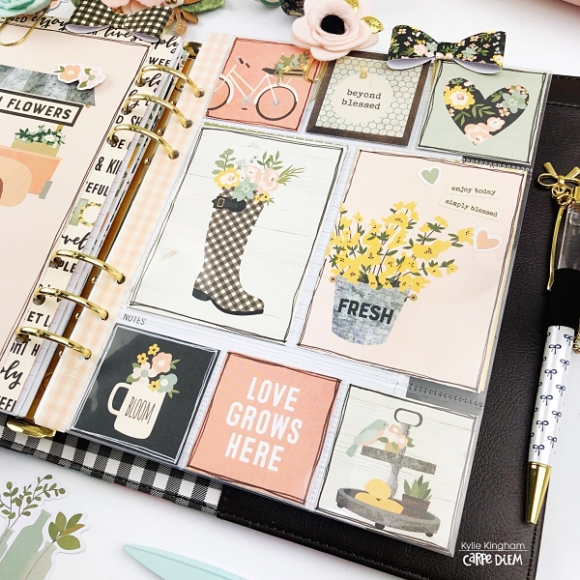
I wanted to add a ‘mood board’ this month so I have used one of the snap pocket pages. By adding washi tape down the edge means I can re-punch the holes so it fits nicely within my planner.

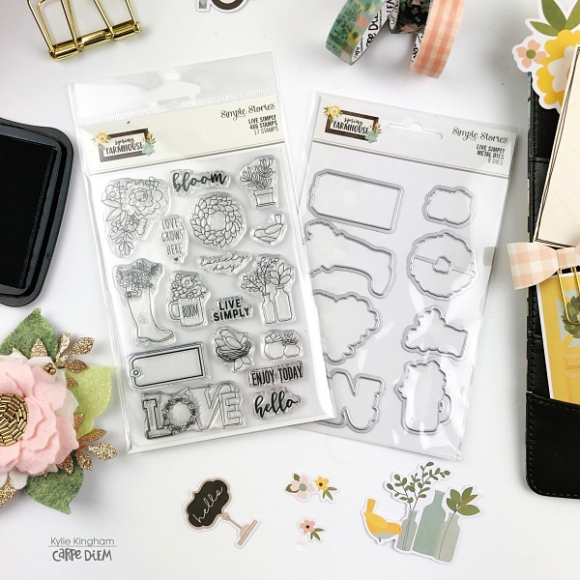
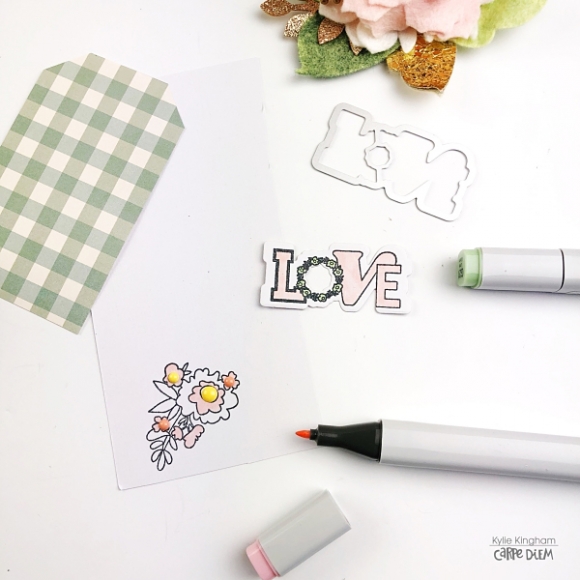
I couldn’t wait to try the new stamp and die cut sets this month……

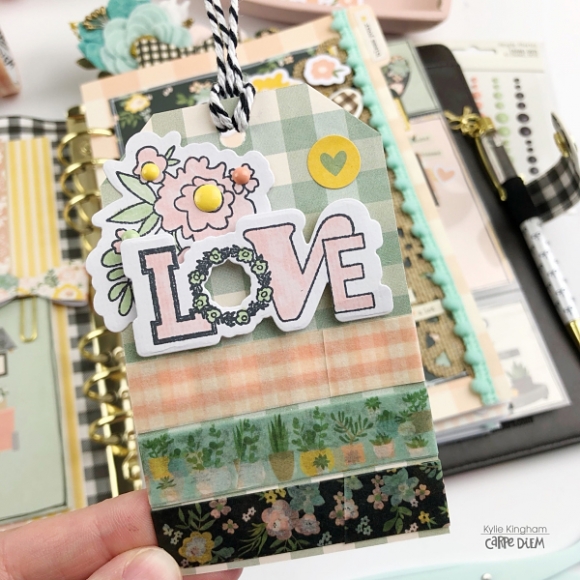
I stamped some card stock with the stamps I had chosen to use before lining up my dies and cutting them out with my manual die cutting machine. All that was left to do was add some colour….

I layered mine over a hand made tag for adding some washi to. These sets would also be perfect for using to make planner cards or extra decorative die cuts. It gives you the option of being able to customise your colours!

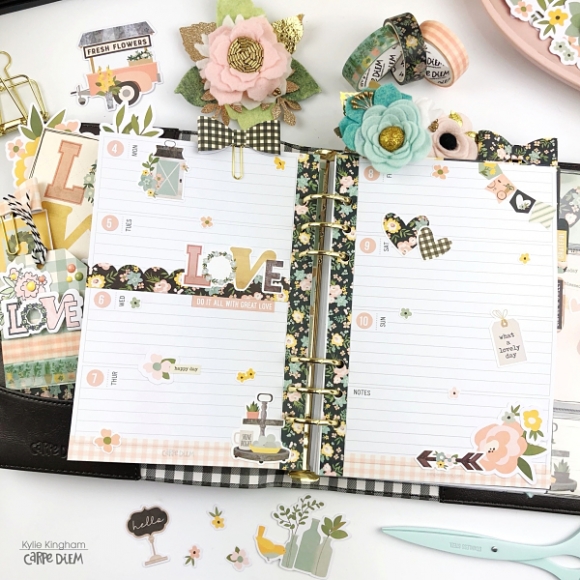
Here’s a little look at one of my weeks ‘before the pen’ for March. I’ve used lots of accents such as the washi tape, 4 x 6 sticker sheets and card stock stickers.

Thanks for stopping by the blog today. I hope you have enjoyed seeing my latest planning.

Chat soon!

Kylie

Supplies

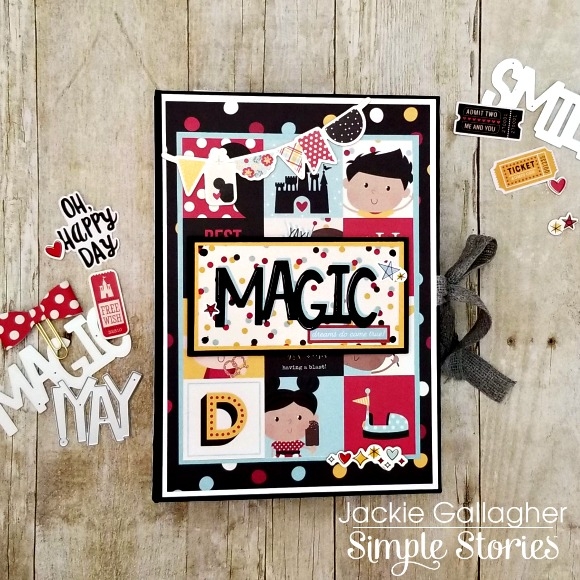
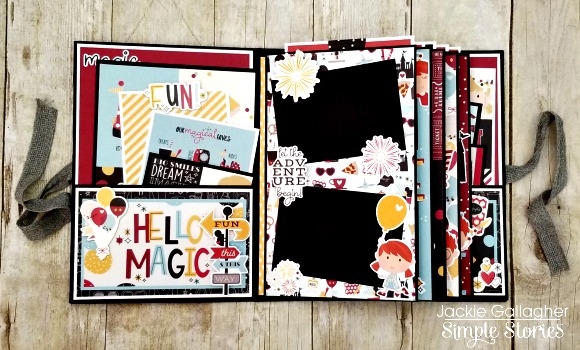
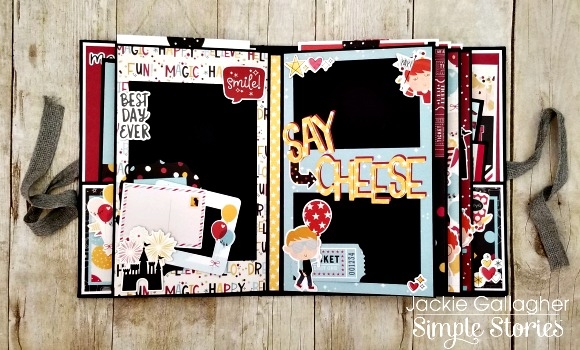
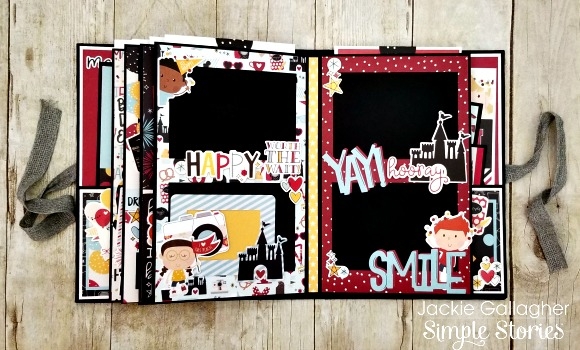
Hello everyone, Jackie G here today to share another fun mini album!!  I used the brand new Say Cheese 4 collection for this mini.  It measures 7” by 10” with a 2.75” spine.  I wanted this mini album to be fairly large so it can store TONS of photos!!  I did use a hinge binding system with pocket pages.  You can find a tutorial HERE from My Sister’s Scrapper.  All you have to do is adjust the measurements to your liking.

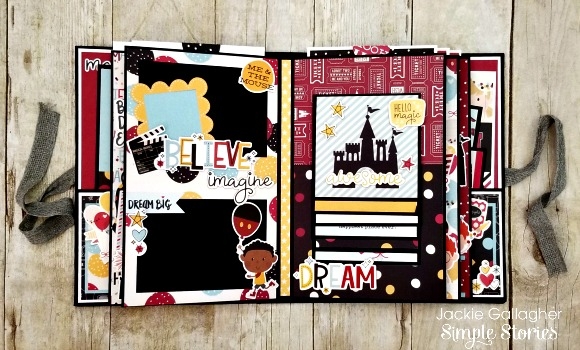
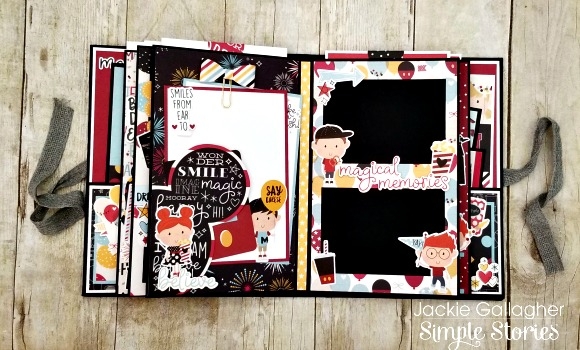
Onto the mini album!!!  I used lots of different Say Cheese 4 products with this collection!!  The first, and probably my favorite right now is the large word dies!!!  I have spread many throughout the album!! They are also very fun to use on cards!! Another favorite for this collection was the kids “bits and pieces”!!  I really wanted this album to focus on children so this product was a must!!  And lastly (besides loving it all), I love the coordinating solid cardstock to match the collection!!  How awesome is that!!

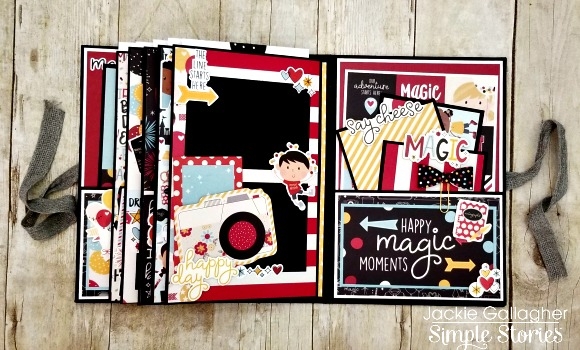
Both the inside covers have pockets on them to store additional photos or memorabilia.  I have put a handful of photomats inside of various sizes.  All the pocket pages have the same large tag you pull out from the top.  Another great place for extra photos and journaling. 

I get asked this question lots…how do I put my photos in if elements are covering part of the photomat??  Super easy!!  I don’t put adhesive down on any part that touches the photomat.  That way I can easily slide in a photo.  This also makes it easy if you are giving a mini album as a gift. 

Lots of fun little frames and ephemera are tucked away behind larger elements.  This makes a fun interactive book.  Make sure to check out my Instagram page for a full walk through of this album so you can see exactly what I am talking about!!

You can see I used more of those large word dies!!  To give some extra dimension, I did cut them out in two different shades and offset them to give a “shadow” look. 

I hope you enjoyed this magical mini album and found some inspiration to create something of your own!!  Have a wonderful day!!

Hello, again! It’s Rachel and I am back to share my finance planner setup for March!

While there are many wonderful things couples share, one of the more challenging ones is money. Whether you have shared accounts or not, money is something that inevitably gets discussed, reviewed, and may cause a stressful moment or two with you and your significant other. Money can sometimes cause the most stress in a relationship, and this often comes from not having a shared plan when it comes to how and where money is spent and saved. When my husband and I were engaged, one of the first things we did was get on the same page about money. Right from the start, we learned each other’s spending personalities (John’s a saver and I’m a celebrator, haha!), made an aggressive plan to pay off student loan debt and save for the future. You could say we swapped pre-marital counseling for financial counseling!

For the first few years, it was a challenge that required regular tracking of our spending and lots of “no’s” when we wanted to say “yes”. In the end, paying off our student loans in 18 months and putting the loan amount towards savings has been one of the best decisions we have ever made.

Now I have to confess, with slightly higher incomes and no debt except our mortgage, we have gotten a little “relaxed” with our monthly expense tracking. But that’s no excuse! We have some exciting new changes coming up for us that require some big expenses and I am recommitting to tracking and planning our finances to make sure our money is working for us, and not against us.

To get me motivated, I have decided to setup a planner for all things finances, and what better what to make fun and functional than with the new, beautiful, Pink A5 planner! Planner friends, if ever there was a color that spoke to me, it is this one! Putting my finance planner inside this gorgeous planner will definitely increase the likelihood that I will actually use it.

For the setup, I decided to use the new A5 Dated 2019 Planner Printables. These inserts were downloaded, printed, cut, and punched in less than 10 minutes! While I will continue to swear by undated weekly and daily inserts, I absolutely LOVE a dated monthly insert. And for future planning, this is key.

On the monthly pages, I will track pay days, savings deposited, bills due and any future purchases I know I want to keep on my radar.  The Home Sweet Home and Get It Done stamp sets are perfect for marking my known monthly expenses. March is my birthday month, so I know there will likely be some spending to celebrate. I mark it on the calendar and make sure to move some money over to savings to prepare for that.

I know some people are nervous about sharing their expenses with others, but you shouldn’t be. When I first started tracking my expenses, I thought it was really helpful to see a real expense breakdown in action!

To track weekly spending, I am using my horizontal weekly inserts with the boxes split up as an expense log. Each morning, I will sit down with my planner, log the expenses from the day before, and keep a running balance of how much was spent.

At the end of the week, I will write the total spent, the end of week balance, and the type of spending I did most frequently. The notes section also has room to jot down observations, small wins, and ways to improve next week.

Now, to make these pages fun to look at, I included a few stickers from the Good Vibes A5 Tablet and some Good Vibes washi. Fun and functional!

In between the monthly and weekly inserts. I have also included a few basic pages for a running wishlist, big ticket items to plan for, a list of things to sell/giveaway, and other notes that I can reference throughout the month.

And lastly, no finance planner would be complete without a pocket to hold receipts and important information. I used paper from the Good Vibes 6x8 paper pad to make it punch it with the planner punch.

I hope you enjoyed a look inside my finance planner. I am excited to make finance planning a habit again. How do you keep track of your finances? Head over to my instagram post and let me know!

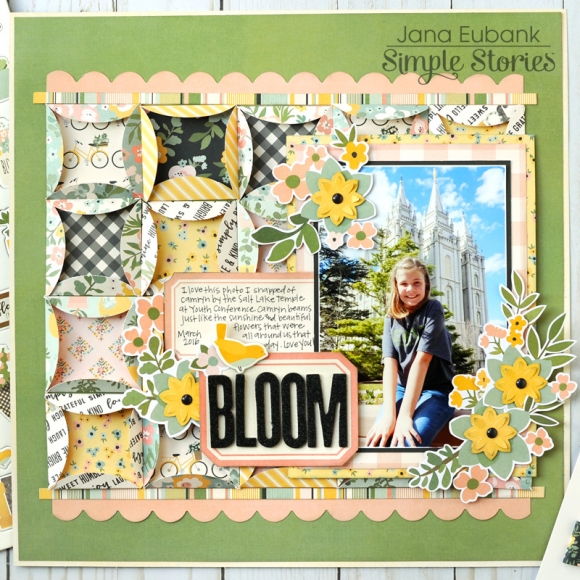
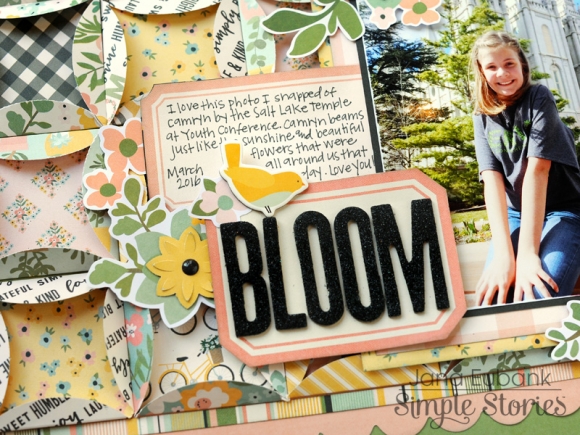
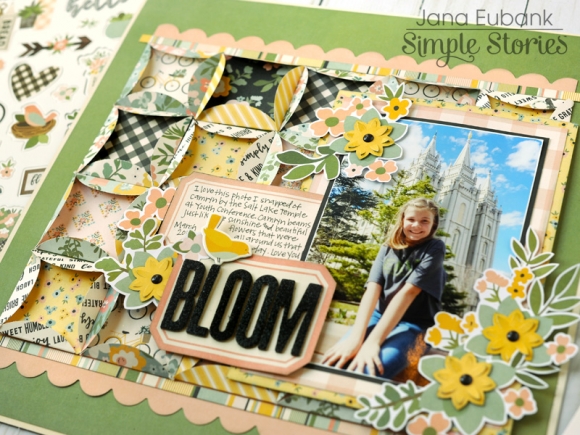
What do you do when you can't decide which patterned papers to use on your layout? Use them all! Hi! It's Jana Eubank. When I began this page, I could not decide which patterned paper to cut into first. I love them all! So, ... I decided to use them all by creating a quilt-inspired background. Keep reading to find out how!
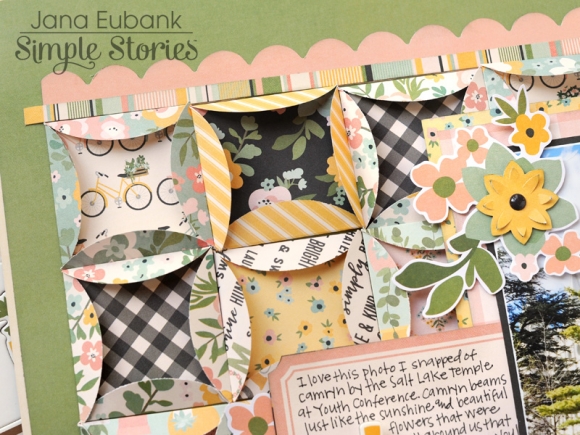
First, I pulled out all of the papers from the 6x8 paper pad that had full patterns on both sides. I then punched twenty 3" circles from the patterned papers. Next, I scored the circles at 0.5" on four sides. After scoring, fold each "petal" in towards the center creating a square shape with four "petals." After all of your circles are folded, line them up in rows to create the background.

I matted my photo with the Black/Cream Paper and two more patterns from the 6x8 paper pad. I cut two journal blocks from the 3x4 Elements Paper and 4x6 Elements Paper. One block houses my journaling and the other holds my title.

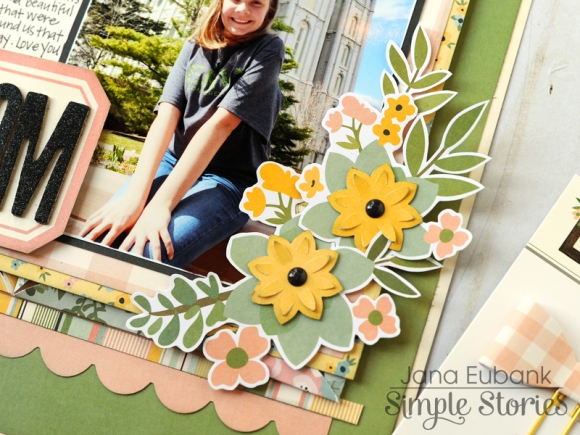
Next, I embellished my photo and the title block with the Floral Bits & Pieces die cuts. I added a punched flower to each of the large blue flowers for dimension, then finished them off with a black enamel dot center.

This page has so much texture and dimension with the folded circles. I just LOVE it! Try giving this technique a try on your next scrapbook page!
Supplies

Pages