Hi Everyone! Laura Daniels here, a new member of the Carpe Diem Design Team! So excited be here and to sit and chat with you for a bit. So …Grab your favorite cup of coffee and let’s talk planners, girlfriend!
Creative Planning on Instagram
Creative Planning You Tube Channel
Today I wanted to share my FIVE steps in setting up any 3 ring planner.
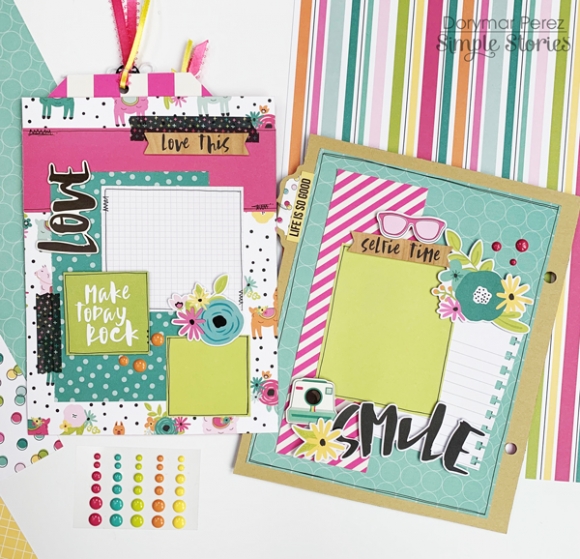
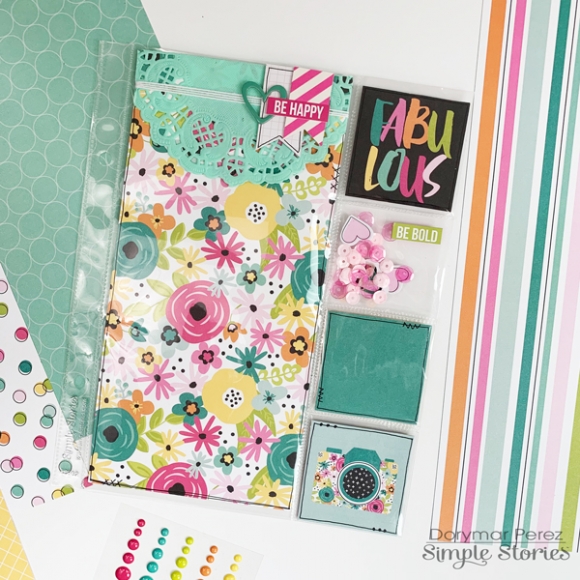
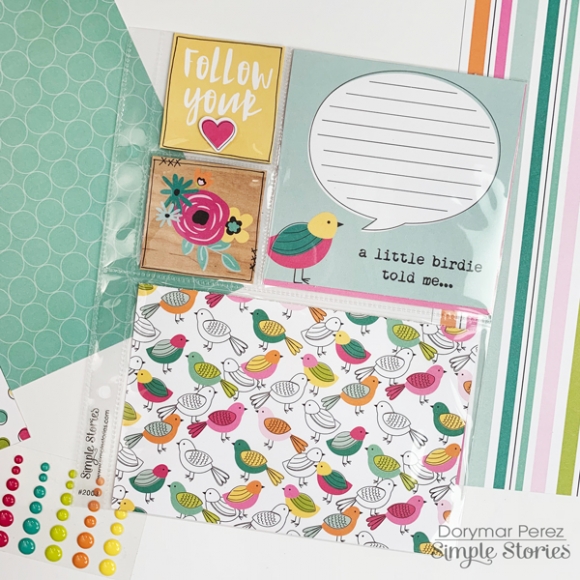
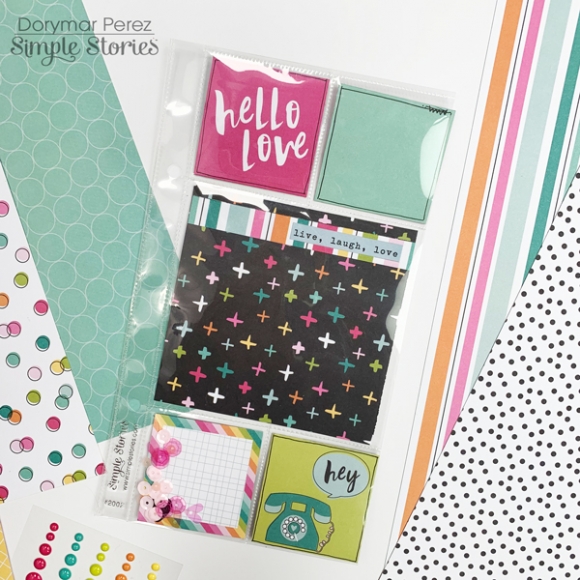
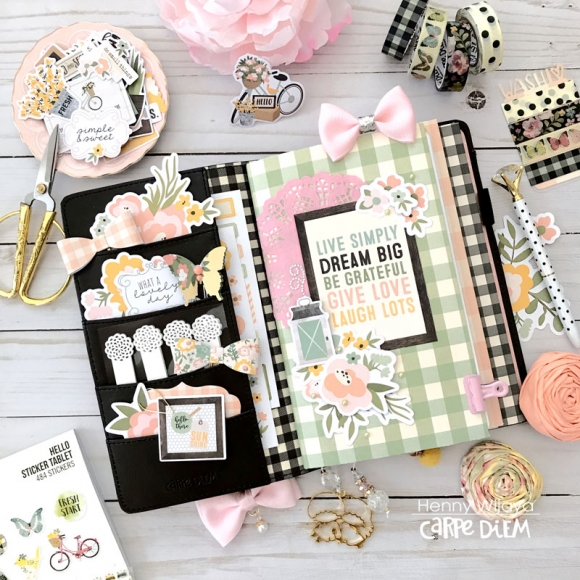
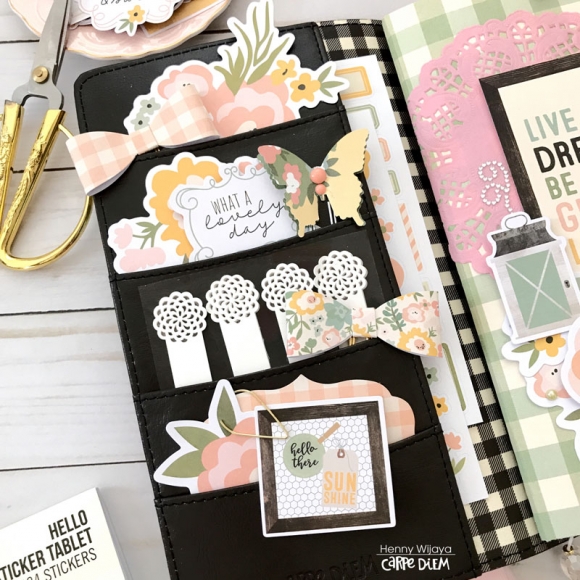
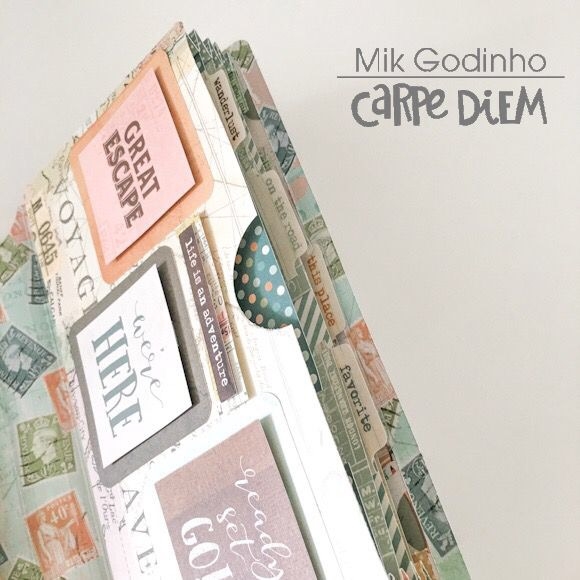
1. Front Pockets
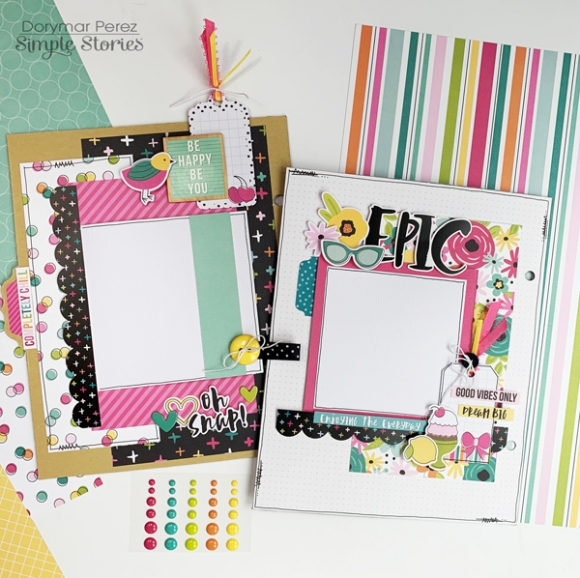
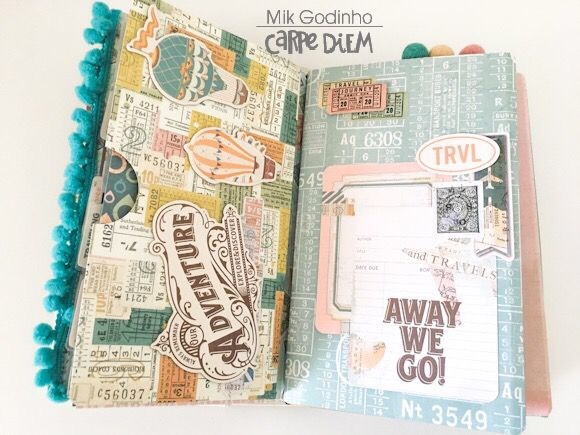
2. Dash board
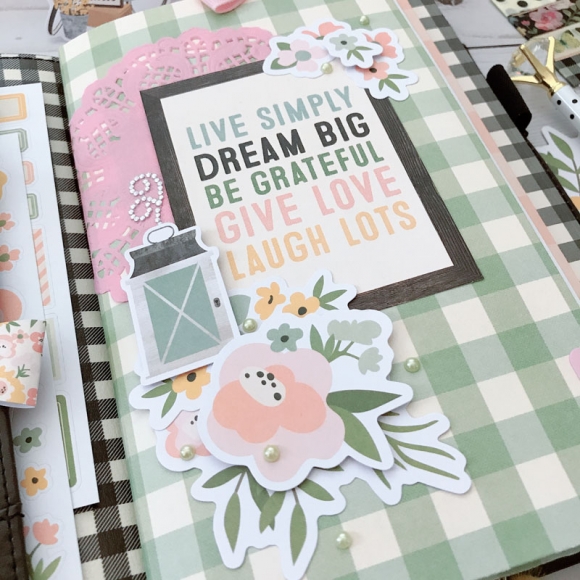
3. 1-2-3 Goal page
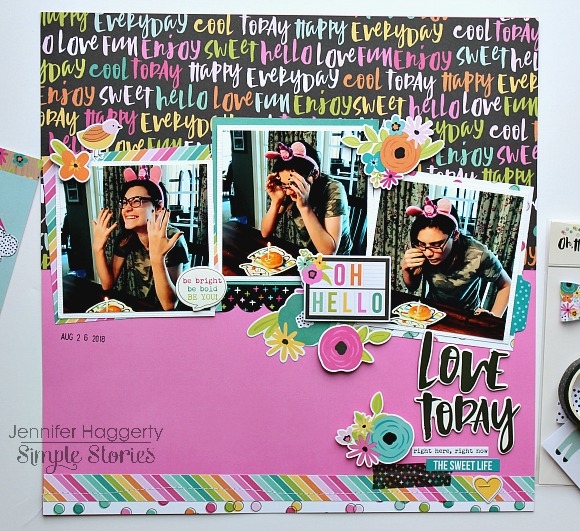
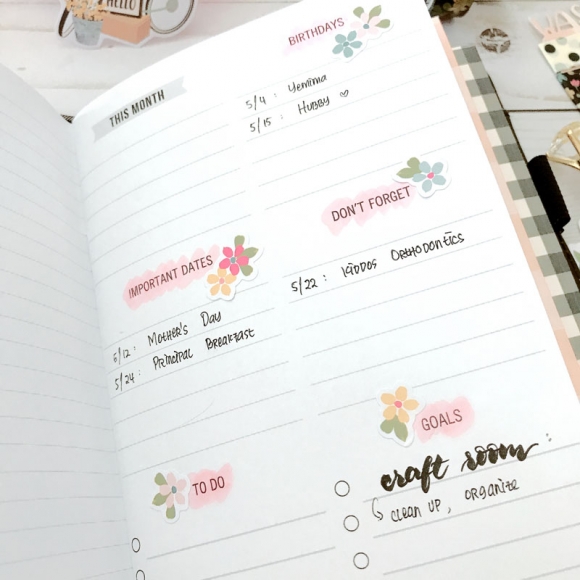
4. Calendar month view with tip-ins
5. Currently page
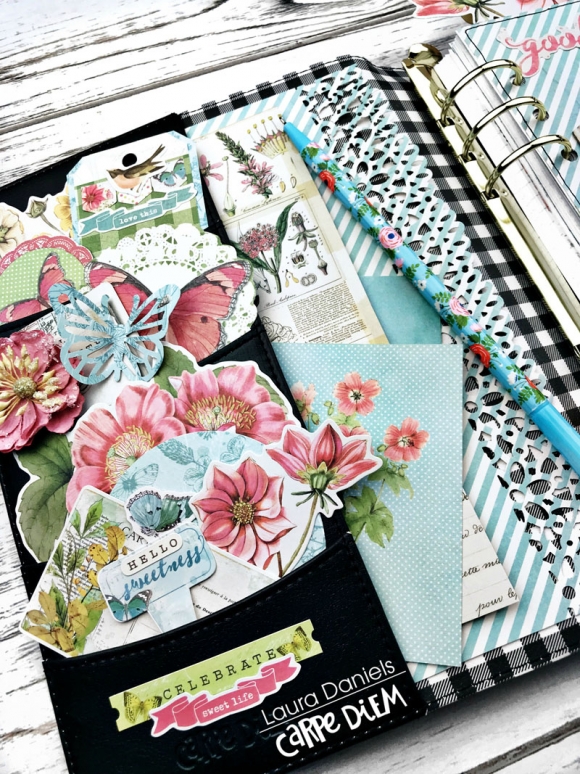
I love front pockets, don’t you?! It’s like walking in the front door of a friend’s house, but … before you sit down to enjoy a cup of tea, you find yourself looking around to take it all in! Some new Décor? A new picture on the wall? Anew flower arrangement on the table….?
My front pockets welcome me into my planner, and it’s a good feeling!
Tip number 1: Choose 3 colors to work with, choosing different shapes and sizes to fill your pockets up, following a triangle or a zig zag pattern. You can see here, my primary colors are Pink, Blue and Green.
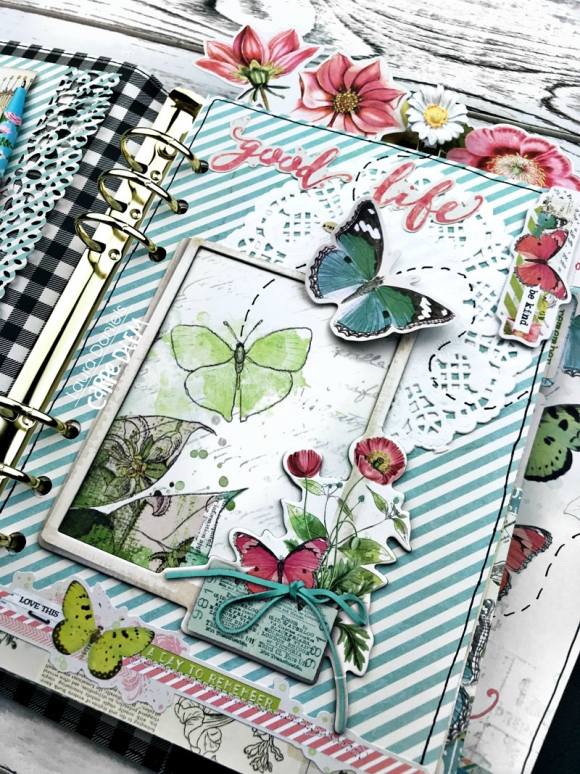
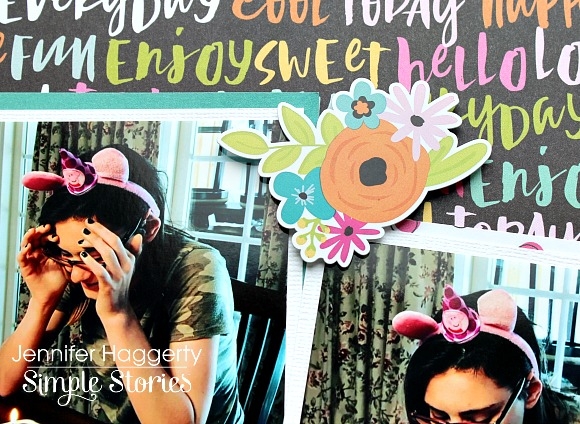
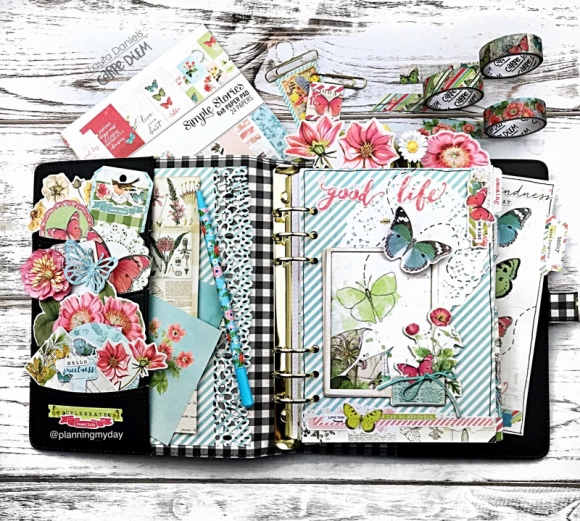
I like to add dimension/ 3-d Elements along with movement to my dash board. See the butterfly lifted with a dimensional? See them flying across the page? Your mind sees where they’re headed! See the dimensional frame, it makes you want to see what’s inside? It all creates a dimensional journey that’s fun!
Tip number 2: Look through your kit to see what really makes your heart smile and then use your creativity to make it pop on your dashboard! For me I loved the frames in chipboard and the butterflies!!
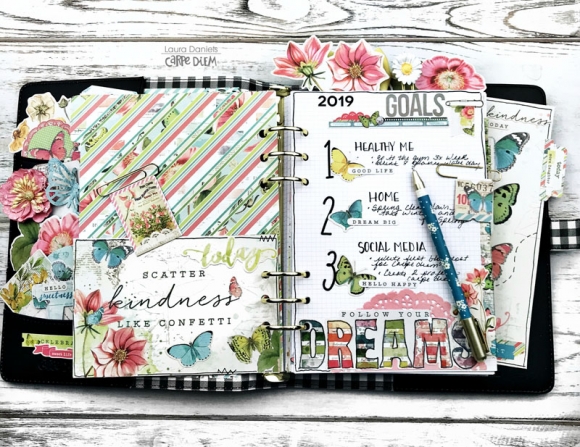
Goals! They inspire me! They bring direction and movement to my month! I try to focus in three primary areas each new month. Healthy Me, Home and Social Media!
I’ve found at 57 years old I need to pay more attention to bringing healthier habits to my life style. Especially with a first grandchild on the way… I want to be around a looooooong time!!
I try to de-clutter one area of the house every month. Oh ….and I love home improvement projects, don’t you?! Here you can see I focused on Spring Cleaning!
I’m trying to really establish myself on Social Media, so there’s a lot to learn, and plenty of goals to set!
Tip Number 3: Choose three areas you want to focus on each month! Then write 1-2 things in each category. Be as specific as possible! Let’s see how we both do by the end of the month, shall we?!
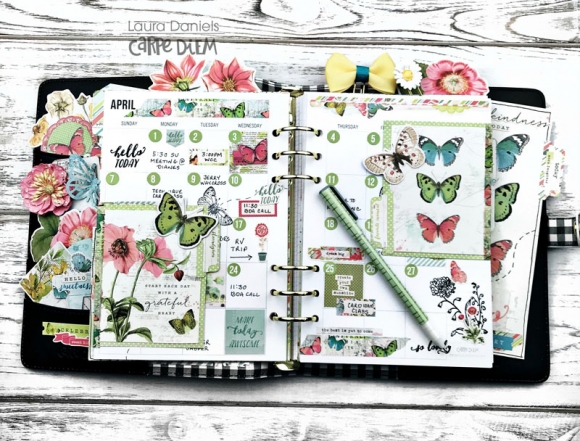
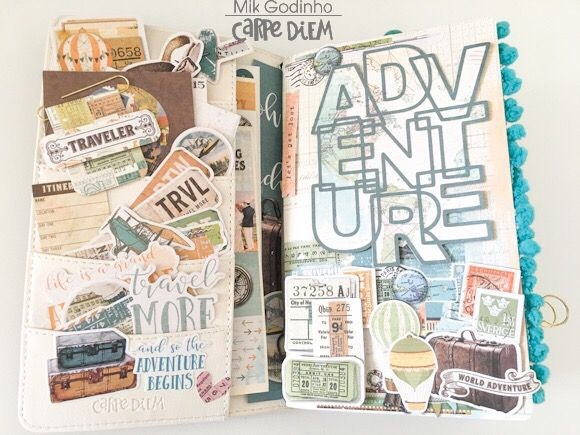
Setting up my month view! Here’s the order I put it together in.
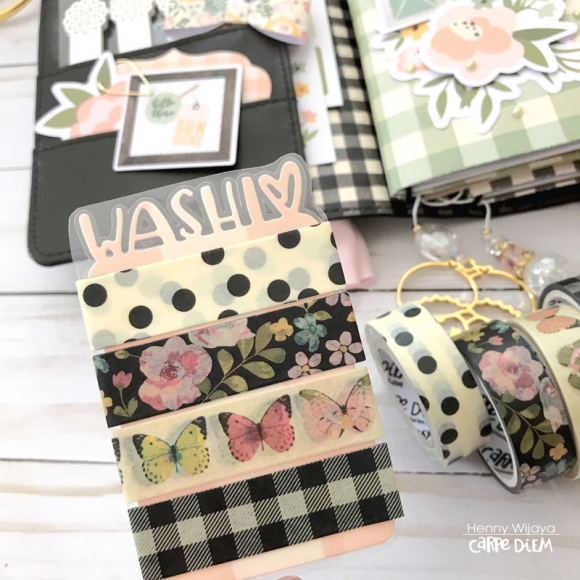
I first number the dates of the month with a color that matches the over-all color scheme. Then I choose 2 cards for Tip Ins, and attach with Washi tape! I Choose a Stamp set to create movement across the page, adding quotes. Then I log meetings, travel, birthdays and holidays! I fill in any blank dates with stickers and color!
Tip Number 4: Choose the 4-6 things you want to make sure you record each month in your monthly view. Ideas: Birthdays, Events, Appointments, Travel, Step counts, Gym time, girlfriend coffee’s …..
Suggestion: On the back of the Tip-ins you could write your two top favorite memories of the month!
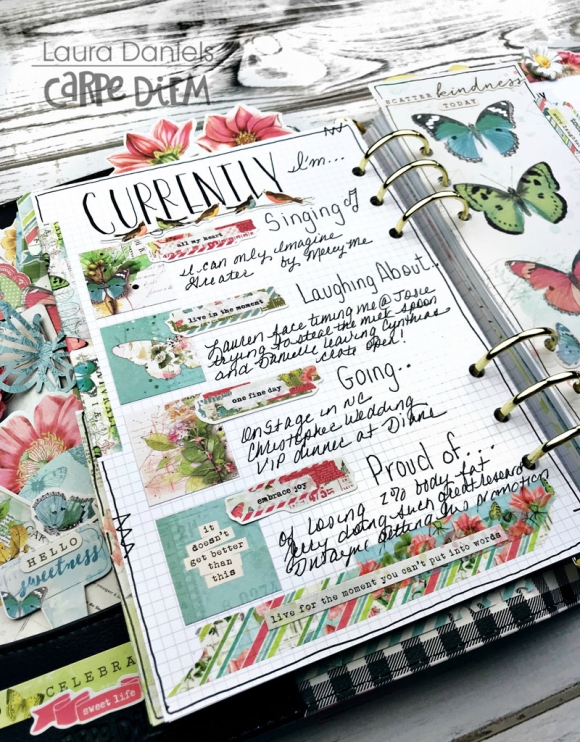
Memories! They take us back to moments in time, don’t they! One of the reasons I love writing in my Currently page each month!
Tip Number 5: Think back on the month …..what are the 4-5 events or moments that speak the most to your heart? Use those are your currently tags for the month! Did a song keep replaying in your head? Did you have a wonderful visit from friend? Was there a phone call that made you belly laugh? Did you enjoy a great movie? Did you go on a fabulous adventure somewhere?

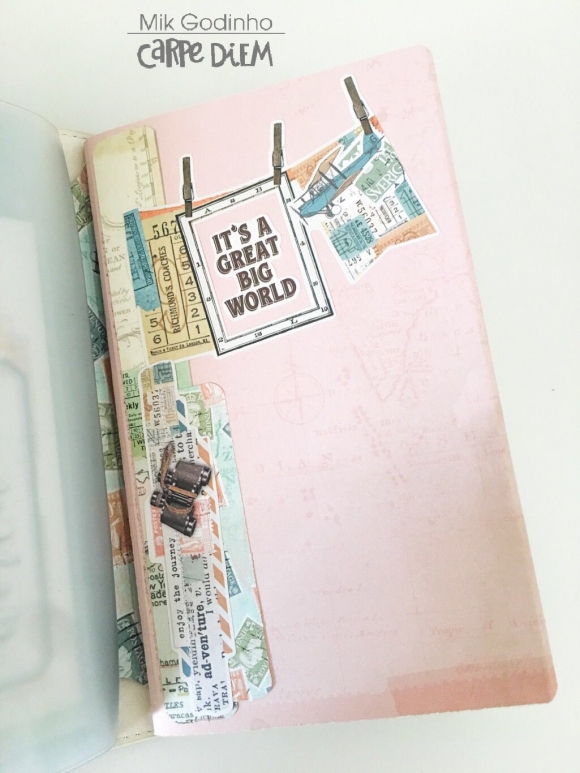
And finally, how can any planner set up be complete without some crafty book marks and paper clips? Lol!
Tip Number 6: Look through your ephemera and Stickers…what can you fold over a paper clip? What can you use to make a 3-D paper clip? What Cards can you use as a book mark and then ad dimension to it?
Thanks for sharing some of your time with me today! I’d love to hear back from you and what you thought of this blog post. Any question about what I’ve created? .. or how its inspired you! Any ideas for a future blog post?... or for a You tube video you’d like to see? Let me know in the comments below!
Oh before you head off to finish your crazy day…. be sure to Come say hello on Instagram
Creative Planning On Instagram
And Subscribe to my Creative Planning You Tube Channel!
Creative Planning You Tube Channel
Hugs and Creative Blessings to you my friend,
Warmly
Laura Daniels