Decorating March!
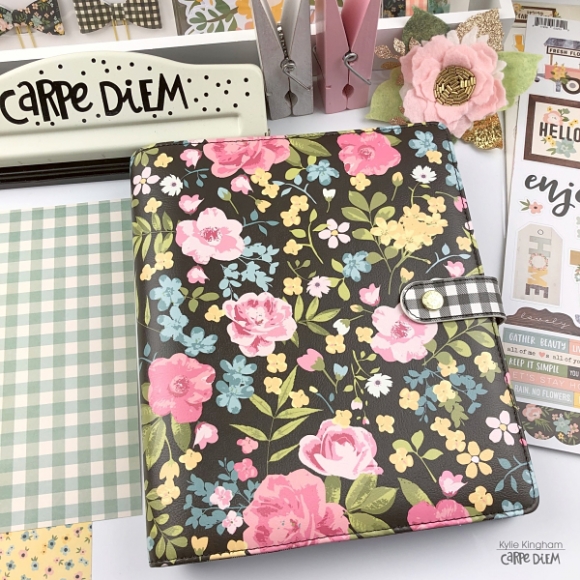
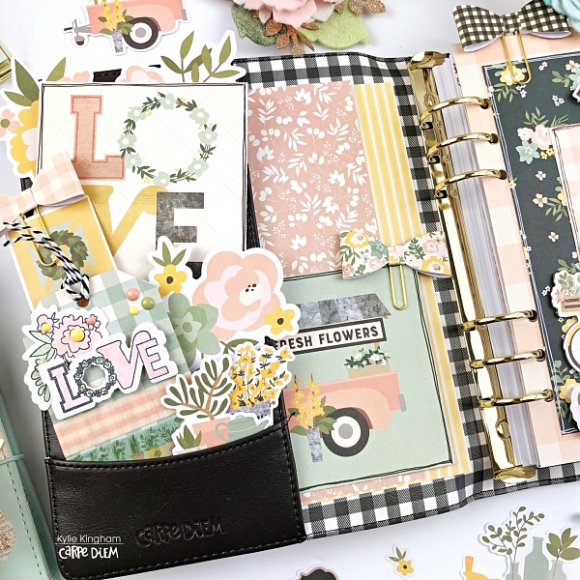
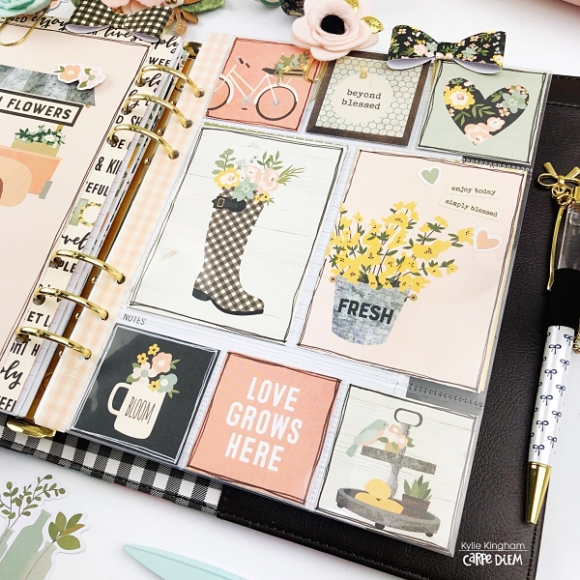
Hey there friends! It’s Kylie back with you all on the blog today and I am going to share how I’ve set up my new A5 “Hello Floral” planner. Of all my Carpe Diem planners this beauty has become one of my absolute favourites ever! I’m completely in love with the floral design of it as well as the gingham check, both on the inside as well as the closure tab.
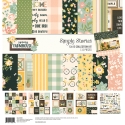
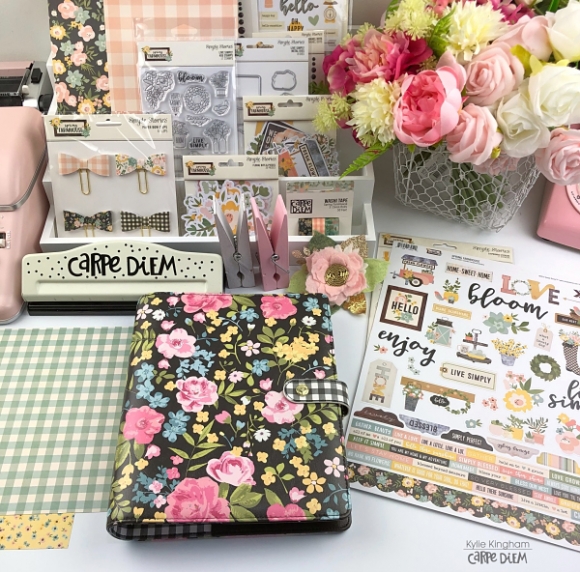
Part of the reason I love planning is not just the practical ‘being organised’ side of things but being creative in how I customise each month. I love making my own dashboards, dividers, note holders and more. This month I decided to use the new ‘Spring Farmhouse’ collection by Simple Stories. It’s a match made in planner heaven!
The inside cover of my planner features lots of roomy pockets for filling up. I love to add cards, extra die cuts and my washi tag which makes it perfect for planning on the go. It also looks colourful when open on my desk.
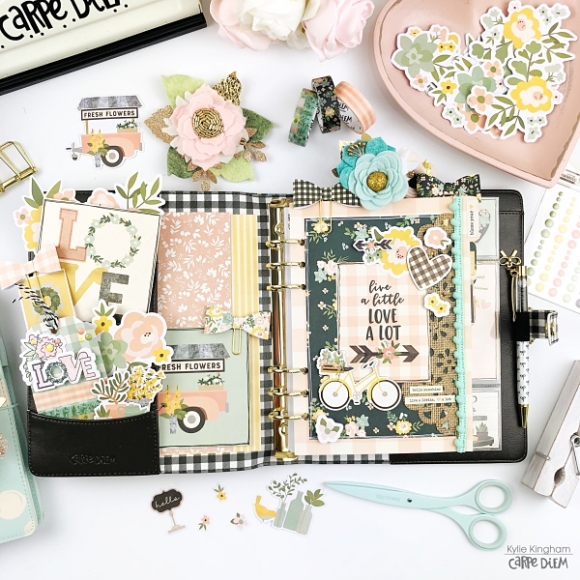
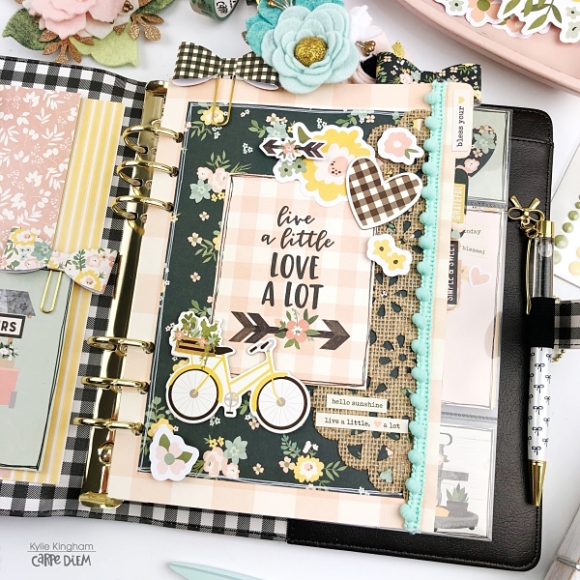
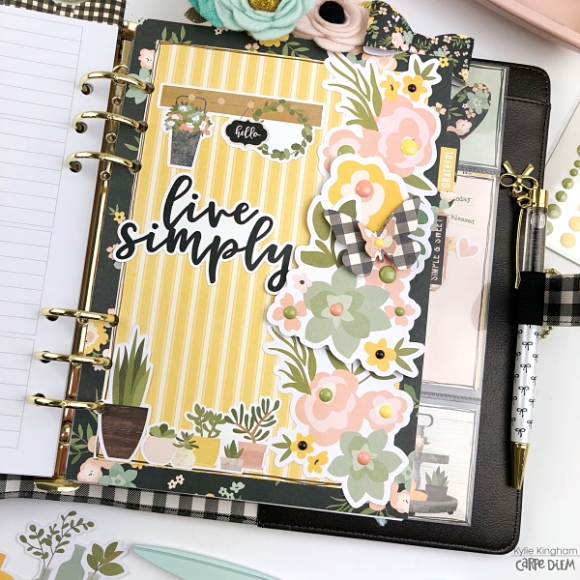
For March I made 3 custom dividers using the divider templates. I’ve layered lots of different paper patterns together before embellishing. I had a ‘hession’ looking doily in my stash which I have cut down to fit one side of my first divider. I’ve also used one of the 3 x 4 element cards as a centre piece. The pom pom trim was also an extra in my stash.
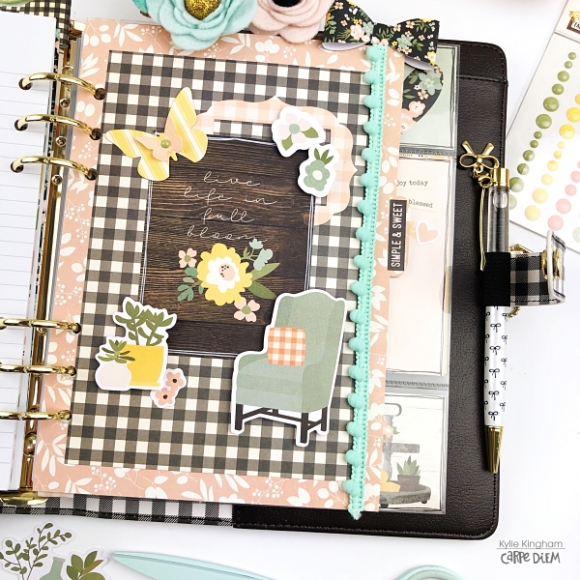
Usually I will leave the back of my dividers plain but I haven’t this month with so many pretty elements available to include in my planner. I used one of the 4 x 6 element cards which was a barn door. To finish it I have layered some of the flower die cuts over the bottom centred by the pretty enamel adhesive dots.
I created a little notepad holder featuring one of the 4 x 4 element cards, making it into a pocket. I adhered it to a backing piece of paper by running double sided tape around the two sides and bottom edge. I also punched a half circle in the centre for effect.You could also store photos or receipts in here.
For my second divider I added a floral border to one side using the gorgeous floral die cuts. I added some with foam tape so they sit up a little on the divider. It adds a nice dimension to it as does the adhesive enamel dots I centred the flowers with.
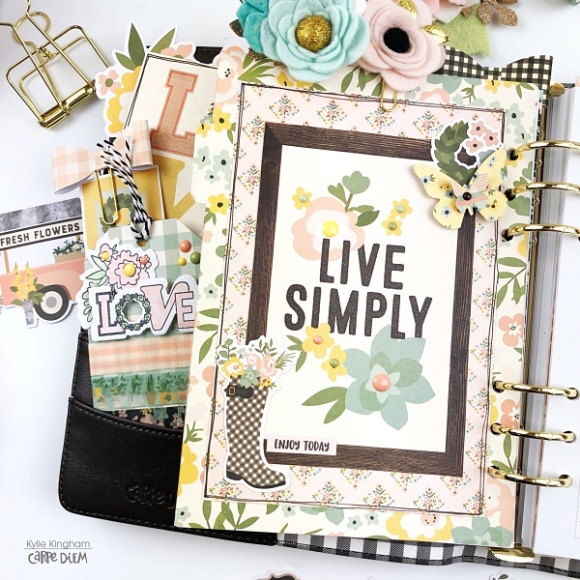
On my last divider, again it is centred by one of the 3 x 4 elements. As with all my dividers I have made some sweet little layered Butterfly’s from a punch and centred them also with an enamel adhesive dot.
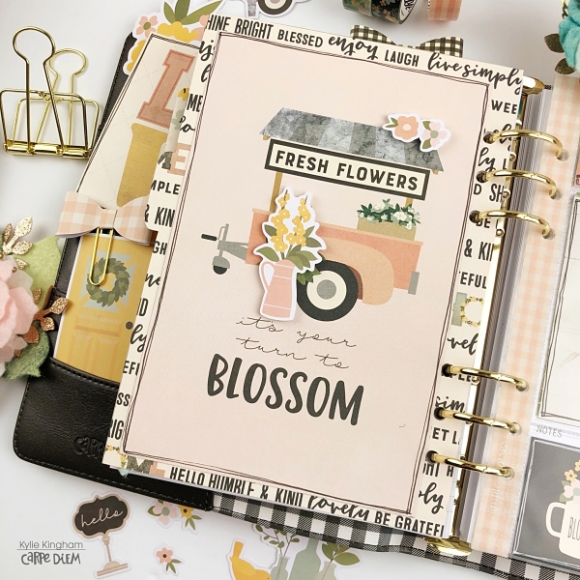
I wanted to add a ‘mood board’ this month so I have used one of the snap pocket pages. By adding washi tape down the edge means I can re-punch the holes so it fits nicely within my planner.
I couldn’t wait to try the new stamp and die cut sets this month……
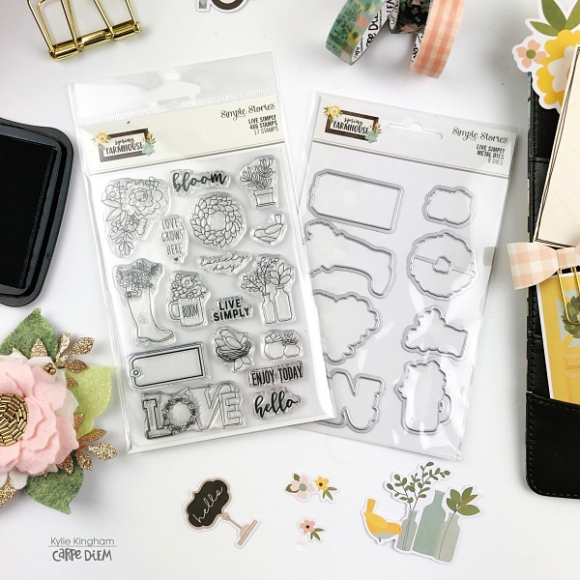
I stamped some card stock with the stamps I had chosen to use before lining up my dies and cutting them out with my manual die cutting machine. All that was left to do was add some colour….

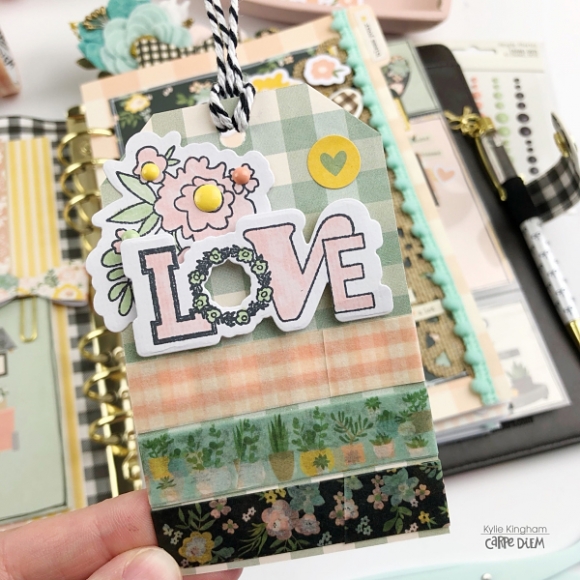
I layered mine over a hand made tag for adding some washi to. These sets would also be perfect for using to make planner cards or extra decorative die cuts. It gives you the option of being able to customise your colours!
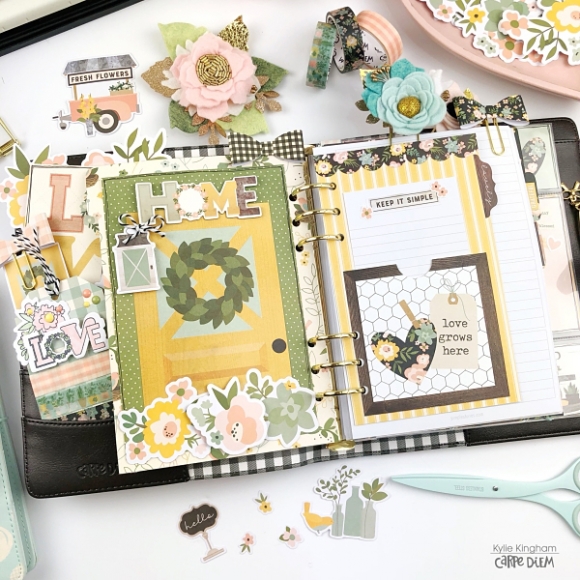
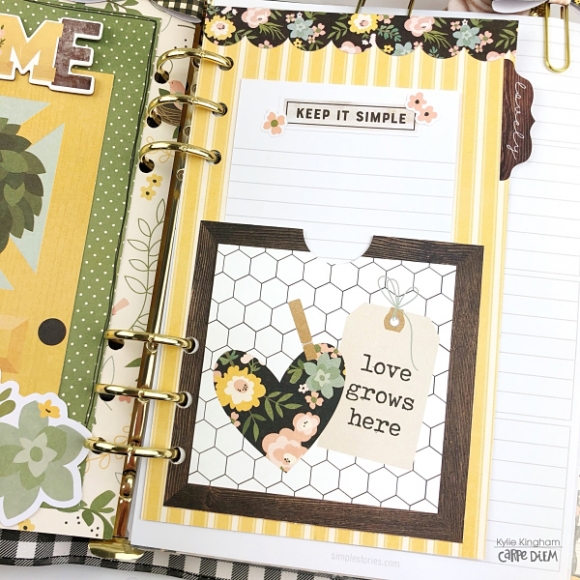
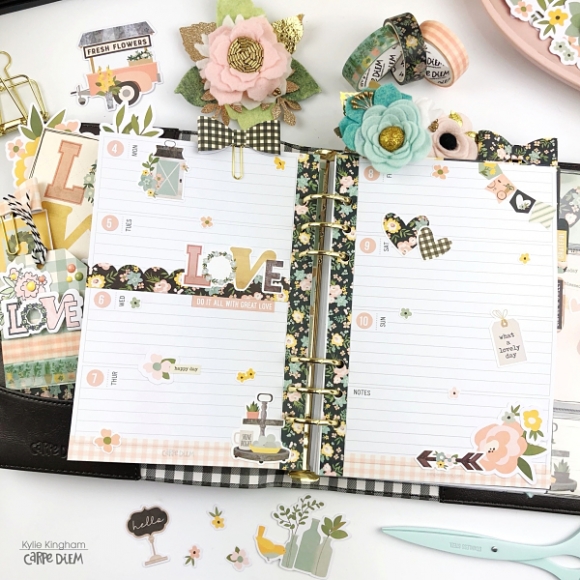
Here’s a little look at one of my weeks ‘before the pen’ for March. I’ve used lots of accents such as the washi tape, 4 x 6 sticker sheets and card stock stickers.
Thanks for stopping by the blog today. I hope you have enjoyed seeing my latest planning.
Chat soon!
Kylie
Supplies