Chantalle McDaniel's Blog Posts

Hi there Simple Stories fans! It’s Chantalle back with you today to share some projects I have created recently. I had the pleasure of being immersed on a retreat last month and I came back with renewed passion! There is so much out there for us to explore and that’s what I absolutely love about this craft of ours - we can try out new things and mix it up a bit. There are no rights or wrongs, just what feels right to us!
 
Hello, Open Wide
 
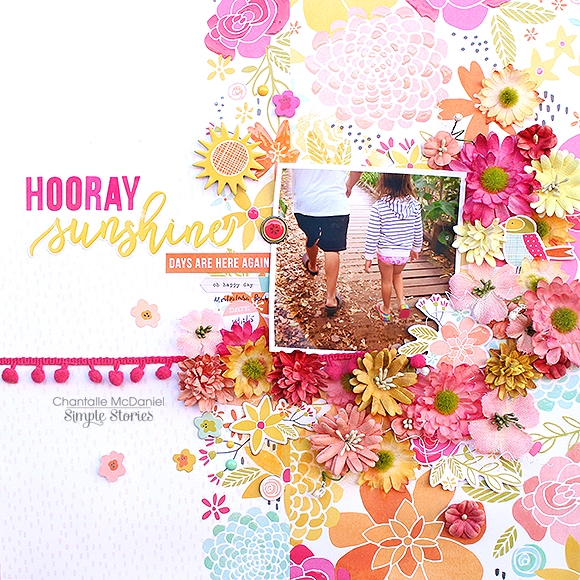
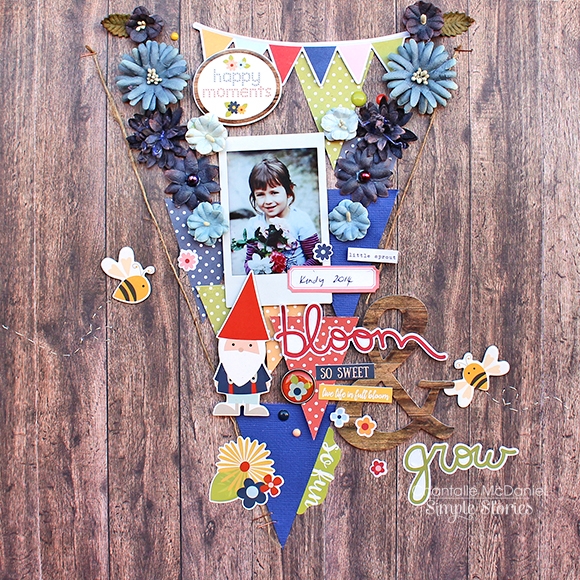
On this page I have experimented with some watercolour paint and texture. I will admit that I really like the way it turned out. This adorable photo has been waiting to be scrapped for quite a few years now! My little girl and I were playing out in the yard and she was trying to convince me to try her tasty dessert. We both couldn’t stop laughing as I dodged her spoon of mud pie! Bloom & Grow couldn’t be more perfect to capture this memory.
 
 
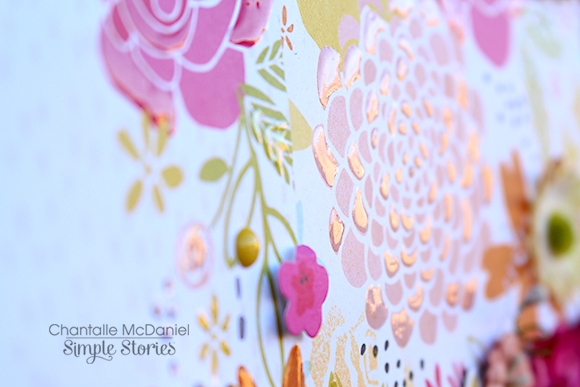
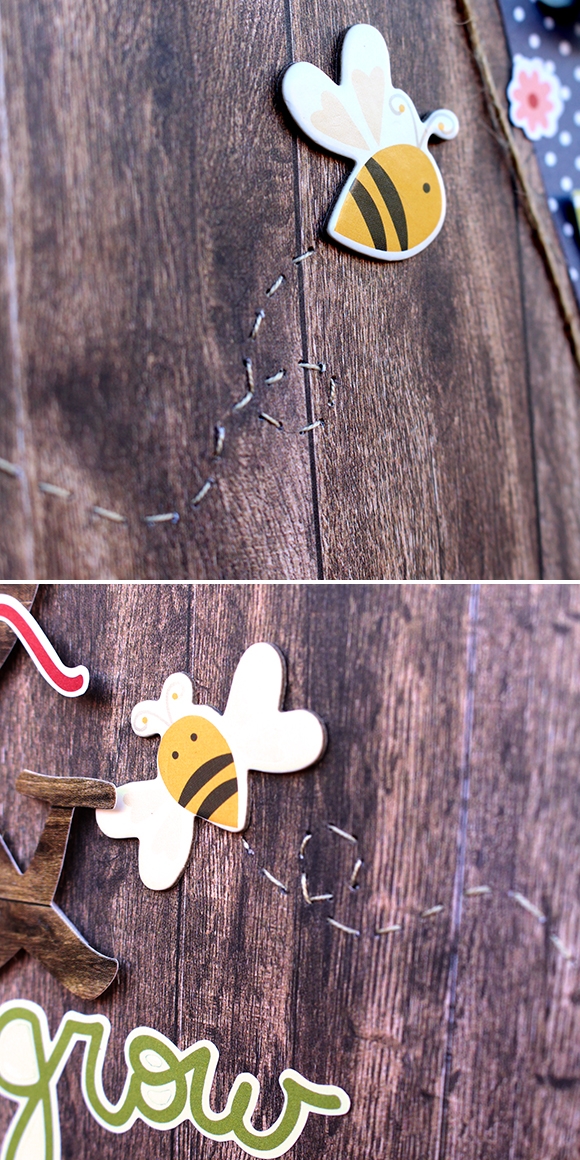
There is lots of layering going on here. I started with the watercolour over the top of a sheet of ‘Bee Happy’ to add a bit more of a pattern to the left corner of the paper. I then popped some texture paste over the top through a stencil to tone it down a bit, so both sides matched a bit better.
 
 
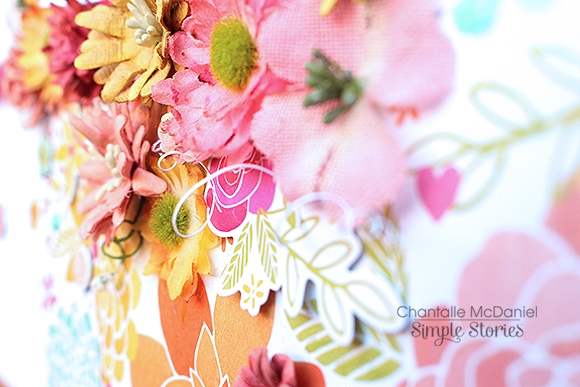
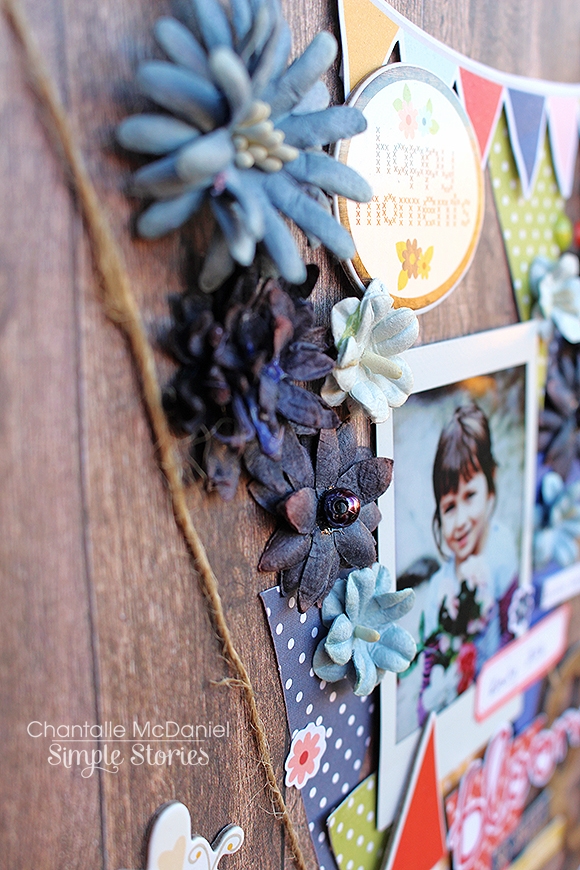
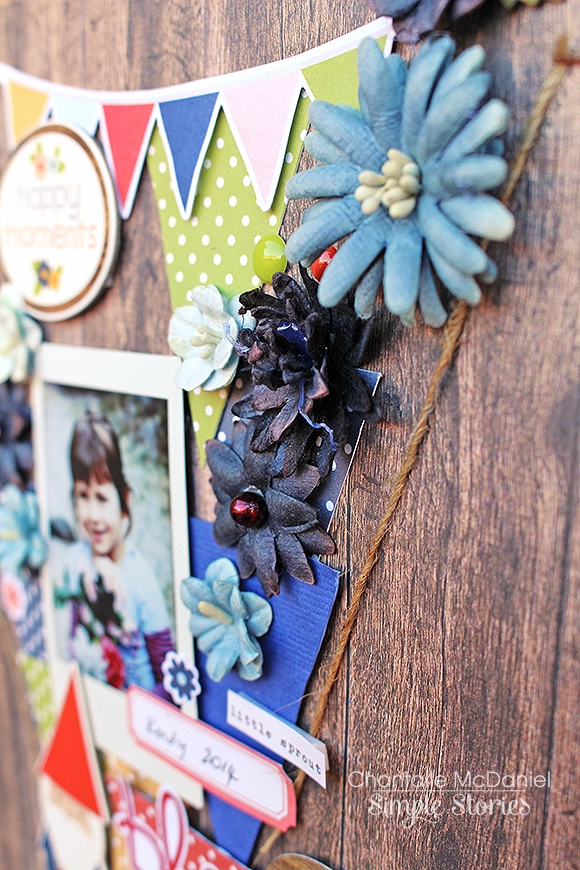
What followed was a happy mix of elements to help tell my story. You’ll notice that I have added some stitching in parts. I really love the subtle texture it can bring and in this case also adds a bit of rustic charm to the page. (Plus, stitching holds your embellies on over tricky texture!)
 
 
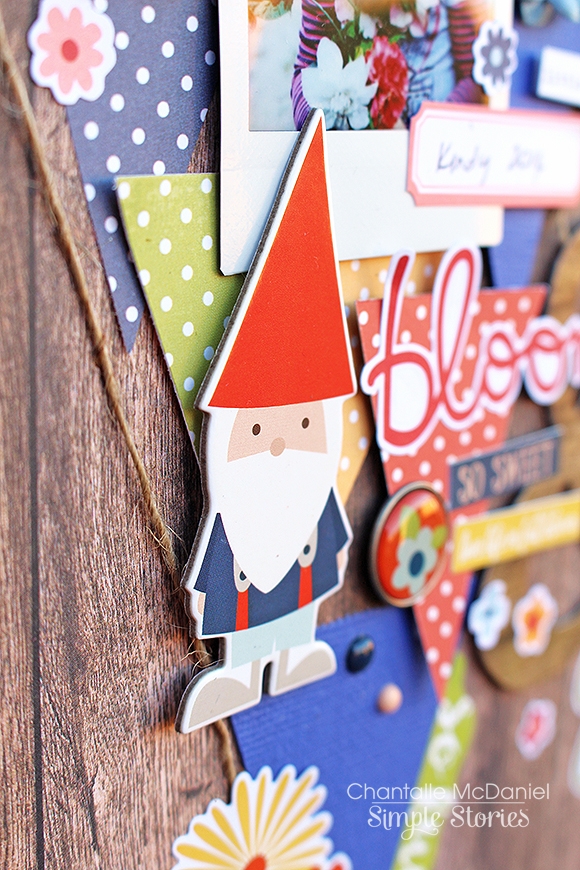
One of my favourite things to do when scrapping with a collection, is to go through all the different elements, papers, stickers, die cuts and chipboard and then use similar shapes in different weights to build up my layers. I usually start with a lightweight item at the bottom and then add the chipboard higher up.
 
 
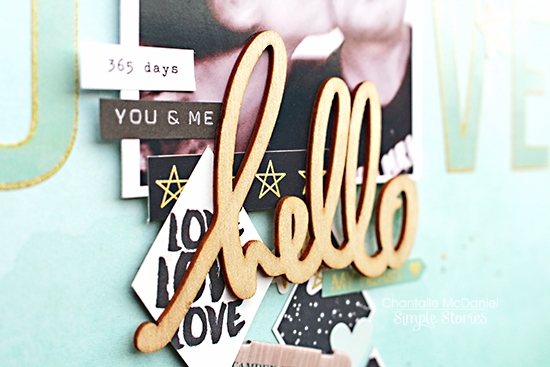
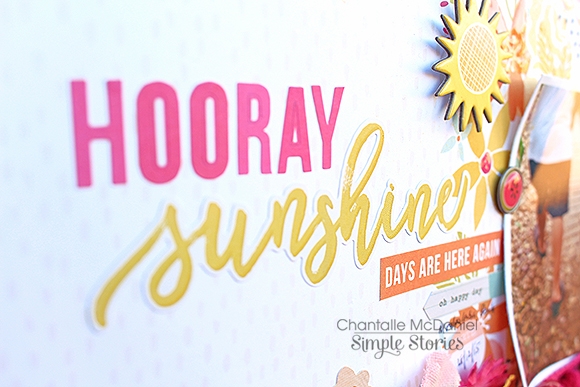
Add a big title to create a play on words! I initially wanted to really space out the word ‘wide’ but I felt it was just too busy overall. If there were less elements on the page, it could’ve been fun.
 
 
________________________________
 
 
Miss You With My Whole Heart
 
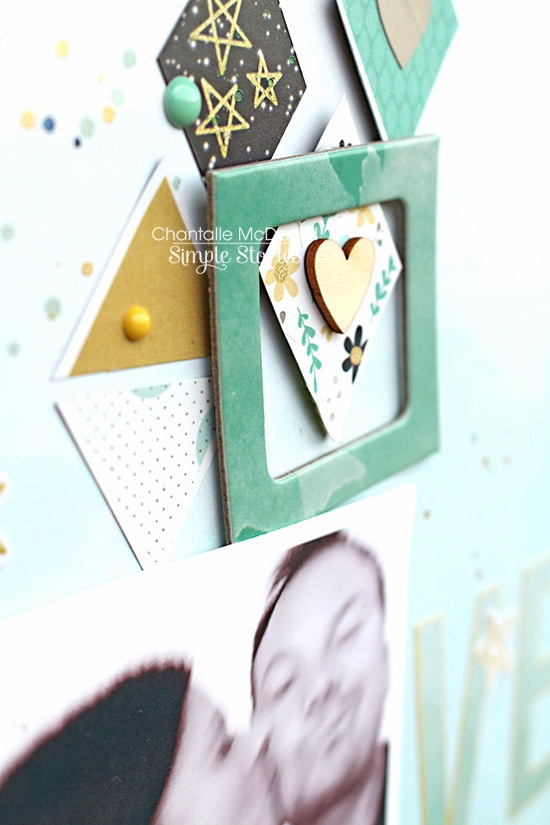
This page remembers my Mum who we lost to breast cancer back in 1995. What’s so wonderful about the Heart Simple Set is that it is so versatile. I have seen heaps of gorgeous layouts with themes from love and loss to vacations. I absolutely loved this starry print and joined the stars to create constellations of love in that beautiful night sky.
 
I started with looking at the stars on the sheet and working out whether a heart shape could actually be created. I then pierced the paper in a few spots which would be the guides for my stitching.
 
 
Using backstitch, I used some very pale blue embroidery thread to connect some stars in a heart shape. This shape provided me with an outline along which I could run my title. I’ve kept the lettering very subtle as it’s already a busy print and I didn’t want it to be too full-on.
 
To further emphasise the constellation theme, I have used a white Uni-ball Signo pen to connect more stars. This is an excellent white pen to have in your stash. I used a ruler which took longer, but the lines needed to be straight to look correct.
 
 
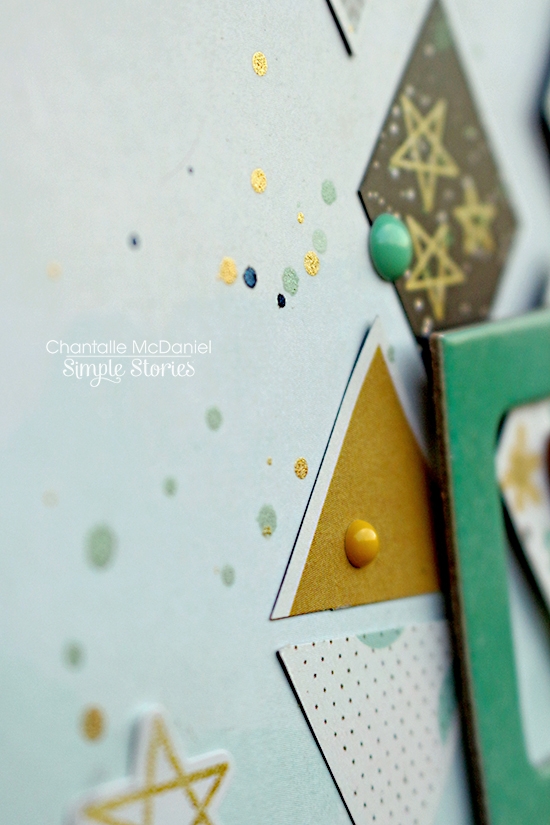
I’ve added a few splashes of white and gold mist as well as highlighted a few areas with my clear Wink of Stella brush pen. 
 
 
Use stitched areas to tuck bits and pieces in to. Check out my chubby baby cheeks!
 
 
Thank you so much for visiting the blog today. 
 
Wishing your heart happiness and lots of creative play!
 
Chantalle


Supplies

Hello again Simple Stories fans! Chantalle with you today to share some pages I have created using the beautiful Heart and Sunshine & Happiness collections. Both use a similar design, playing on a centred focal point, either vertically or horizontally. 
 
Hello Love
 
Heart has so many beautiful and truly touching sentiments to remember those we have loved and lost. But it also has some hoard-worthy patterns, like the dotty and starry ‘Love You’ and this dreamy watercolour which is the b-side of Forever in my Heart.
 
 
If you love clustering elements this is a great design to try, as you can pack a punch with lots of bits and pieces. Having them all in a similar place along with a simple colour palette adds uniformity to this page as well.
 
 
The diamond shapes have been cut out from a sheet of Heart Elements #2. I really wanted to bring in some of the deeper shades in the collection as they complimented the photo of my hubby and I on our 11 year anniversary last year. I liked the diamond shapes as they could easily be applied down the length of the page as well as cut in half and spaced out a bit if I needed to fill a bit of extra white space.
 
 
The wood veneer part of the title has been given a twinkle of Wink of Stella. This photo does it absolutely no justice I’m afraid. If you own one of these awesome little brush pens then you know how much they rock! If you don’t have one, it’s definitely worth investing in one. They add some a gorgeous sparkle and if you buy a clear shade you can pop it over the top of just about anything for a little extra sparkle.
 
 
The little frames I added on almost at the end. I wanted to add a bit more dimension and I think they worked with the harder lines of the square photo and the diamond shapes. A couple of mist drops and my fave enamel dots finish the page off.
 
 
#5032 Life in Color Stickers
#5041 Life in Color Wood Veneer
#5038 Life in Color Chipboard Frames
#7231 Sunshine & Happiness Enamel Dots
 
_______________
 
#HAPPY
 
The title of this page just says it all - HAPPY! My kiddos are absolutely beaming as they fly though the surf on their bodyboards. Continuing with a central theme, I have printed the photo out splitting it across three seperate boxes. I think it gives the photo a great sense of movement and is especially suited to the image where they start to split up as they reach the end of their ride. Sunshine & Happiness is perfect, set on some totally awesome Sn@p Basics ‘Cedar’. If you are a woodgrain fan like me, you NEED to grab yourself a pack of these basics today!
 
 
Summer memories are made of this! There are so many things to love about Sn@p! Packs…. one of them is that you get a couple of extra little die cuts, like this banner shape. So cute and just the right size for any project!
 
 
This layout uses mostly a combination of die cuts and stickers. I’ve used the 12 inch stickers that can be found on most Fundamental sticker sheets. Running two strips at slightly different angles across the width of my page, they’re a springboard for the rest of the layout.
 
 
The word ‘happy’ was spelled out using die cut letters from the Sunshine & Happiness Sn@p! pack. I’ve raised them with some foam tape and set them as slightly different heights to add interest to my title.


A bit of machine stitching gives it a playful feel and adds a bit of texture.
 
 
Thank you so much for stopping by the blog today.
 
Happy Crafting


Supplies

Howdy!  Layle here with you today.  We've got a fun week planned for you - a Simple Stories & Petaloo Product Swap! 

Both design teams have swapped products and will be sharing on our blogs all week long.  Join us for some great inspiration as well as a chance to win a prize package from both Petaloo & Simple Stories! 

Creative team member Chantalle McDaniel joins us today -
_____________

Hello Simple Stories and Petaloo fans. I’m sure you’ll agree that the gorgeous new Bloom & Grow and Sunshine & Happiness are perfectly suited to oh-so-pretty Petaloo blooms! I’ve created two projects to share with you today using these new lines. Read on to see how they came together.
 
My first page, entitled Hooray Sunshine is about those first few days of early summer. Heading out to the beach at the start of the season, when you still need a cardigan against the breeze! It started life out as one part ‘Happy Day’ and one part ‘6x12 Elements’. 
 
 
I really love the floral print on the Happy Day paper so I decided to hoard the other half for another project and make use of the same print on the 6x12 Elements paper. By adding the two halves together I have created my own unique background paper and also given the page a good sense of movement across the horizon.
 
I mounted this new combo background onto some plain white cardstock for a bit of strength. So that my pattern didn’t end abruptly, I then went about echoing the floral print with lots of beautiful Petaloo flowers. In the pic below you can see how I have mixed in some hot pink Gerber daisies with some light pink canvas Dogwoods. In amongst there I’ve also added some super cute Sunshine & Happiness die cuts. I’ve picked up most of the colours in the pattern. The reason I have left one or two out is so that it doesn’t all become too ’the same’ if you know what I mean! By adding some flowers and leaving some printed paper it adds interest by way of texture and dimension.
 
 
For a few green tendril pops I curled some Petaloo white DIY Baby’s Breath around a pencil. I then echoed this spiral shape by creating paper tendrils of my own.
 
 
To create these, simply run a craft knife along the length of a metal ruler, really close to the edge of your paper. They are pretty delicate so go quite slowly. What you will be left with are lots of pretty paper tendrils to use as embellishments.
 
 
My title was created using the alphabet stickers from the Sunshine & Happiness 4x6 sticker pack. Tip: Line your letters along the edge of a ruler to transfer to your paper so they are evenly spaced.
 
 
For the finishing touches, I have gone about highlighting some areas with Glossy Accents, added some pom pom trim and a few bright enamel dot pops.
 
 
_______________
 
My next page makes use of the new Bloom & Grow. This collection is such fun! This photo was taken a couple of years ago when my little girl was in Kindergarten. She has grown up so much in such a short space of time - blooming and growing for sure!
 
 
I’ve created a large pennant shape in the centre of my page. I’ve used some natural twine as a guide, which you can find in a pack of Petaloo Teal Blossoms (Bulk Pack). I’ve used my staple board to attach the twine to my paper and then went about mirroring matching flowers on each side of the pennant, starting at the top, moving down. 
 
 
Inside the large triangle are lots of smaller ones which help the eye down the page. I’ve used some plain cardstock and some patterned paper and layered them in a haphazard style overlapping each other.
 
 
A view from the other side. 
 
 
Mr Gnome and these buzzy bees were just way too cute not to include on this project! I’ve used a paper piercer to pop through a few guide holes and then hand stitched my bees a little trail.
 
 
Pinks, blues, wood tones - this line is fun for so many themes!
 
Thank you for joining me today!
 
Happy Crafting
 
 
________________

Now for even more fun!!  Enter via the Rafflecopter widget below and we'll draw one lucky winner next Monday to win a Bloom & Grow collection pack & Petaloo flowers!  

a Rafflecopter giveaway

After you enter, head on over to the Petaloo blog to see what their team has created & enter to win a prize pack there as well!  

Want to follow Petaloo and keep up with all of their great projects & products?  Here you go!

Website

Facebook

Instagram

Blog

Join us again here tomorrow for one last day of more inspiring projects!

Supplies

Pages