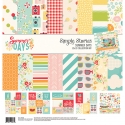
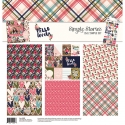
It's Kristine Davidson here, and I'm sharing 2 layouts with you today that I created using the Summer Days collection. This collection is filled with awesome images such as swimsuits, bikinis, pineapples, snow cones, VW vans, flowers, sunshine and so much more!
I am lucky to have a cousin that lives in the beautiful island of Trinidad and she was kind enough to "lend" me her photos of her cute boys playing at the beach.
My first layout is called SUMMER
This is a gorgeous beach pic of the boys playing with their beach toys and enjoying the beautiful white sand and sunshine. I wanted to create a layout using tons of paper and layers were the way to go. I have almost every single piece of paper from this collection on this page!
It's fun to cut up pieces and just keep adding and adding. You'll see a close up of my layers a few pictures down.

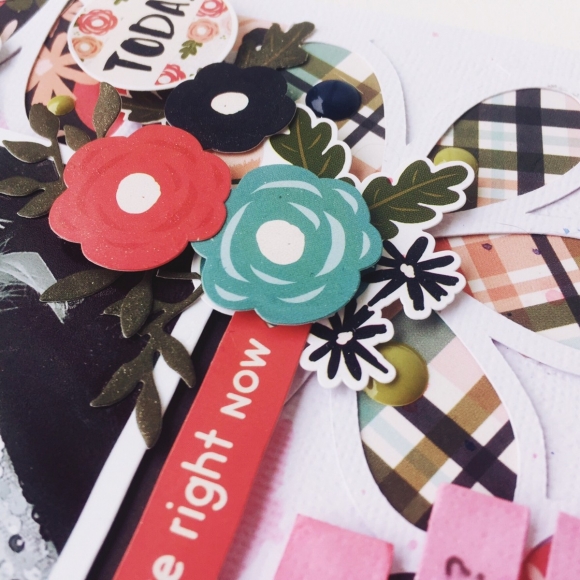
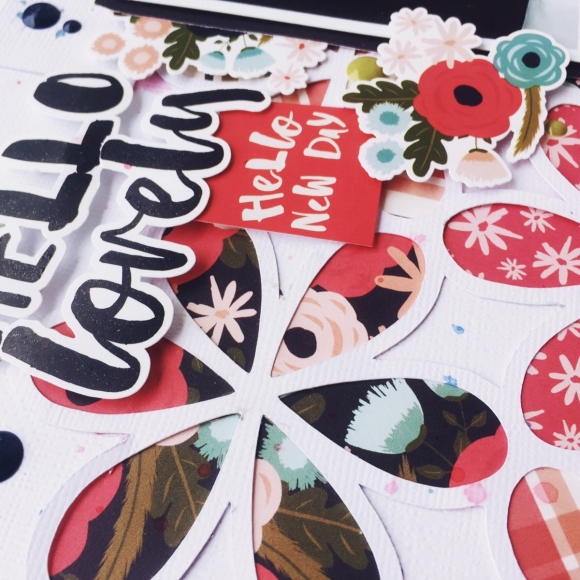
Layering with embellishments is nothing new for me, as you probably know if you have followed Simple Stories the past few years. I enjoy taking pieces of die cuts, chipboard with some stickers and adding dimensional adhesives. I added brads in my cluster on this page which I really like.It's like an enamel dot but bigger!

Here is a close up photos of some of the layers of paper I created on my layout. It's a great way to add dimension, color, and of course use up some paper scraps.

___________________________
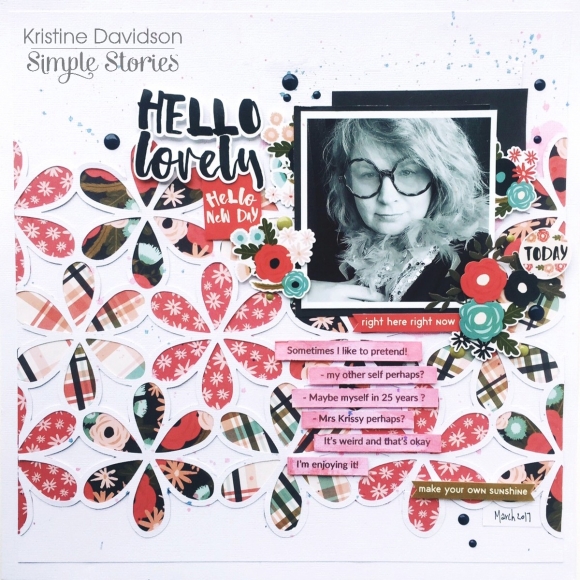
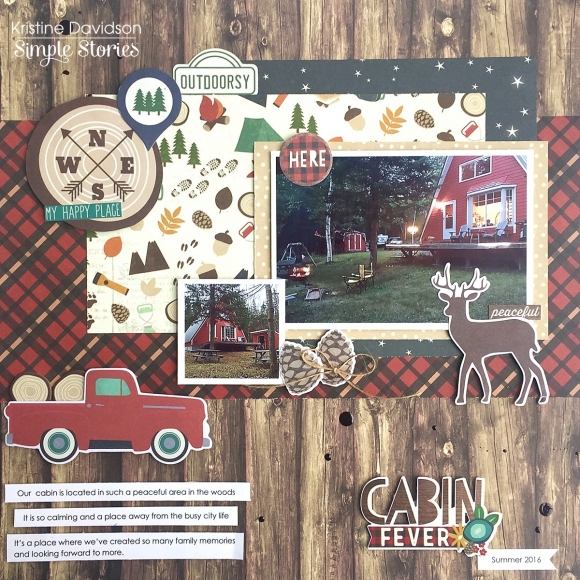
My second layout is a grid format. If you find yourself stuck or unsure of what to create why not try a grid layout ? It's really a simple page which used lots of embellishments, 4x4 journal elements and as many pictures as you need.
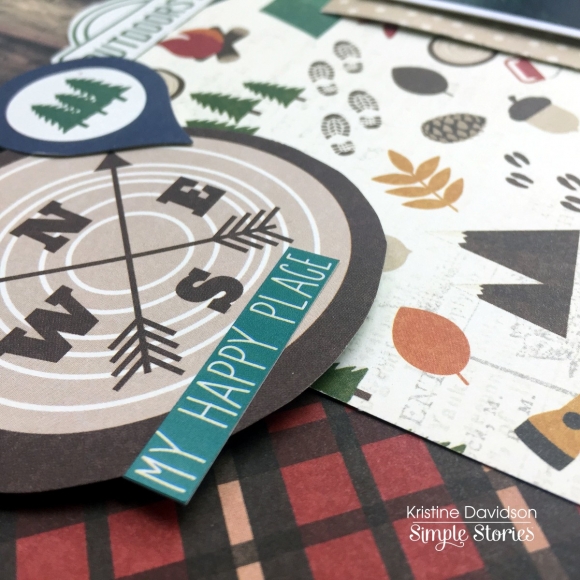
I cut my pieces of paper to fit 3.75" x 3.75" to give me a nice white mat between each box. I decorated each individually to make a small layout maybe? A Little 3x3 layout on each square. Some are decorated more than others but overall each little square finishes a larger layout. I really enjoy creating these pages. They are probably one of my favorites.

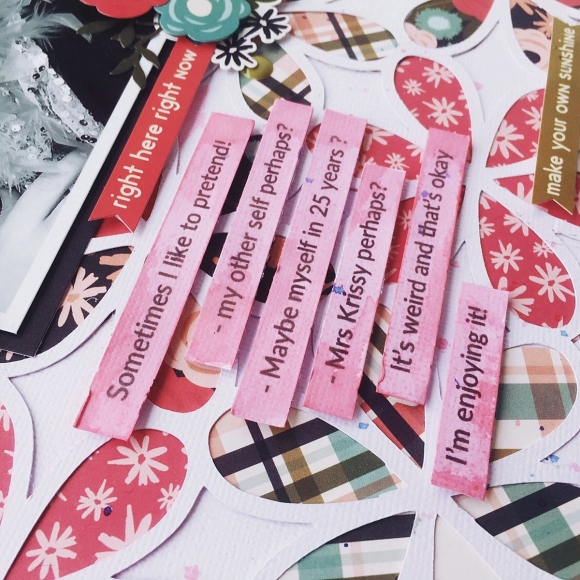
Here are a few more pictures - More details include dimensional adhesive and I added some glaze on top of a few details. Just to add a little extra.
Yes that sunshine has a strand of Archie's hair. It never fails! Cat furr it is!


I hope you enjoyed my reveal today and of course we can't wait to see what you create with the Summer Days collection! Don't forget to tag us on instagram using #SimpleStories and you can come follow me as well at instagram.com/KristineDavidson
Thanks for visiting!