Kristine Davidson's Blog Posts

Hello Friends! 

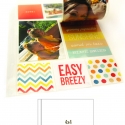
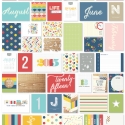
It's Kristine with you today and I am here to share a pocket page spread featuring the NEW Fresh SN@P! Pack; it should be available in your Local Scrapbook Store soon!

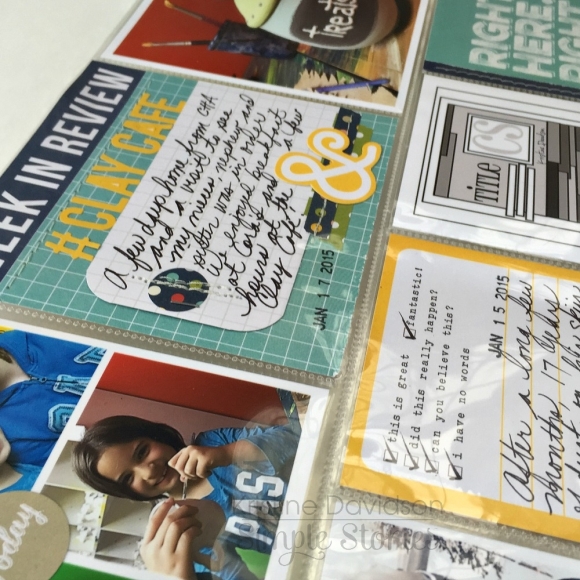
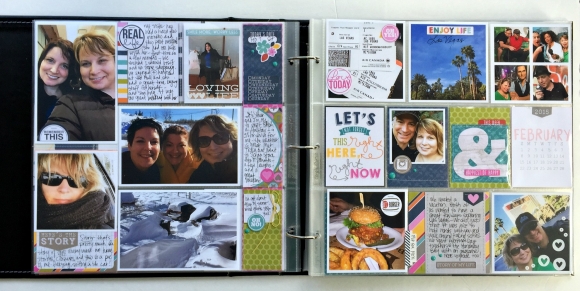
After a very long winter and a few more weeks of patiently watching the snow melt, I decided to brighten up my February monthly spread by adding tons of bright colors! This Fresh SN@P! Pack is awesome!  Love all those bright pink, yellow, green and blue colors - it really brightens a layout!

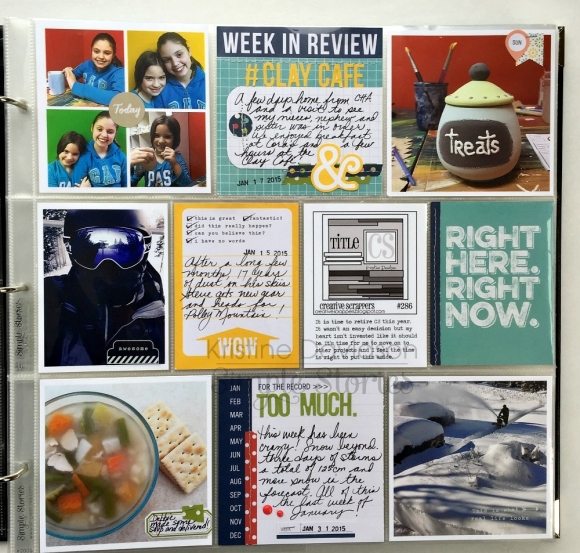
I am still creating my album with monthly pages, I honestly don't know how long this will last but I've cut down on photos quite a bit and doing a monthly spread is easier and less time consuming but I am missing the extras, such as movies watched, weather, favorite tunes etc.  So as much as i love the monthly spread, I think i need to add more!

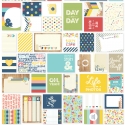
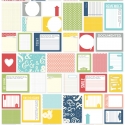
I mixed up my pocket page inserts once again. I do enjoy the variety and less repetition in my album.

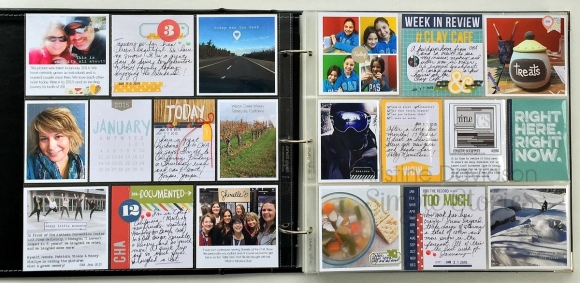
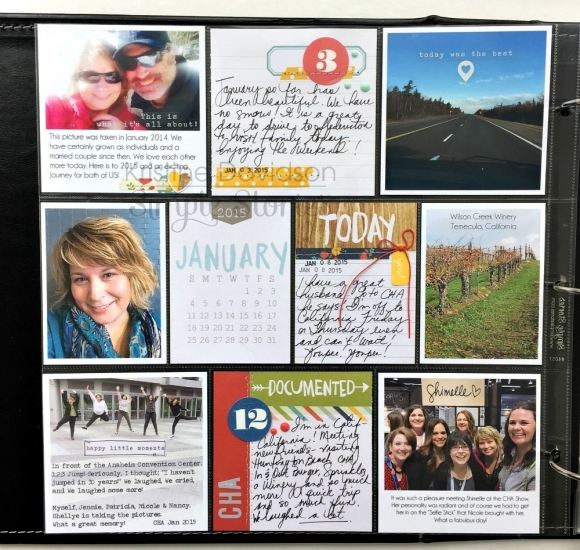
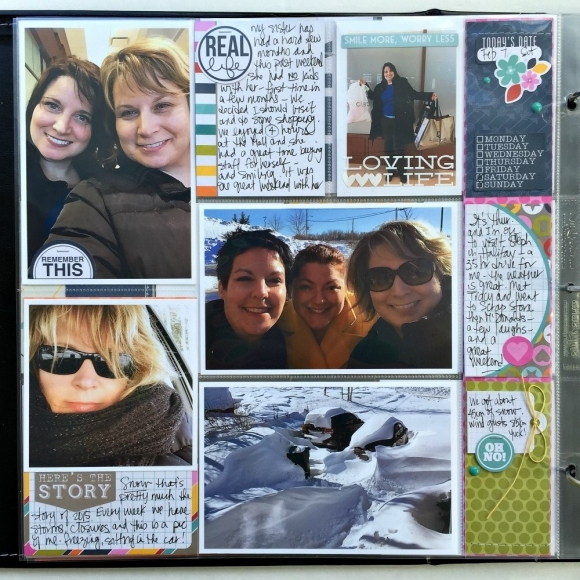
The month of February was packed with a shopping trip with my sister, a visit with my best friend Stephanie, a trip to Las Vegas and a major snow storm on the east coast.  My months aren't usually this ' entertaining ' but it makes a spread look pretty cool ! ;-)

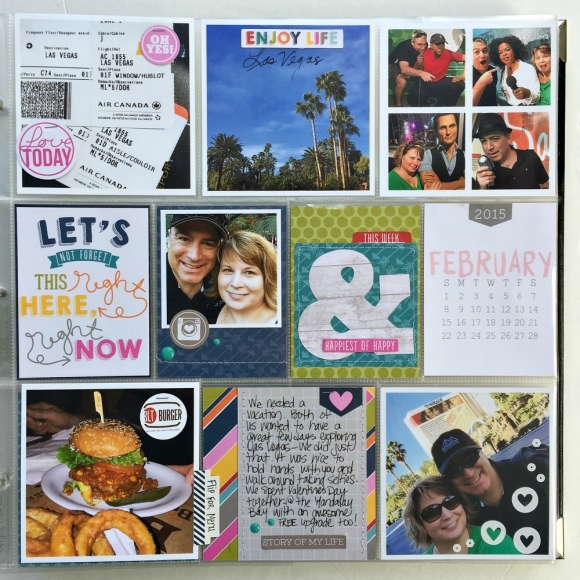
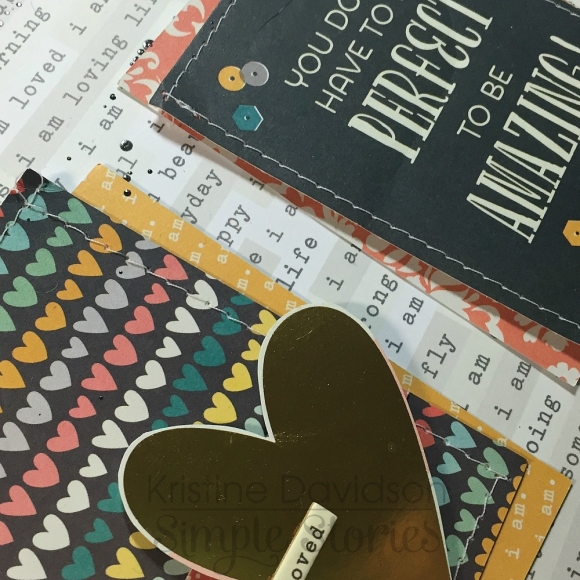
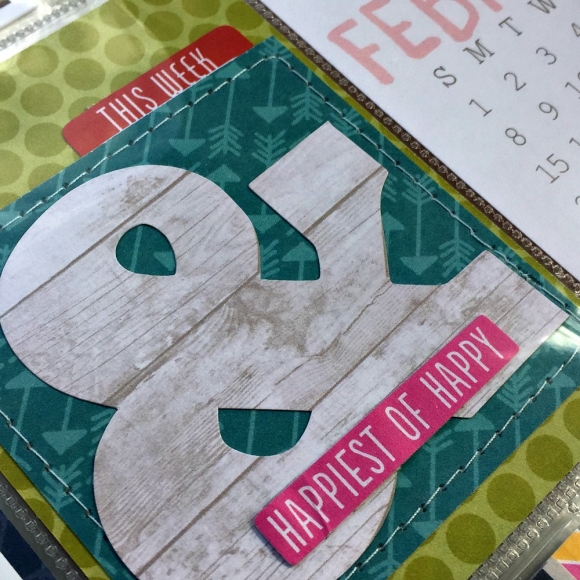
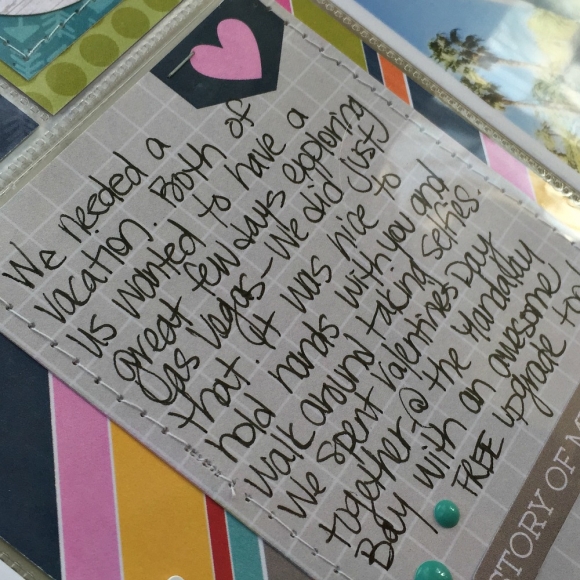
I've mentioned before that I enjoy creating my own journal cards. I did for this spread as well. I used a 3x4" card, a square 3x3" and the die cut ampersand (& symbol ). I did some sewing and added more die cuts!  Super cute right?  So easy! Don't be afraid to add your own details to a spread -  it makes it that much more special!

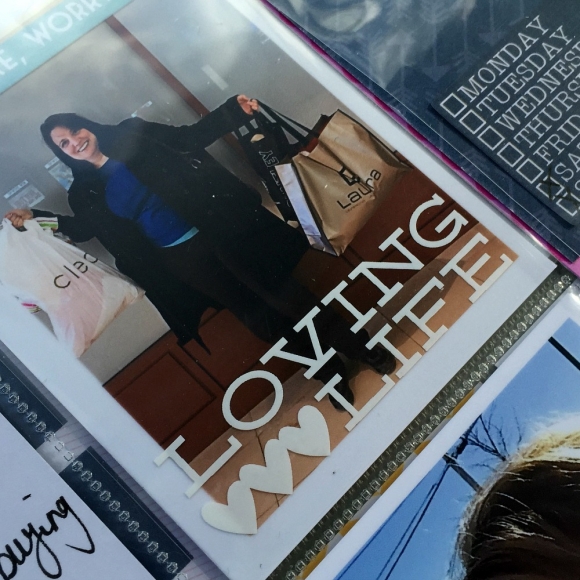
This month I also added some Photo Overlays from the I AM Collection. These are fabulous to add extras on photos. Here is one that I added to my sister's shopping photo called " LOVING LIFE"

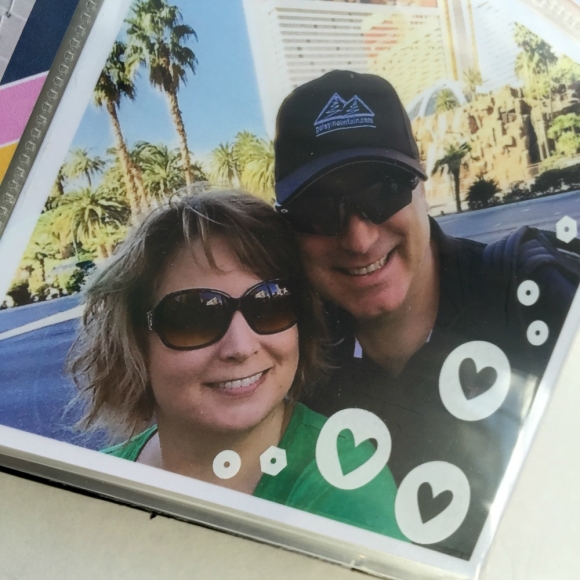
This next photo of hubby and I has the bubble hearts included on the Photo Overlay.  This adds great little details for pictures!

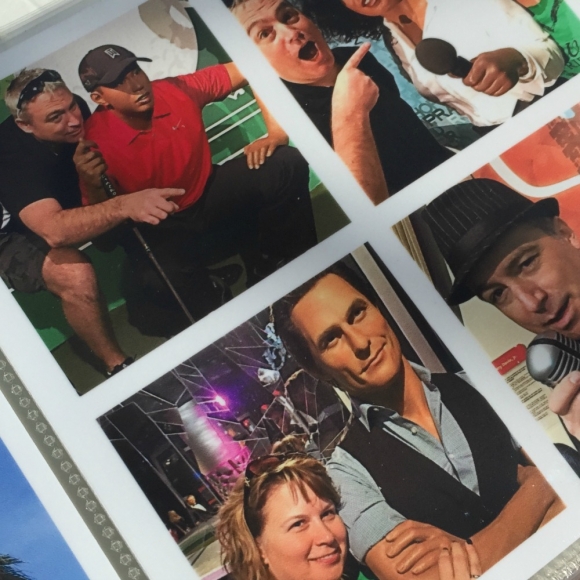
Something else I'd like to show you is the multiple photos option on a 4x4" or even 4x6" photo. I do did quite often when I want to add multiple pictures but don't necessarily have the space in my pocket pages. I use www.PicMonkey.com to create a collage and it works great!  On a Side note isn't Matthew McConaughey adorable!

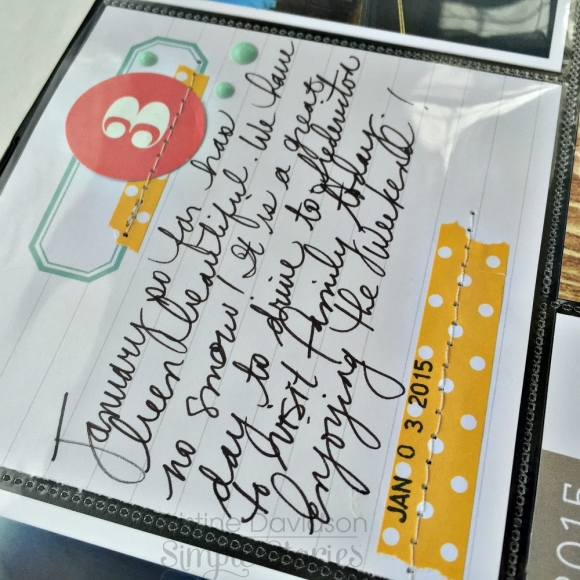
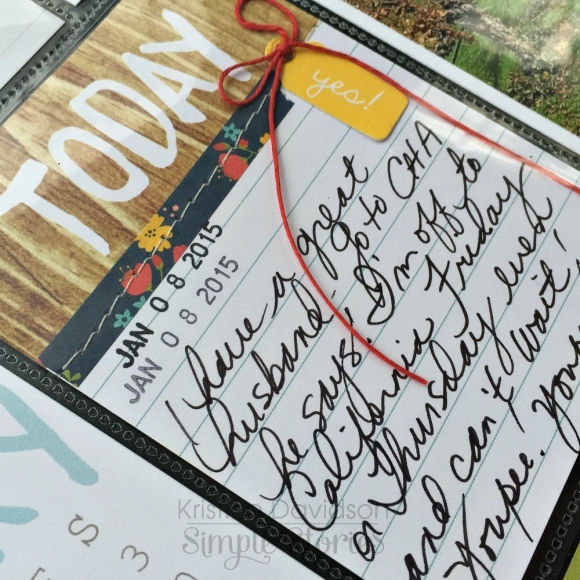
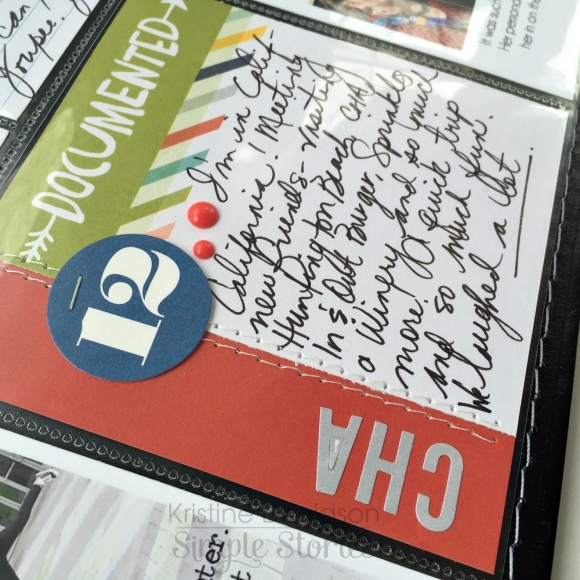
I often hear people say "I hate my handwriting".  That's unfortunate!   It's part of you and who you are. It's a great memory keeping tool for all your family members that will take the time to enjoy your albums.  If everything is typed - how will they know your handwriting?  Something I miss today is my grandmother's handwritten notes in birthday cards, or recipes. I remember her writing a small To Do list or even grocery list.. I'd love to have those today!  So please, use your own handwriting - even if YOU don't like it... someone else will!

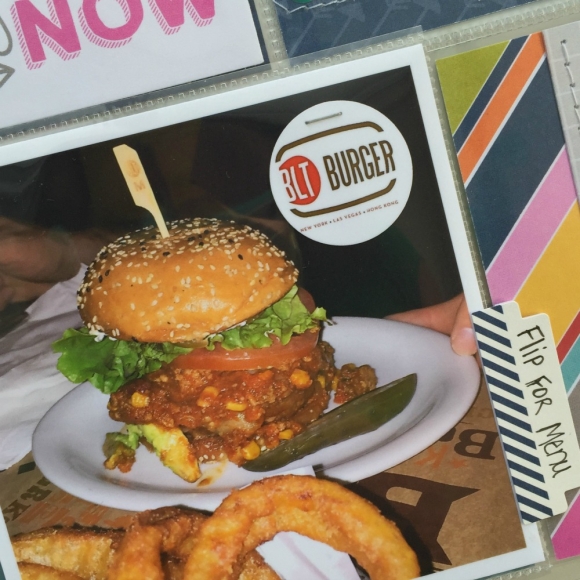
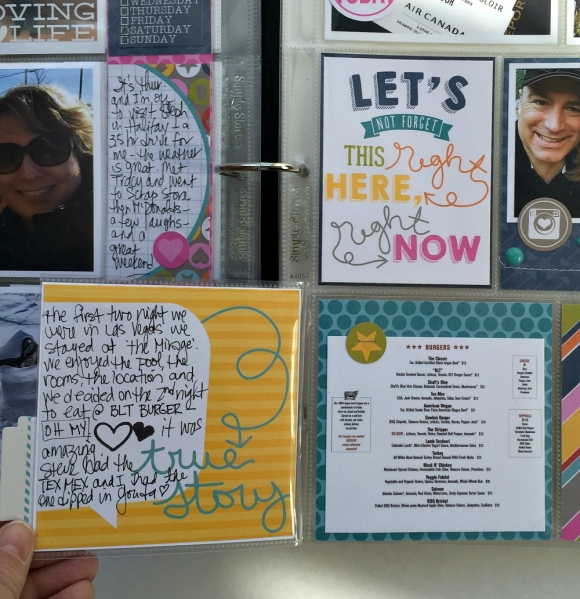
I added a Photo Flip to my page this month. Hubby and I ate at this amazing restaurant in Las Vegas. It was called BLT Burger and we both had the most AWESOME burger.. seriously! I wanted to add a photo of my hubby's TEXMEX Burger but also the menu. I couldn't bring the menu with us, but I did go online and print one up in small format so I could add it to my spread. I added journaling on one side and part of the menu on the other side.

I hope you enjoyed my post today and I hope you enjoy creating with your favorite Simple Stories products!


Supplies

It's Kristine with you today and I am here to share a Life Documented spread featuring the LIFE DOCUMENTED collection.  It should be available at your Local Scrapbook Store - HURRY!   You are going to love the diversity of this kit to create plenty of Layouts and Pocket Page Spreads in 2015.

This is the first page in my Life Documented album for 2015. I'm doing something a bit different this year. I'm not committing to a weekly spread. This means I can do a month at a time, a week at a time or even a day at a time. I am not worried about the pocket page style that I'll be using either. It's considered more of a large "mini ablum" and I'm looking forward to creating this year and hope you'll join me!  

I started my spread using the Simple Stories Design 10 Pocket Pages. This allows me to add larger photos 4"x4" and also the standard 3"x4". The left Side of my spread has a photo of hubby and I from 2014 and a bit of journaling about the year ahead. I love that my pictures can be included with journaling on a 4x4 card.

Creating your own journal cards can be so much fun.  I used 4x6 and also 3x4 cards and created my own. I added 1" strips and sewed them to cut up 4x6 cards. Super easy to do and gives you a unique touch to your page using all the wonderful Simple Stories Cards. 


Since my spread is about the entire Month of January 2015 I wanted to add photo and journaling but not have this on a few spreads so I typed directly underneath my pictures!

The Right Side of my spread has the same format as the Left.   I did a picture collage on one of my photos to showcase the great day we had at the Clay Café. This is a place I bring my nieces when I visit. We have a blast and always look forward to getting our fired clay pieces.  

Below is an example of a journal card I created using a 4x6 card cut to fit below the " Week In Review " title. I added a tag for my journaling and created little embellishment details with the Life Documented Washi Paper Tape. So Easy!

This collection is so much fun to play with. I hope you enjoyed my Life Documented post today and I hope you enjoy creating with your Simple Stories Life Documented Collection!

Supplies

Hello Friends! 

It's Kristine Davidson with you today and I am here to share a layout I created for CHA using the new I AM... CollectionThis collection is filled with such beautiful colors; a little red, turquoise, black, yellow and touches of gold. For my layout I used mostly 3x4 journal cards from the collection, the 6x6 paper pad and also the Chipboard pieces. I had no Bits & Pieces but I made my own by cutting out some elements from the journal cards. It's really easy to do !

I wanted to add as many colors and papers as I possibly could on my page so i added several 3x4 cards or cut up 6x6 papers underneath each other for layers - I sewed a few of them for a little extra texture and because I love sewing on my pages.

Here is a little close up where i created my own " diecut ".  I used the feather from a 3x4 card and cut it up to place it underneath a piece of chipboard.


For this next card I added the letter M from the " I AM "  for my niece's initial M - for Marissa.  

The last one I'll show you is a the gold heart. I cut this up as well and added a pop dot under it to give it some dimensions.

As you can see, it's so easy to add dimensions or little extras even if you only have a few 3x4 journal cards!

I hope you enjoyed my post today and I'm sure you'll enjoy creating with your Simple Stories I AM... Collection - Make sure to tell your Local Scrapbook Store you NEED this collection ;-)

Supplies

Pages