Kristine Davidson's Blog Posts

Hello everyone! It's Kristine with you today and It’s wonderful to be back this year to share layouts instead of pocket pages! I will be sharing pages of my nieces, nephews, my cats, and other family members. I love the Simple Stories Bits & Pieces packages and you'll notice a great deal of those cute diecuts on my pages.

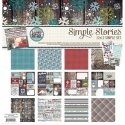
The first layout I'm sharing with you today was created using the NEW Carpe Diem Scrapbooking Collection. The papers in this collection were created based on the Carpe Diem Planner Collection and if you have some pieces left over from your planner kit then you should really get this collection!

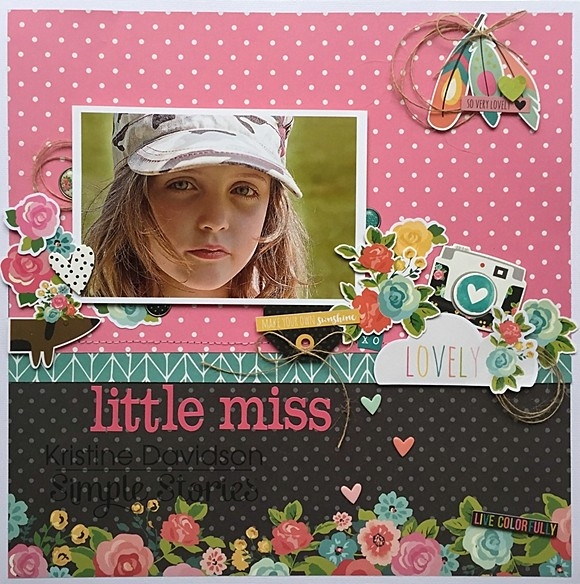
I started this page using the pink & black dot paper. I used it as my background and then combined it with the 6x12 paper from the Elements sheet. The picture of my niece was taken in the summer and I wanted to showcase the green and also the light pink in her hat. I used several bits & pieces and created layers with dimensional adhesive.

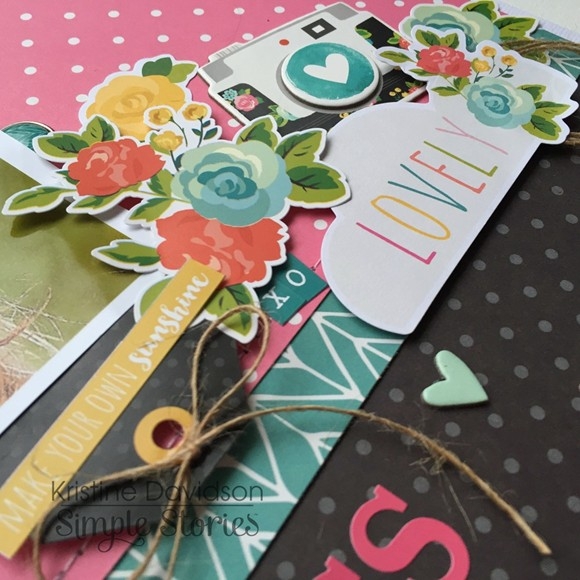
Adding layers and creating multi dimensional elements are always part of my pages.  The flowers, camera, and tag were used for this cluster. I often add a bit of twine to my projects and this layout was no exception!

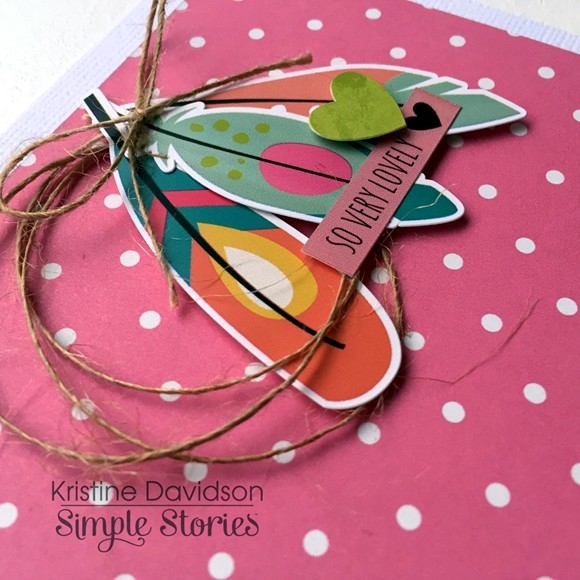
I used the feathers from the Fundamentals Sticker sheet and created this little cluster on the top of my page. Just some extra elements wrapped in twine and a small Expression Sticker. 

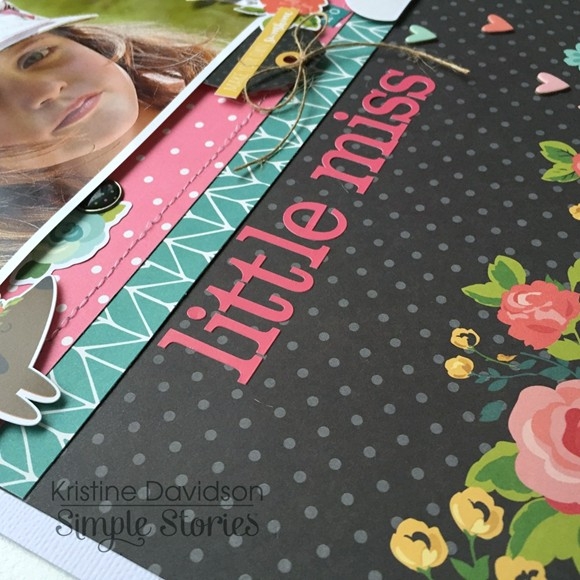
I used the cloud with the saying " Lovely " and created my title with it. I added " Little Miss " with the alpha stickers on the Expressions Cardstock Sticker Sheet. I really love the contrast of pink of black. I often use white on my pages and adding a bit of black just makes me happy. I feel the colors just pop off the page!  

____________________________________

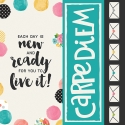
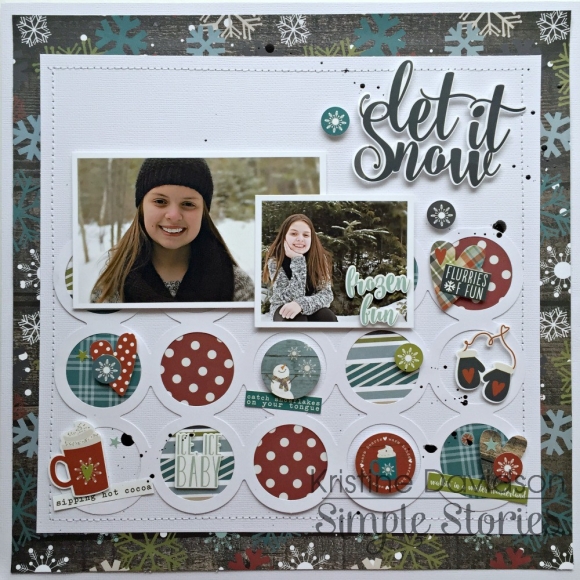
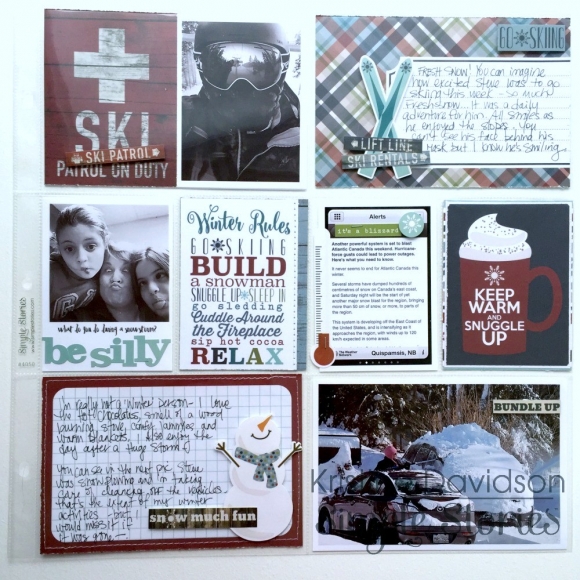
The next layout for you today was again created with the Carpe Diem Scrapbooking Collection. So many options with this collection for creating layouts or projects. I focused on the yellow and also a bit of turquoise. My nieces and I were playing outside one day and decided to get some paint and make a big mess outside on a huge canvas. We had a great time and that included a bit of paint on our faces! It was the best day!

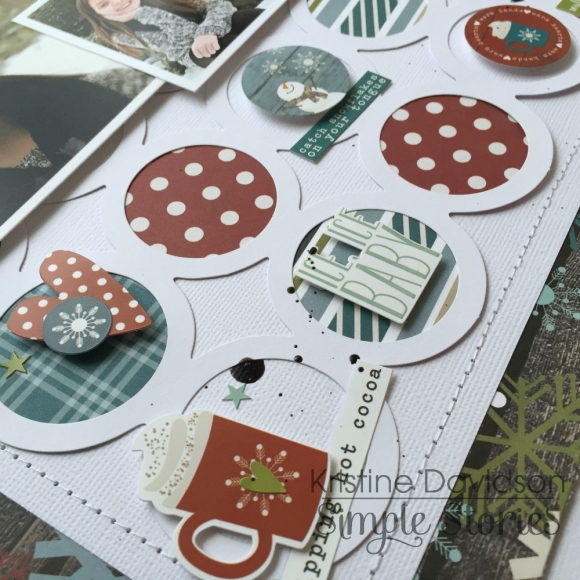
Have I ever told you I love Bits & Pieces! Yes, this layout was based on tons of little diecuts and stickers. I couldn't help myself they're all so cute and went so well with Megan's happy face and turquoise paint splats!

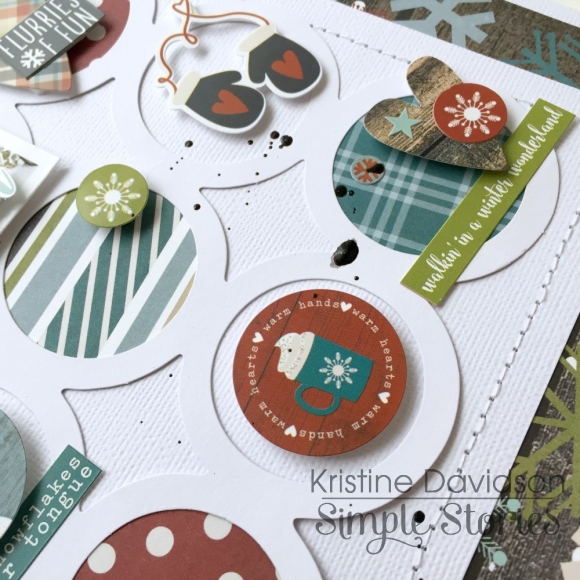
I played with some diecuts and kept layering with chipboard, washi paper tape and of course dimensional adhesive. I added some journaling on a small piece of paper that was cut from a 4x6 journal card.  Don't be afraid to cut out shapes or adding pieces from the 3x4 or 4x6 cards on your pages.

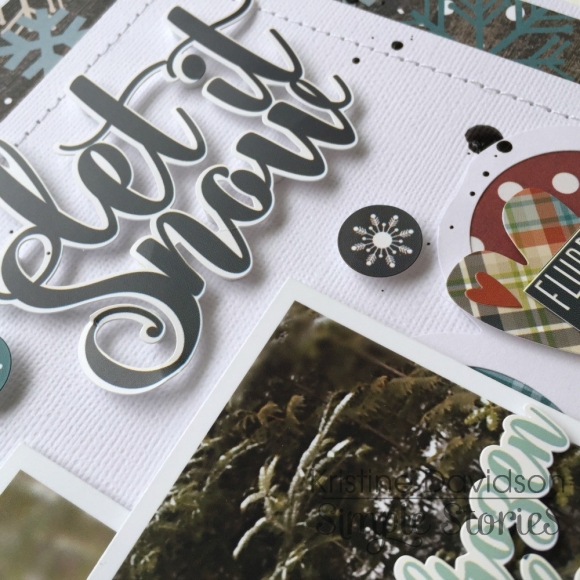
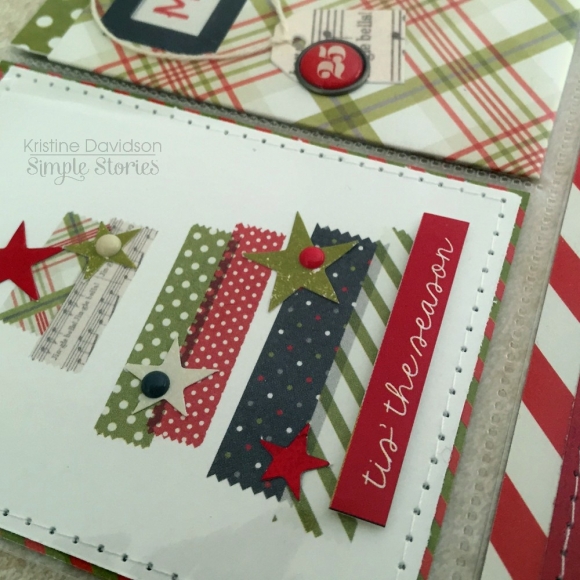
I love sewing on my pages and wanted to show you that you can sew or create your own stitches without a sewing machine. Get yourself a ruler to keep things straight,  a black marker and draw a few lines on the edges of your paper to resemble stitches. It's that easy! Don't be afraid to mess it up, even real stitches aren't perfect ;-)

I wanted to create a fun title. I had so many little bits on this page that I wanted to keep it colorful and funky.  I added the "Captured" journal card behind the Yellow Dotted paper and added "such a" with the alpha stickers on the Expressions Cardstock Sticker Sheet. I added the word "fun" created with my silhouette cameo. I used the word " day " from the Fundamentals  Sticker Sheet that was combined with Brand New Day!  I was ok with breaking up that title to create my own.

You can see more of my work on my blog at KristineDavidson.com or Instagram @KristineDavidson

I hope you enjoyed my layouts and little details today and I'll be back next month!

Supplies

Hello Friends! 

It's Kristine with you today and I am here to share a traditional 12x12/pocket page spread featuring the Snow Patrol Simple Set.

Here are a few details of my left page - I created a layout on one side, and the other side is filled with journaling, filler cards, and photos.

I created this layout with lots of stickers and layers. I love my pop dots and I find creating with them so easy to add dimension to my elements and also create a great visual effect.

Here are a few close up pictures and you'll be able to see what i did to create dimension with the sticker sheet that comes with the collection. I didn't use any extra diecuts or embellishments other than what was in the kit!

This next set of photos is the right side of my spread that features all the other Life Documented extras. I embellished my cards again with the sticker sheets from the kit and a few 3x4 and 4x6 cards cut up from one of the element papers.

So easy!

Here are a few more photos of the inserts;

Creating a pokcet page spread doesn't have to be complicated and you can really do what you like. If you want to do a full spread you can or add a layout and a half of a pocket page. This can also work to your advantage for a multi photo layouts as well!

I hope you enjoyed my post today and I hope you enjoy creating with your favorite Simple Stories Products!


Supplies

Hello Friends! 

It's Kristine with you today and I'm here to share a pocket page spread featuring the Claus & Co. Collection.

I am honestly not much of a December Daily kind of scrapbooker. I feel overwhelmed when I think about it, instead I created this 2 page pocket page spread to showcase my entire month of December. I have space for all my pictures, a few journal cards and I am happy with that. I can always add more page protectors to add tons of pictures of just leave it as is.  It works for me!

This was one of my favorite spreads to create. I was so consumed in decorating, matching, and creating - I had a blast! This Christmas collection is perfect for creating cards, mini albums, layouts, projects and so much more. One of my favorite Christmas collections ever! 

I created tons of layers in my spread using pop dots, washi paper tape, and sewing of course!

You'll see on my spread that I haven't added photos yet. That's because I wanted it left blank so I can add my own when the time comes. I have a few dates added by inserting 3x4" filler cards and I love that!

 Here are a few details of the left page

Adding washi tape and a few stars finished this 3x4" card perfectly. Of course I added sewing for some texture and fun detail. The little enamel dots created great little embellishments for my tree! Cute right?!

I created this next card with the snowman chipboard piece and the "cheers" from the bits and pieces. I added some pop dots under the cheer so I could easily add my 3x2.5" photo when I have it printed.

This next one was a cute filler card but I needed to add more. So I added some washi paper tape, a brad, enamel dots and some word strips. It just worked so well. You can also add this to a card and voila - a Christmas Card is done ;-)

Here are a few more photos of the inserts

The next few photos are of the " right side" of my spread

I added more cut out pieces and bits and pieces from the collection. I often add 2 - 3x4" cards into a 4x6" pocket insert. It gives me the opportunity to add a full 4x6 card of more of the same 3x4. I like that option. It fits more photos and of course more decorated cards ;-)

Now this next page is a little 6x8 insert. Yup, I added a December Calendar in a 6x8 pocket page to fit into the middle of my 12x12 spread. It works well. It's a calendar of the month showcasing important dates and I can add things to do on here as well; such as baking, shopping, visiting, etc ..

On the back of this calendar I added one of my favorite Christmas Songs. You can add a recipe, a large photo such as a pic of your Christmas Tree, the house decorate, a family pic or a Christmas card. So Many options for this little pocket!

Here is a picture of the 6x8 insert inside my spread.

Isn't that a great idea!?  

You can see how much I really enjoyed creating this spread - I will use this to document my December for sure!

Try and create your own little spread to add in your pocket page albums. Don't feel overwhelmed and pushed to document your entire month of December. Create a spread and add all the small details you'd like to remember for this holiday season.

I'd like to wish you "Happy Holidays" to you and your families.

4831 Enamel Dots, 4832 Stickers, 4835 Washi Paper Tape, 4837 Interactive Elements, 4838 Chipboard Fames;


Pocket Pages: 4053 Design 6, 4043 Album Black


I hope you enjoyed my Life Documented post today and I hope you enjoy creating with your favorite Simple Stories Products!


Supplies

Pages