Hello Friends!
It's Kristine Davidson with you today and I am here to share a Life Documented spread featuring NEW Pumpkin Spice Collection! I had a few pictures from an Apple Picking adventure and this paper collection was perfect for it.

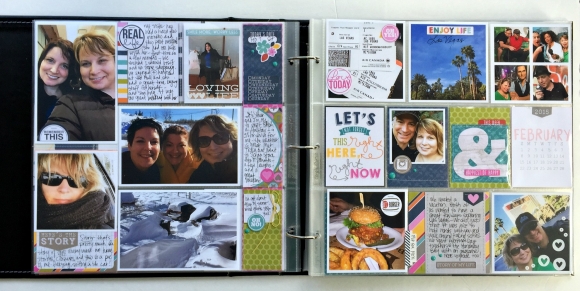
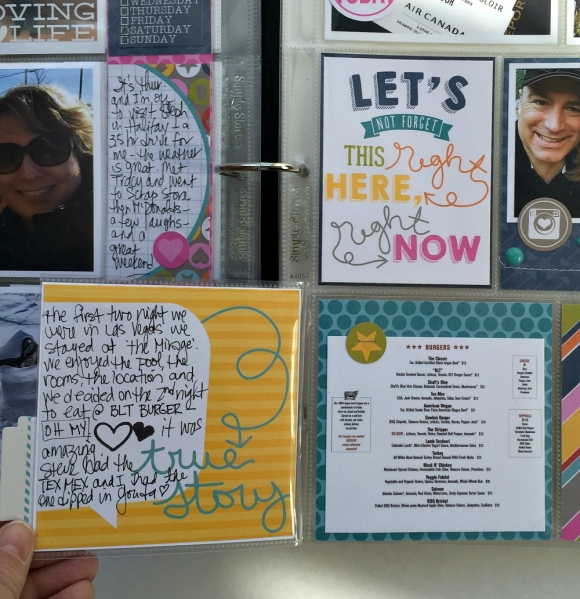
I had quite a few photos from this adventure, but I didn’t want to add too many photos either. I decided to create a layout for the left side of my spread and then add a little pocket page scrapbooking on the right. A great way to create a double page spread perhaps? I am not very good at 2 pagers but this made it really easy.
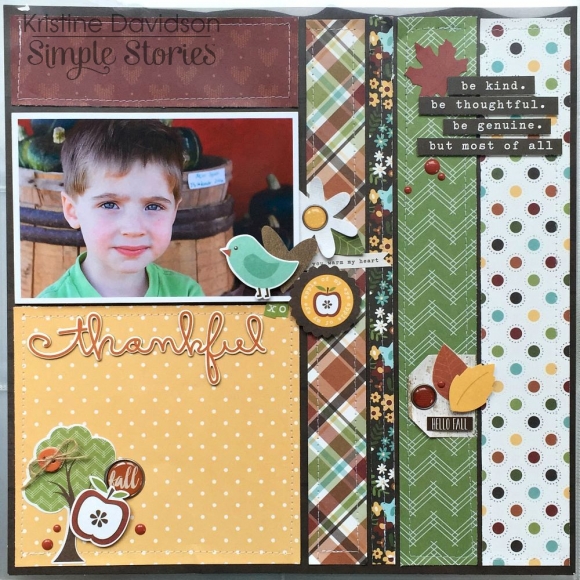
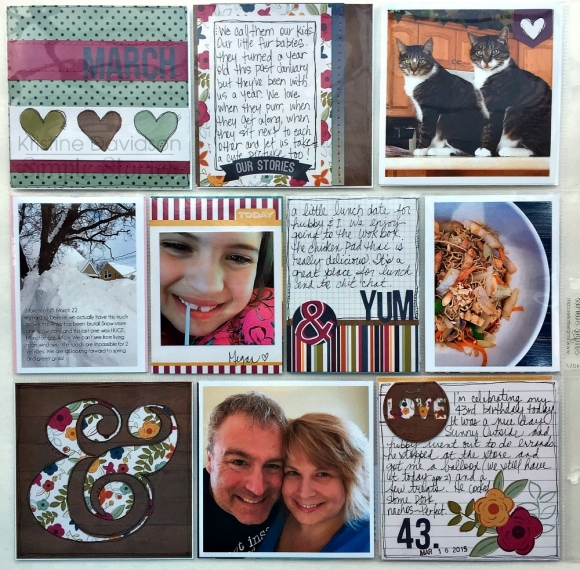
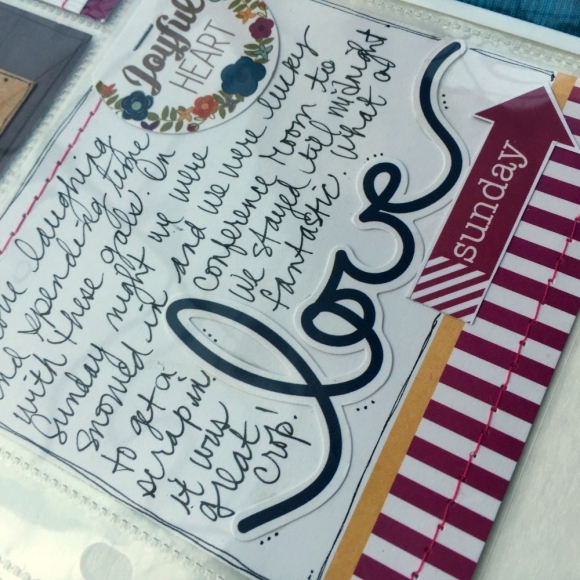
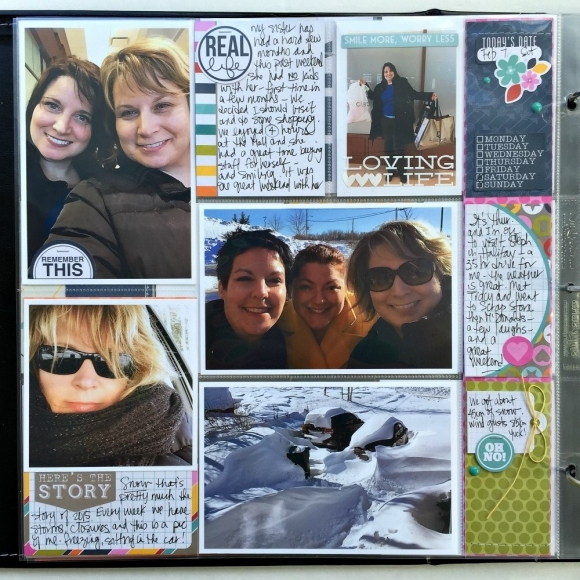
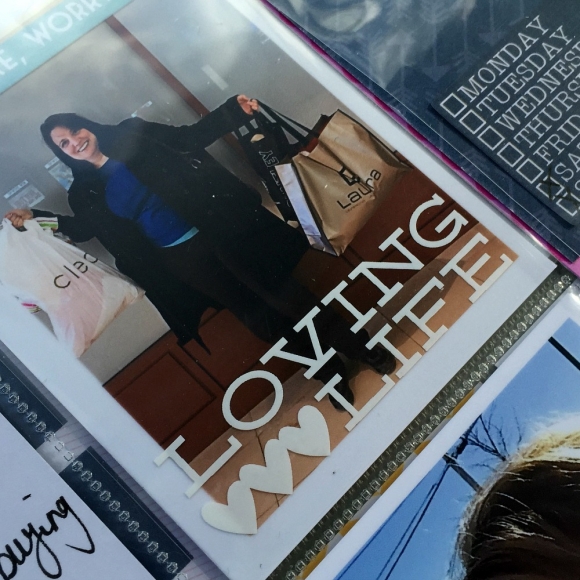
I added a photos of my nephew on this layout. Showcasing more of a thankful side with no journaling but adding strips of journaling from one of the 4x6 cards. I also wanted to add lots of paper to this page and doing several strips worked well. A great way to use up scraps or use tons of color that match perfectly together.
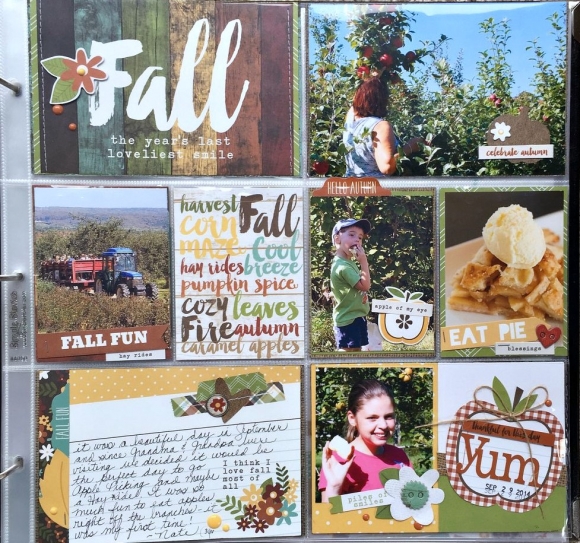
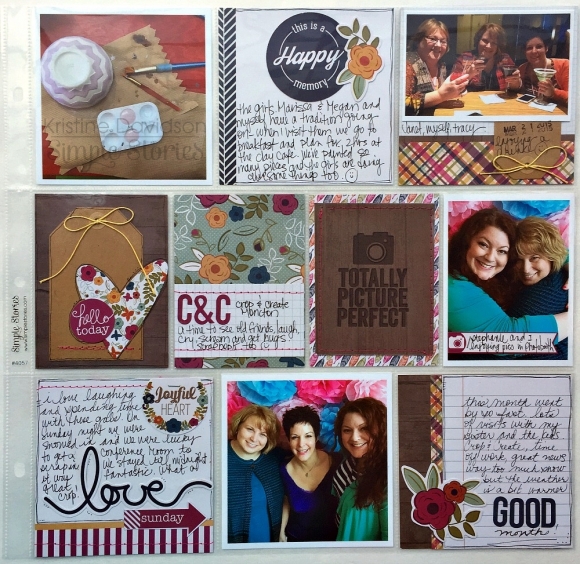
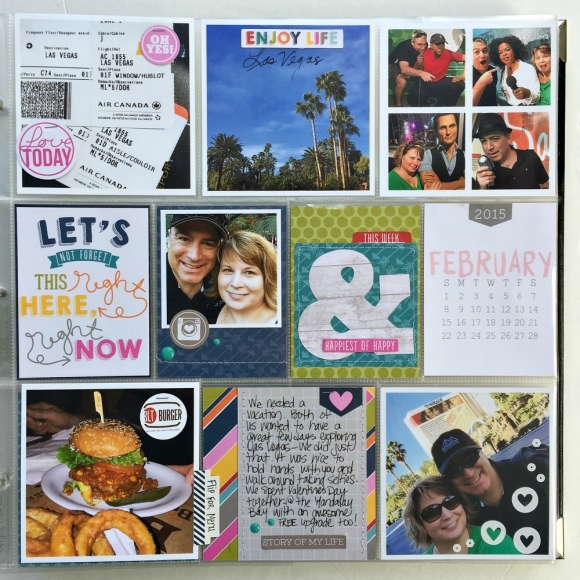
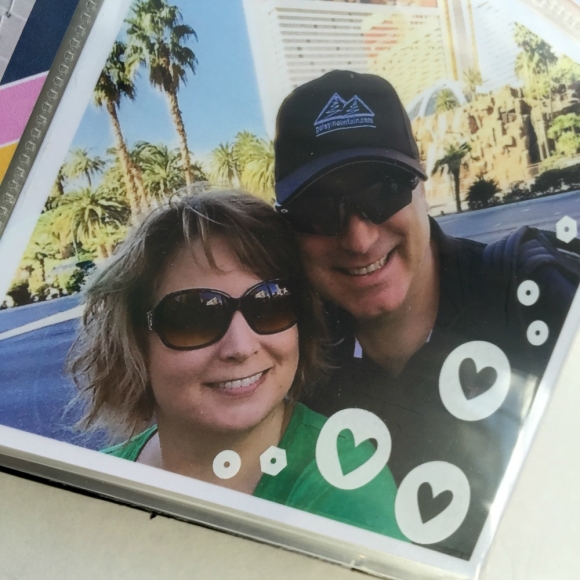
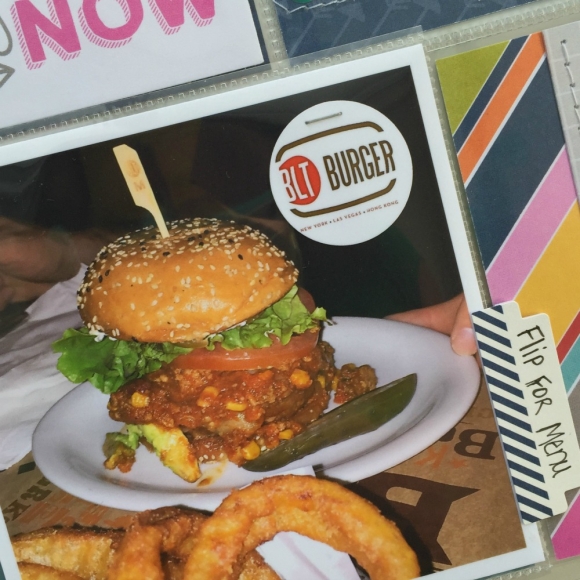
A simple pocket spread that add so many extras to an album. Adding lots of photos, extra journaling and even memorabilia. I added more photos on this page and a simple journal card talking about our day apple picking.
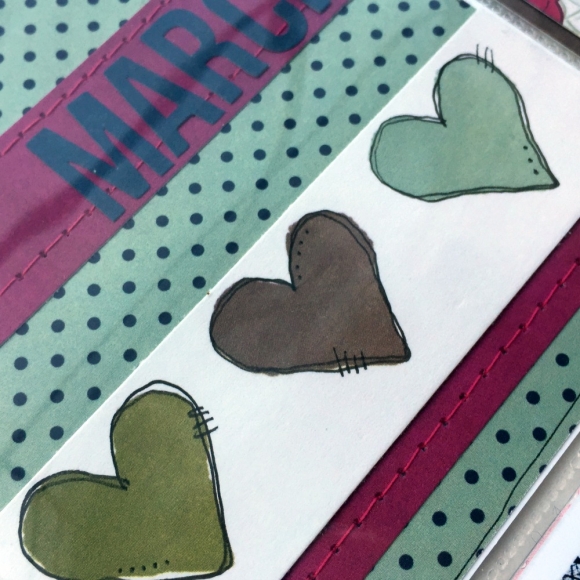
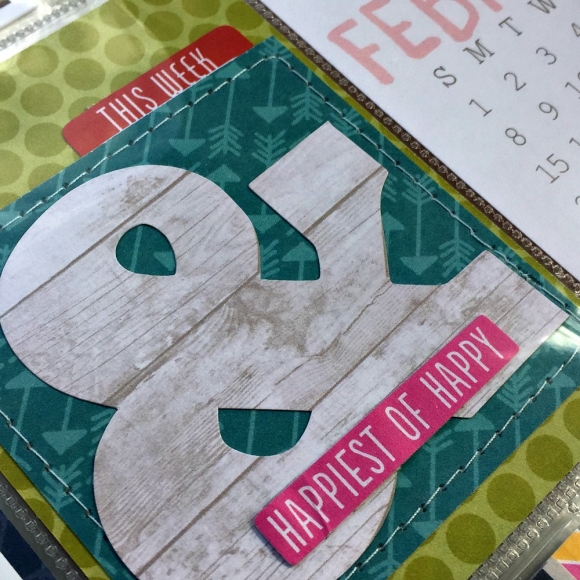
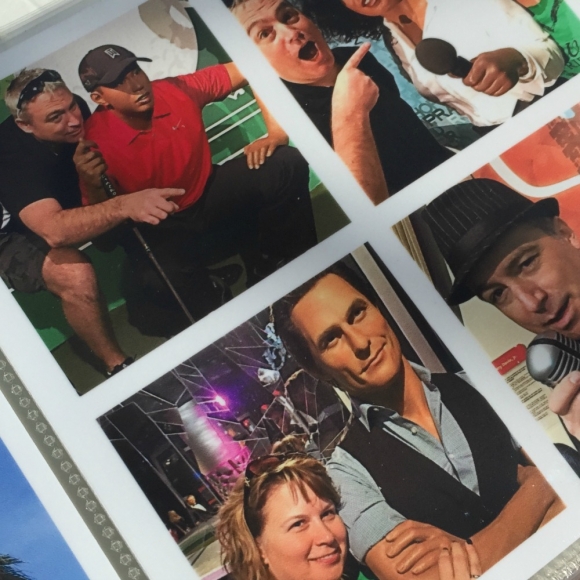
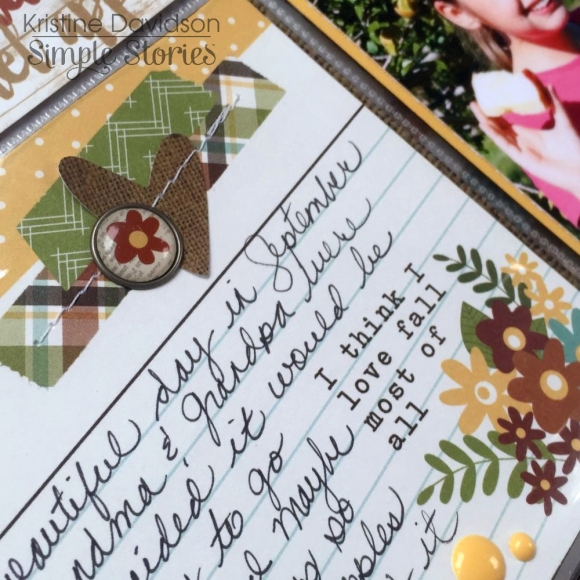
Here are a few extra pictures with details.
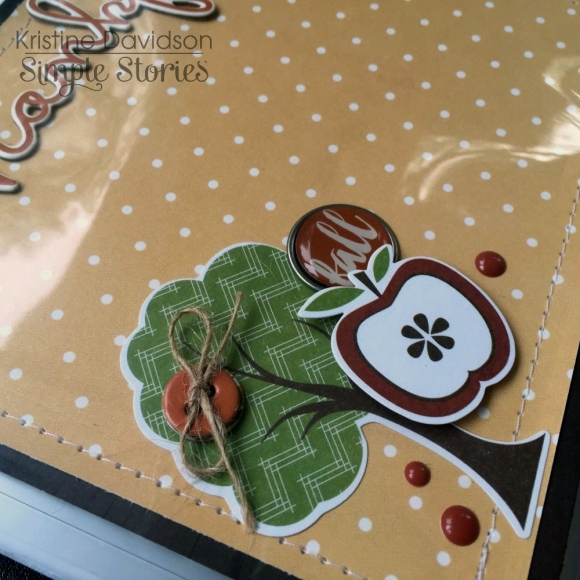
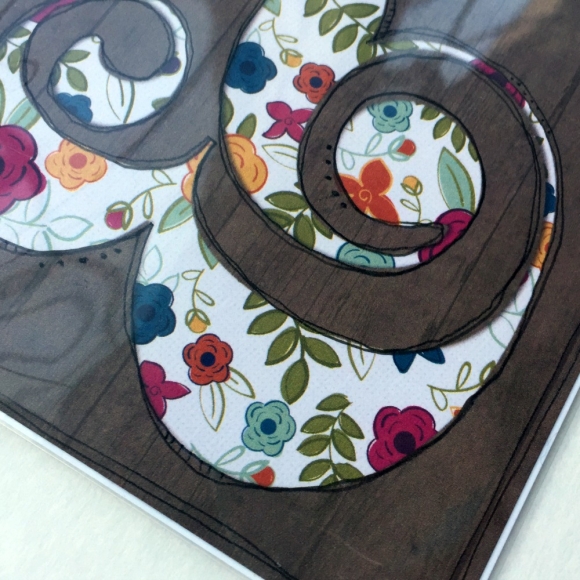
I love layers. On this corner I first did some sewing around the edge, added a diecut of the tree and then added an apple with 3D foam adhesive to create dimension. Adding extras such as chipboard buttons, bradz and enamel dots just finishes a corner of a page so nicely!
I find working with stickers and diecuts so much fun and easy to layer and create dimension with foam adhesive. I do this on most of my pages. To create more dimension and texture I add sewing and small enamel dots.
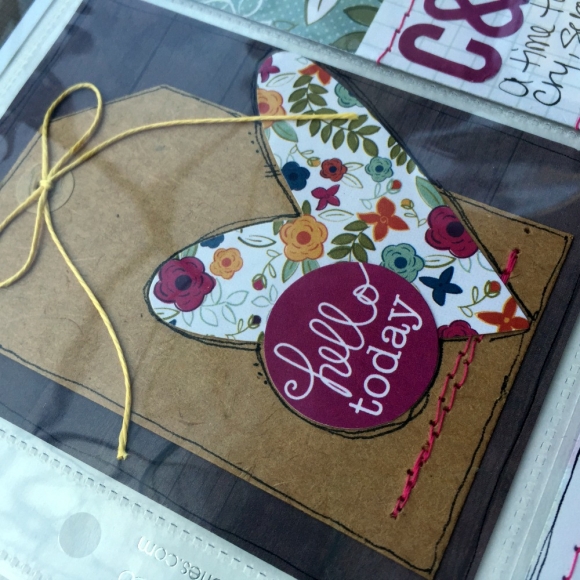
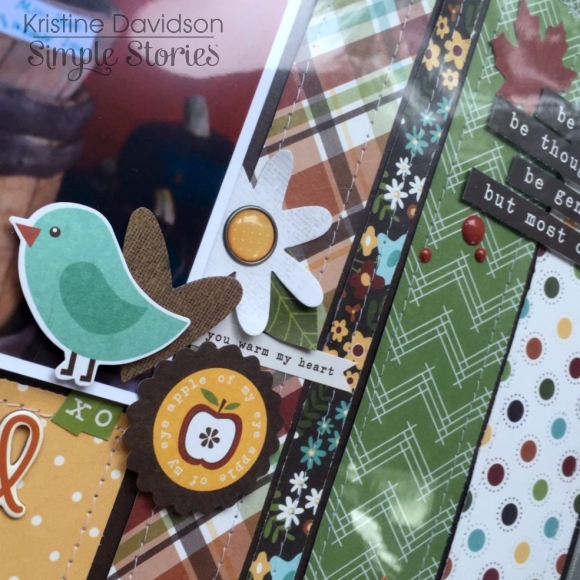
I loved this apple and decided to cut it from its original card. I added stickers from the expressions sticker sheet and some twine.
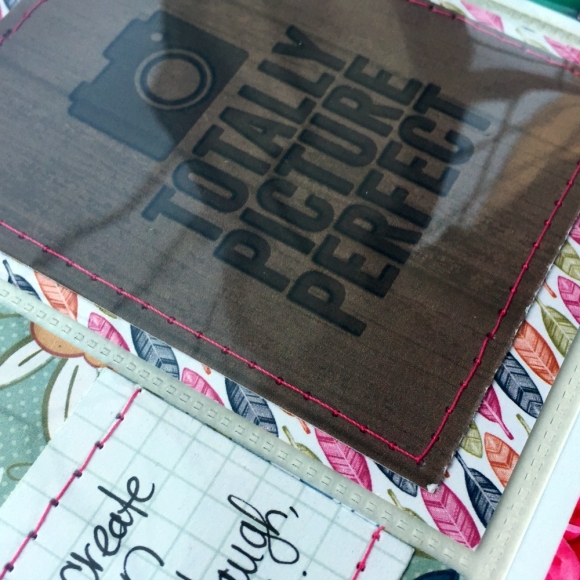
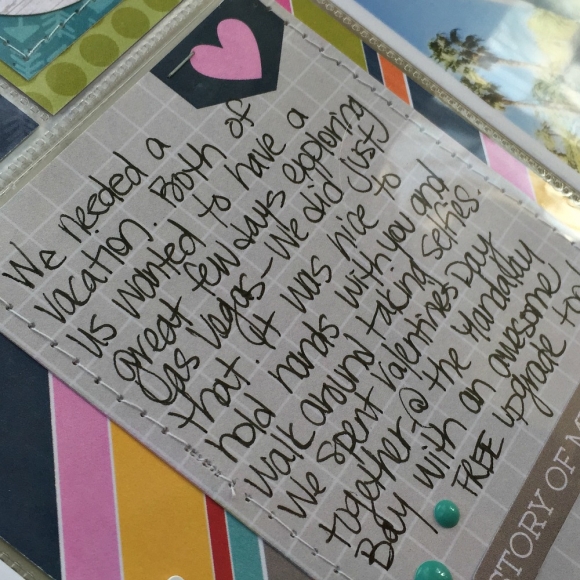
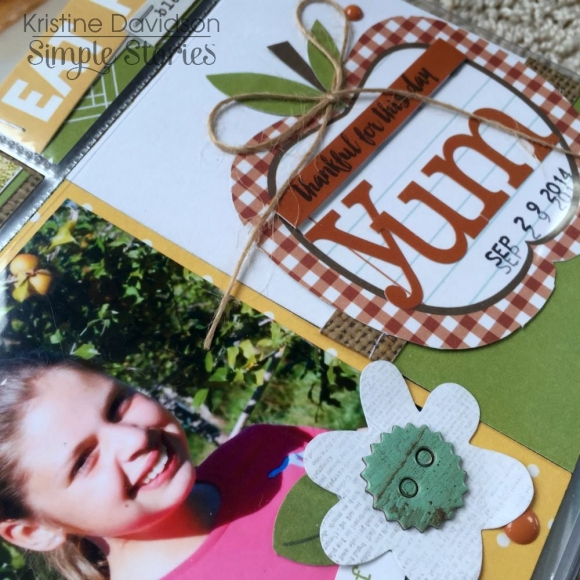
A journal card can be decorated even if it’s for adding details about your day. Add some washi paper tape, a brad or chipboard and your card is embellished.
I hope you enjoyed my post today and I hope you have a chance to create with Pumpkin Spice!