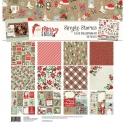
Feeling Merry & Bright!
FEELING MERRY & BRIGHT.
Hello friends! It’s Kylie with you all today. I’m going to share how I have been setting up my planner for December. Yes I know it’s November but I’m totally going to be ready to enjoy the festive season. I can never get enough of Christmas and a Christmas theme for my planning too. I decided to use my Clover A5 planner because…’Hello festive green!’ It was a perfect companion for the new Merry & Bright collection. These colours together make me feel happy just looking at them!!
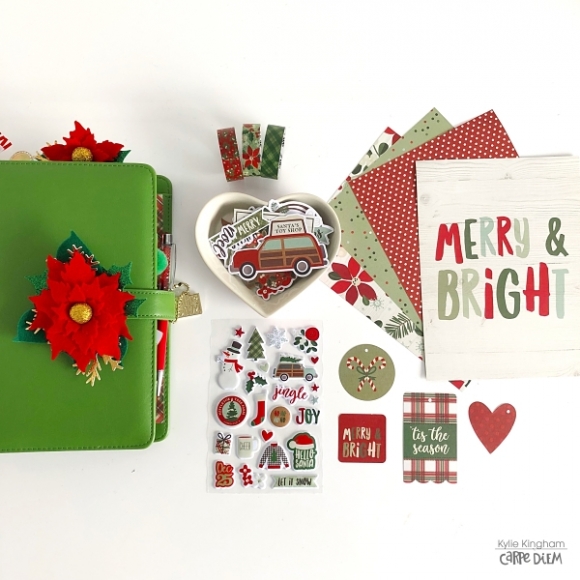
So by now you must of figured out I am by no means a minimalist. I like lots and lots of goodies tucked into every corner of my planner.
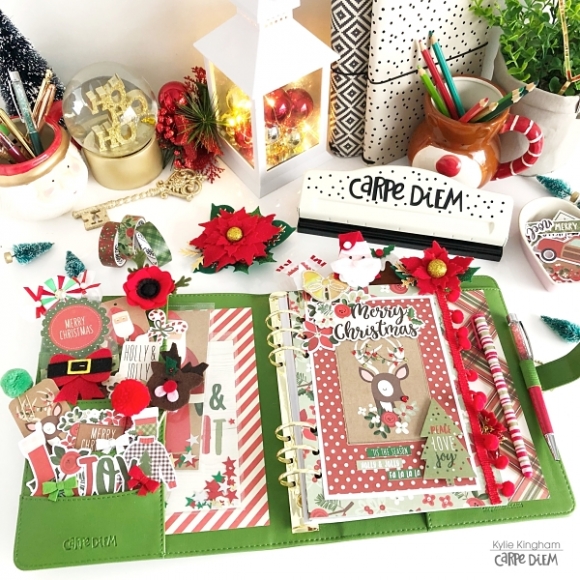
As my planner stays open on my desk each month, I love having that ‘visual’ of my month’s theme.A lot of the die cuts added into my pockets are purely there to sit decoratively. However, I do add items into my pockets that serve a practical purpose too.
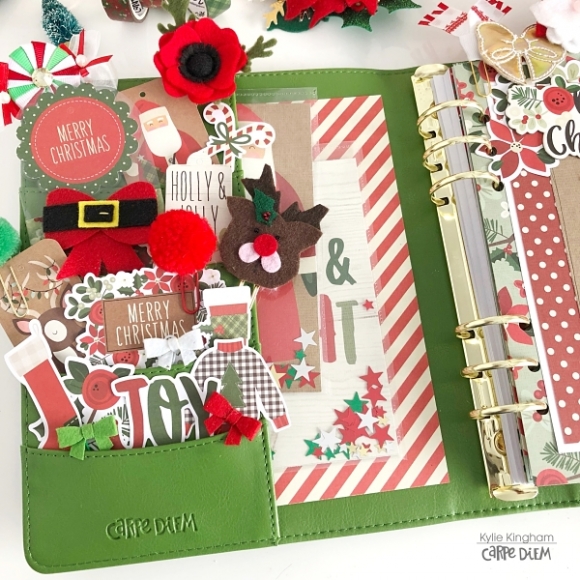
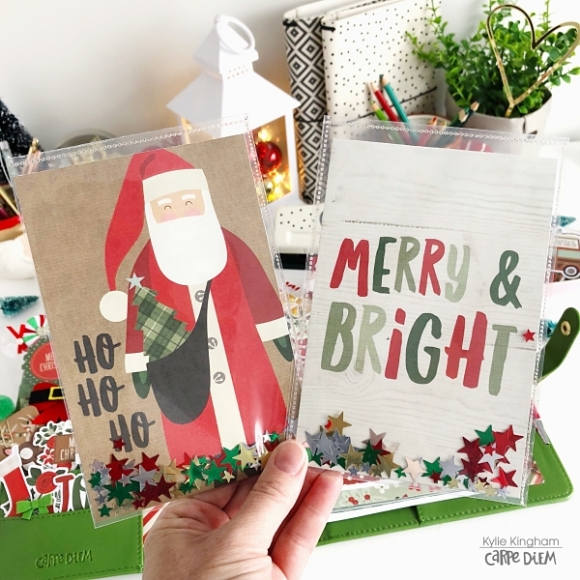
This month I have added some cute shaker post cards.I thought these turned out so cute! I cut apart some of the 4 x 6 elements and slotted them into a 4 x 6 pocket page. Then I added some confetti from my stash and sealed each open side carefully with my heat seal tool. All that was left to do was cut them carefully apart.

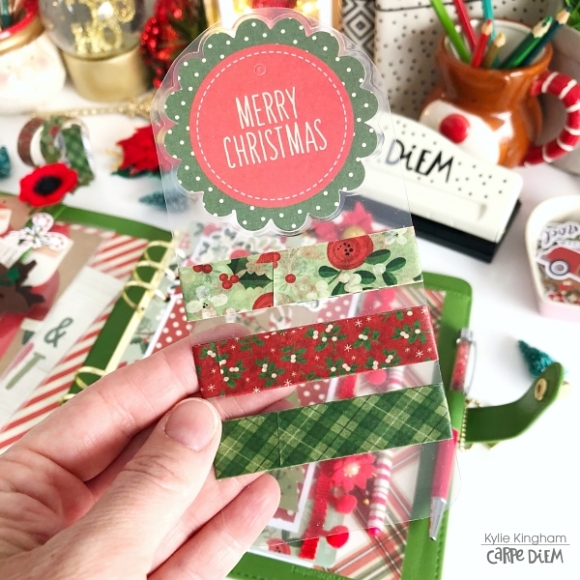
I also added a washi tag to my pockets.This is great if you ever are planning on the go. It saves packing all of your washi tape rolls. I laminated a tag from the Tags & Frames packet and then carefully cut it into a bookmark shape.Then I added some of my washi tape! Easy Peasy!
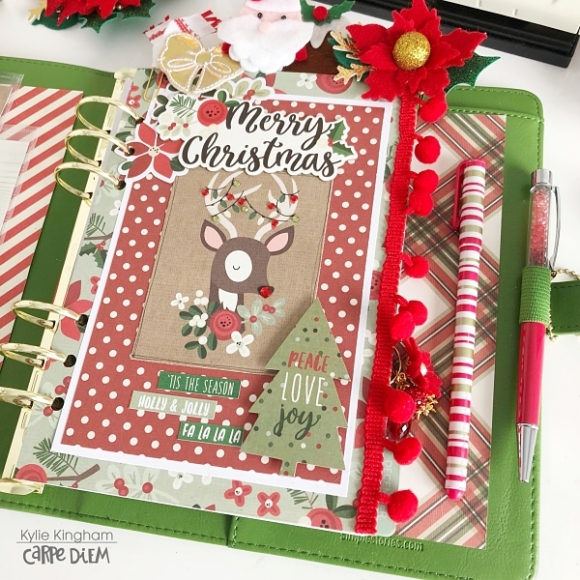
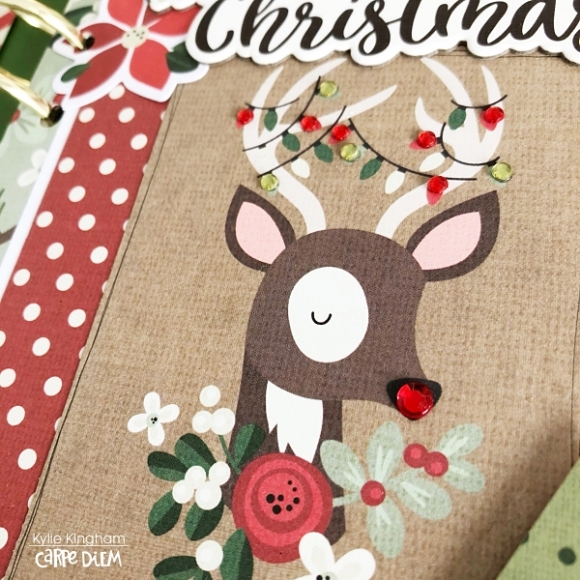
Here is a little look at my opening divider. Using my A5 divider templates I was able to trace and cut out to size. I’ve layered lots of papers and added the cute Reindeer from the 3 x 4 elements. Couldn’t resist adding some adhesive gems to him!
I also made a countdown to Christmas card using some of the number stickers from the Numbers Sticker Tablet.
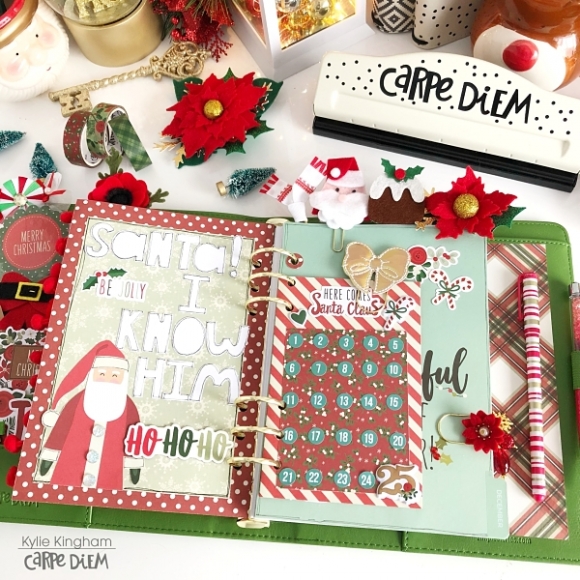
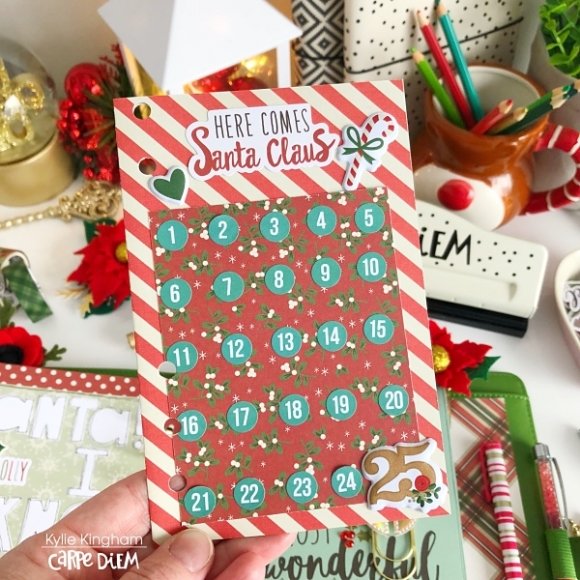
This month I was super excited to receive the new ‘Seasons” A5 monthly inserts. I dived right into them and added them in for my month. They already have a gorgeous print to them but I also added a few extra embellishments as well.
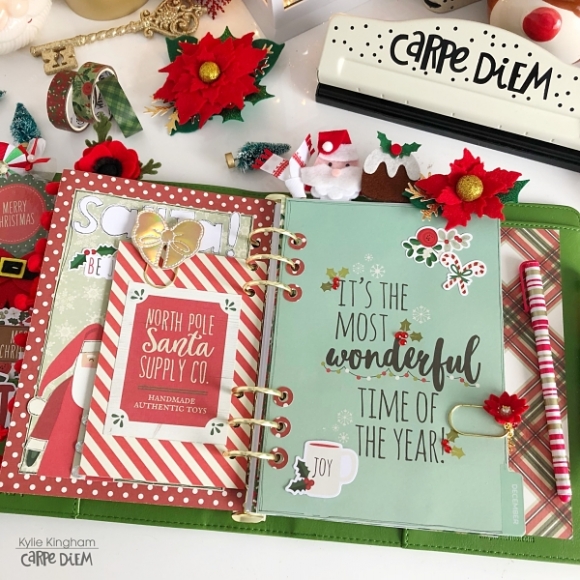
Here’s a little look at my monthly view before the pen-
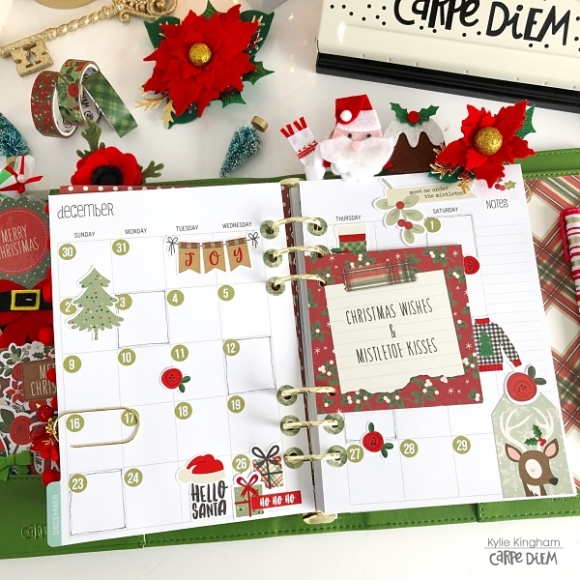
I love being able to add some fav photos into my planning also. The 4 x 6 elements were perfect for adding a photo to and punching with my A5 hole punch so it fits perfectly into my planner rings.
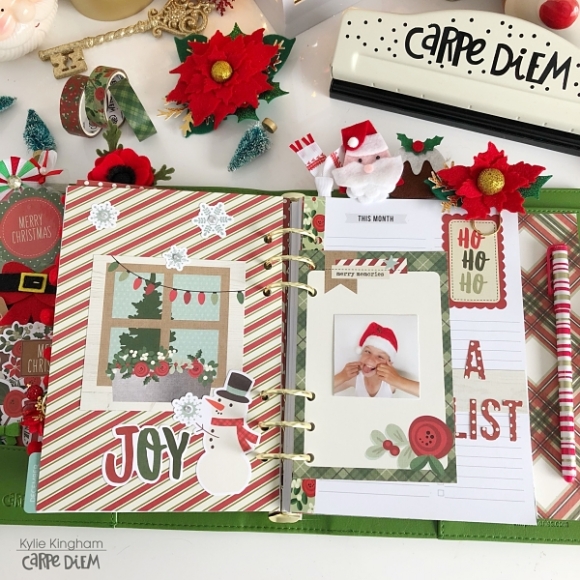
Using some alpha dies I cut a title from one of the papers.It added a fun element to my task page for the month.
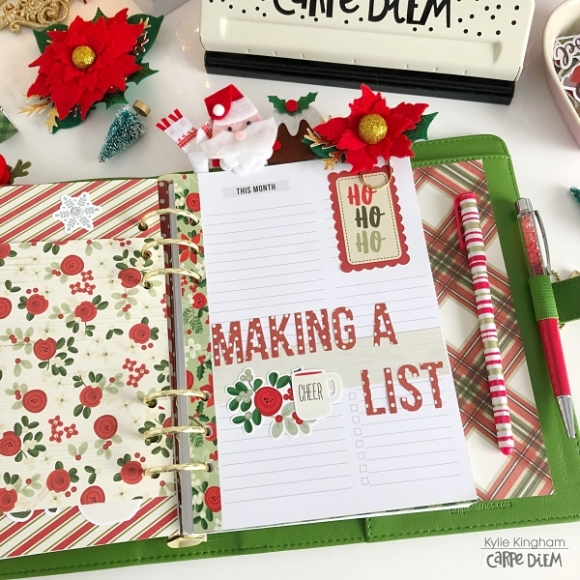
I’m using the vertical inserts for December. With the beautiful Merry & Bright washi tapes, I’ve added some borders to frame each page and add lots of colour.
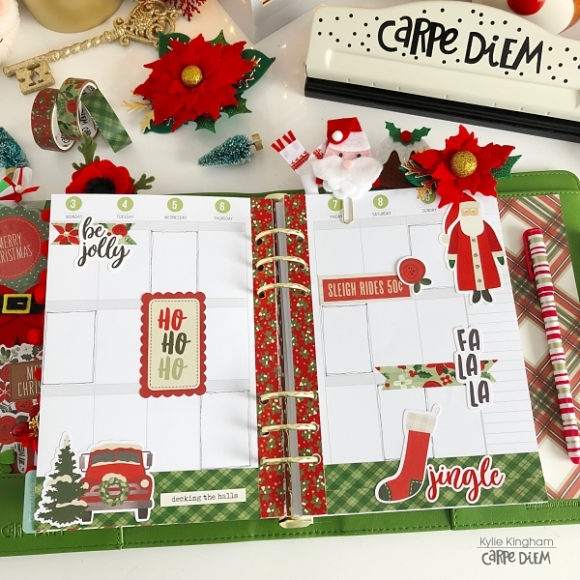
I hope you have enjoyed seeing my planner set up today and it leaves you feeling inspired for the festive season!
Until next time,

