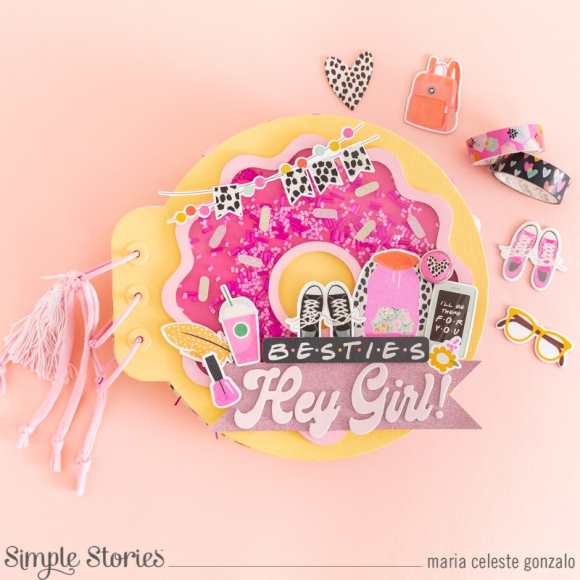
The Donut Album By Maria Celeste Gonzalo!
Hi everybody! How are you? I´m Celes from GuiadeManualidades.com and I have a new project for you! Let’s get started… we have a lot of pieces to cut… YAY! The first time I saw the Kate & Ash collection I remembered my high school days… so much fun with my friends! The happiest days of my life. So that was the inspiration behind my new mini book.
Besides the happy moments, the times we went out together, the parties… all I can think about was… donuts! Yes! We loved to eat them. The idea came to my mind: “I will make the donut album”. So, here we are! I prepared all the cutting files for this mini book. You will find the archives in .FCM (Brother ScanNCut), .SVG (for other cutting machines) and .PDF (for printing and cutting by hand) at the end of this post.
The first thing you need to do is download all the cutting files. My final project is around 6 3/4” w x 8 1/4” h. I cut 2 pieces of the house silhouette in stable cardboard adding 1 piece of 2” w x 3 3/4” h.
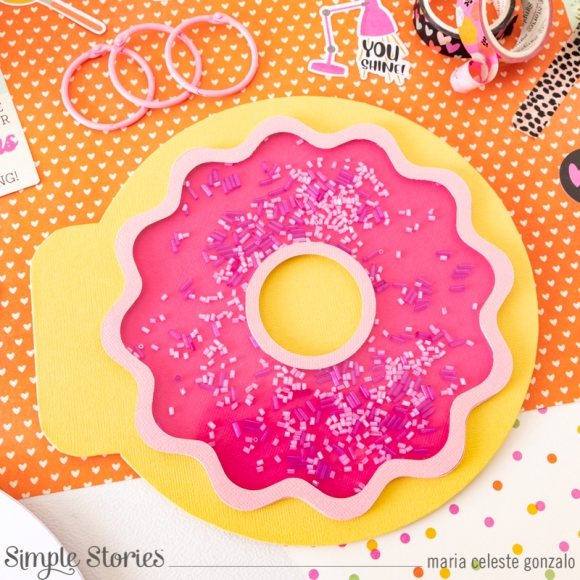
I will explain some details of the cutting files first. You will find 4 cutting files. The first one is “BODY-PAGES DONUT”: use it to cut 2 pieces of stable cardboard and as many pages as you like. The final size of it is approximately 9” w x 8” h. The second one is “INTERIOR-PAGE DONUT”: use it to cut 2 pieces of design paper per page. The third one is “BANNER-SPRINKLES DONUT”: use it to cut as many sprinkles as you like and 1 banner for the cover. The fourth one is “SHAKER DONUT”: you will find 3 pieces. You have to cut #1 in solid pink cardstock (1 piece), #2 in solid fuchsia cardstock and acetate (1 piece of each material), #3 in white foam (2 pieces).
When you have all the pieces cut and ready… time to start!
I used two papers for the mini book: one of the collection kit papers and one solid color paper. The solid color paper to cover all the structure and the other one for the inside. I cut the inside paper using the same body-page-donut file.

Next, we are going to make the shaker. You have to glue together the 2 pieces of white foam. Place the fuchsia piece at the center of the cover. Add the new piece of foam all around and the other one on the center. Then, put some chunky glitter, shape sequins or what you prefer to fill the shaker. Finally add the front pieces (pink pieces) with the acetate piece. Lovely shaker!
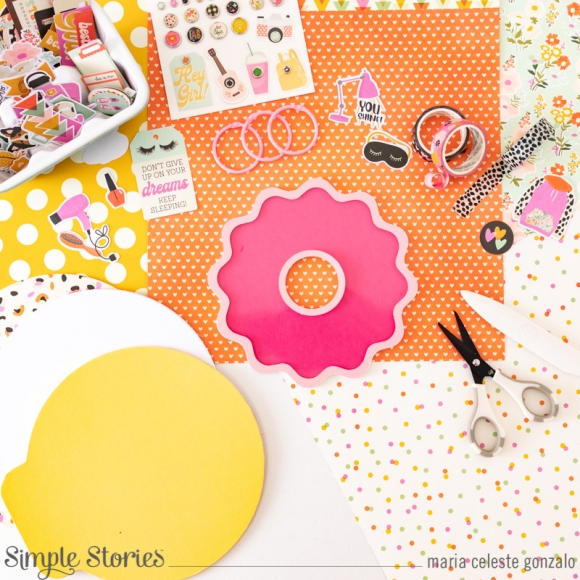
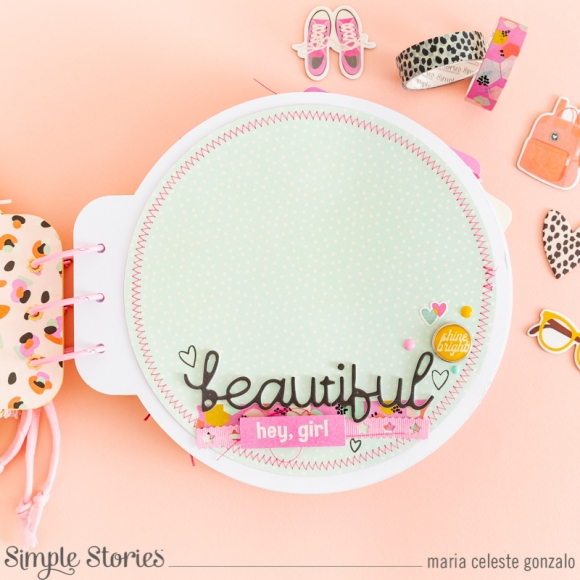
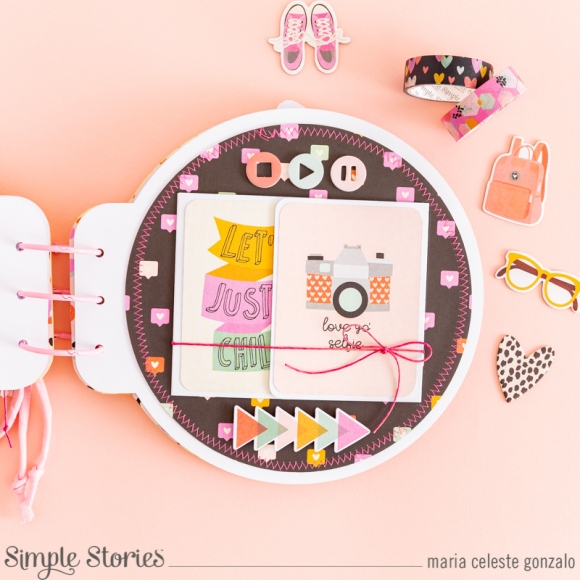
Now we are going to complete the cover. We need to prepare: die cuts, stickers, chipboard, foam stickers and brads. You will need the “Banner-Sprinkle Donut” pieces that you already cut. Combine all your embellishments as you like. Here you will see how I decorated my cover… I love colors and design! But you can change it as much as you like. It’s amazing how it looks! Remember to add 2 or 3 eyelets for binding your mini book.

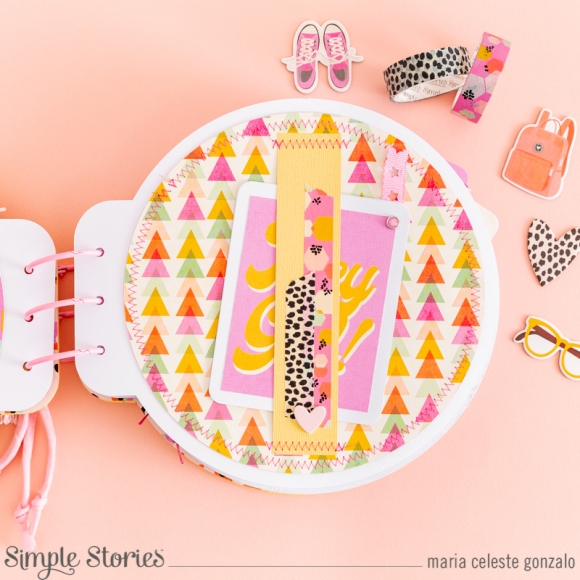
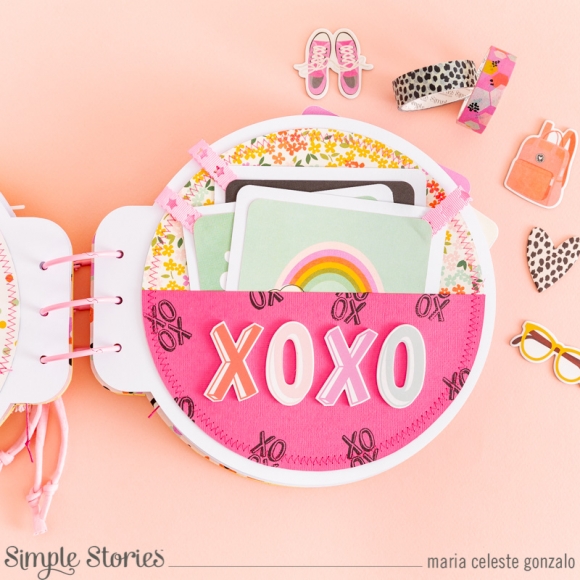
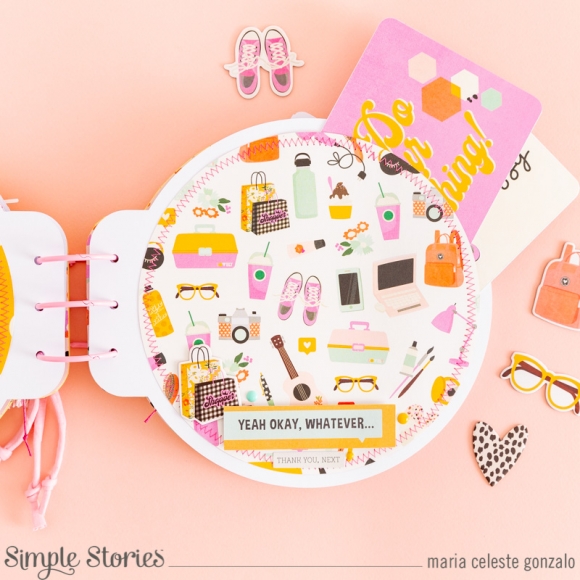
Let´s go to the inside! We are going to decorate all our pages. You can use all you have. Die cuts, stickers, chipboards, enamels dots and washi tapes. The idea is to leave as much free space as we can to add a lot of pictures. You will see that I added some hidden pockets and sewing details (I love the way it looks!)
IMPORTANT: If you are planning to make some inside structures as cascade or anything else, you have to add them before you glue the pages together. The same thing happens if you are planning to decorate with some brads as I did.
I hope you like this idea! Time to play with papers and your cutting machine and create something beautiful.
See you soon!
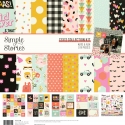
Supplies