THE RAINBOW ALBUM BY MARIA CELESTE GONZALO
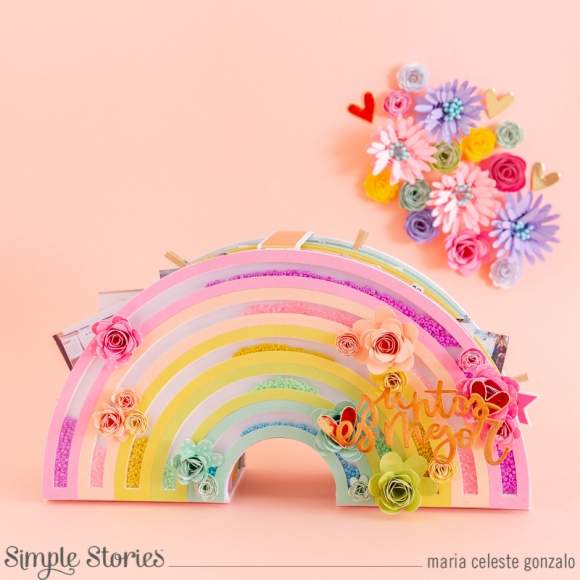
Hi! I´m back and in a very special way! Today I will show one of my favorite projects ever! A rainbow that will make you smile every time you see it! I'm Celes from GuiadeManualidades.com and I’m inviting you to create your own rainbow…
I've been planning this project for weeks. Preparing all cutting files and trying them to make sure everything will work in the best way. And…. here it is! Finally! My Rainbow Album for all of you!
I prepared all the cutting files for this mini book. You will find the archives in .FCM (Brother ScanNCut), .SVG (for other cutting machines), .PDF (for printing and cutting by hand), .PNG, .DXF and .studio3 (in this case you will have one file with all you need)
The first thing you need to download all the cutting files (the ones you need according to your cutting machine or if you are going to cut by hand).
IMPORTANT: if you are using a cutting machine, before cutting you material, please try all go them. Just cut them in paper and check that every piece fit in the correct way. This will help you in case you need to resize some of them.
My final project is around 10 3/4” w x 5 1/2” h.
I will explain some details of the cutting files first. You will find a lot of cutting files. The first one is “RAINBOW-BASE-AND-INTERIOR”: use it to cut 2 pieces of stable cardboard and two pieces of white paper. The second one is “SHAKER-FOAM-ACETATE/SHAKER-
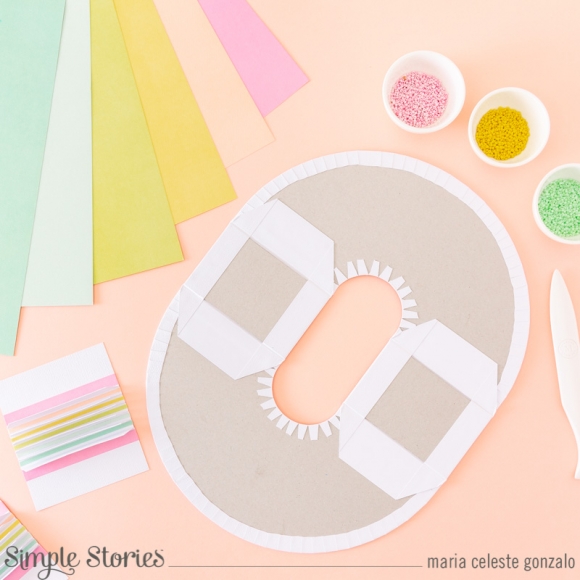
First thing to do is to prepare the stable cardboard pieces. For my project I cut 2 pieces of stable cardboard using the cutting file “RAINBOW-BASE-AND-INTERIOR”. And I cut 2 extra pieces of stable cardboard of 2 1/2" w x 4 1/8" h. You have to use white cardstock to cover all the pieces of the structure. Once you finish that, you can glue all pieces together.
Now we have to make 2 basic spines. For making them cut 2 pieces of white cardstock paper of 11 1/4" w x 3 7/8" h. Then you have to scored it in 2", 2 1/2", 3", 3 1/4", 3 3/4", 4 1/4", 4 1/2", 5", 5 1/2", 5 3/4", 6 1/4", 6 3/4", 7", 7 1/2", 8", 8 1/4", 8 3/4", 9 1/4”. As a result you are going to have 2 classic spines with 5 hinges each one. Another detail you can add are small strips of color paper between them. As my pages are going to be in rainbow colors, you can use those papers to cut the small strips. We are going to use 6 color papers for the inside of the album. The first and the last strip will be bigger than the other ones. So, you need to cut 4 strips of your first color (pink in my case) of 3/8" w x 5" h. And then, you will cut 2 strips of each one of the other colors (5 colors) of 1/8" w x 5" h. Glue them in the right place. Once your spines are ready, you can glue them in the interior of the mini album structure. While you are doing it, please check that they are aligned.
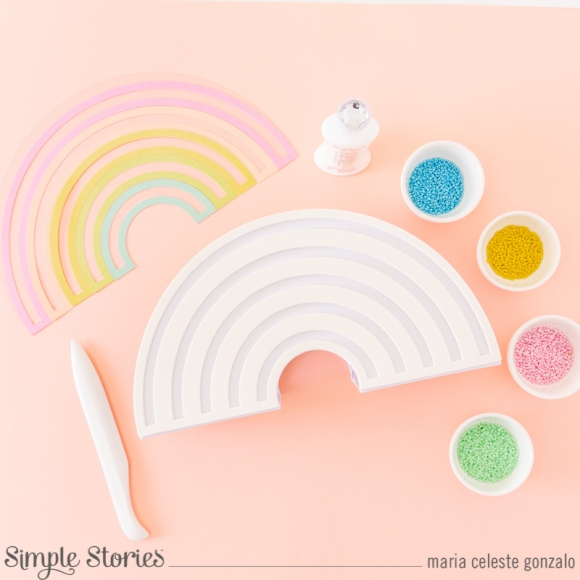
Now we are going to work on the cover. The first thing to make is the shaker. Cut 2 pieces of white foam and 1 piece of acetate using the cutting file “SHAKER-FOAM-ACETATE/SHAKER-
Then, cut 1 piece of each color (the 5 colors you chose for your cover) using the cutting file “SHAKER-RAINBOW-COLOR-PAPERS-
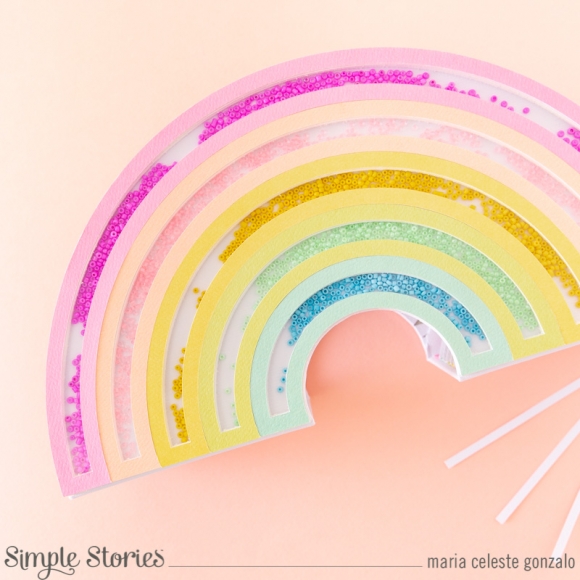
Once the foam piece has dry off, fill it with the five colors of small beads. Place and glue the acetate piece. Let it dry off as much time as it needs. Then, you can glue each piece of the rainbow in the right place.
Another detail to add is to cover all the rainbow shaker outlines. You can use the cutting file “RAINBOW-PAPER-BORDER”. This is optional.
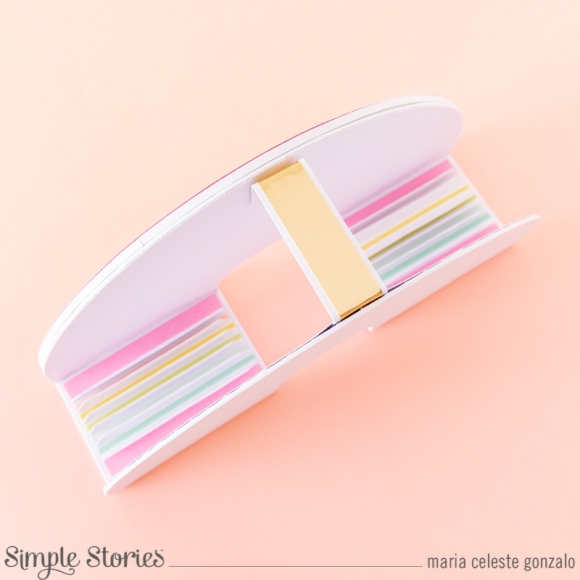
To close the album we are going to make a simple stripe of paper. Cut 3 pieces of white cardstock of 1" w x 4 1/2” h. Glue them together. Besides, cut 1 piece of foil paper of 3/4" w x 4 1/2” h. Glue the foil paper on top of the first piece we made (add one magnet, place it on one end of the strip). Let it dry off and then score it in 1" and 3 1/2”.
Glue it in the center of the structure but before remember to add the other magnet. Once this is ready, you can finally add the 2 pieces of white cardstock we cut at the beginning.
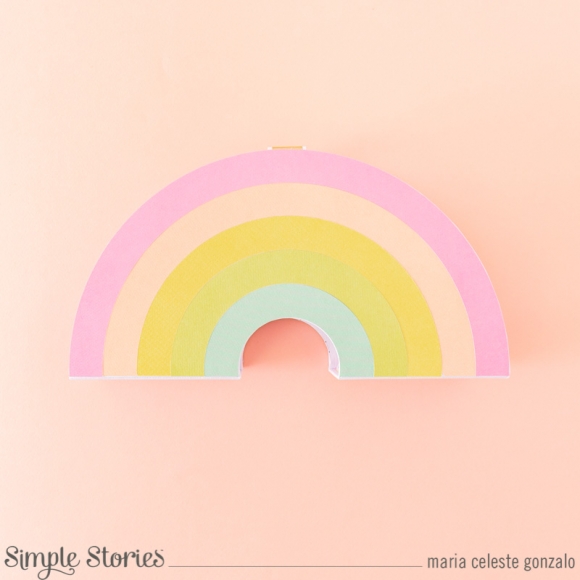
Let´s go to the back of the album. Use the cutting file “BACK-RAINBOW-COMPLETE/OR 1,2,3,4,5” in the way I explained before. Cut every color and glue them to the back.
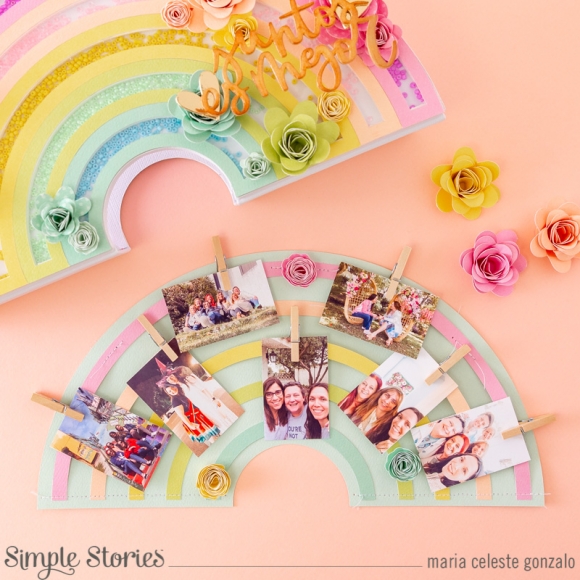
Cover: to complete all the decoration I added some rolled flowers, one wood phrase and some foil hearts. For the flowers, you have to use the same papers that you use before for cutting the shaker. Place them in different places and add your favorite phrase or word. You can use the glue gun for this.
When you finish your cover… it’s time to go to the interior!
Use the cutting file “INTERIOR-PAGE” in the way I explained before. You will cut 2 pages of each color you chose for the inside of the album. Then use the cutting file “INTERIOR-PAGE-DECORATIVE” to cut the interior pages (design paper) to add to your color pages. Cut as many as you like. You will see I decorate every page in different ways. Sometimes I add the design paper page but other times I don´t. You can even make hidden pockets when adding the design paper piece to the color page. Bring all you got to your table… As I always say… magic begins! You can make as many interior structures as you like. Another idea is to use the strips you have from the cuttings you made for the cover, to make a special rainbow. Glue or sew them at the beginning and at the end and in some places in between. You can add small photos with clips or wooden clothespins. Other idea: make a pocket with vellum and decorative brads. Use all you have. Die cuts, stickers, chipboards, enamels dots and washi tapes.
Once all your 12 pages are ready it’s time to glue them together and add them to the structure. Glue both pages of the same color but leave the bottom of the rainbow without glue. This will give us the “small pocket” we need to add the page to the album.
To add the final page to the album you need to put glue on every hinge. Remember that every page will have two pockets. Each one for each spine. Put glue in the first pair of hinges and carefully add your page. Check that your page is aligned to your cover. Once the first page is ready, you can keep going with the rest of them.
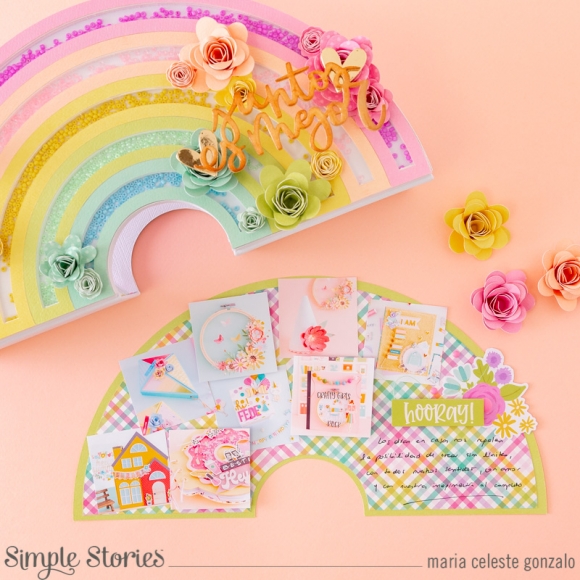
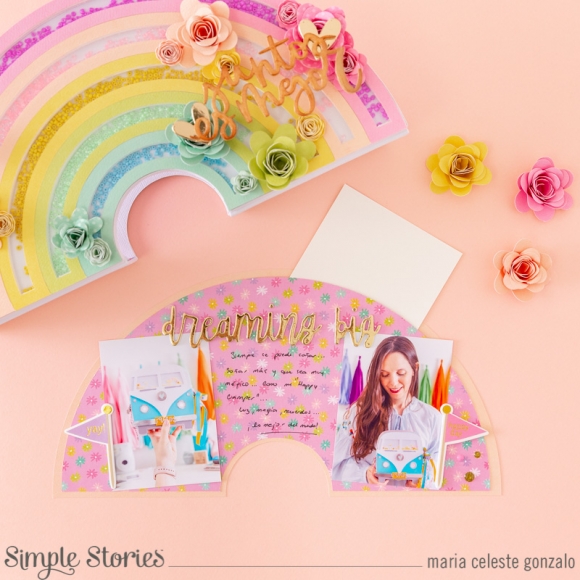
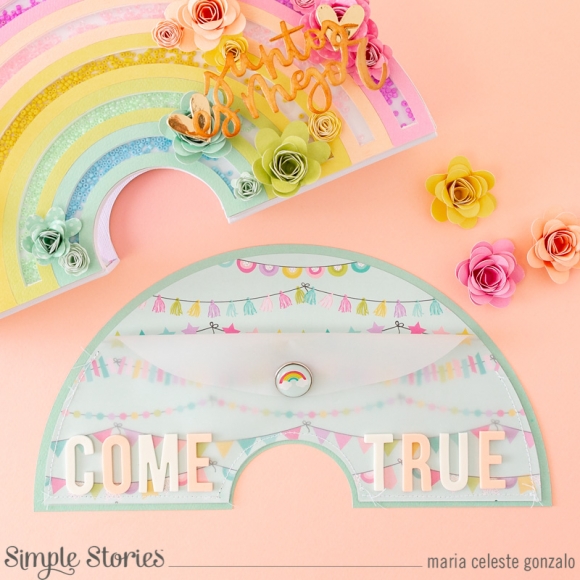
As you can see, this album has a lot of space for pictures and to keep special memories.
I hope you like this idea! Enjoy the process… and fall in love with your rainbow..
Have a happy day
CUTTING FILES LINK: https://www.dropbox.com/sh/

