Hello there! Allie here today, and I'm super excited to be sharing my first Simple Stories post with you today! I am in love with the new Life in Color collection. Those woodgrains and florals are just gorgeous! The "Here & Now" patterned paper was too pretty to cut up, so I used it as the foundation of my first layout.

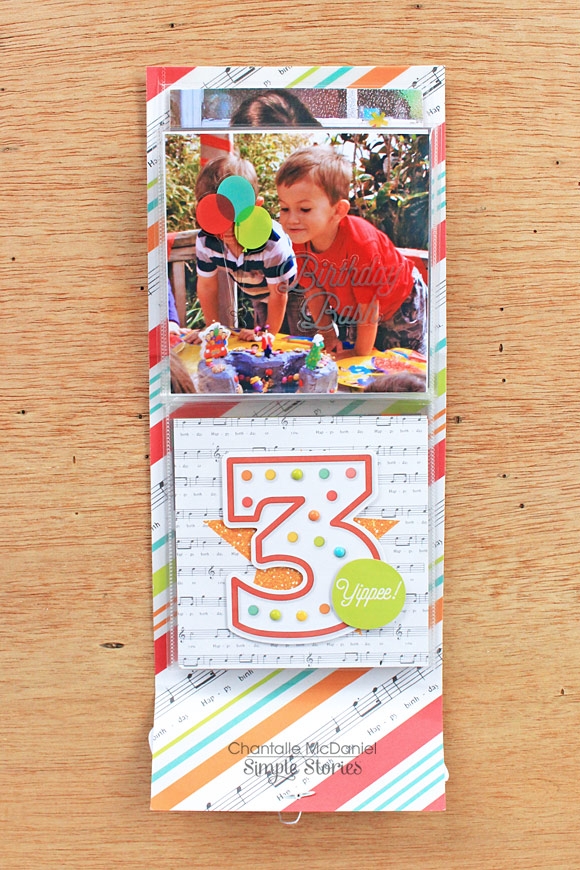
To create this page, I used a craft knife to cut out the centers of the middle row of polariods. I sized and printed my pictures so that they would be able to fit inside them. Since I wanted the patterned paper to be the focus, and my pictures were from different times (aka different colors and clothing), I made them all black and white for a cohesive look. After "framing" each photo, I used the letter stickers to caption them. Since our wedding was the pivitol moment in the timeline of this layout, I used one of the gorgeous frames to highlight it!

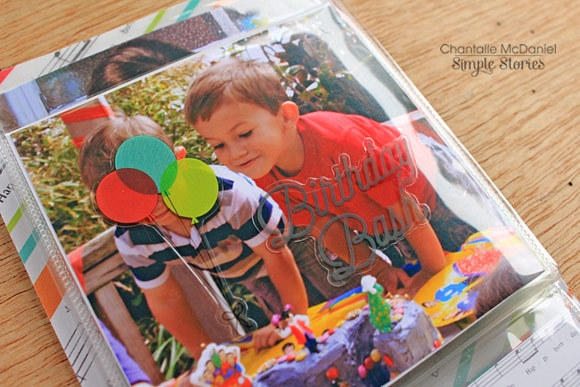
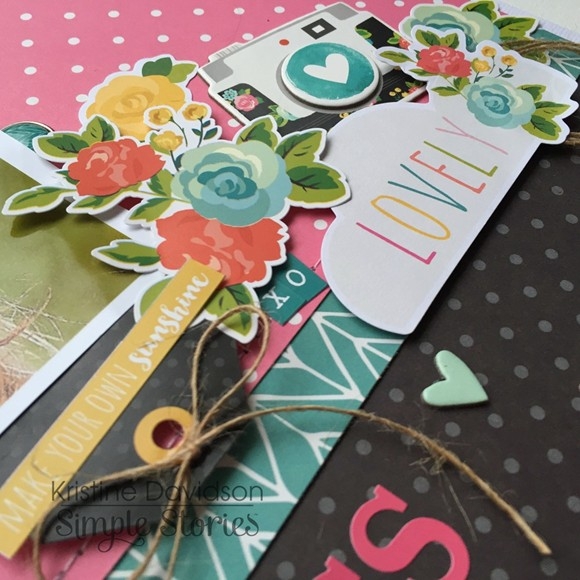
Next came the embellishing! The patterned paper already had a lot of fun prints and accents on it, so I used those as my starting point. For example, I added flower stickers to where there was a printed flower, and actual staples where there were staples. I used this to build up the page and add dimension using chipboard, brads, stickers, and die cuts. Those backless brads are my absolute favorite!

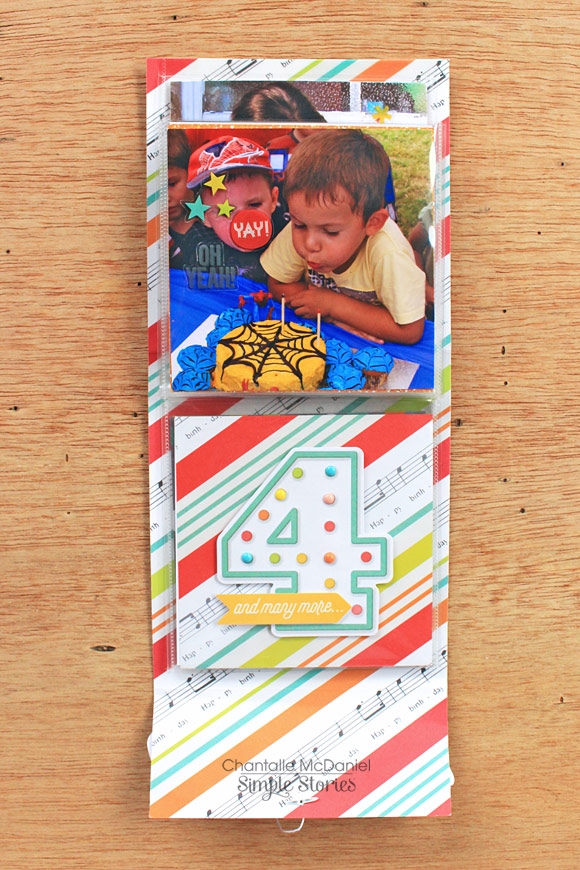
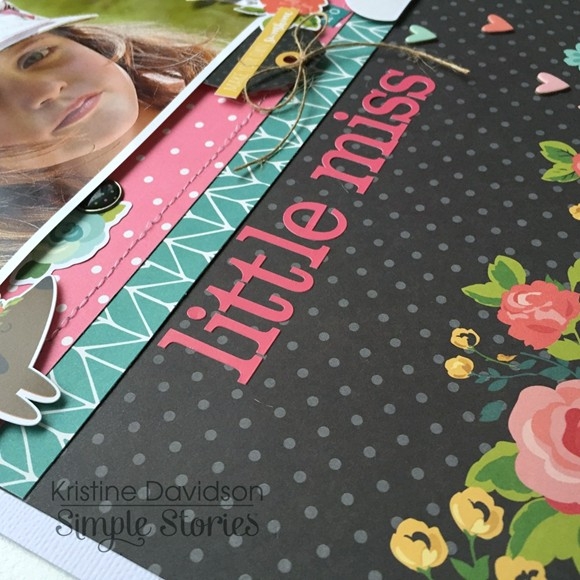
Finally, I completed this layout with a big, bold title using the sticker sheet. I never would have considered doing a timeline layout like this, and I'm happy that this beautiful paper inspired me to do so!
For my next layout, I was inspired by a quilt I found on Pinterest.


I used the photo of the quilt as a reference to build my hearts using .5" strips of paper. I started with the three squares in the middle and worked my way to the rest of the heart. I was originally going to make four, but ended up liking how they looked with three hearts lined up on the side.

Once I had my hearts lined up, I added some gelatos to the white cardstock as a mat for my photo and layers. I really wanted to use some of the adorable frames, so I used several above and below my photo. The SN@P! pack squares fit perfectly behind them. Finally, I finished the layout by adding the finishing embellishments and the title. For the title, I searched the collection for as many "XOXOs" that I could find. I love a repeating title!

That wraps it up for today! I'm so excited about creating with this beautiful collection, and I appreciate you joining me!