February 2019 Blog Posts

I've gotten a little behind on documenting my family's stories recently, so I've decided to try something new this year.  At the end of each month, I plan to go back through the month's photos on my phone and print my favorites. I want to keep it simple, so I'll put these photos into an album and document each month's highlights.  January came together super quick!


I used a 6x8 Sn@p binder and the Freezin' Season collection 
for these pages. I love how my die-cut title fit perfectly in the 2x8 space on this pocket page.
 
I live in Georgia and we rarely get snow, but January is a winter month so these snowflake and embellishments worked great!
 
I love the little house die cuts in the bits & pieces package.  They were appropriate next to a picture of Rylee in the playhouse at her favorite store.
 
 
I love the patterns in these papers (Snuggle Up and the back of the 4x6 element sheet).  The swirls and dots reminded me of wrapping paper so I used them for my son's birthday page.
 
This was so easy! I'm looking forward to the end of February when I'll pick out my favorite photos from this month! Thanks for stopping by!
 

Blog * Facebook * Instagram * 

Supplies

 
Keeping the house clean at all times with 3 kids is not easy. Doing laundry is even worse. Imagine all the clothes one person wears in a week multiply that by 5. My 3 old daughter probably goes through the most clothes in a week more than any of us in the house.
 
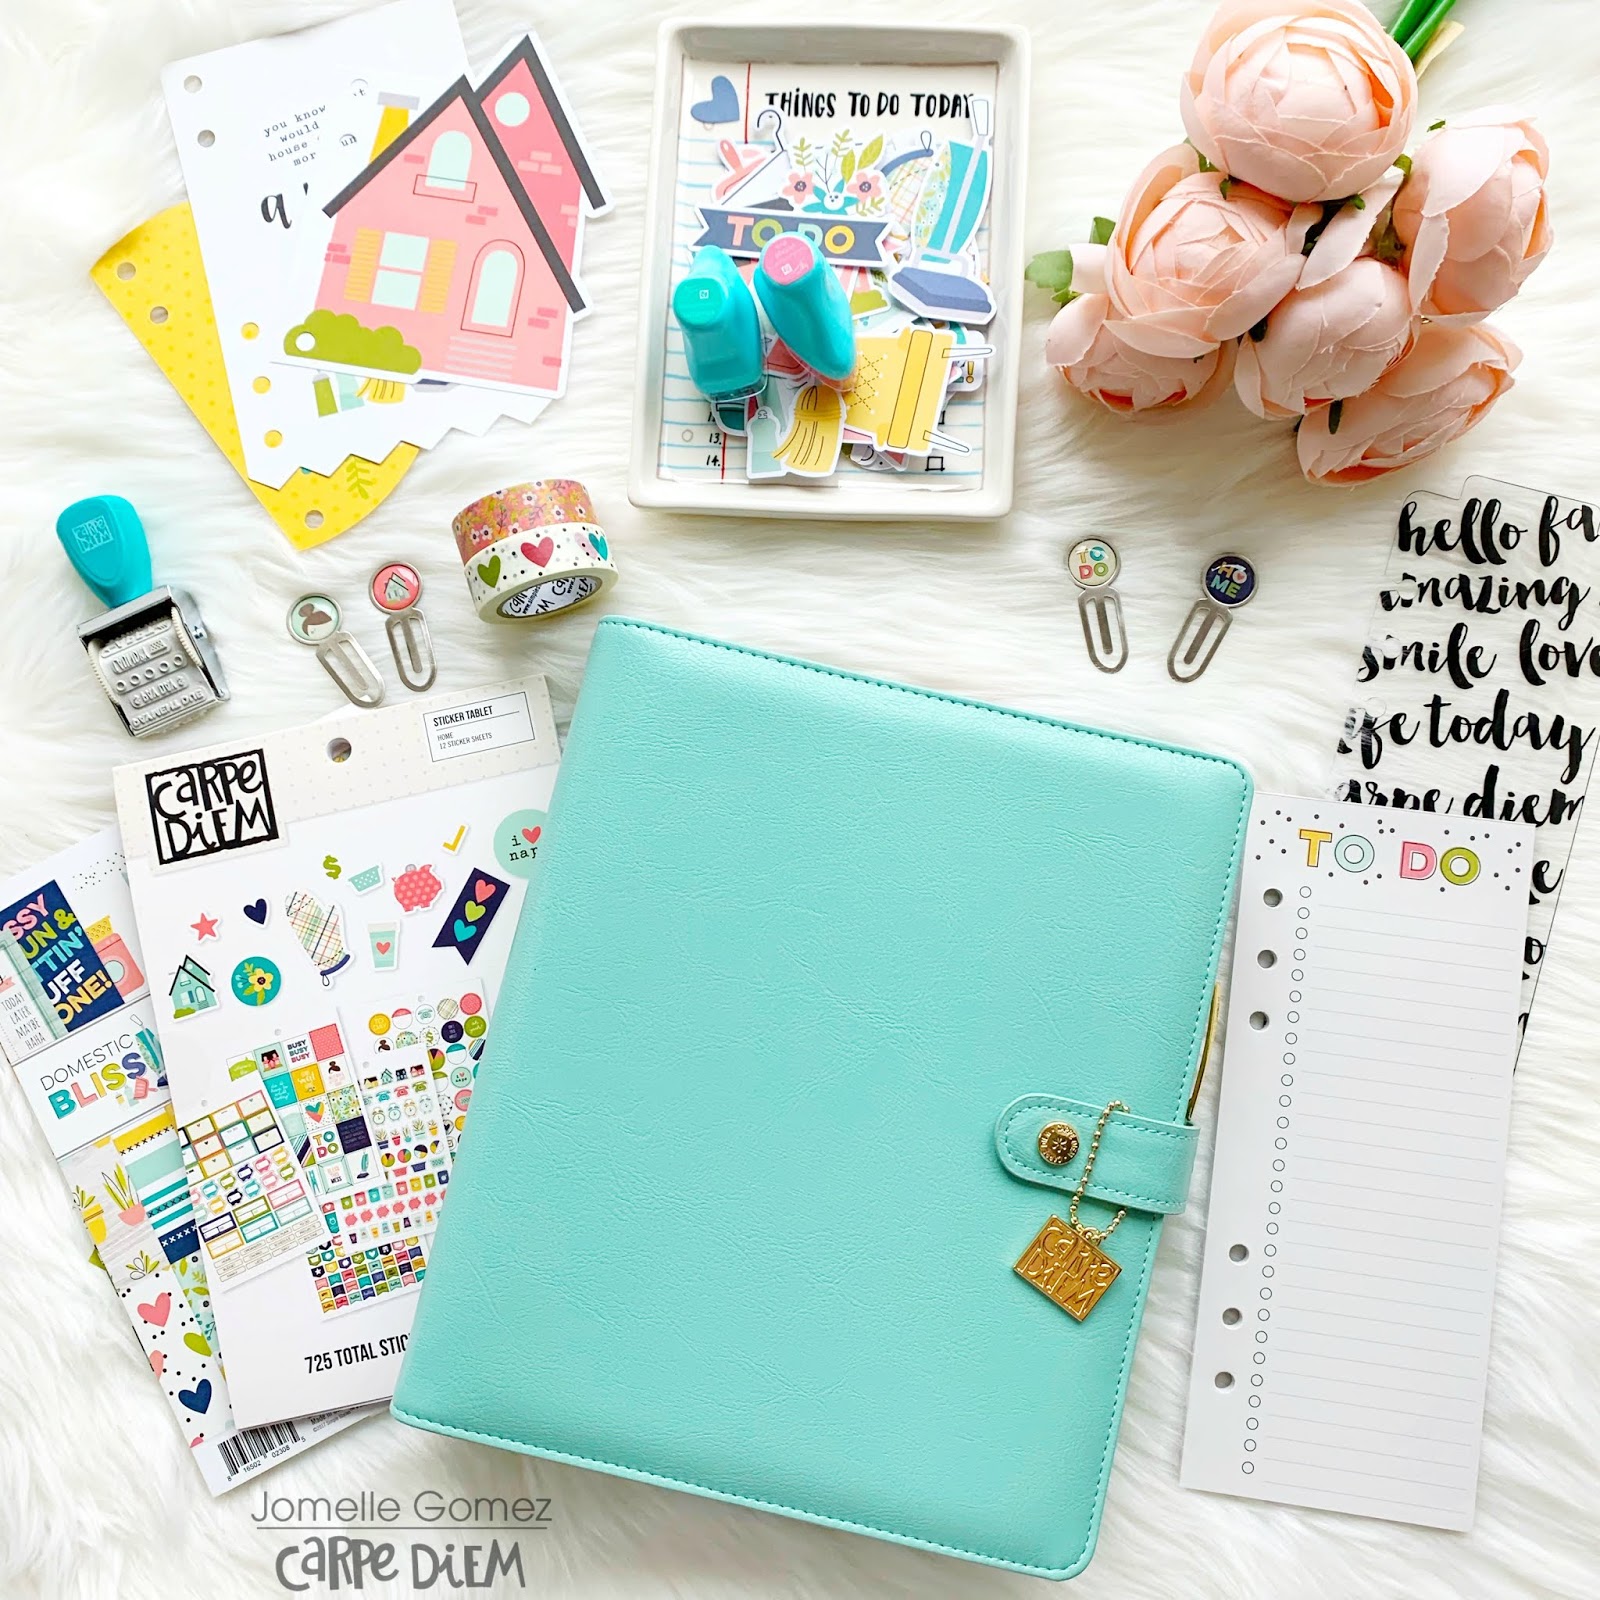
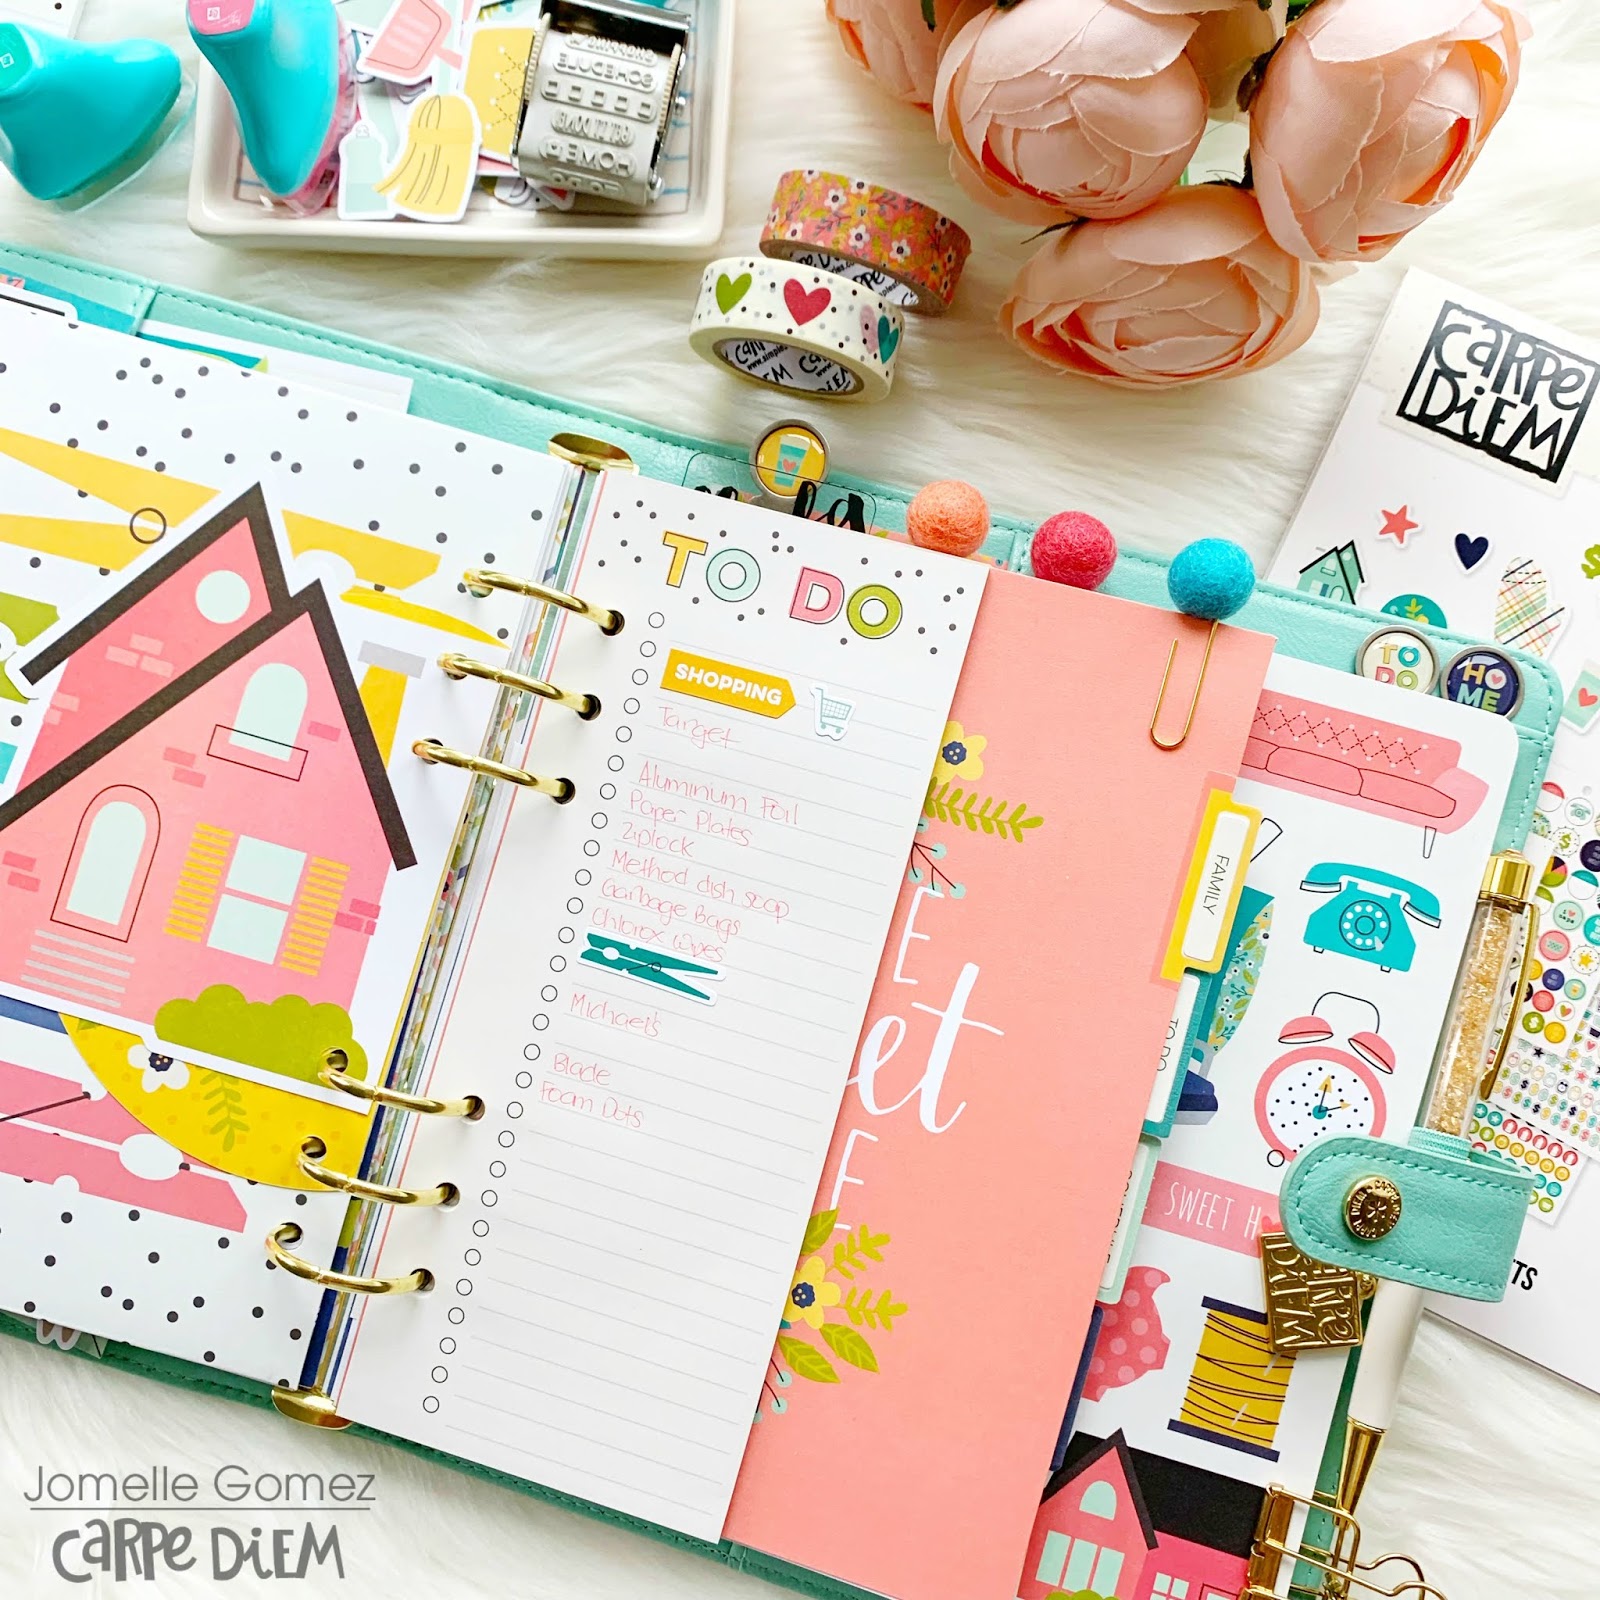
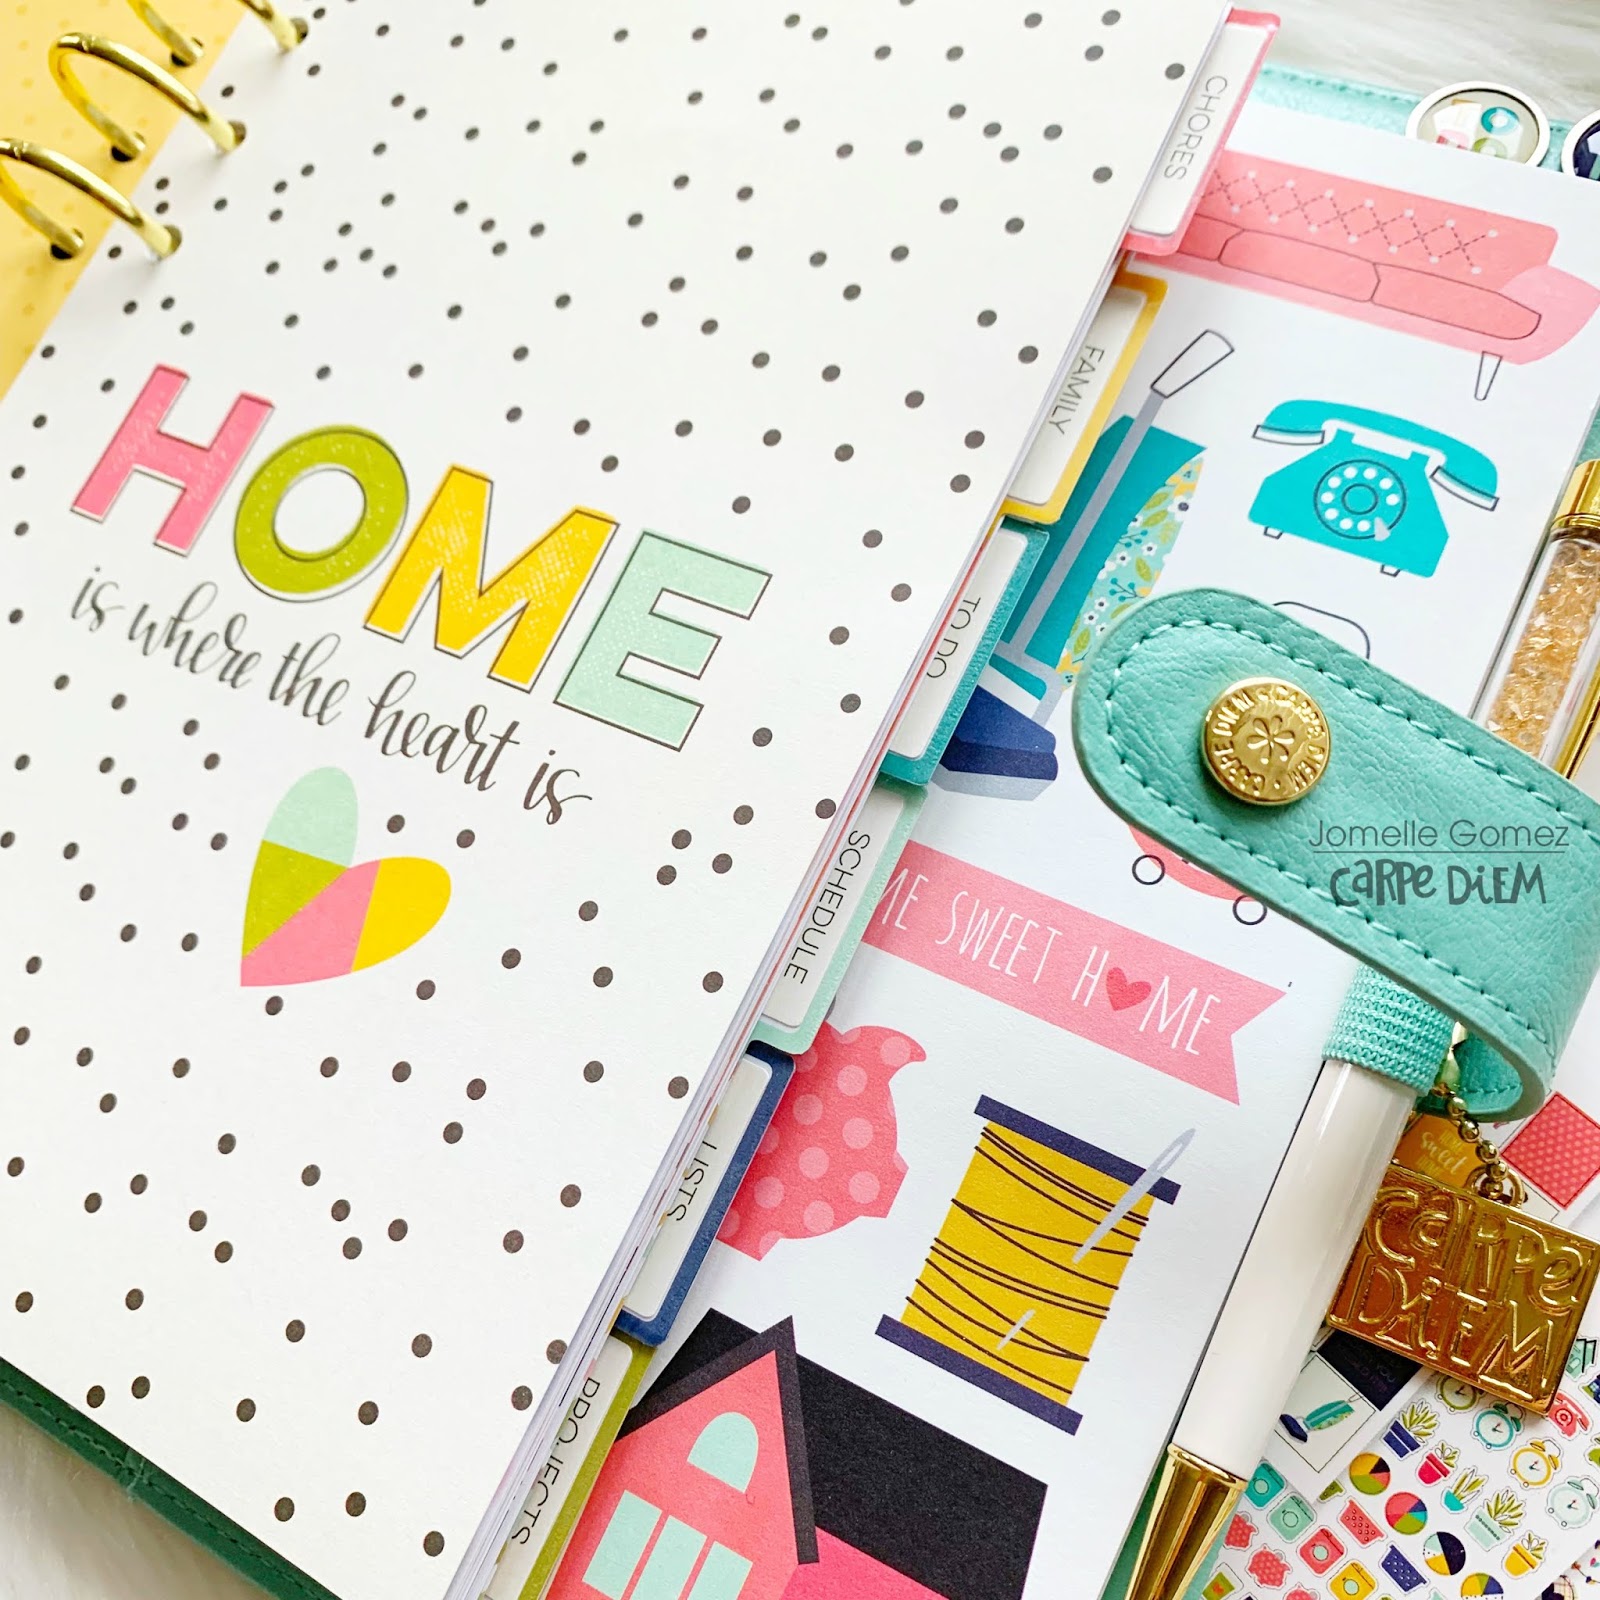
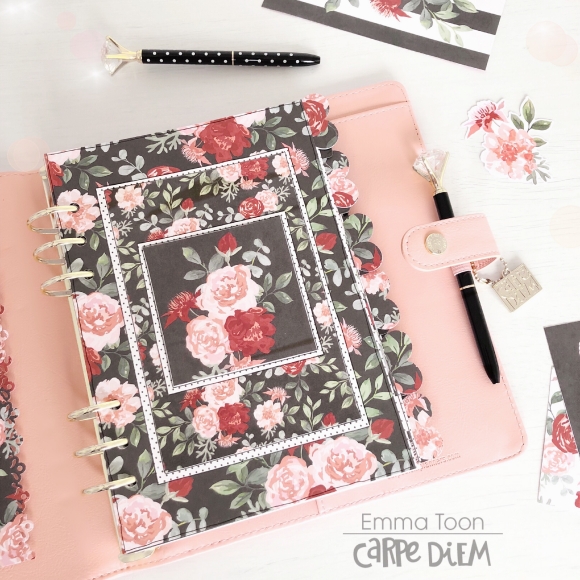
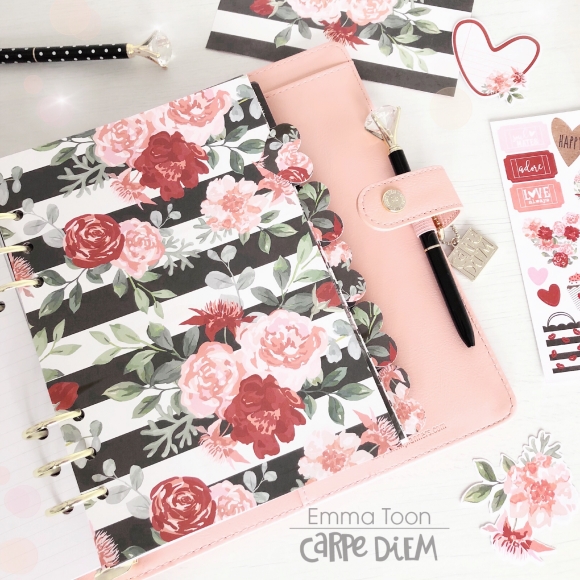
Setting up my planner using the Domestic Bliss makes me want to clean the house. I chose the Robin's Egg A5 planner which goes perfectly well with all the Domestic Bliss soft colors.
 
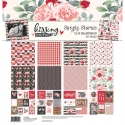
I've used many supplies which are now available at https://carpediemplanners.com for purchase. You can find it by looking for Designs and it will be under "Home"
 
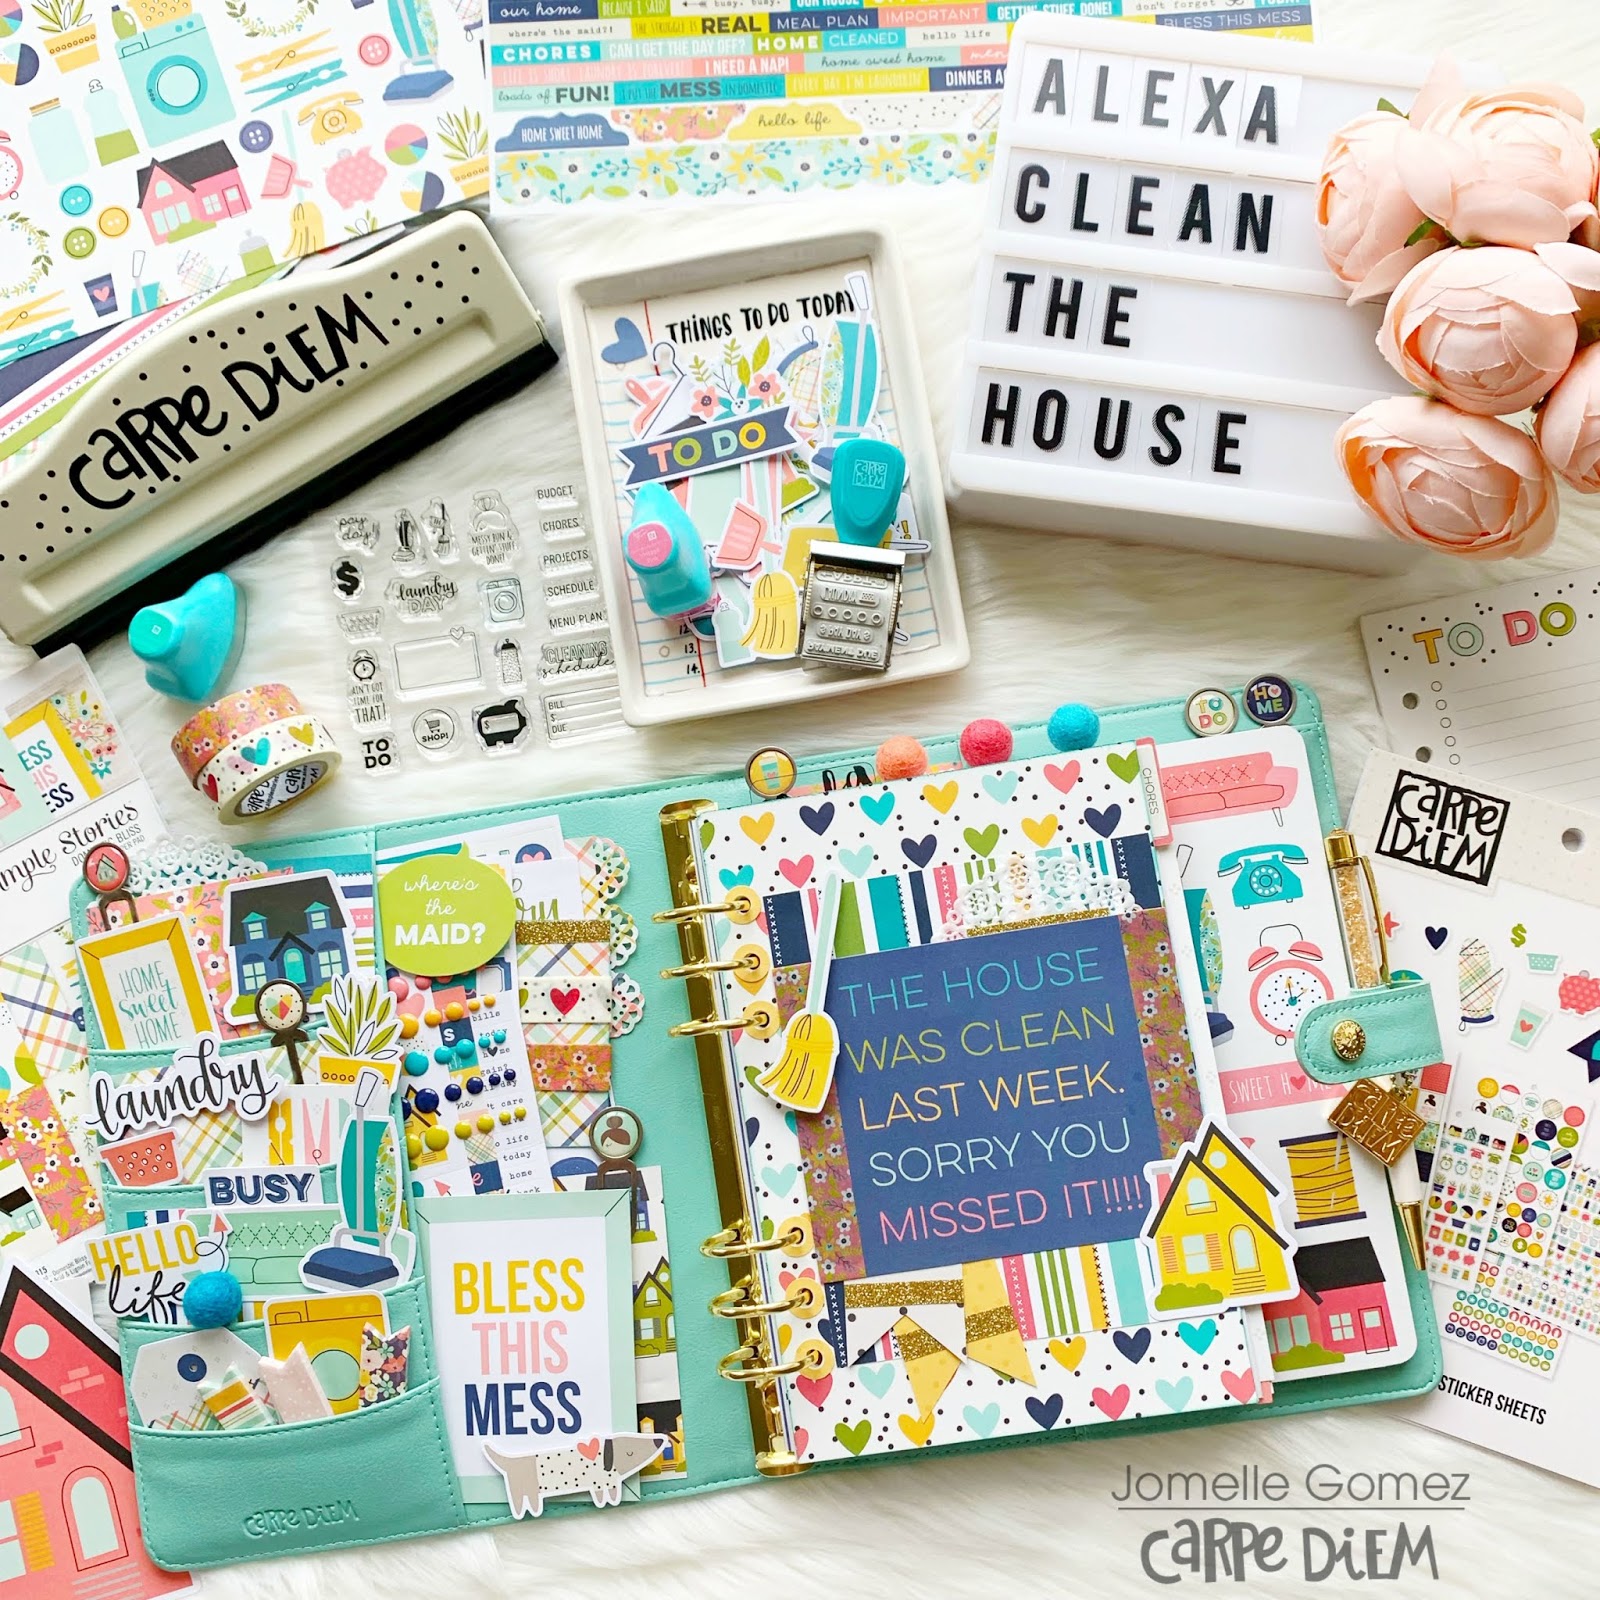
 If only Alexa can clean the house, we'd all be buying one or two. That would be so awesome. Don't you think so?
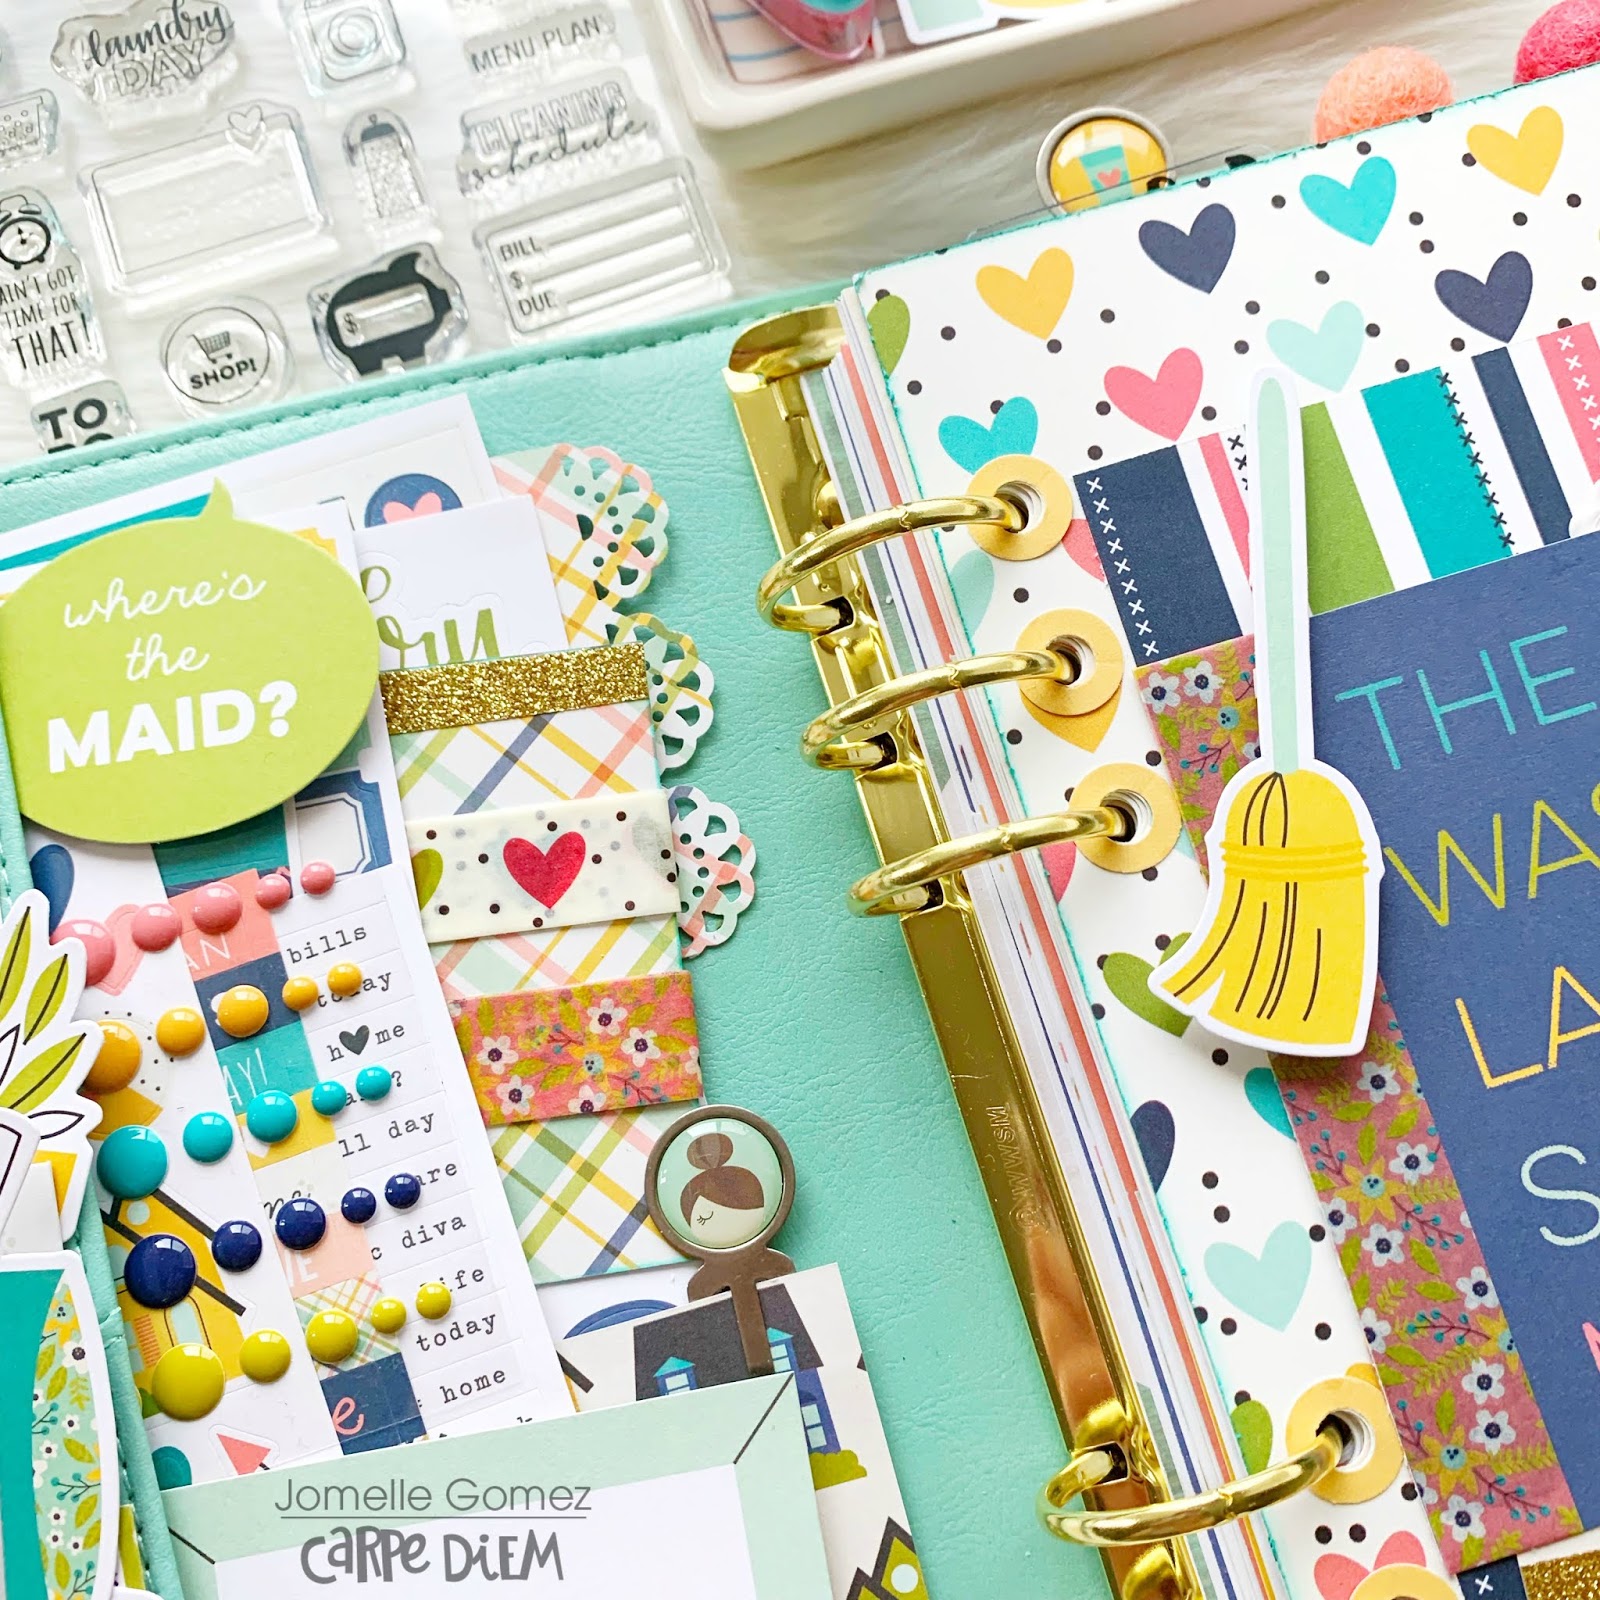
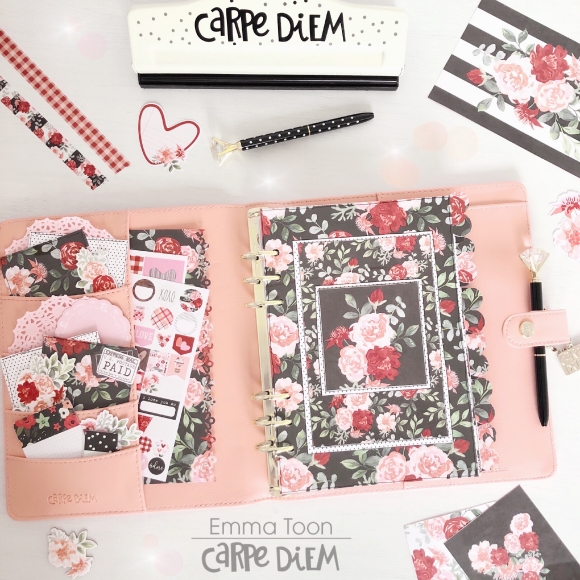
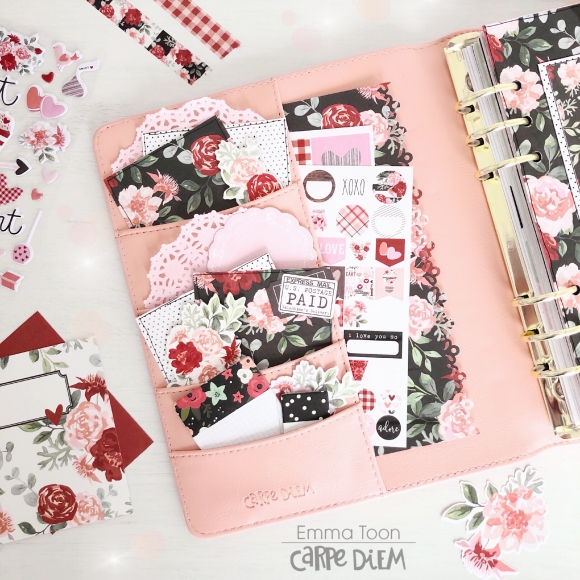
 I normally decorate my planner pockets with lots of bits & pieces, clips and journaling cards. I would then tuck in some stickers to the large side pockets as decor and I can also easily grab them when I'm ready to decorate new pages.
 You can see here I've made a washi tape holder and stuck it in the large side pockets with the stickers. This way I don't have to carry the whole roll of washi tapes with me.
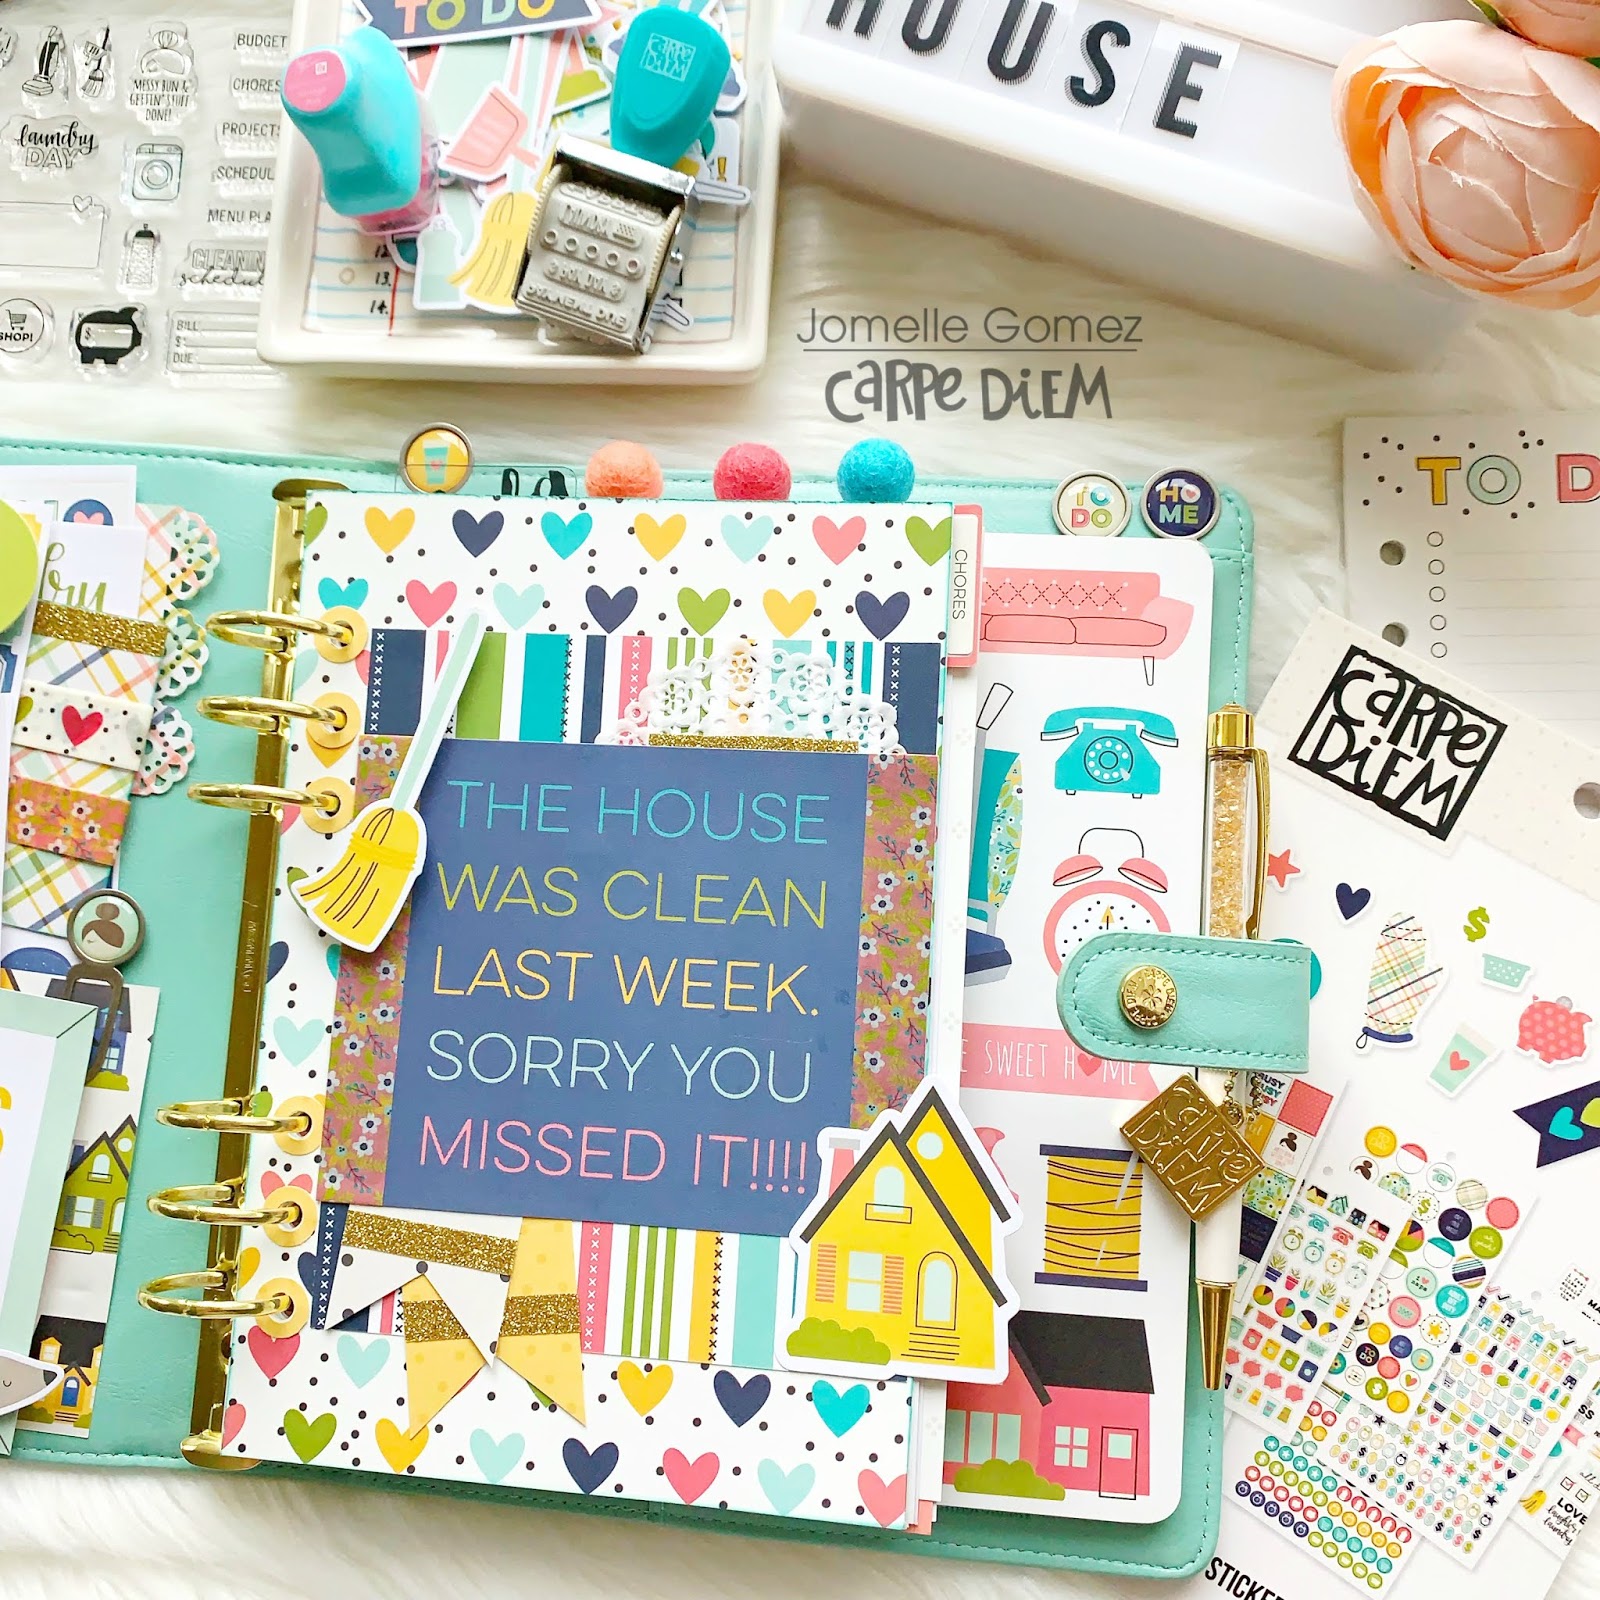
Once I finished decorating my pockets, I will then start creating my dashboard. I went through the journaling cards and pattern paper to see which ones I want to use. I decided to go with the card with the quote "The house was clean last week. Sorry you missed it" - I thought this quote was perfect because this is exactly how I feel, especially after the end of the week.
 
I layered different pattern papers and added the house and broom bits & pieces to finish my dashboard.
 
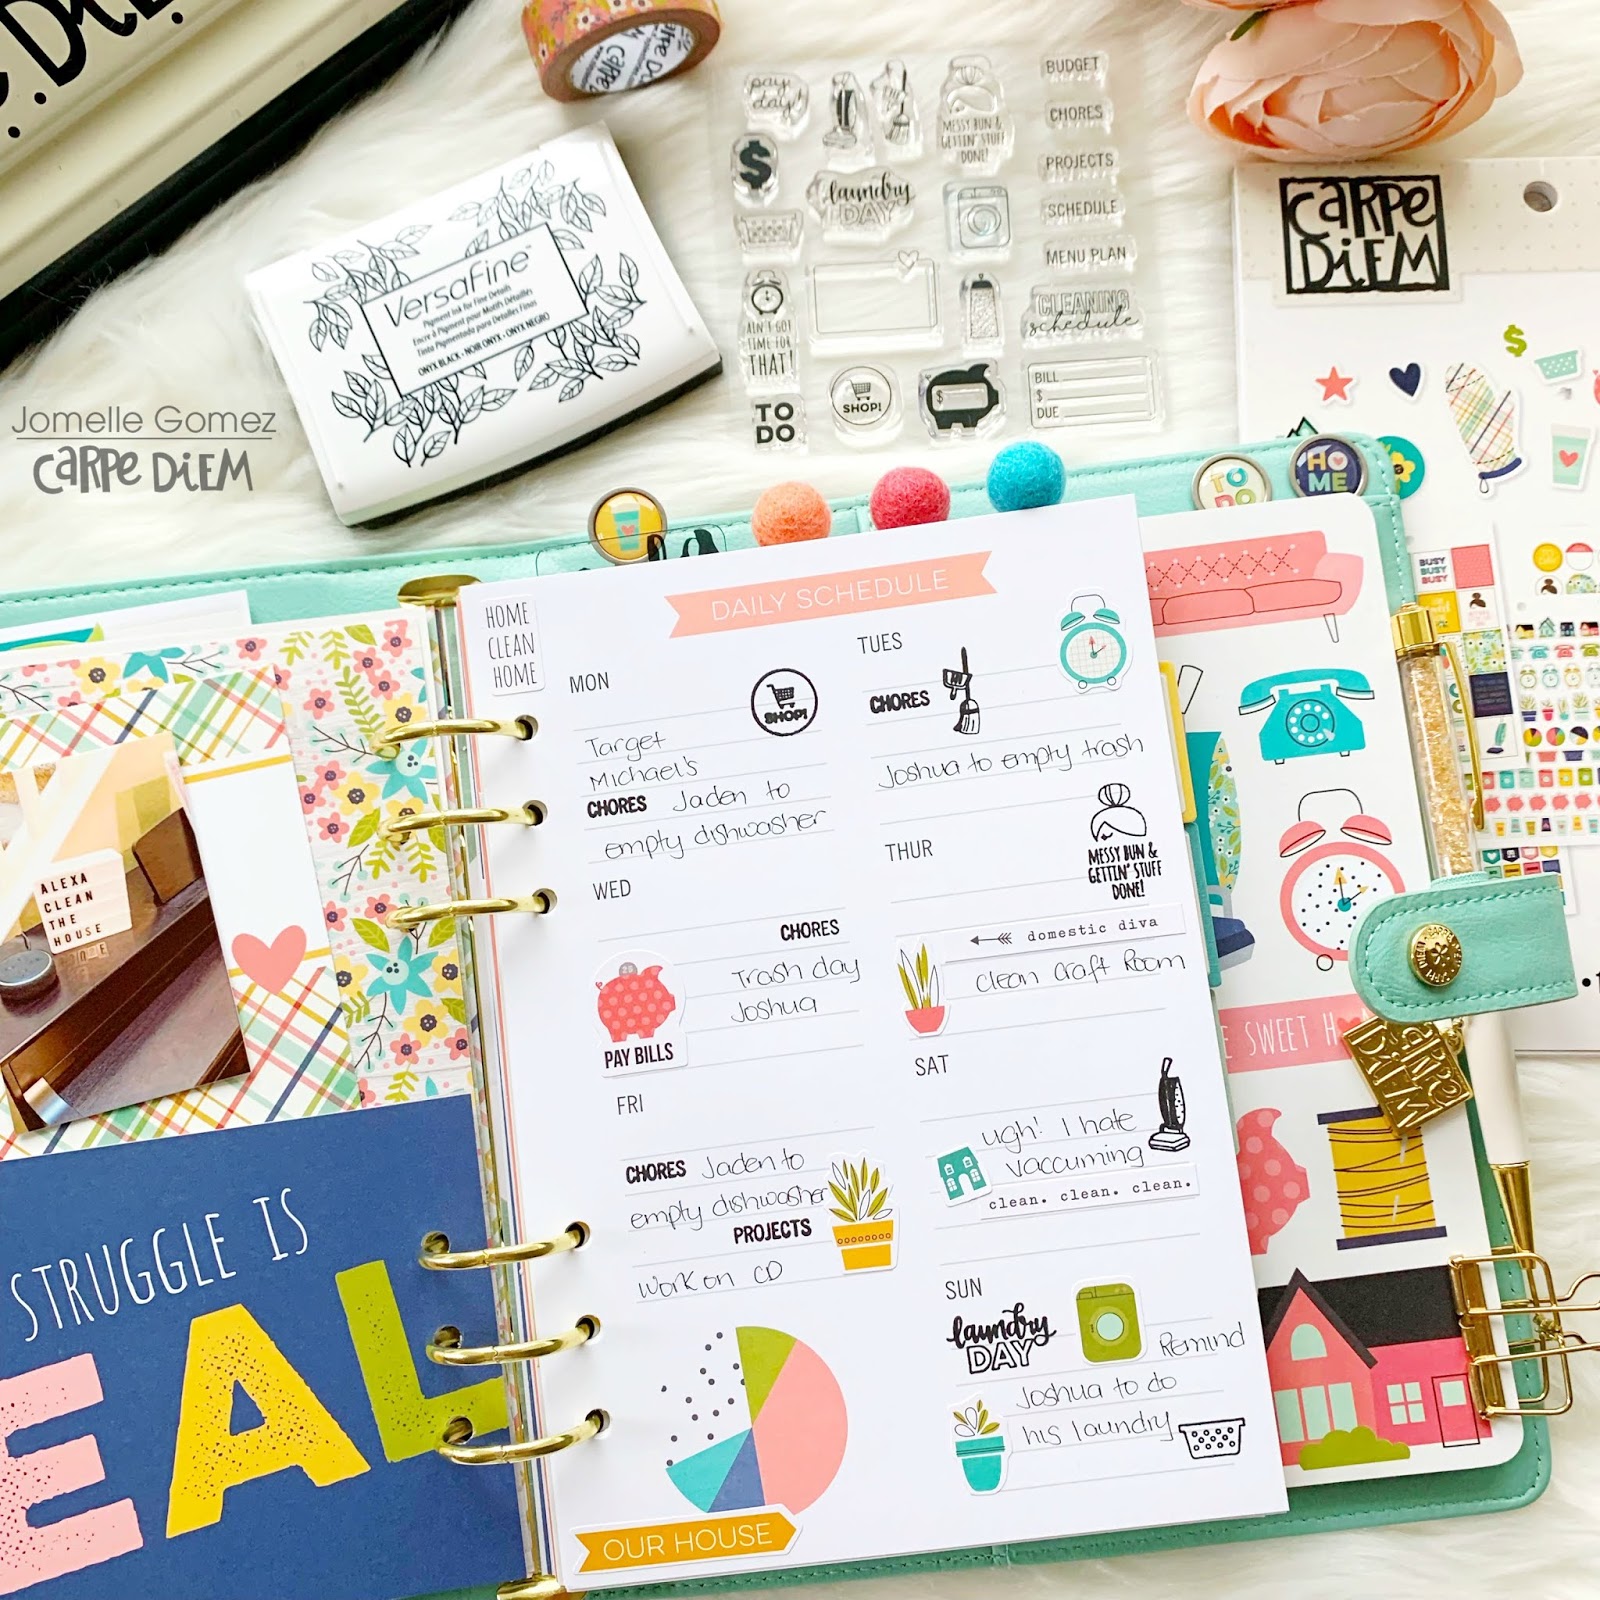
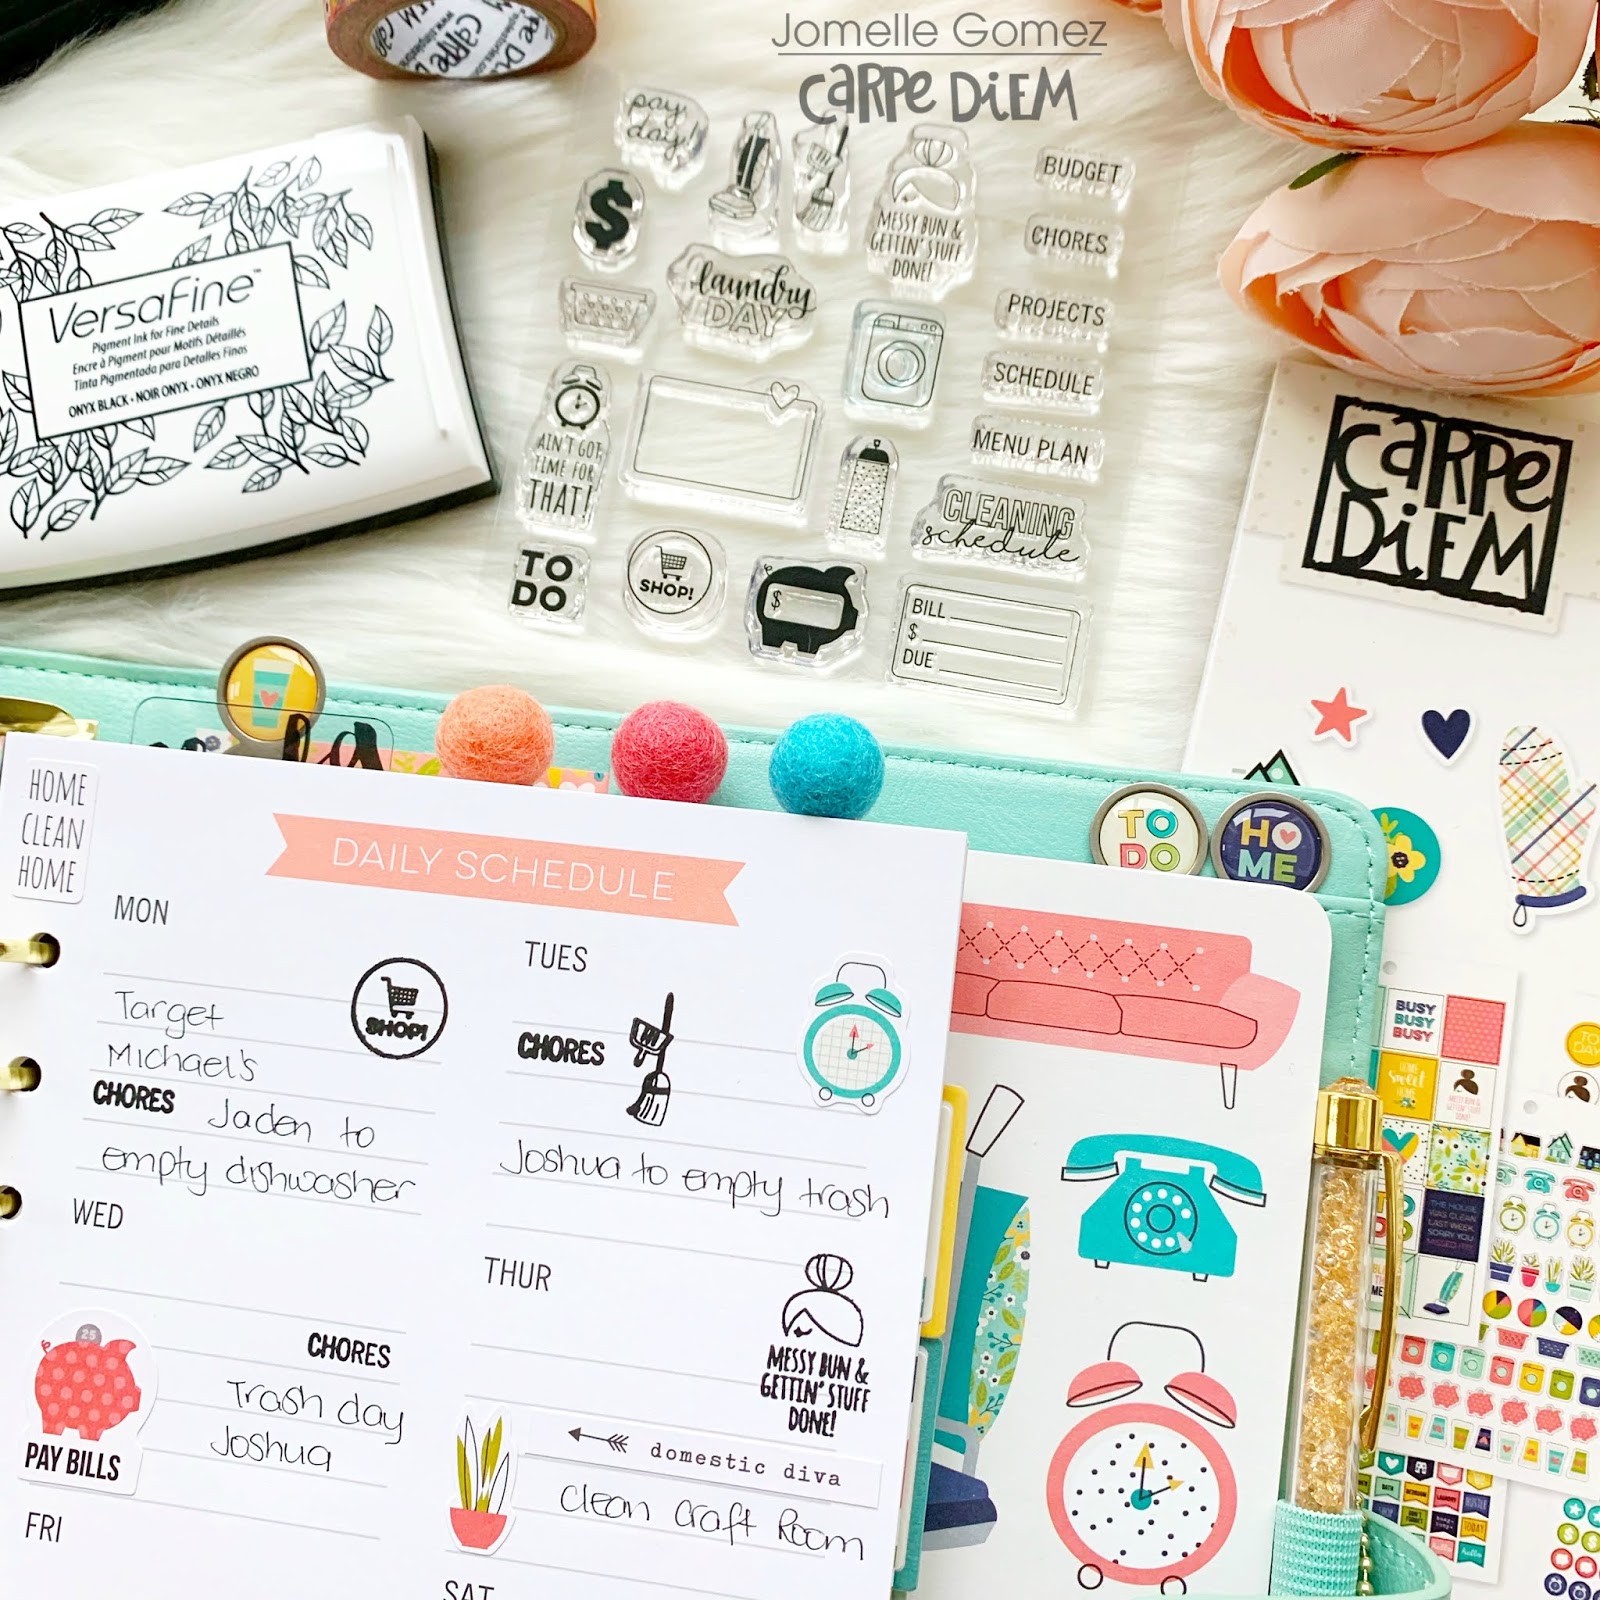
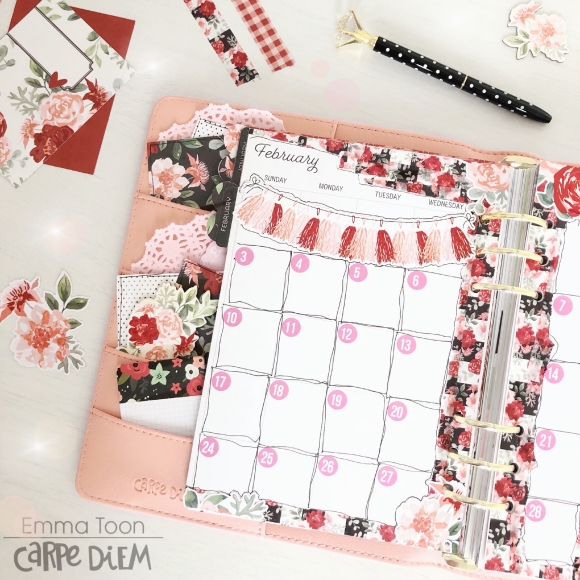
The fun part was filling out the daily schedule as I delegate chores to my 2 boys. 
 Here is an up close picture which features the stamp I used. This "Home sweet home stamp" is also available for purchase at carpediemplanners.com
I also have a "To Do" section. I used the To Do bookmark tablet to  list items that needs to be done such as groceries.
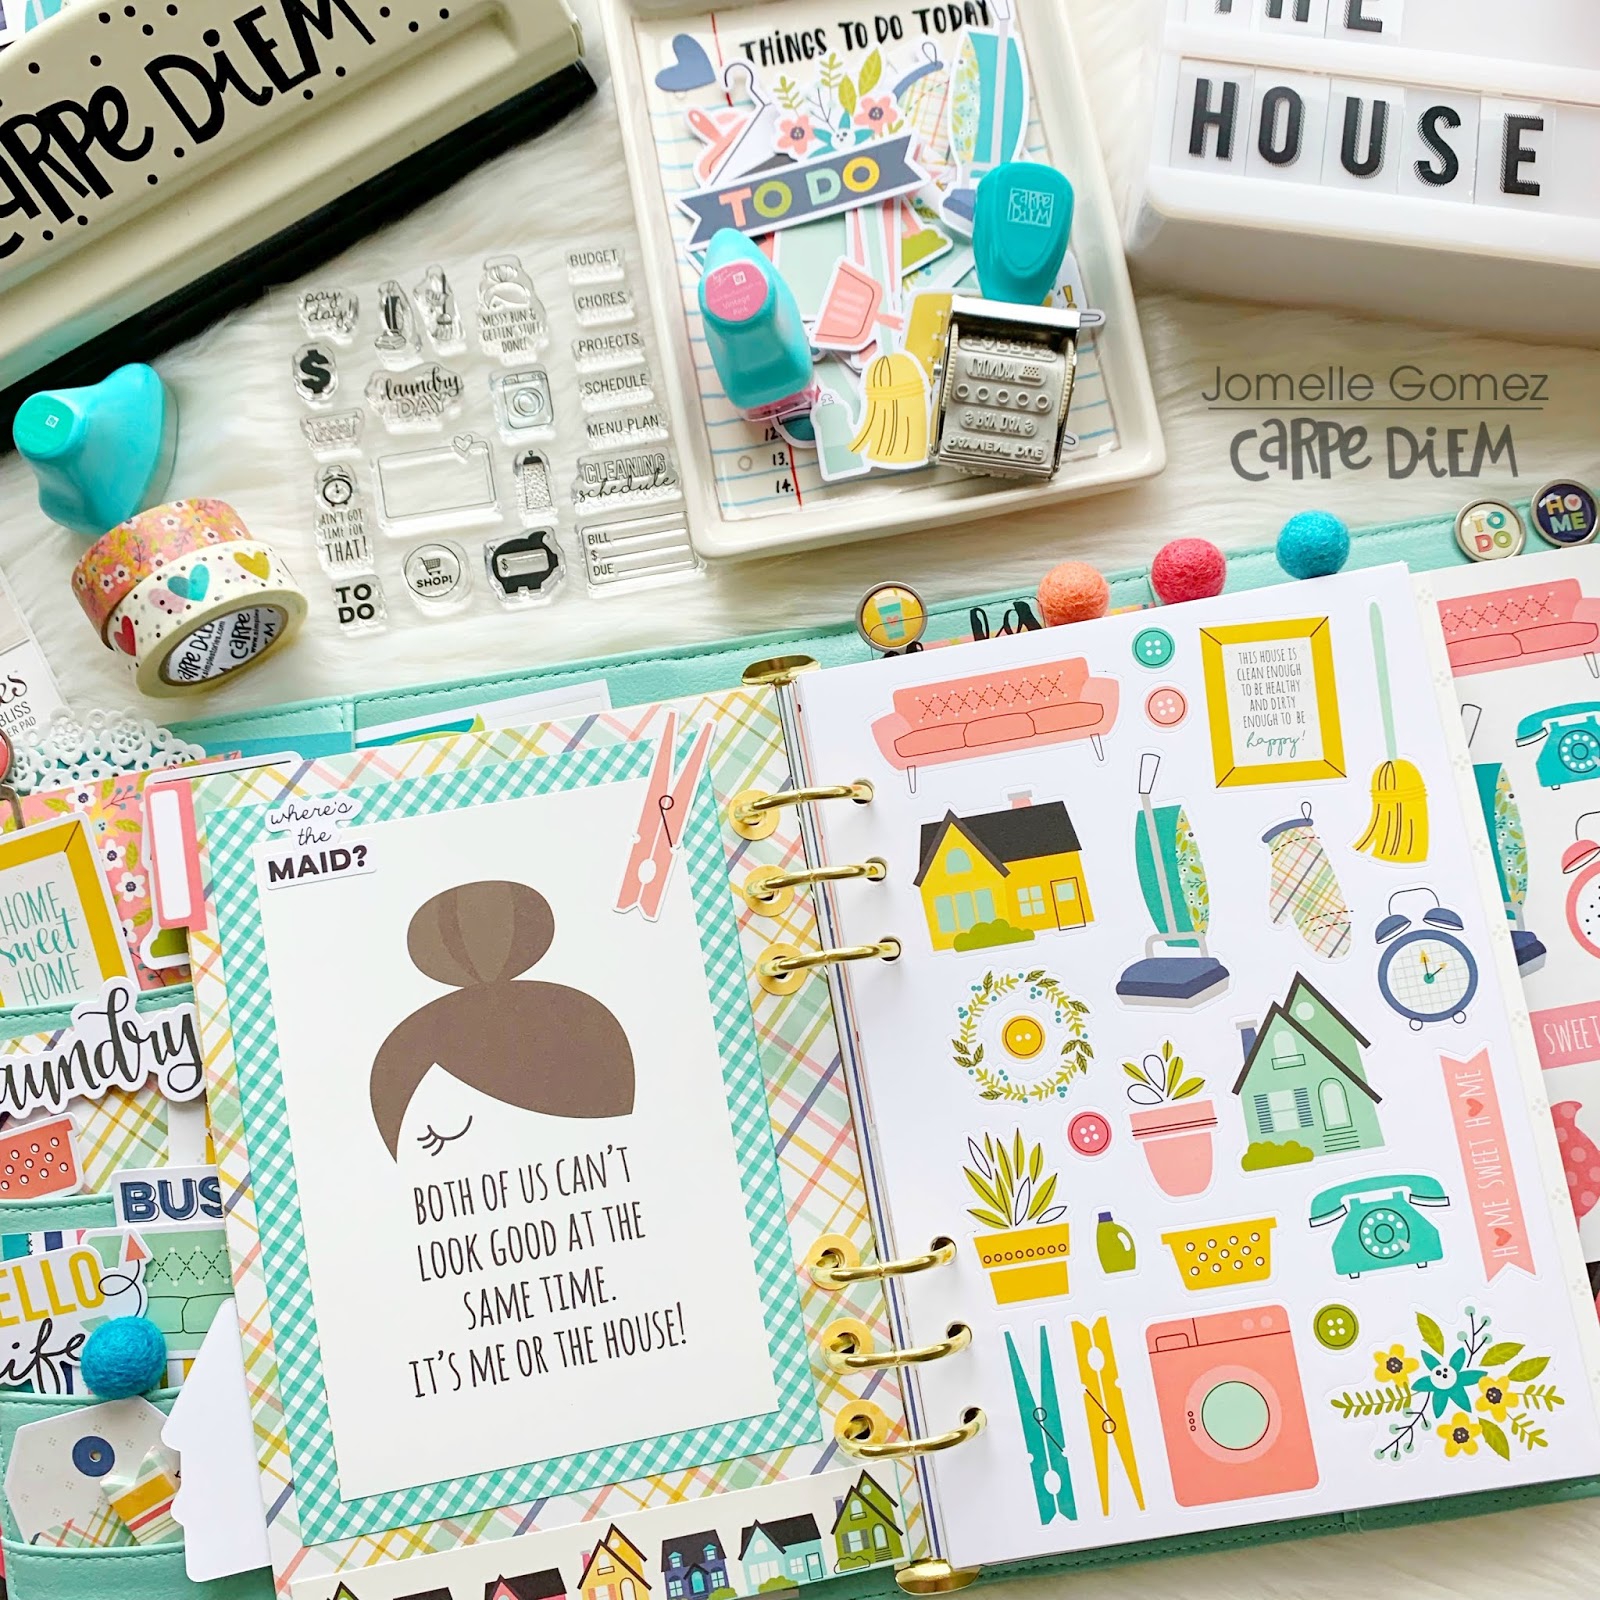
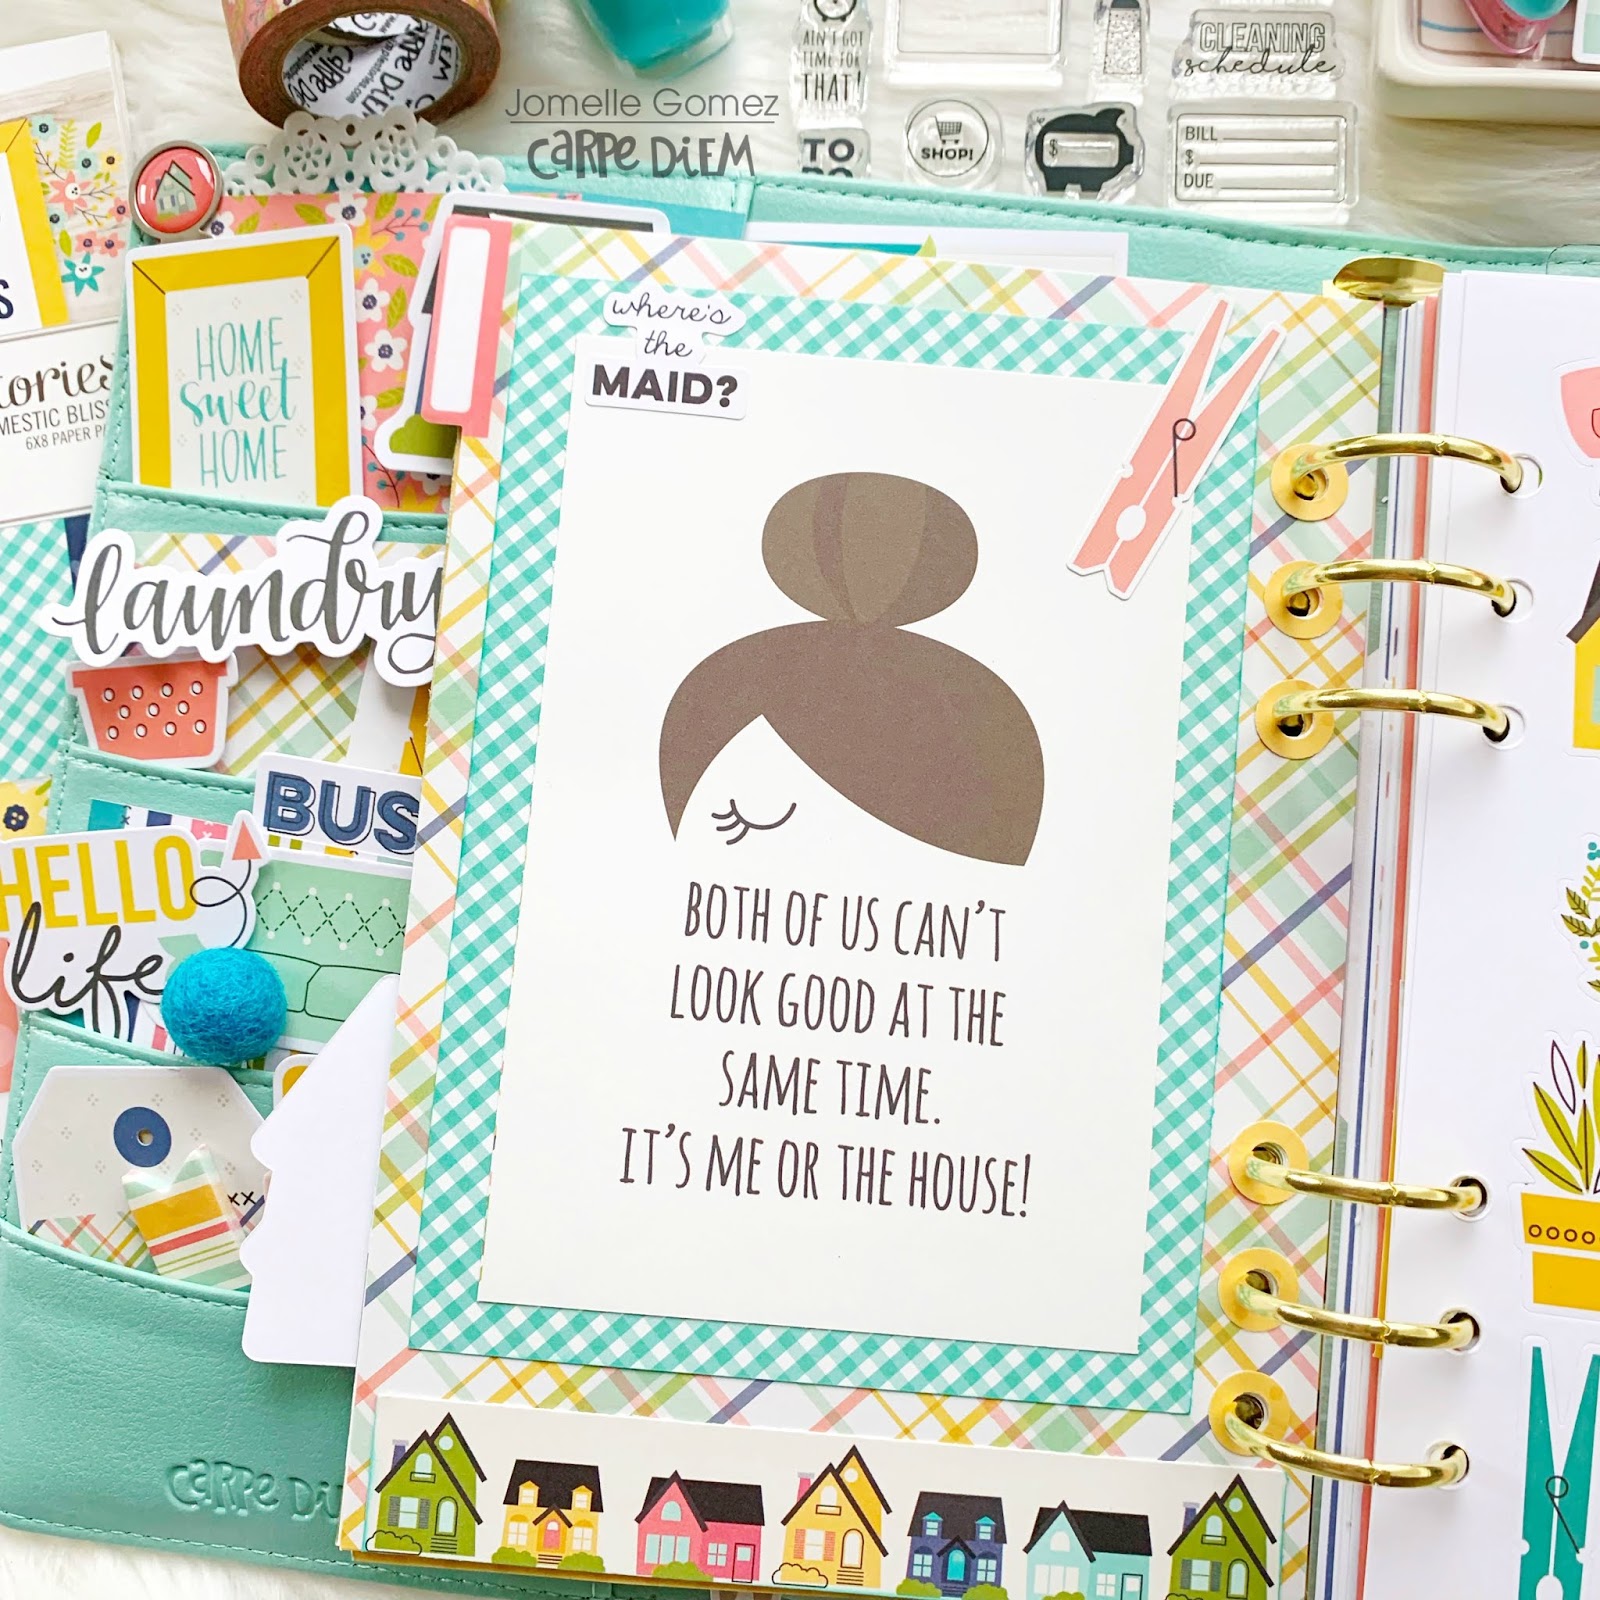
Where is the maid at? 

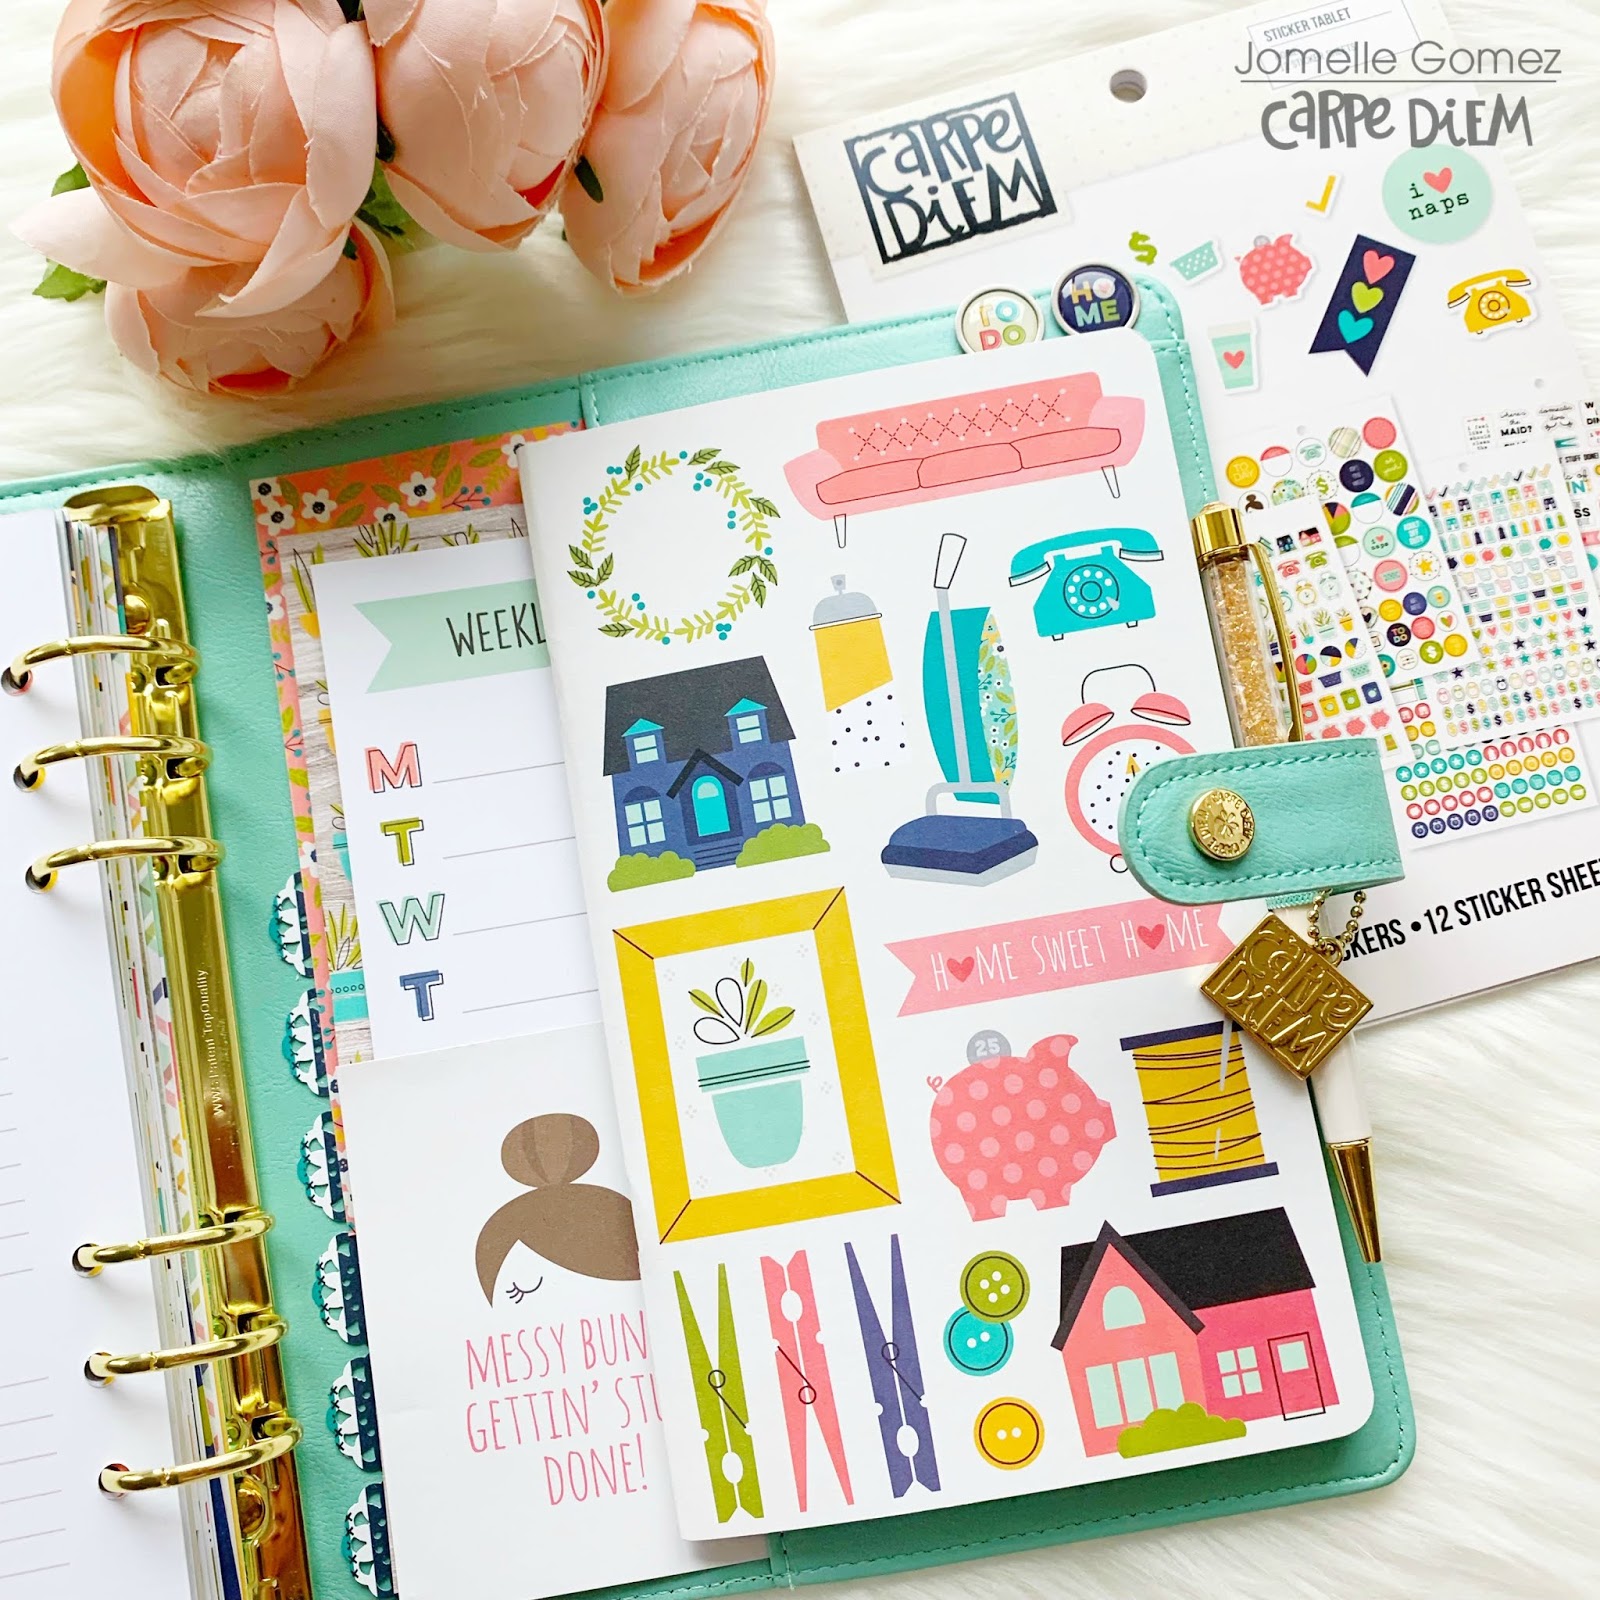
 The traveler's notebook insert fits perfectly at the very back of the A5 planner tucked in the side pocket. I can use this for list, journaling, adding photos with memory keeping and many more.
The Home sticker tablet has so many elements that I can use to fill up the whole planner.
 I used the Home A5 Planner Inserts in which the label stickers are included to customize your tabs. I chose "Chores" "Family" "To Do" "Schedule" "Lists" and "Projects"
Now onto cleaning my craft room mess
"Alexa clean my craft room"
Don't you think having a Home planner motivates you to clean the house more often? Thank you for stopping by and what are you waiting for? Start setting up your Home planner. I would love to see what you'd come up with.

Hello friends! It's Jennifer on the blog today to share a layout I  created using the very fun Freezin' Season collection! With the recent negative temperatures in the Midwest we've had a lot of freezing going on!  Before it got too cold, my kids indulged me in a little snowy photo shoot (I  may or may not have had to bribe them). 

I  love all of the cut files  Simple Stories has to offer in the Silhouette shop! Using a white piece of cardstock, I  cut a 10.5x10.5 square of the Crosses Background. Before adhering it to the B side of Frosty Friends, I  used my circle punch on multiple patterns to back the negative spaces behind the crosses.

Once I  adhered my white cardstock down, I  stitched around the edges with my sewing machine. I  then added a strip of color at the bottom using the beautiful teal of Brrlow Zero and Snuggle Up.  It is here that I  affixed my title using the die cut words from the Bits and Pieces pack. You can also spy pieces of the coordinating Washi Tape as well as a cute typed sentiment sticker from the 4x6 Stickers.

For my journaling, I  cut apart two of the 3x4 Elements to layer next to my photo. I  love that there is always one that has a ledger or notebook print since its one of my favorites! I  then pulled in some accents from the 6x12 Chipboard as well as additional Bits and Pieces and stickers from the Combo Sticker sheet. I  am a fan of using dimension, so I  will usually affix two or more elements with pop dots.

Simple Stories' collections never fail on the variety or amount of embellishments to choose from when constructing your projects!  Even a simple sticker tab, such as the one shown, is a nice accent to give additional color and contrast to your page. 

Here, at the top of my layout, I  used the same plaid print in the Washi tape along with two of the mini pennants from the 4x6 Stickers.  It's a good technique to break up white space as well as add color.

Thank you for stopping by the blog today! Be sure to check out the entire Freezin Season collection as well as what is  new for Simple Stories! You can see everything by visiting the Products page! Have a great day!

Supplies

Hi everyone! It’s Tara here with Secretbees Studio  When I was a little girl, my mom made me the most wonderful busy book! I loved that book and played with it for hours on end! My book was made from fabric and had the most fun activities inside of it. I still have the book and will definitely be passing it down to my grand baby who is due very soon!

Since I am a paper crafter, I wanted to make one of these from paper and the 'Dream Big' paper collection from Simple Stories is a magical collection perfect for a girly busy book! Its full of whimsical unicorns, cats and fairies in bright and pretty colors that will delight girls of all ages.

The covers and spine of the book were cut from chipboard and covered in the beautiful patterned paper. The book is chunky to hold three pages that are extra deep for the activities. The first section of the book has an embellished pocket to hold stickers and a cute drawing/writing pad along with a pencil holder made from the patterned paper. I added in chipboard and combo stickers for extra cuteness!

Memory matching games are super fun and I included one in this book! I simply cut out these adorable 2x2 elements and layered them over more sweet patterned paper before applying sticky velcro to the backs as well as to the page so no pieces will be lost. There is also a magnetic board cut from a vent cover and adhered to the page. I cut strips of magnet and foam and glued those to the backs of the whimsical Bits & Pieces images for hours of endless fun!

Puzzles are a great activity and these are perfect sized for a little girl! I double layered two of the 4x4 journal cards for thickness and then using a puzzle die, cut them into puzzle pieces. One page has pockets with twine closures to hold the puzzles and I gave each pocket a clear acetate front so the inside contents can easily be seen! The other page has a chipboard frame covered in patterned paper to hold the completed puzzle in place! 

No busy book would be complete without coloring so I made a pocket on one page to hold coloring book sheets and on the opposite page I doubled up a strip of the patterned paper and scored it in sections just large enough to hold a set of colored pencils! There is also a small ledge made from chipboard and patterned paper to hold the pencils in place. 

A 4x6 journaling card is layered with a pretty doily and more of the colorful paper along with chipboard stickers on the cover of the book for lots of girly details! To keep everything in place I added in a piece of pink tulle that can be tied in a big, pretty bow! To see this book in all of its wonderful detail, be sure and check out my YouTube channel for a walk-through video.

Supplies

Hello again! Is it really that time again?...blimey that’s gone quick! Anyway!  Shall we take a look at what I’ve been up to since last time?  I’ve set up my A5 Blush with the dividers I made with the ‘heartsbyemma’ twist!! If you’re not sure what I mean, check out my last blog and all will become clear! 

So, if you remember I was saying how I’d picked out the beautiful floral papers as I wanted a set up that could be used all year round, not just valentines! 

I’ve used the floral papers in my pockets, which is a great way, and let’s face it, easy, way to tie it all in together! I’ve then softened with light pink doilies and grabbed every floral die cut and chipboard piece I could to add even more flower power!!

I have even popped a couple of sticky notes in from the bloom collection to look vaguely functional!...which we all know by now, I don’t do functional!...I do PRETTY!!

I made enough dividers to do six months and then I’ll move the last six months of the year over to the front...if that makes sense?! Have you seen the washi tape with the Kissing Booth Collection? Oh boy!! The floral!! I have to admit! I went a little washi wacky and covered February’s monthly spread in it!! What do you reakon? Too much?? 

I also used the number sticker tablet to number the whole of the month, picking out the gorgeous pink! That’s what’s so great about the number sticker tablet, there’s every colour and size sticker you could possibly ever wish for!!

I hope you’ve enjoyed having a peek inside my planner, and if you love floral prints like me, then I’m sure you’ll have definitely feasted your eyes on those beautiful papers! If you would like to see more pictures using Simple Stories products then checkout my IG account

Supplies

Hi there!

Nathalie with you today with a new layout right on time to celebrate the season of LOVE.   Well, after twenty years together, it seems my husband and I are yet to learn how to take a good picture together, but that has not stopped me from capturing us through the years.  The new Simple Stories Kissing Booth collection was the perfect mix of colors and sentiments to help capture our story.

For the background, i used the Crazy in Love paper as the base for the page, then fussy cut a piece of the banners in the 3x4 Elements paper and a large strip of the Hugs and Kisses paper and attached them to the top of the paper.

I used a bit of mixed media (VIcki Boutin Art Crayons and Gesso) to add a bit of color to the backgrond just on the areas where the title and picture will be placed.

A fussy cut a few of the florals from the Always Be True paper, while the background dried.  I layer a few 4x6 Vertical elements behind the picture and attached it to the  page using foam adhesive.  I then  decided to use the large fussy cut floral as the top cluster on the picture.

I added a few die cut roses (SIlhouette Cutfile) around the picture as well as elements from the stickers sheet, bit and pieces pack, and puffy stickers to help frame the picture.

To create the title of this page, i pulled a cut file from Just Nick Studio and backed it with papers and pieces of ephemera from the Kissing Booth collection.   I placed it at the bottom of the page and completed the title by adding a chipboard sticker and one of the phrase stickers.

I really love how this turned out!  even when our selfie is not perfect, I  still love that reflects us.  All the details and colors from the Simple Stories' Kissing Booth collection are perfect to  make the picture that much more special.  Remember to check the collection, and have a great Valentine's Day!

Supplies

I’m a big pet lover! I’ve had a furry friend in my life as long as I can remember.  Being a card maker, and official photographer of the family means I’m responsible for documenting all of life’s special moments, including those with the family pet.

I’m always excited when a friend adds a new pet to the family.  Pets teach us so many things.. compassion, patience, and responsibility.

My furry friend is my constant companion.  She’s my protector (everyone has to get through her before they say hello to me),  my comfort  and joy (no one is ever happier to see me than her).  She keeps me in shape (making sure I walk her every day), and even saves me a few extra calories every meal (because the last bite of everything is hers).

The Simple Stories Life is Ruff 12” Collection Kit has everything you need to make all the cards I’ve shared today.  They’re perfect for celebrating a new family member, or thanking your vet or friend for keeping an eye on your fur baby while your away.

The collection kit includes sheets of journaling cards, as well as a sticker sheet with images and sentiments.   I usually dust the back of the stickers with baby powder (or powder from my embossing buddy) so they’re not so sticky.  This makes them easier to work with because I can move them if I stick them in the wrong place.  Later when I’m ready to commit I secure them with liquid glue.

Celebrate the special friend in your life (yes there is a collection for the kitties too.. Life is Purrfect!).

Supplies

Hello Simple Stories fans.  It's the month of celebrating love, and I'm so in love with the Kissing Booth collection!  I made a sweet layout celebrating my guy and me.  

We were just out a random day at brunch, but I really loved these photos of us that I printed out with my Instax Printer.  I knew this would be a paper heavy layout because I love so many of them, but I didn't want to overwhelm the two photos, so I made them the center, with everything pointing inwards.  

Inspired by some of the cut-aparts that have a wood print background, I picked the Hickory paper from the Snap Basics as my background.  I randomly cut the papers into wedges and arranged them in a circle around the central point, leaving a few open wedges.  I also cut the pretty floral scallop border sticker from the combo sticker sheet to add more interest to the mostly angular design. 

I machine stitched down the middle of each paper to secure it down, and in three of the open areas that are roughly the same distance from each other, I did a messy stitch back and forth in shades of pink and red.  I really love how that adds so much texture, and gives the eye a few spots that are further in the background to rest on.

Two more open areas I I filled with hearts from the puffy stickers pack.

For a title I used the XOXO stickers from the combo sticker sheet on top of the largest stitched wedge.  This sits next to a tab from the 4x6 sticker pack where I stamped the date. Originally I used a tab from the combo sticker sheet, but didn't like the size in relation to the photo. I love that the Simple Stories collections come with several size stickers, giving options to find something that fits just right. 

This design already had so much visual weight, so I added just a few more embellishments to give it depth.  A couple of floral stickers peek out from behind the photos, and on top I made a small cluster with a birdy sticker and the adorable tree trunk from the chipboard set.

Also I used a journaling spot from the bits & pieces pack, topped with a puffy heart stapled on with a tiny staple. The finishing touches are a couple word strips and arrow along the wedges, and a small sprinkling of white mist. 

This collection is the sweetest for scrapping all about the sweethearts in our lives!

Supplies

Pages