October 2019 Blog Posts

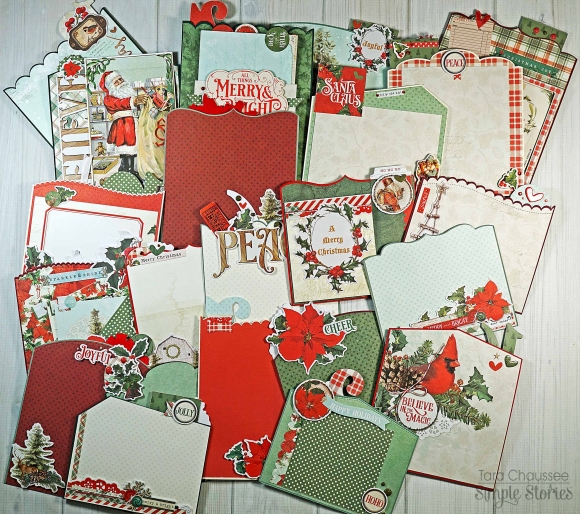
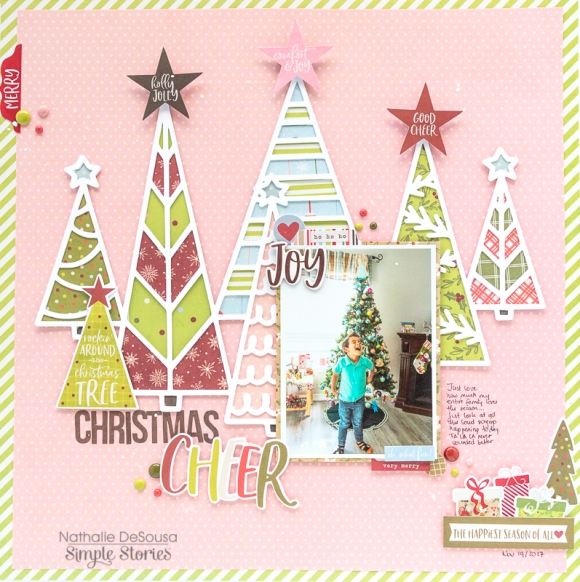
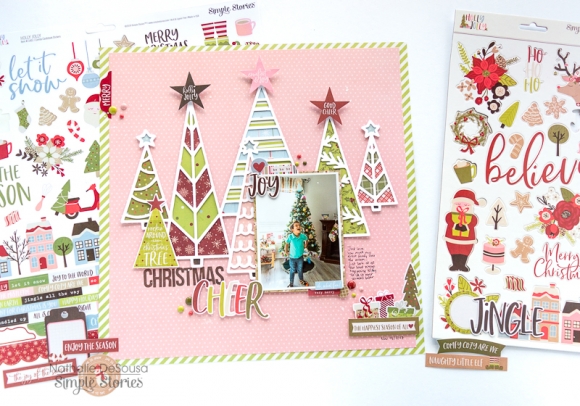
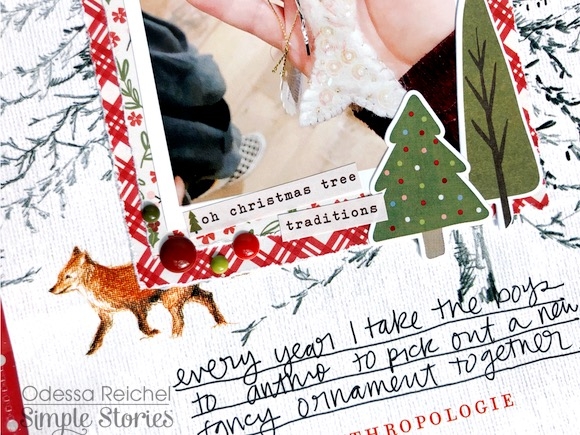
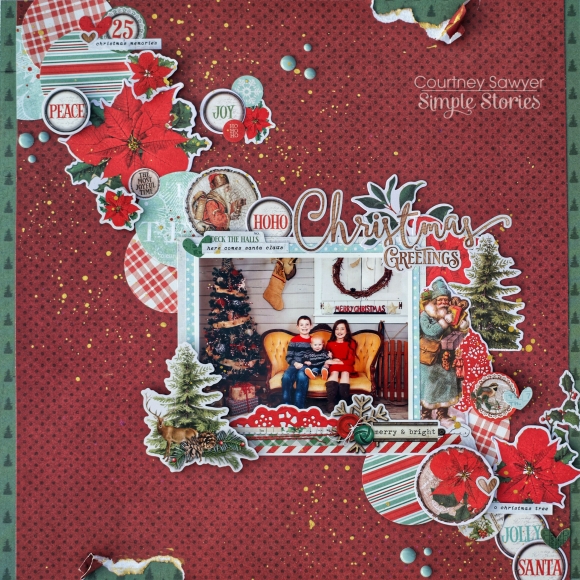
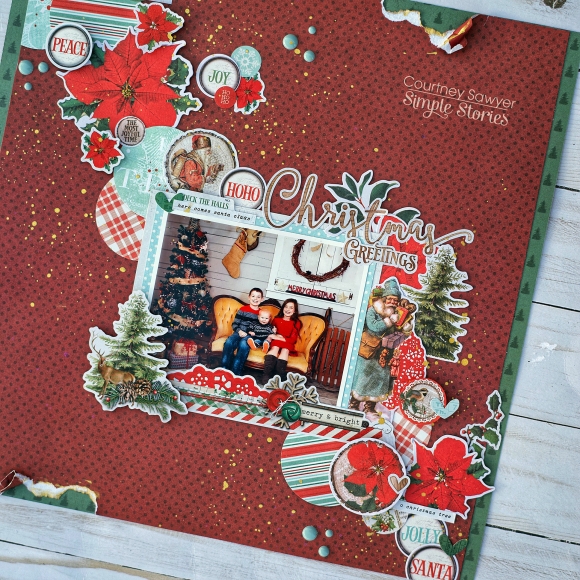
Hello friends! It's Jennifer here today to share a page with you I  created using the new Country Christmas collection!  If you are one who loves a vintage feel to your Christmas paper than this line is for you!  You also have soft beautiful hues of the traditional reds and greens with light blue and white mixed in.  I  scrapped an older photo of my kids decorating Christmas cookies!  

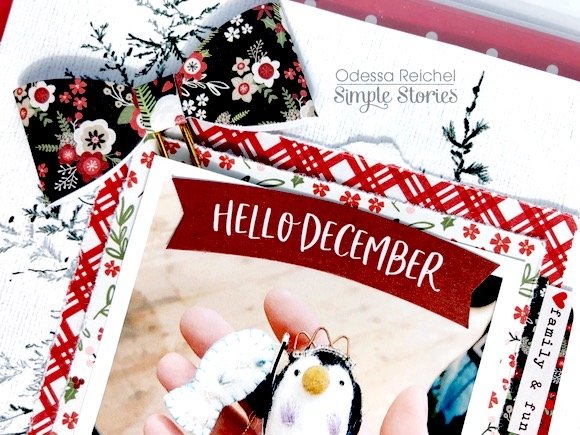
I  trimmed the B side of Winter Wishes down to 11x11 inches and adhered it to the eye-catching plaid of O Christmas Tree. I  then cut a piece of the Winter White/Dots from the Simple Basic Kits to use at the top half of my page.

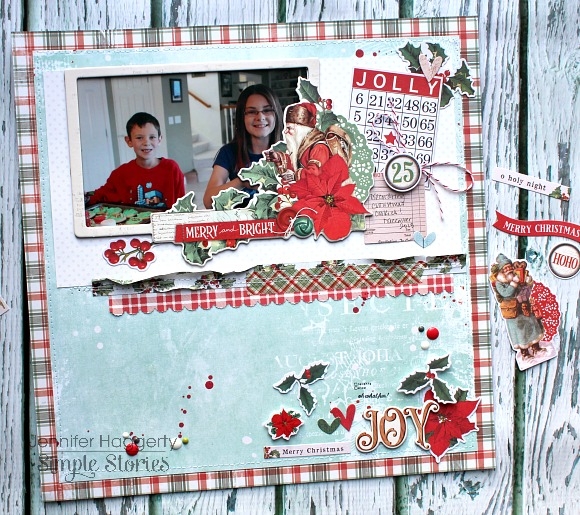
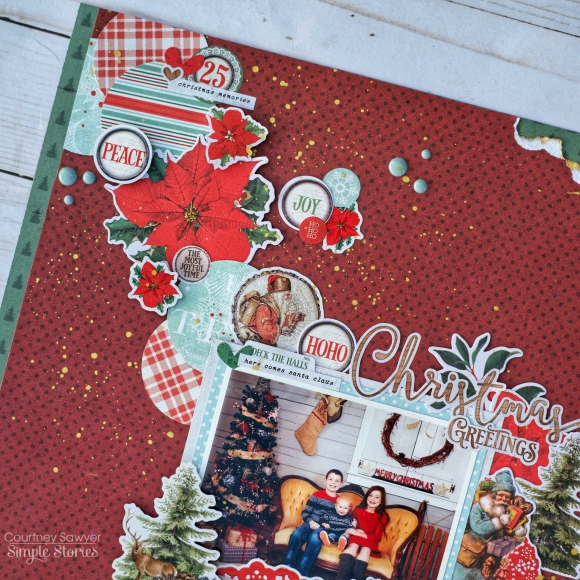
I  used a favorite border punch on a strip of the red and white checker of Wonderful Life at the bottom of the Winter White/Dots. I  also adhered a strip of the B side of the 4x4 Elements and stitched through with my sewing machine.  You can also spy one of the three Washi Tapes that are included in the collection! 

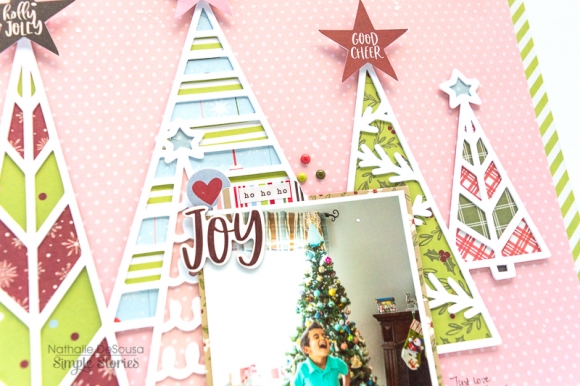
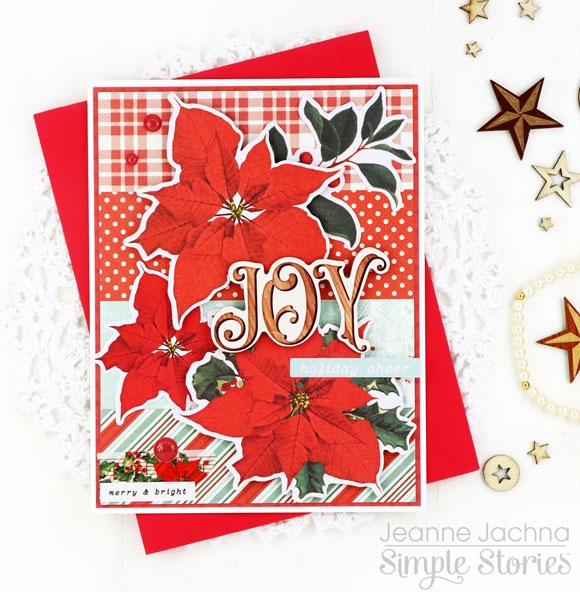
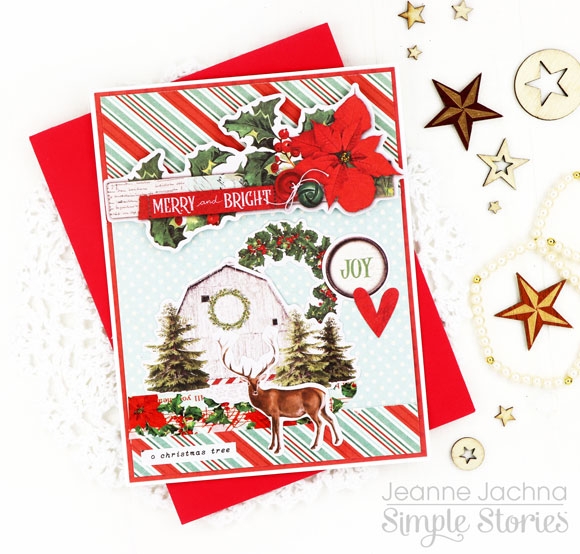
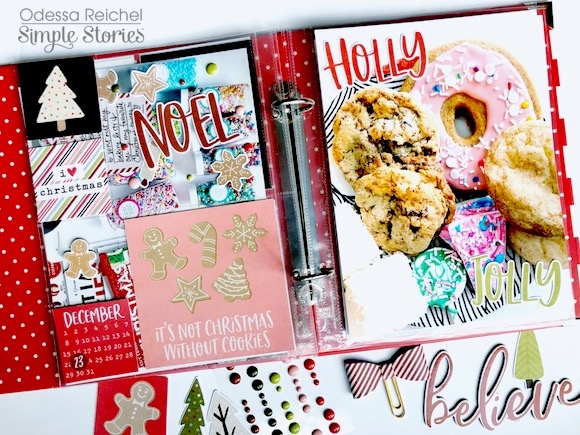
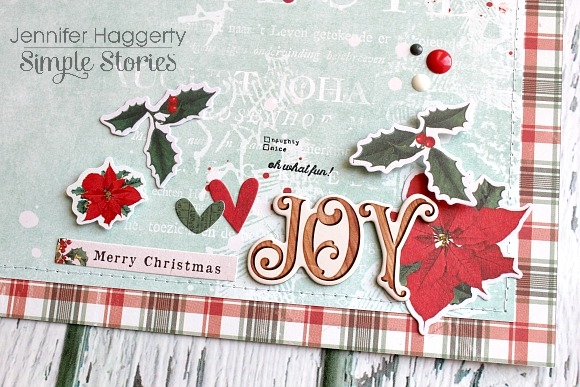
At the bottom left of my page, I  used the woodgrain script "Joy" from the 6x12 Chipboard for my title.  I  adhered die cut poinsettias and leaves from the Floral Bits and Pieces as well as added in die cut hearts and a sentiment from the Bits and Pieces pack.

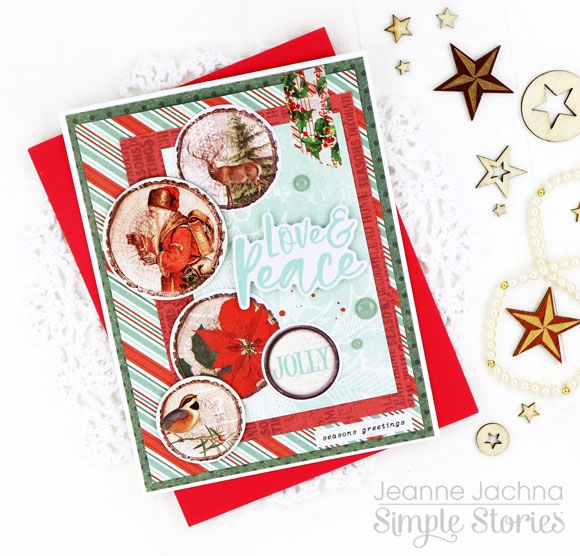
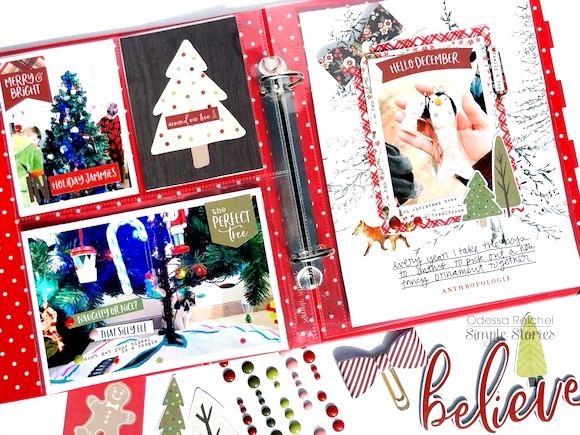
Also included in the collection are Layered Frames (which you have seen in previous lines).  You receive six different frames with varying sizes.  Here, I  used a 4x6 Horizontal Frame to fit my photo.

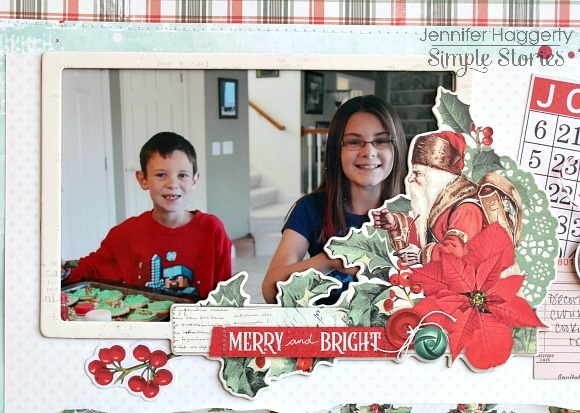
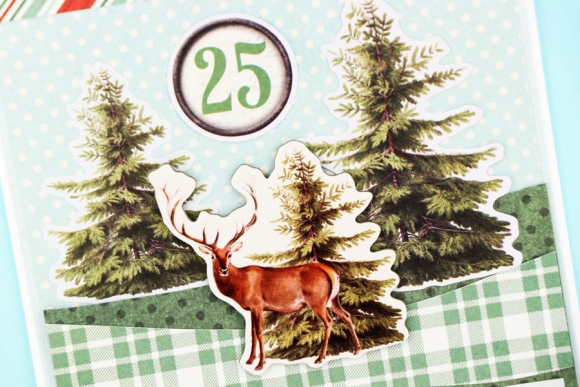
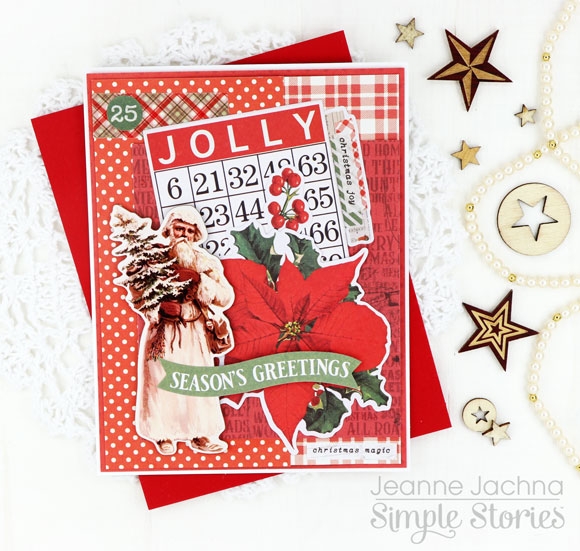
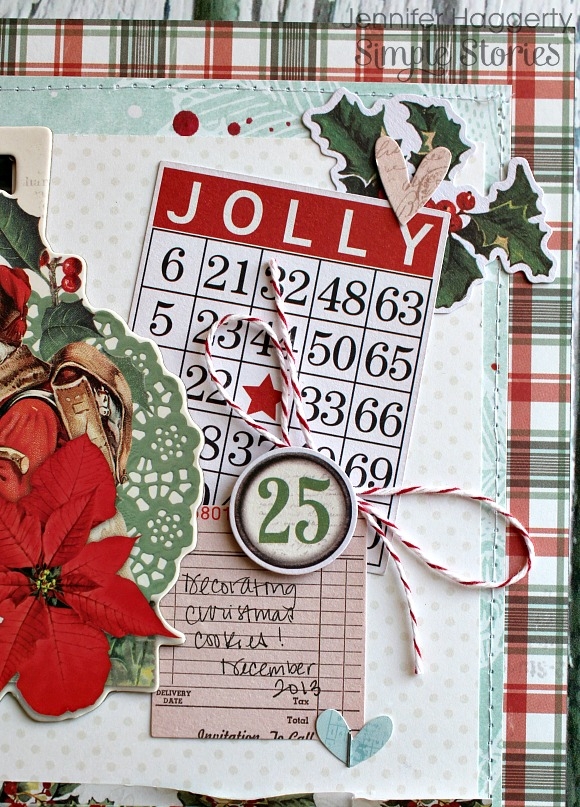
  I   love the Jolly Bingo Card from the Bits and Pieces and had to find a way to used it! I  tucked it under the edge of my Layered Frame as well as added the cute pink ticket for journaling.  I  popped up the circle "25" with foam tape and placed in between my two die cuts.  

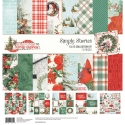
Thank you for stopping by the blog today! You can check out the collection in its entirety by clicking HERE.  Have a great day!


Supplies

Even though I'm not a kid anymore, there is still a lot of anticipation and excitement in the days leading up to Christmas and one of my favorite ways to document that is with a December Daily! You can include a simple photo or memento along with a bit of journaling for each day through Christmas or even for the whole month and by making your December Daily mini in size makes it easier to log a memory for each day .

The new Simple Stories Country Christmas collection is full of gorgeously detailed vintage and woodland images that would make any project beautiful. Besides all of the stunning papers in traditionally classic Christmas colors, there are a ton of beautiful embellishments, including lots of numbers, that make creating a page for every day in December a breeze!

For my December Daily, I made a double sided card for every day and added numbers of varying shapes and sizes to each.  I knew all of these cards would be sitting in a decorative box and to give them more visual interest, I made each set of five a bit taller than the previous and used dies to cut fancy borders on the tops. Once all of the cards were done, I made a matching box from chipboard and more of the patterned papers!

Then each card was decked out and decorated with this fabulous collection. There are plenty of pockets, frames, tags and flip outs to hold all the special memories! These are the fronts of all the cards….

and this is the back of the cards!

These are just a few of my favorite cards in this December Daily but if you want to have a look at each and every card in detail, please visit my YouTube channel for a short video. I hope this inspires you to get started on making a beautiful December Daily of your very own!

Supplies

Hi there!

Nathalie with you today with a new layout that is all about those magical Christmas days.  I wanted to use the new Holly Jolly collection to document this happy memory of my nephew enjoying Christmas carols.   This new collection is just amazing, the colors, designs were ideal to document this happy memory.

My idea was to bring a colorful background that will use the beautiful designs of the collection, so i picked a cut file from Handipaper to create a cluster of Christmas trees on the page.

To add dimension to the page, i cut the trees three times from white cardstock and stacked them together, then backed each one of the trees with the beautiful papers from the collection.  I just love the colors and designs in the papers.

The papers in the  Simple Basics Kit are perfect to create backgrounds, so i picked the soft Blush/Dots serve as the frame for my page.   Once, i glued the trees to the page, i used the Journaling Bits and Pieces to add the stars at the top of the tallest trees.  Then backed the picture with the Home for the Holidays paper , nestled it in the background, and then added a cluster of stickers to  frame the picture.

To create the title of the page, first i added an extra Christmas tree (to help frame the title) and then used the alphas on the sticker tablet and a piece of ephemera to complete the title of the layout.

I created a small cluster of embellishments using stickers from the Sticker tablet and sticker combo sheet as well as ephemera from the journal bits and pieces.   To finish the page, i added a few lines of journal and enamel dots.

The new Simple Stories Holly Jolly collection is so beautiful and filled with amazing designs that it makes is so easy to document your memories.  Be sure to check it out.  You are going to love this new collection.

Supplies

Hi Simple Stories friends!  It’s Jeanne here today and I’m happy to share the new Country Christmas Collection!   If you’re a fan of traditional red and green, vintage images, and warm and cozy plaid prints then this collection is for you!  I’ve got EIGHT cards to share to day to give you lots of ideas for your holiday cards!

I made a few cards with scenes, hand cutting waves in green print paper for grassy hills adding chipboard and die cut bits and pieces as focal points.

I love the vintage images that make this modern collection seem like a classic. The bits and pieces include several banner sentiments perfect for card making and journaling.

I like to arrange die cut bits and pieces and chipboard on clear pieces of plastic the same size as my card base.   I mix and match pieces until I’m happy with how their arranged and then I slide different paper prints under the plastic to help me decide what papers to adhere them to.   Collage cards are my favorites because I can pile on lots of embellishments.

All of my cards start with a white cards stock base.  Simply fold an 8 ½ x 11” piece of card stock in half, cut it in half and you have two card bases.  I cut a slightly smaller matt of solid colored paper before adding my pattern papers.  Simple Stories Basics papers are perfect for these matts because they are color coordinated so you know everything will match perfectly.

These cards were all created using the 6x8 paper pad.  The patterns are the same as the 12” version but the prints are smaller.  One 6x8” sheet can be cut in half to cover two card bases.   The pad has lots of patterns and there are even some printed 3x4” journaling cards included for you to cut apart if you like.

This collection has two sets of bits and pieces die cut parts.  One set includes traditional images, sentiments and tags and the other is a gorgeous set of florals waiting to be arranged!

A mini sticker book is full of sentiments and images – what you don’t use on your cards you can use to decorate your monthly calendar or planner.  And YES!  There is even some washi  in a 3 pack that you can add to EVERYTHING!
 

The Simple Stories Country Christmas collection will have you dreaming of a traditional old fashioned Christmas spent with family and friends.

Supplies

Hi! Odessa here with some more Christmas SN@P! pages. Today I’m using the Holly Jolly Collection which is packed with fun!

The Simple Stories Striped Binders are my favourite albums to use for 6x8 scrapbooking so I was pretty excited about a new colour added to the line up! The red stripe binder coordinates so well with Holly Jolly. I love the striped exterior and polka dot interior as well as the nice metal corners on the binder. I kept it simple with a Holly Jolly chipboard flower sticker and a cute Bits & Pieces banner.

This is one of my favourite layouts in my December album so far! On the right I’ve filled my pockets with some photos from when we were putting up our tree. I added lots of phrase stickers in place of journalling and added a simple card with a tree on it. Throughout December I have a box that I fill with little bits from our life and notes so that when I finally get to working on my album I am totally ready. Inside my box was a sweet bag from when I was on our annual special ornament shopping trip which I used as the background for the page on the right. 

I mounted my photo on some cardstock that I tore the edges of to give it some dimension against the background. The layers gave me the perfect place to slide in one of the Holly Jolly Bow Clips.

On the bottom I made some clusters of trees, phrase stickers and emamel dots to balance out the layout and frame the photo.

The Holly Jolly collection has lots of cookies throughout it so it was perfect for documenting one of my favourite Christmas things, baking! I love that christmas cookie SN@P! card. I used one of the page protectors with spots for 4x4 photos just to use it. I also used a 2x2 calendar card on the bottom with one of the date stickers from the Sticker Tablet as a different way to date the layout. On the right I used a large 6x8 photo and kept the embellishing simple with a couple of cute handwritten style Bits & Pieces.

I love layers so sometimes I just fill a pocket with a few stickers or Bits & Pieces to let what’s underneath peek through. Here I used some Bits & Pieces inside my pocket and stuck some of the enamel dots on the outside of the pocket. 

I love to include recipes in my album so this layout is another one all about baking. On the right is another 6x8 photo with a journalling spot from the Journal Bits & Pieces with some cute icons sprinkled around it.

I used one of the journalling cards from Holly Jolly to add a cookie recipe next to a photo from a day well spent baking. The overall layout was quite busy so I kept it simple with an adorable SN@P! card on the bottom.

Supplies

We are always looking for ways to inspire you and what could be better than some spooky ideas on how to create with our Happy Haunting Collection!

Simple Stories is introducing all new FREE downloadable project idea guides! These guides will give you ideas and inspiration for layouts, cards, altered items, mini ablums, Sn@p! albums and so much more and will be available each month.

If you are not receiving our newsletters be sure to visit our website at www.simplestories.com and scroll to the bottom of the home page to sign up to receive notification of new releases, shipping dates and ideas and inspiration! Don't want to receive notfications or emails no problem! Just visit our website and click on the project download icon at the bottom of the page for this downloadable idea guide!

so if you are looking for a project or two to create this weekend? Download our FREE Happy Haunting Project Idea Sheet from the Project Downloads section on our website today!

Hey Y’all! It’s Courtney here with another layout and today I am using Country Christmas. This collection is so beautiful and vintage. It’s has the perfect Christmas colors.

I used the 6x8 paper pad to punch my 1 inch circles, I love how the prints are smaller and you get more in the circle. I paired those circles with all of the ephemera that I picked out and set it up  diagonally. I added a few other pieces of ephemera to add detail. I used the Christmas Greetings from the mini sticker tablet.

The background paper is the Scarlet/Dots paper from the Simple Basics Kit and it’s cut down by ½ inch on the sides so I could layer it on the 2x2 element page.  I fished the layout by ripping two spots on the top and bottom and adding some gold splatters. I hope you get inspired by this layout.


Supplies

Good morning everyone! Anya here today sharing two projects I created using one of my favorite collections this year – Simple Vintage Country Christmas!

With these projects today I wanted to share one of my favorite tips I go back to when creating. It's not a special technique or an unusual way of using products, but it's more about time saving! Do you ever feel like sometimes it takes more time to clean the table then to create a project? Sometimes I do! I like starting a new project with a clean table, it takes a lot of time to clean between each of them. Well, my tip for today: create a card or two while you have your supplies all over the table after creating a layout. For such cards I use the same color scheme and sometimes even scraplift a part of the  design. I found that once my mind is set to something specific, it's so much faster and easier to create another little project with the same supplies.

I loved the soft blue and green shades in this line and used them to record a Christmas Tree shopping tradition. I knew I would want to use that green polka dot paper for the card later, so I cut out about a 9” square from the middle of that 12x12” patterned paper.

I decided to keep the card pretty simple, basically repeating the background design from the layout. For the focal point of the card I used one of the 3x4” elements and decorated it with a few popped up die cut pieces.

Hope you'll give this tip a try next time you sit down to create. When you are creating a layout, it's always great to get a bonus project done!

Supplies

Pages