Decorative Planner Elements for Fall
Hello friends and hello fall! Leah here to show you how I’ve added touches of my favorite season to my planner using the Hello Fall collection. I cannot say enough just how much I love my Ivory Carpe Diem planner! I know darker colors tend to be more popular for fall and winter, but the warm neutral tone of the Ivory really compliments and emphasizes the beautiful colors in all of the Simple Stories Fall and Winter collections. Doesn’t the Hello Fall collection look so warm and cozy against the Ivory?!
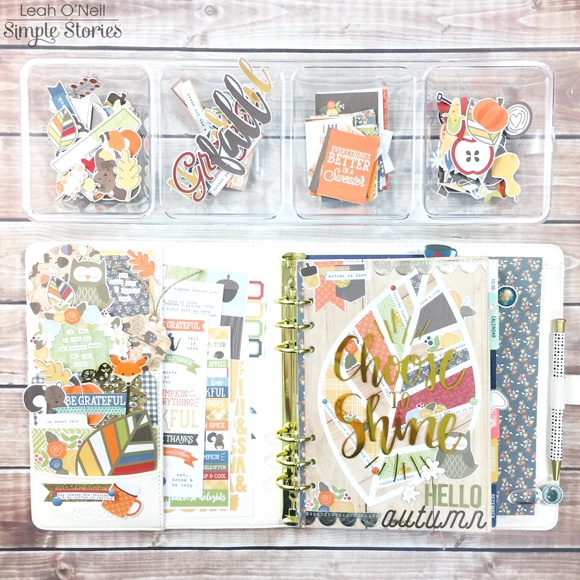
The Hello Fall collection is full of adorable seasonal designs and sweet little woodland creatures! My favorite design is the leaf with all the colors of the collection in it. You will notice the leaf design reappears several times throughout this post!
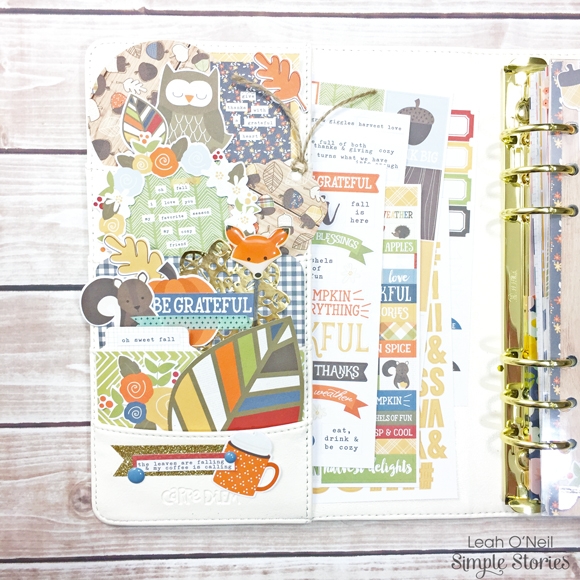
In my front pockets, I used several pieces from the SN@P! Pack: a couple of the 2x2 cards with fun fall sentiments on them, a couple of the 3x4 cards to provide patterned backgrounds, and several of the ephemera pieces from the pack. The larger leaf in the bottom pocket was cut out from a card in the pack as well. If I wanted to, I could decorate my entire planner with one SN@P! Pack because there is so much product in each one!
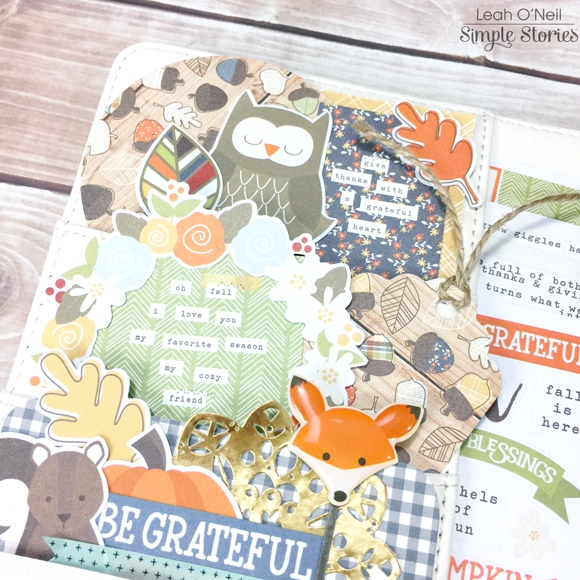
I also punched a tag and 3-inch circle from papers in the 6x6 paper pad for layering, and added some of the darling die cuts from the Hello Fall Bits and Pieces pack. How cute is that fox clip?! The decorative clips are one of my favorite products in all of the new Simple Stories collections!
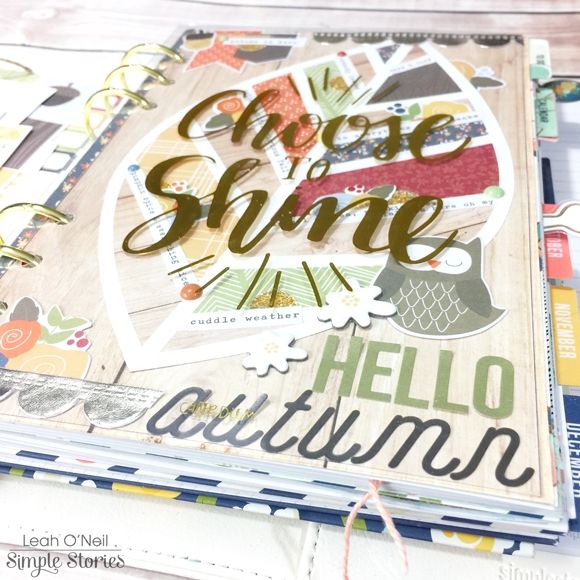
Under the clear “Choose to Shine” dashboard that came with my planner, I made a fall-themed dashboard to peek through. When I saw the “Celebrate Fall” 12x12 paper with that gorgeous leaf design on it, I KNEW I wanted to do something special with it! However, the leaf was too big to fit in my A5 planner. So I found the same page in the 6x6 paper pad and cut out the leaf so I could turn it to fit on the page. I cut down the “Falling for You” 12x12 paper to use as a background to adhere the leaf to. I added very little extra décor because I didn’t want to take away from the beautiful design, but I love how the little details turned out!
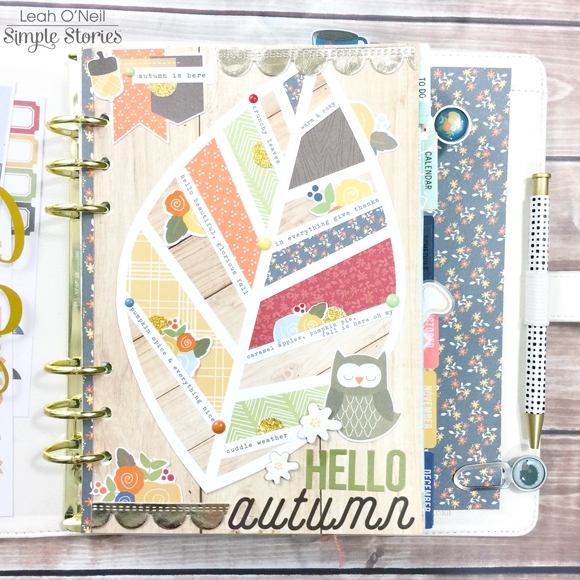
I arranged some of the word strip stickers from the Hello Fall sticker pack into the white vein areas of the leaf. All the sayings are fall-inspired! I also added some enamel dots and cut a few floral stickers in half and tucked them around the word strips for a little more interest. Up at the top of the page, I added the die cut flags from the Bits and Pieces pack and an acorn sticker. The gold scalloped ribbon is from my craft stash.
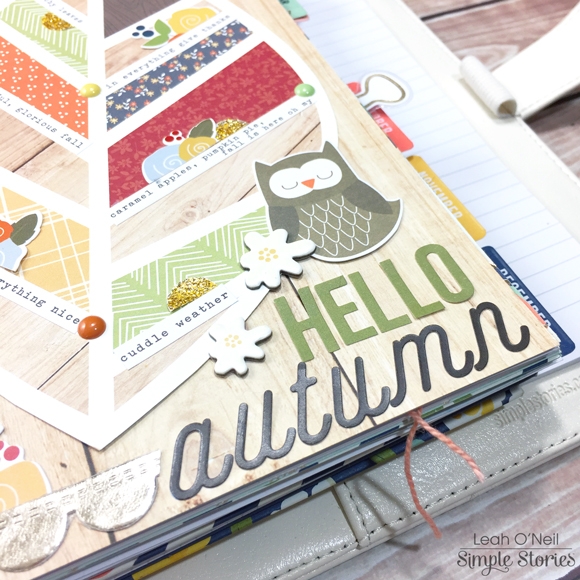
At the bottom of the dashboard, the owl is from the Bits and Pieces pack and the little white flowers are from the chipboard sticker sheet. The letters that spell out “autumn” are from the Hello Fall 12x12 cardstock sticker sheet, and the green letters that spell out “Hello” are letter stickers from the SN@P! Color Vibe collection. Whenever I stack letters like this for a title on a page, I like to combine different fonts because I think the contrast creates a bolder statement that attracts the eye.
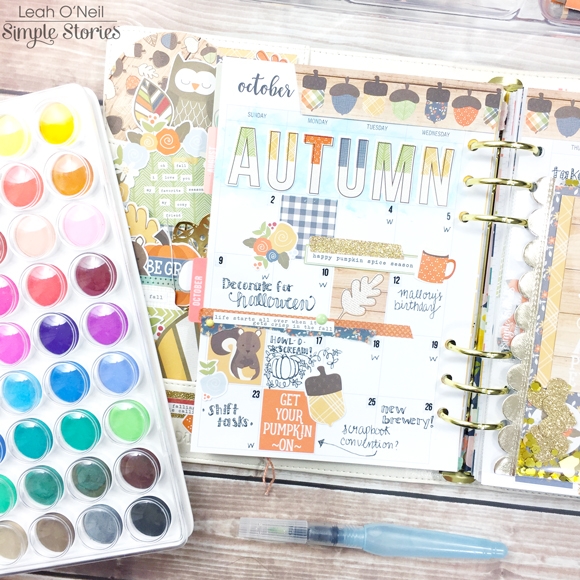
My October monthly pages were a blast to create! I love adding a little mixed media into my planner here and there. I mixed a few watercolor shades to create the light blue shade that you see under the big alphas that spell out “Autumn.” These alphas are from the 12x12 Cardstock Sticker sheet.
I decorated the rest of the layout with stickers from the Hello Fall sticker pack, the Hello Fall washi tapes, and die cuts from the Bits and Pieces pack. I brought more of the blue watercolor into the bottom right corner of the layout to create some balance. The acorns across the top of the pages are cut from one of the elements sheets in the 6x6 paper pad.

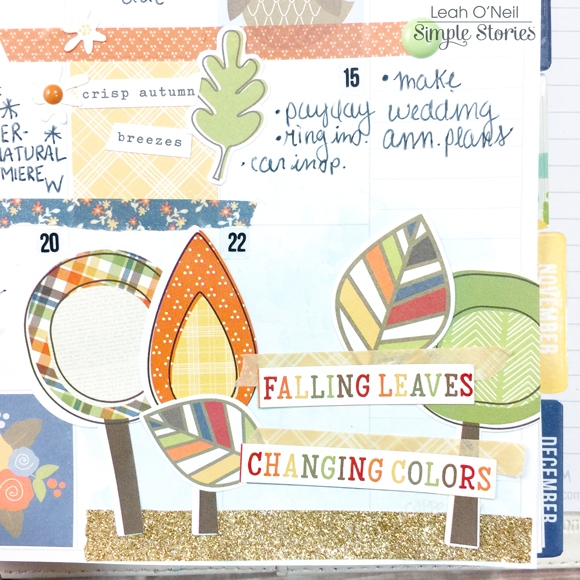
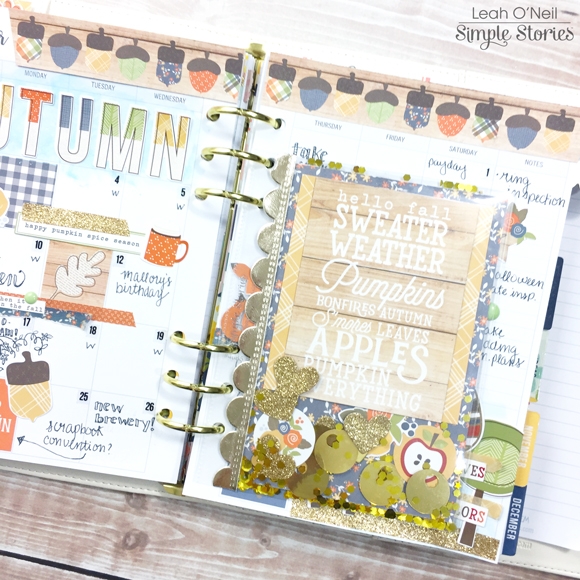
The next decorative fall element I made for my planner is a shaker pocket! It was SO easy to make! I started with a clear 4x6 pocket page, chose a few of my favorite SN@P! cards, and gathered a few sparkly things from my stash.
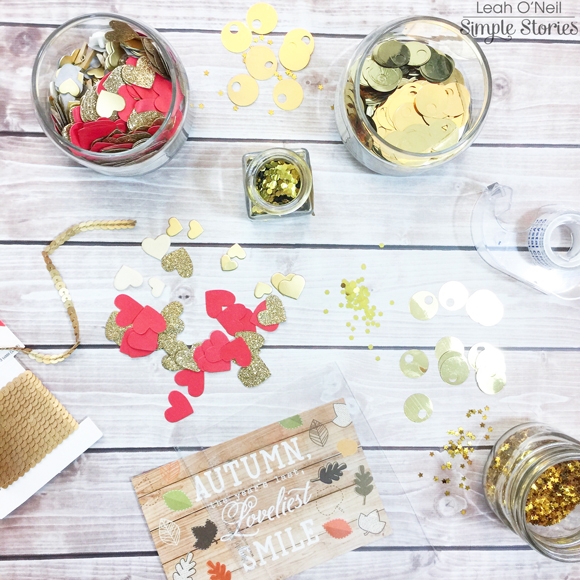
For the front side, I layered a few cards from the SN@P! Pack and just started putting various gold sequins and glittery hearts into the pocket, as well as couple of small die cuts. To seal the top, I used plain old, clear Scotch tape. I added a little more of that gold scalloped ribbon along the side as a finishing touch.
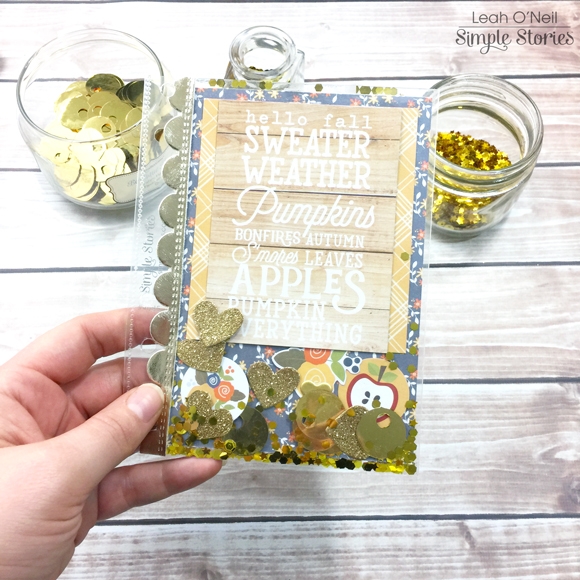
For the back of the pocket, I chose another one of my favorite 4x6 SN@P! cards and added some gold sequined string. I didn’t add any other bling into this side of the pocket, but some of the glitter came through from the other side and I love it!
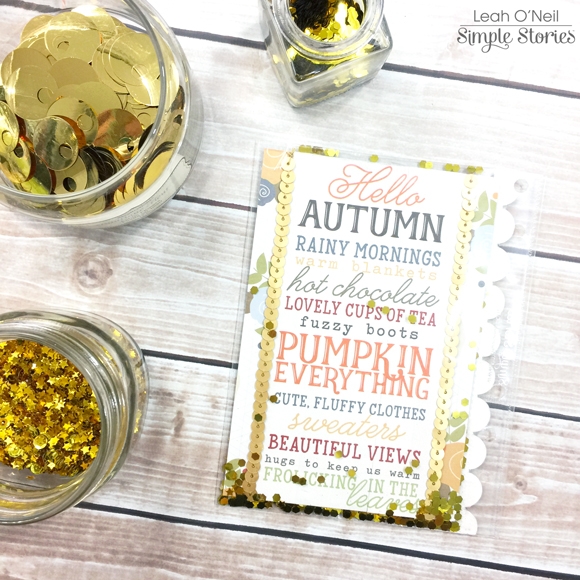
Here’s what the shaker pocket looks like in my planner! How sweet, right?!
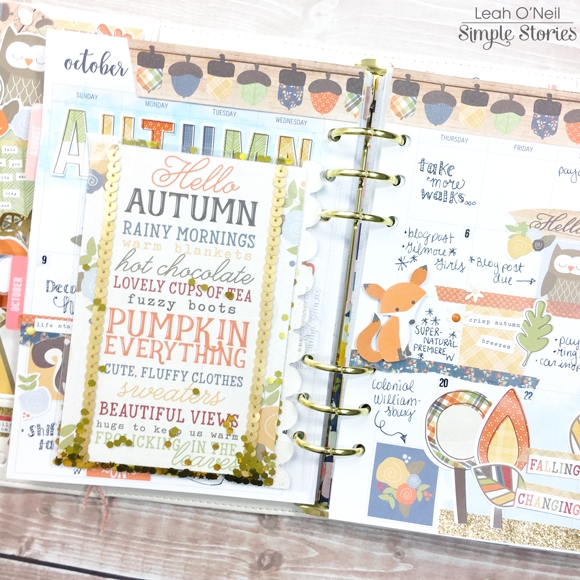
I am really feeling inspired to use the Hello Fall collection throughout the season on all my weekly layouts! For the first week of October, I used lots of Bits and Pieces die cuts and the Hello Fall washi tapes. I cut all the flags from different patterned papers in the 6x6 paper pad. The notecard on the left is from the SN@P! Pack, as is the green card on the right with the flower. The flower itself is from Heidi Swapp and sprayed with her gold Color Shine spray. I cut about half an inch off the length of the card and rounded the corners so the card became part of the layout, rather than covering half the page.
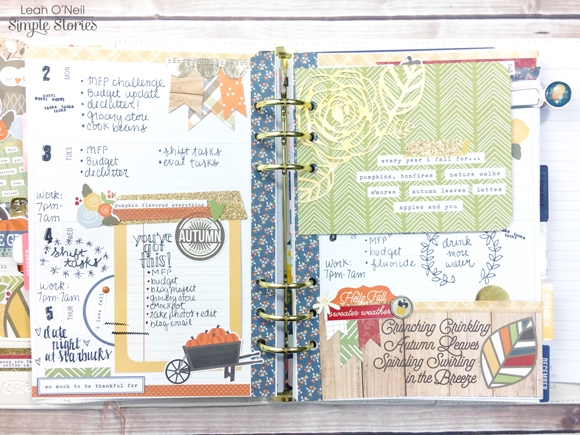
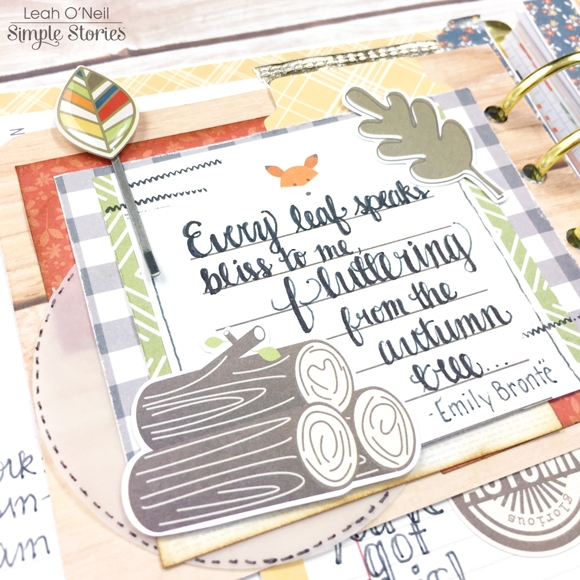
On the other side of the green card, I had a lot of fun with lots of layering! I started with a 3x4 SN@P! notecard and cut it to be slightly shorter to fit the space better. I then used several scraps from 6x6 papers I had cut earlier to start layering behind the notecard. To add some dimension, I inked the edges of the orange paper scraps. I also used a 3-inch paper punch to punch out a vellum circle to tuck into the layers, and added some faux stitching around the edge with a black sharpie pen. I added a couple of die cuts and a decorative paperclip, and stamped the stitched pattern from The Reset Girl roller stamp. I then chose a fun Fall quote I found online and lettered it onto the card.
The right side of my weekly layout has more Hello Fall stickers, die cuts and washi tape.
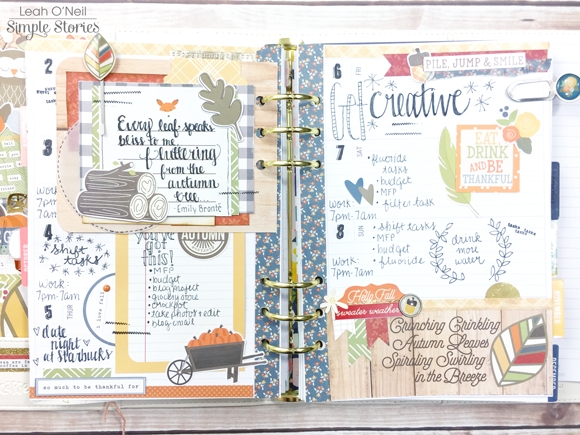
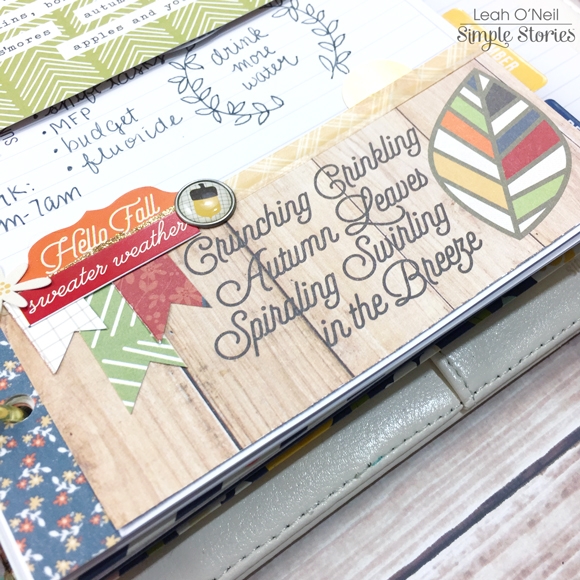
The bottom of the page is a strip cut from a paper in the 6x6 paper pad. I used some washi along the top, added a die cut tab, a decorative brad, a couple of cardstock stickers and more of the paper flags I made with paper scraps.
I really cannot get enough of this collection! I will be happily using it all season! The designs are so beautiful, and all the quotes perfectly capture the magic of autumn. If you haven’t “FALL-en in love” with this collection yet, go check out the Carpe Diem Planners Instagram for some more deliciously fall-themed planner décor! You can also check out my Instagram to see more of my Hello Fall projects coming up!


