I love creating a grid design to showcase lots of little elements on a page. On this layout, it was a great way to incorporate many of the pretty patterns from the Beautiful collection.

11-2_W

I added some cut floral shapes to the corners of my grid to soften all the straight lines in the design.

11-3_W

Each piece of the grid is a miniature canvas that I decorated with an assortment of chipboard, journal strips, stickers, die cuts and buttons. 

11-4_W

I also added machine stitching to a few of the grid blocks - it adds a bit of texture and a handmade touch!

Supplies

Hello everyone ! It's Mindi here with you today. I am so excited to be sharing some December pocket pages that I have created using the new collection called Very Merry. Let's get started shall we. 

This first set of pages is all about us writing Santa Letters. I really loved pairing up all the Santa themed products in the collection. 

Our wonderful Elf had surprised the kids with Frozen movie tickets one year. This set of pages is all about us going to the movie. 

Included in the album are these wonderful insert pages. I really loved this plaid December word page. I left it mostly plain and only added a few embellishments here and there. 

For my last set of pocket pages that I want to share are all about hot chocolate. Our elf had brought the kids new hot cocoa mugs. I couldn't resist using this beautiful hot cocoa mug insert page. I propped up the silly elf label with some pop dots for some dimension. 

I added a few more hot cocoa photos on the other side. That candy cane heart card was simply perfect. 

HelloFall-1_W

I knew the Happy Harvest Simple Set would be the perfect pairing with my pumpkin patch photos. The only problem is which cute pattern to choose! I ended up selecting a floral, a stripe, and a gingham, along with an orange paper from the Old School Simple Set.

HelloFall-2_W

One of the 3x4 cards made a quick and simple title for my page.

HelloFall-3-W

To create a page border, I punched circles from various colored cardstock and topped them with lots of the stickers from the set. A few buttons complete the whimsical accent.

HelloFall-4_W

So grab your fall photos and the Happy Harvest Simple Set and get creating!

Supplies

Hello everyone!

I hope you all are enjoying the Fall season, and all its splendor (at least here in the Northern Hemisphere!).   Nathalie with you today bringing you a new layout created with one of the new Simple Stories "HAPPY HARVEST" collection.

All the colors and designs in the Happy Harvest Simple Set are perfect to document our Thanksgiving memories.  For this I am using a Just Nick Studio to create the background of the  page.   All those leaves are the perfect background for the picture of my kids on Thanksgiving.


All the stickers in the set, as well as the designs in the  cut apart cuts are perfect to create small clusters around the layout.  To add the title of this page, i pulled the large chipboard sentiment from the Vintage Blessings collection.


I hope that you all are inspired by the colors and designs of the new Simple Stories "HAPPY HARVEST" collection.  The collection is perfect to document all those special Thanksgiving memories.  

See you all soon!

Supplies

Vintage Blessings
 
Hello Everyone. Jomelle here with you today on the blog sharing my Vintage Blessings Planner Set-Up in my Blush A5 Planner.
  I started by making a dashboard. I love making new dashboard for all the seasons and holidays. I like it when I open my planner and see all the beautiful planner goodies together. 
I used the "Grateful Heart Black" planner decal as the main focus of this page and I decorated around it.  I used one of the papers from the 12x12 cardstock for the stripe on the bottom of the page.
 I always enjoy decorating my planner pockets with all these beautiful bits and pieces and chipboard pieces. I love all the warm fall colors.
 Here is my weekly layout for the last week of November. This week is my daughter Juliet's 2nd Birthday. 
 Close-Ups
 
Thank you for stopping by and hope to see you next month. 
Follow me for more inspirations on my Instagram @J4Fashion


Supplies


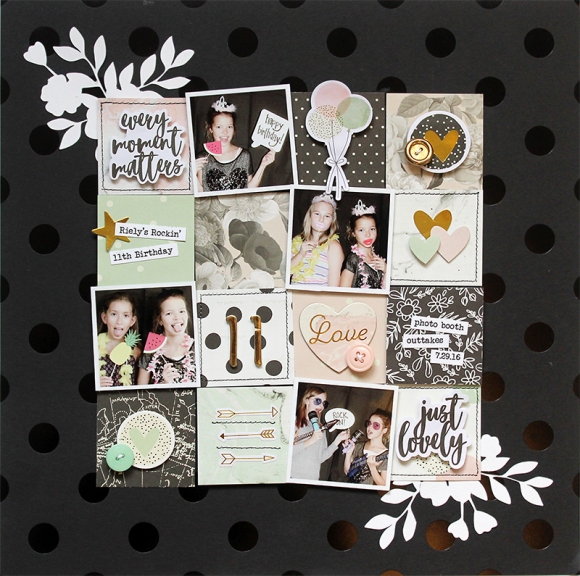
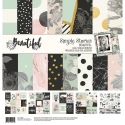
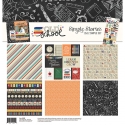
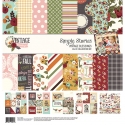
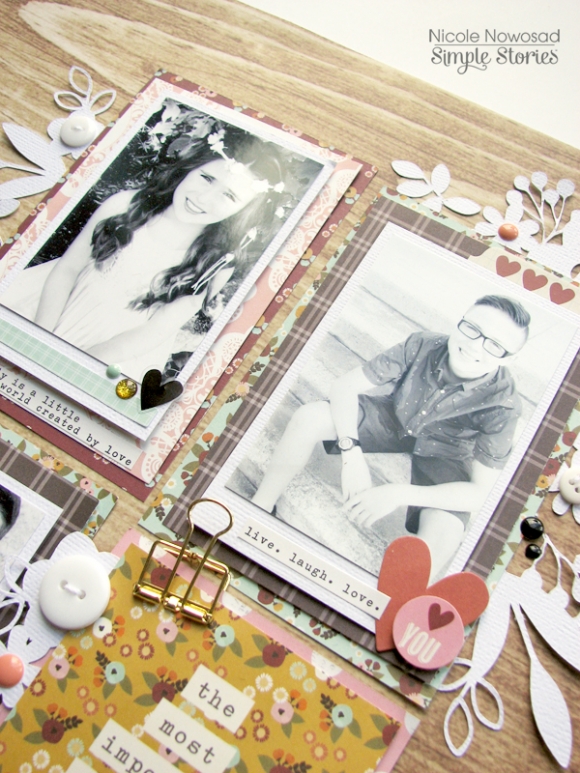
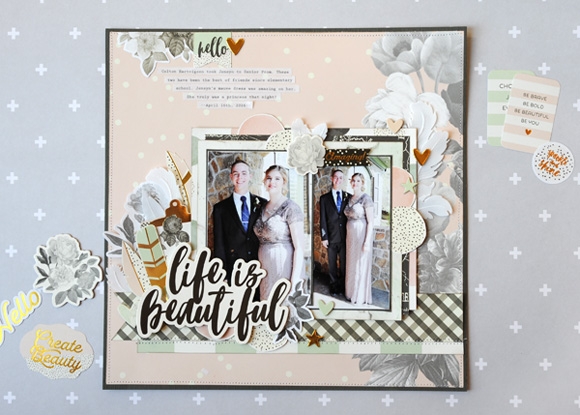
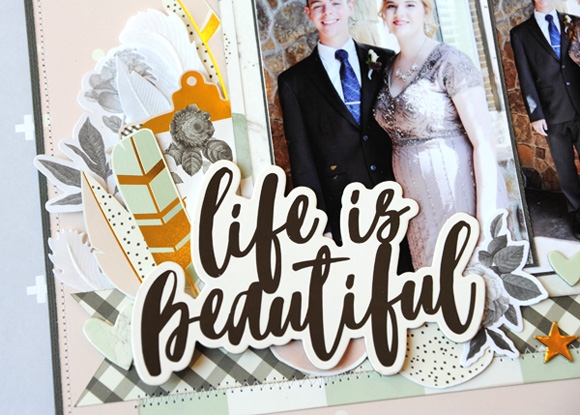
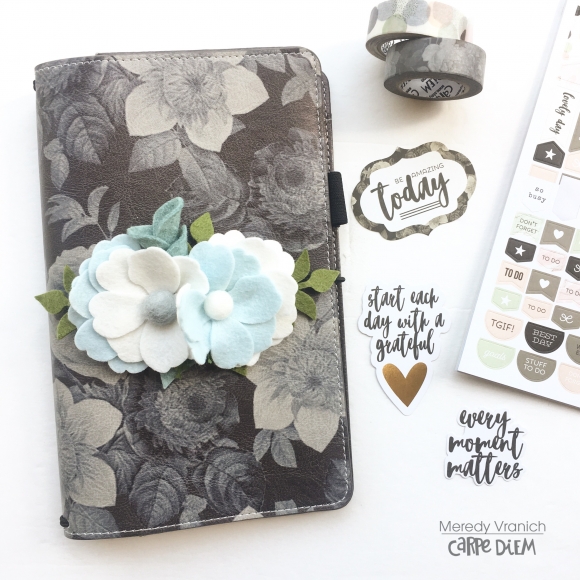
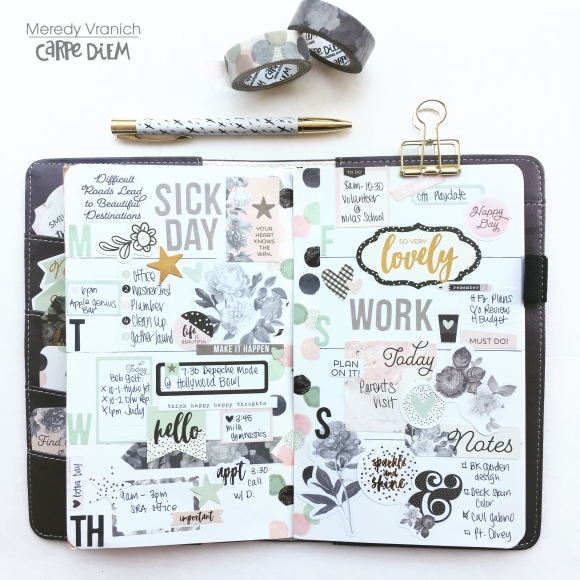
Hi, It's Lisa back with you today. I've been having fun recently with the most beautiful collection, which rather fittingly is called 'Beautiful'. 
 
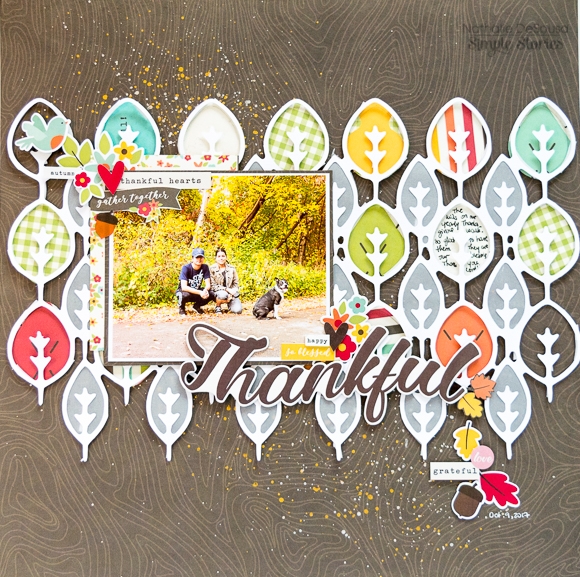
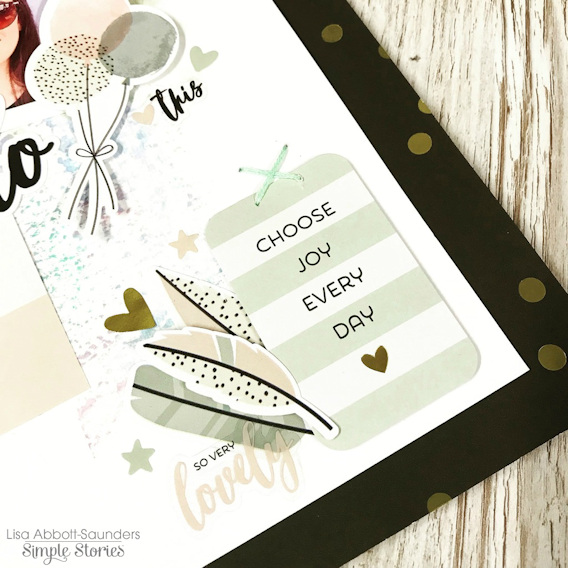
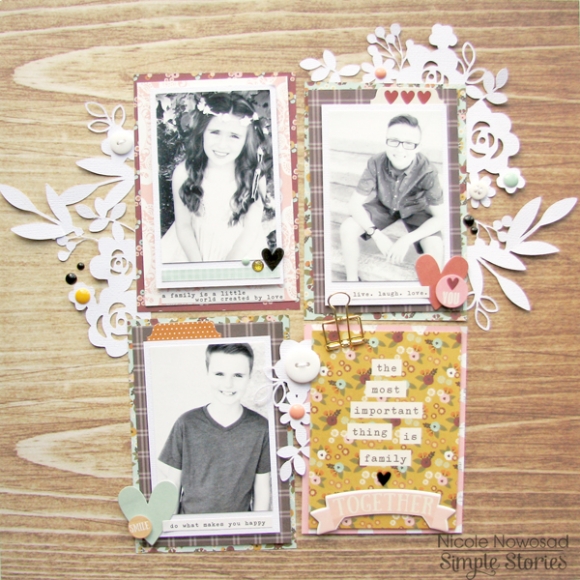
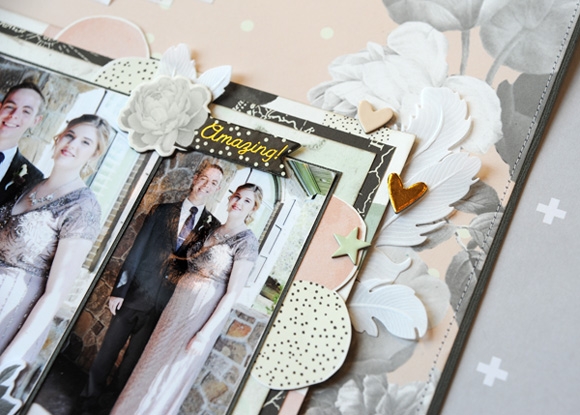
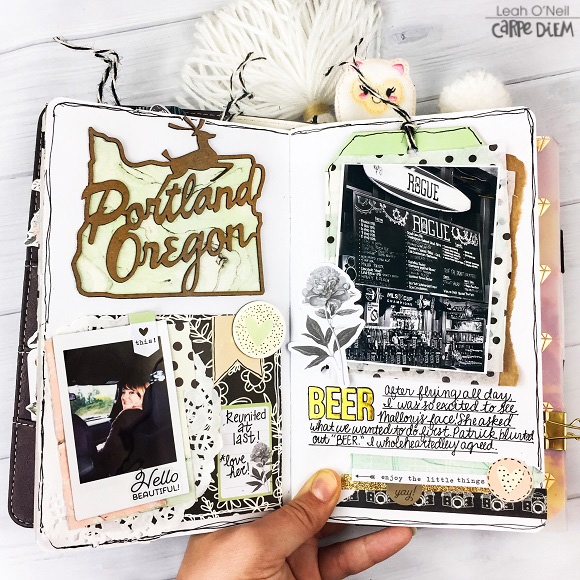
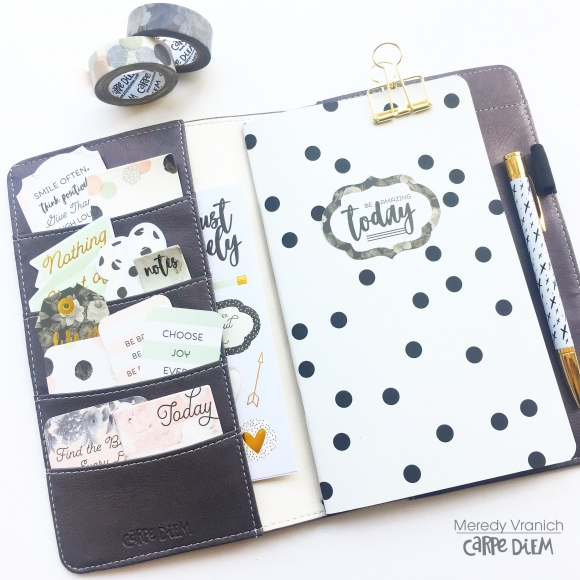
It's a very subtle collection with soft pinks and mint green with a strong black contrast which goes really well. I decided to use a piece of the spotted black 12x12 pieces to frame my LO to really help it stand out. That along with the black spotted heart in the centre is so eye catching.


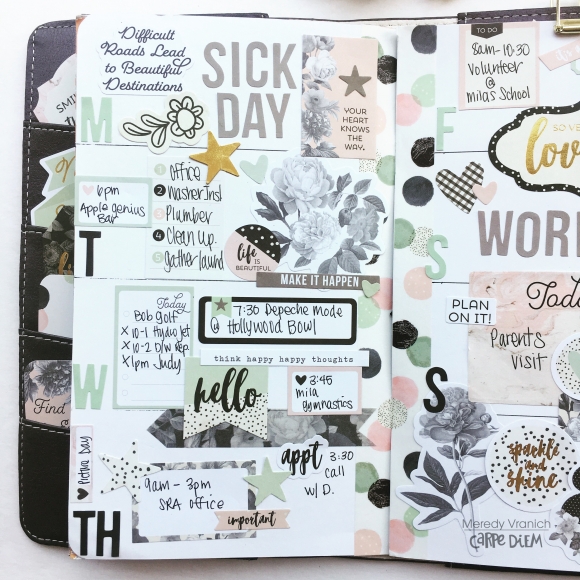
The large black heart in the centre comes from one of the 8x6 patterned papers. I trimmed it down and took a craft knife to the right side of the heart and ran it along the side of the heart so that I could slip my photo neatly underneath. 


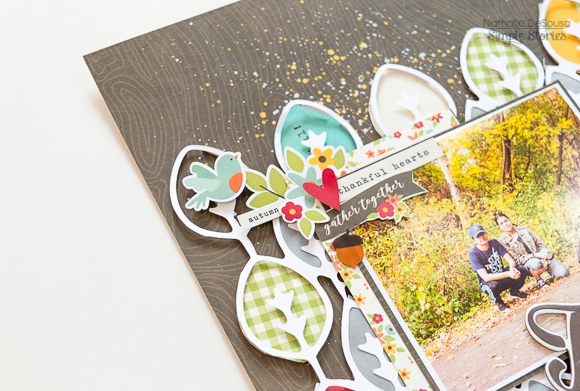
I used lots of the stickers from the 12x12 sheet and the 4x6 packs and some of the bits and pieces too. The clear sticker packs also worked really well here.
 
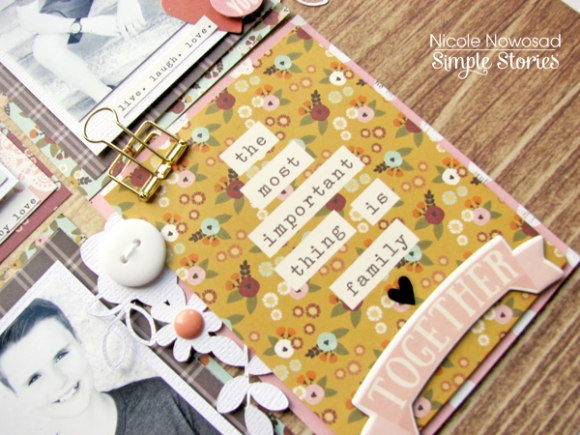
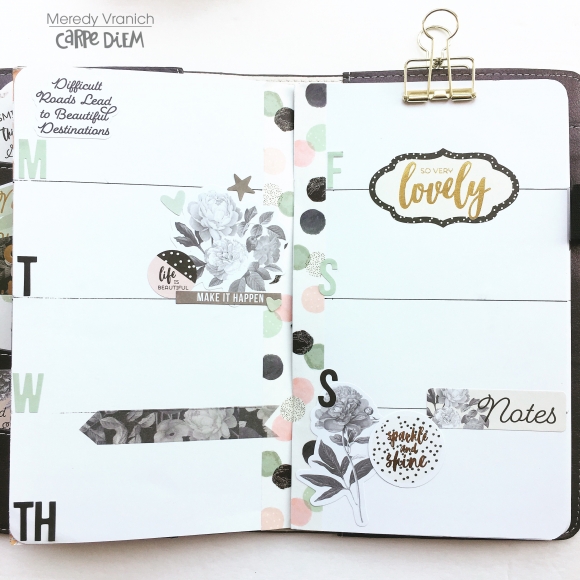
To add an extra pop of colour I used a little acrylic paint on my page and matched some green embroidery thread to the green from the collection. Not only does it add a little extra colour but I love the added texture that it brings to the layout. 


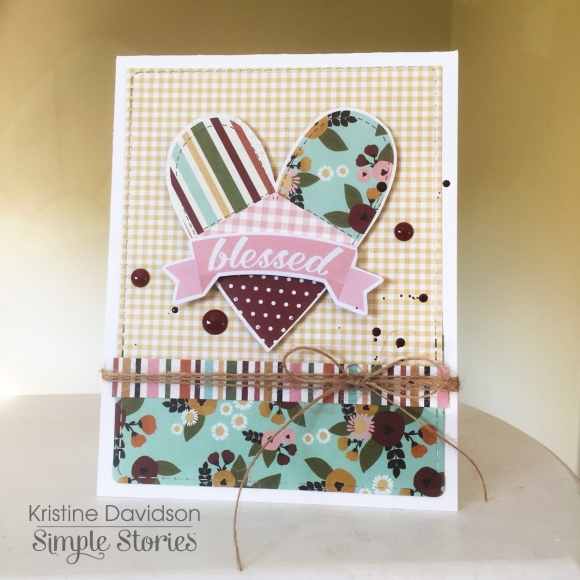
I sewed along the top of the 6x8 paper here and tied the thread in to a bow at the end. I really like that pink/green contrast. It just goes so well.


I'm really pleased with this soft, gentle, girlie page.  
I do have a video here if you would like to watch how I created it and I also open up whole of the 'Beautiful' collection that I received if you would like to see what everything looks like. It's a stunning range.
 
Thanks so much for joining me today.
Have a 'beautiful' day!!


Supplies

Hi friends! Linsey with you today sharing my latest project, a home décor piece to display throughout the Fall and Thanksgiving season! I hope you enjoy! 

The Vintage Blessings collection is so beautiful and versatile! It is absolutely perfect for this time of year, as it evokes a sense of warmth, gratitude, family and home. I wanted to showcase the many different pieces of this lovely collection and found a way to do so with this vintage-style 3D shadowbox. It is filled to the brim with some of my favorites things, like the rose pattern tea set, yummy pumpkin pie and sweet birdie perched atop a tree branch. The 4x4 element "so very blessed" was chosen to center the piece because it simply says it all. 

A delicate white doily, pretty ribbons and mulberry flowers were added and they all coordinated beautifully with the papers, die cuts and stickers from this collection. A few pops of black achieved with clear stickers completes the display. 


And that's all for me! Thank you so much for stopping by and allowing me to share my vintage blessings shadowbox with you! I hope you found a bit of inspiration in it! Have a great day and happy crafting!

Hello Friends! It's Kristine Davidson here today and I'm sharing a few more cards that I created with the NEW Vintage Blessings collection.  I really enjoyed creating these cards since this has such a mixture of patterns and those colors are just perfect to mix and match with.  Do you need a quick Thank You card? Maybe a Thanks for Being You Card ? You can create those by using this collection. 

Here are 3 more cards I created - 


You can easily change the " titles " of these cards and create Birthday Cards with them. If you simply replace the current bits and pieces that have the words blessings or blessed you can change the theme of the card by adding other stamped titles or other bits & pieces you have in your stash! 

Let's see those cards !! 

Thanks for visiting today and please tag us on Instagram @SimpleStories_ and you can also visit me @KristineDavidson

Supplies

For my fall set up I decided to have a switch round and use the A5 Marigold CarpeDiem planner, the colour is perfect for an Autumnal set up.

You can see here how I chose the Happy Harvest Collection, just look how fabulous the colours work together!

I have stuffed the pockets full with papers from this collection and also used some of the fun stickers, how cute is that Fox!

I always like to make a dashboard for each new set up and here I’ve used the pretty floral paper which I’ve then layered up with some of the cut a parts from the journaling card sheet and stickers from the 6x12 sticker sheet.

In the close up above you can see the layers including the doily and the faux stitching I always like to add.

On my monthly spread I really wanted to add the pumpkins which were on one of the journaling card sheets, so I fussy cut them out and layered on top of some washi...and of course I put faux stitching around with a black fine liner!

Hope you’ve enjoyed looking at my Happy Harvest set up.

Supplies

On this new project I used a similar color scheme to my last blog post but totally used a different collection. This time, I chose to work with Vintage Blessings for a bit of a fall touch to my project!

You can see that there are some great similarities in the colors on this page too, that lovely warm golden color, mixed with burgundy, some brown and even a hint of pink too! I love the wood grain background in the Snap Basics collection and pairing one of the woodgrain patterns with the color in the Vintage Blessings collection is PERFECT!  

I used another journaling card for my title on this page, sometimes it is the simplest and best way to finish off a grouping of photos on your layout! I added a few diecut flowers from white cardstock to soften up the grid that I created on my layout.

Supplies

Hello Friends! It's Kristine Davidson here today and I'm sharing a few cards I created with the NEW Vintage Blessings collection.  This is a great collection for those Thanksgiving invitations, Thank You Cards, or really any other themed card. 


Using a few pieces of paper and some bits & pieces will gives you the option for creating so many beautiful cards. You can also use your left over pieces to create cards. 

Thanks for visiting today and please tag us on Instagram @SimpleStories_ and you can also visit me @KristineDavidson

Supplies

This month I used the Spellbound collection kit to journal in my black vintage rose floral travelers Notebook.

I added some of the 12x12 Wood & Gingham basic paper to make doiles and stickers to embellish my journaling page.

I absolutely love this collection and it was so much fun documenting some of my most precious memories in my Travelers Journal.

Supplies

The Beautiful collection was the perfect choice for scrapping these photos of my daughter and her Senior Prom date. It's the perfect blend of class and elegance!

I used this large chipboard phrase as my page title, and then fussy-cut the clipboard and feathers from the 3x4 Elements paper as layers behind it. 

I also cut out the large dots from the Simply Wonderful paper to tuck in between the 6x8 paper layers behind the photo. Die cut vellum feathers add more texture.


I hope you enjoyed my post today! See you next time!

Hello creatives! Leah here with you on the blog today. I recently took a vacation to the West Coast and brought along my Vintage Floral Traveler’s Notebook to use as a travel journal on my trip. I had a few ideas brewing for how I wanted to document this trip and how I could incorporate this journey as content for my YouTube channel. Relaxing on vacation has a beautiful way of clearing the mind and making room for new creative ideas. I came up with so many ideas on the trip for new content that I decided to launch a Creative Travel Journal Series on my YouTube channel.

The first video that went up in the series showed how I used the Beautiful collection to decorate the cover of the notebook insert that will be housing my vacation memories. You can check that video out here. I chose the Beautiful collection as one of the collections I wanted to use throughout this journal because not only is it absolutely gorgeous and one of my favorite Simple Stories collections of all time, it’s also very neutral so I can add in other collections or little mementos from my trip without having to worry about colors clashing.

For this post, I am sharing with you the next process video of the YouTube series. In this one, I am documenting some of the memories from my first day in Portland, Oregon visiting my best friend. Again, I used mostly the Beautiful collection to decorate this layout. I picked up the “Portland Oregon” chipboard piece (made to look like the iconic sign located in the city) from a well-known craft store in Portland called Collage. Check out the process video below!

https://youtu.be/VVVQfWaWU8E

Here is the finished layout:

If you’d like to follow along with my travel journal series, be sure to follow me over on Instagram and subscribe to my YouTube channel. Lots of new content in my Vintage Floral traveler’s notebook to come! You can also see all of the other creative ways people are using their Simple Stories traveler’s notebook over on the Carpe Diem Planners Instagram account. Until next time friends, happy crafting and happy Halloween to those of you who celebrate the holiday!

Hi everyone! It’s Tara from Secretbees Studio and I’m here to show you how you can take your favorite Simple Stories paper collections and create your own Travelers notebook! Travelers Notebooks are not just for journaling- they are so awesome for collecting memories, thoughts and mementos and you can fill them with pictures too.This gorgeous notebook showcases the 'Beautiful' paper collection from Simple Stories along with its stunning stickers, chipboard and Bits and Pieces!

I used sturdy chipboard to create the covers and spine of the notebook along with a few other supplies like sticky back canvas, bookbinding tape and elastic cord. I also added some plain paper inserts to my notebook that I covered with more of the gorgeous ‘Beautiful’ patterned paper. 

There is also a hand crafted paper insert in the center of this notebook with folding pages, pull-outs and pockets! More room for all of your favorite memories using the papers and embellishments from the collection! Please visit my youtube channel for a full video tutorial on how to create this beautiful Travelers Notebook! Thanks for visiting!


Supplies

There is something about fall that makes me think of deep rich colors. Must be the warm sweaters and crisp leaves falling all around us this time of year! I decided to use that color palette to create some pages using different Simple Stories collections.

For this layout, I couldn’t resist choosing Happy Harvest to work with. I mean, it screams fall right! I chose various papers in the collection and even added in some other patterns from non-fall themed collections. Just because it isn’t meant to be fall themed, doesn’t mean that it doesn’t work right?

I chose to reign all those patterns in with a leafy-flower diecut background, using smaller pieces of each pattern to fill in the flowers on my project.  Not only is this an easy way to gather several patterns of paper together on one page, but it’s a great way to use up those scraps from other projects too!

I just had to use this adorable fox journaling card for part of my title and added a simple die cut scripty font title to finish the page.

Hello, it's Meredy, and I hope you all are having a great Fall. Last month I showed you how I set up the Aztec Travelers Notebooks and I just love how it's been working for me. So much so that I tried it out with another TN, the Beautiful Vintage Black Floral. Isn't it GORGEOUS!

This Notebook is part of a whole line of products and there is practically everything a Carpe Diem planner girl could want: Washi Tape, a Sticker Tablet, Bits and Pieces, and Sticker sheets. The inside of the TN is a dark pewter--so beautiful!!! I loaded up the pockets with items from the Mini Sticky Notes page and Bits and Pieces. 

The notebook included with the TN is unlined and it is so easy to make a weekly layout. Just draw a horizontal line every 2 inches, add some washi down the middle and embellish! 

The great thing about the Sticker Tablet is it has so many stickers that you can use to help plan your week. There are box stickers, arrows, stars, todo lists all perfectly sized. 

There are plenty of pretty florals and motivating sayings to put a pretty up your page. 

Thanks for stopping by and taking a look!

A spookalicious welcome to you today to the Simple Stories blog! Chantalle with you to share a page about some super cute trick-or-treaters, using the ‘Spellbound’ Simple Set.

The background of this page incorporates some hexagon shapes which I have punched in to some white cardstock. Behind the shapes, I have placed some orange circled paper (this one comes from the Summer Days collection). I then used the different patterned stripe print of ‘Something Wicked’ and ran the strips in and out of the hexagonal shapes.

Now the base was ready and I could go ahead and embellish to my spooky hearts content!

I’ve added a touch of watercolour painting over some stamped pumpkins, some fussy cut elements from a sheet of 3x4 & 4x6 Journalling Card Elements and almost a whole sheet of the fabulous ‘Spellbound’ cardstock stickers.

Some machine stitching and typed journalling strips add the finishing touches.

Thanks so much for joining me today.


Happy Haunting!

Pages