Hi everybody! It’s Lori, marketing manager at Simple Stories, and today we’re talking about planning!
Everyone is loving our latest release of Carpe Diem planners and Travelers Notebooks! With so many options now available, we’re hearing the same question from lots of you, “How do I choose which planner is right for me?”
Oh my. Decisions, decisions.
If you’re one of those people who aren’t sure which route to go when it comes to choosing a planner, ask yourself a few questions to get you started on the right track:
What’s the planner’s purpose?
This is the first question you should be asking yourself when selecting your planner. How will you use your planner and what will be the purpose of the planner? Everyone plans, plots and tracks goals in different ways. Some people want to track appointments and to-dos. Others want to doodle and dream. The purpose of planning will guide you to the planner that’s right for you.
What size?
Will you be carrying your planner with you daily or is your planner going to stay on your desk? Do you tend to record lots of notes throughout the day or do you only write minimally? Does it need to fit in your purse or will any size do?
Which binding type?
Do you want to add pages to your planner on your own or do you want everything pre-designed and bound together in one notebook? Do you want a fold-over, spiral-type planner, or would you prefer more of a binder?
What’s my budget?
Planners come in a wide-range of prices. Binder-type planners are more expensive because of the hardware mechanisms, and they are easy to customize. Spiral planners are less-expensive, but you can’t do too much to personalize the contents.
Now that you’ve got some ideas in mind for using your planner, let’s quickly review each of our Carpe Planner types so you can make the right decision for you!
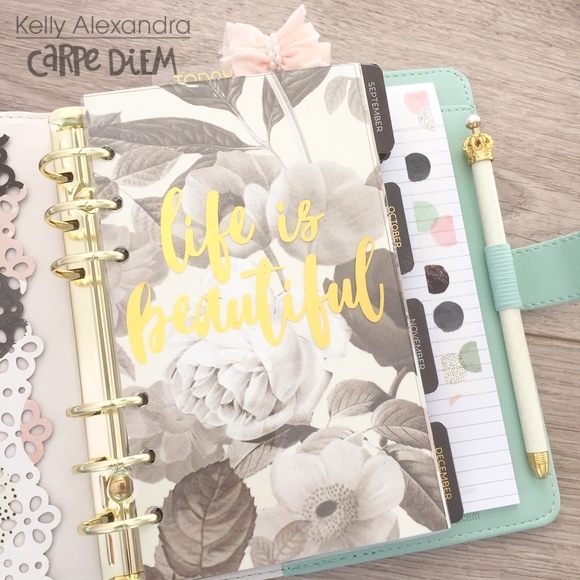
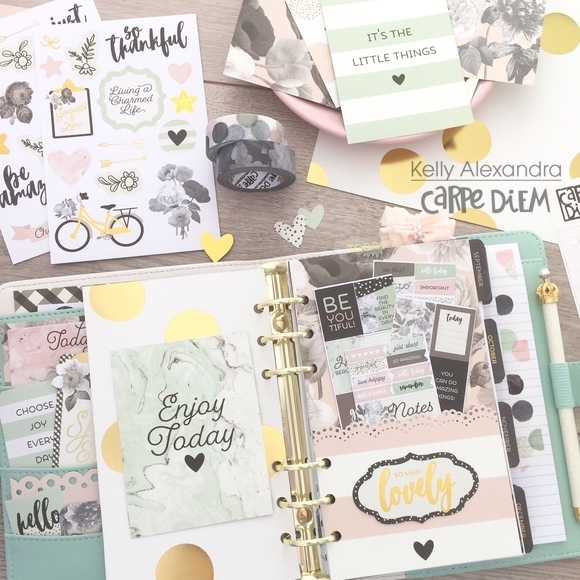
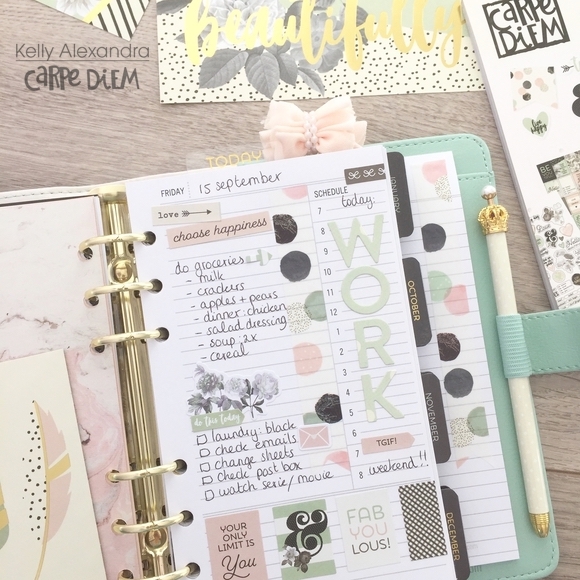
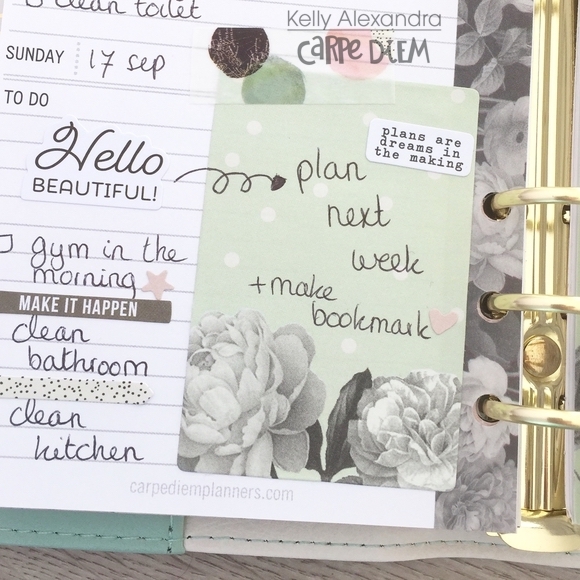
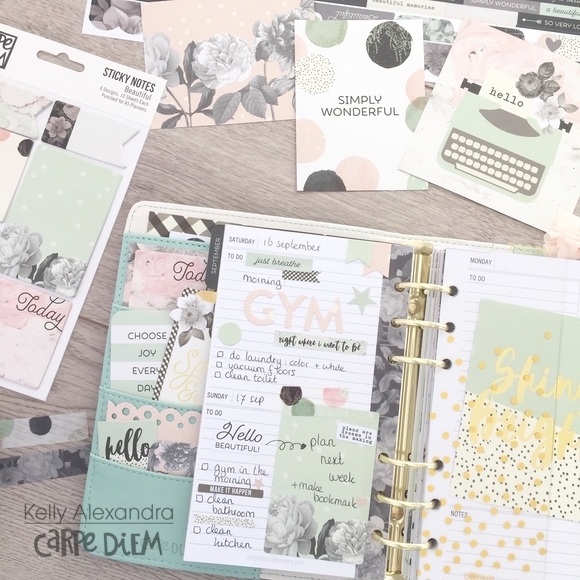
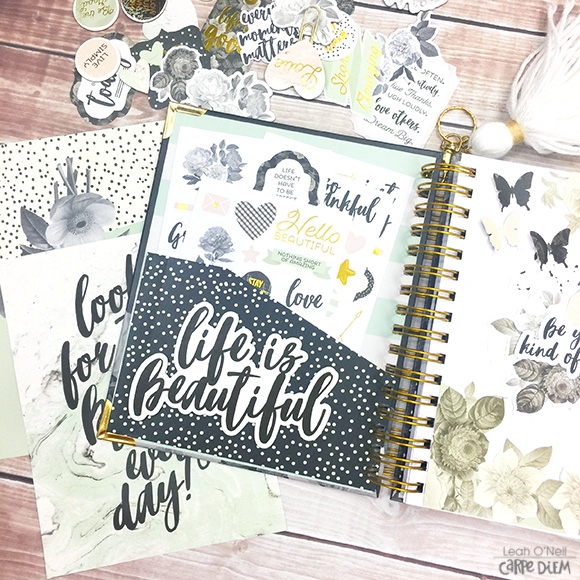
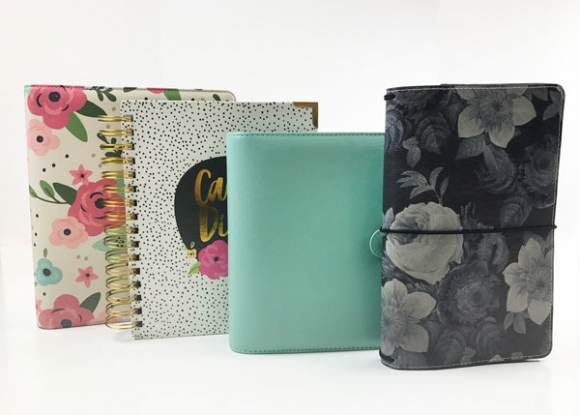
Carpe Diem A5 Planner
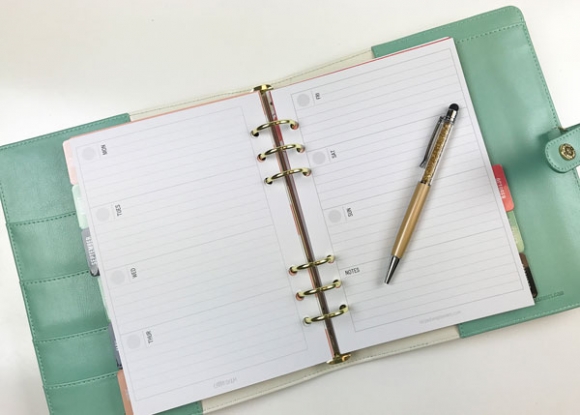
Our Carpe Diem A5 Planner is our beloved first-born. We have a special love for this baby of ours, and many people have found that this planner is a perfect fit for them. With lots of insert types to choose from, this 6-ring planner is customizable for everyone. Whether you use it for hourly appointment scheduling, fitness tracking or menu planning, there are insert options available to make your planning easier. And if you have our Carpe Diem A5 Punch, you can add any papers you’d like so you have all of your important items in one place.
The Carpe Diem A5 Planner measures 8 inches wide by 9.4 inches tall. At 1.375 inches deep, there’s lots of room to add pages to your planner so it’s just-right!
Select an A5 Planner if you:
· Want customization options with inserts and tabs
· Want to add additional pages to your planner to fit your needs
· Want a wide selection of colors and prints
· Want to plan a few months at a time
· Want a larger area of paper to record items, notes, etc.
· Want to track monthly important dates, goals, birthdays, to-dos
· Plan hourly appointments
· Track to-dos

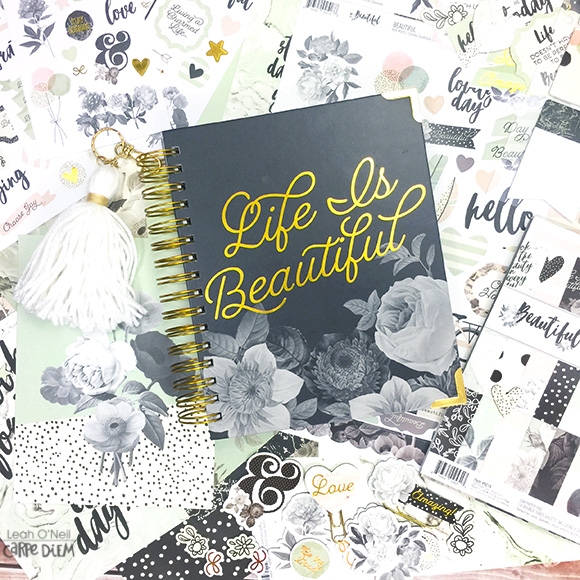
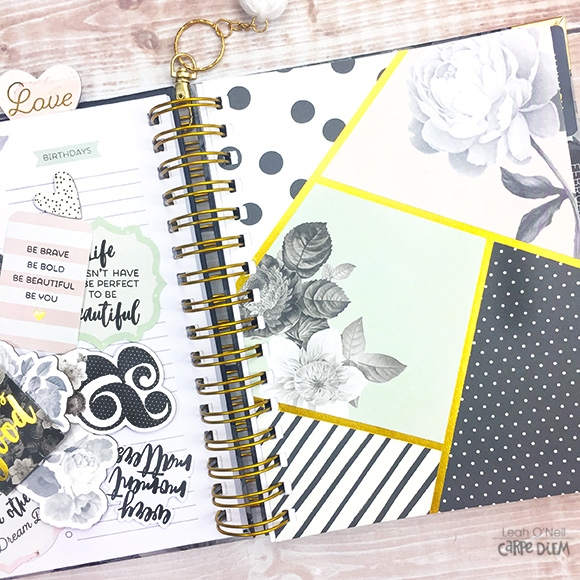
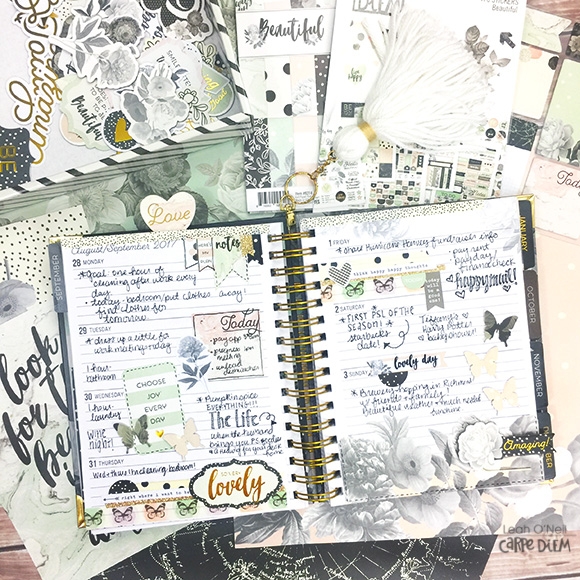
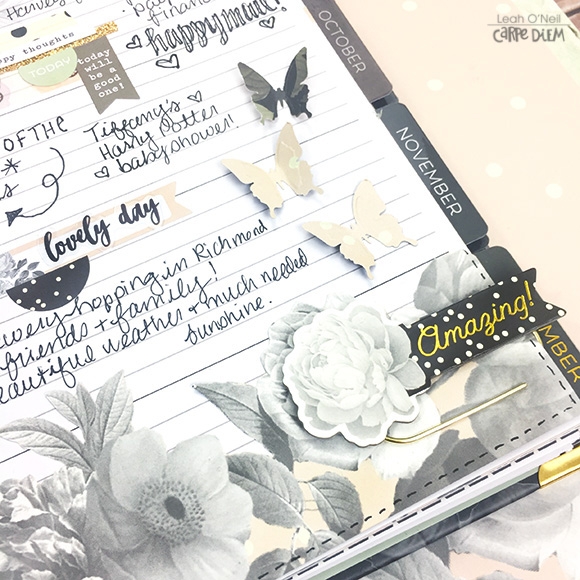
Carpe Diem Spiral Planner
Our Carpe Diem Spiral Planner is one of our latest additions to the Carpe Diem family. We are thrilled to introduce a gorgeous planner at an inexpensive price point for our customers who are looking for a grab-n-go option. Our spiral planners are beautifully designed with pages you can fold over and keep compact on your desktop. This option is perfect for those people who are looking a planner with 16-months in one notebook. Sticker sheets are included for coordinated decorating.
The Carpe Diem Spiral Planner measures 8 inches wide by 8.75 inches tall, so this notebook will fit in a bag or backpack with ease.
Select a Carpe Diem Spiral Planner if you:
· Want a 16-month calendar in one notebook
· Want an inexpensive option for daily planning
· Want to track monthly important dates, goals, birthdays, to-dos
· Want a spiral notebook with the ability to fold over pages
· Want a pre-designed planner & stickers in one grab-n-go package
· Plan appointments
· Track to-dos

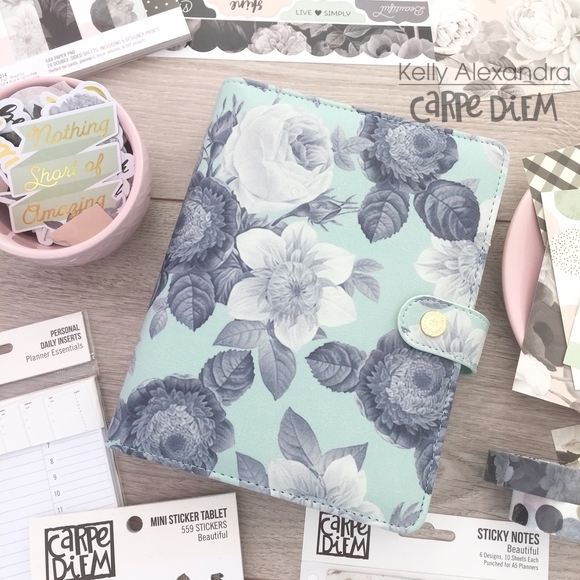
Carpe Diem Personal Planner
Our Carpe Diem Personal Planner is another of our new additions to the Carpe Diem family. Ever since we launched our A5 Planner in July of 2015, our customers have pleaded for us to release a personal sized option. Now we have, and everyone’s celebrating! Just like its A5 sister, the 6-ring Personal Planner has insert options to select from, and pages can be added to the planner to customize the planner for you and your needs.
The Carpe Diem Personal Planner measures 6 inches wide by 7.5 inches tall. This compact planner is perfect for carrying in a purse or bag!
Select a Personal Planner if you:
· Want customization options with inserts and tabs
· Want to add additional pages to your planner to fit your needs
· Want a wide selection of colors and prints
· Want to plan a few months at a time
· Want a smaller, 6-ring planner option
· Want to track monthly important dates, goals, birthdays, to-dos
· Don’t need a lot of space to record things
· Plan hourly appointments
· Track to-dos

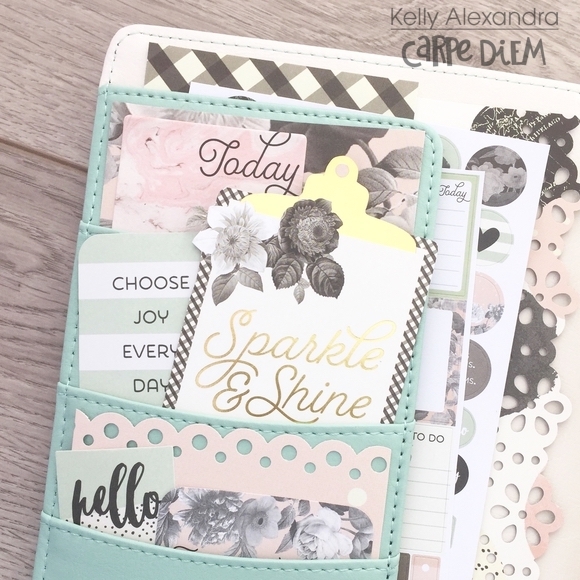
Carpe Diem Travelers Notebooks
The Carpe Diem Travelers Notebook is another great option introduced to the Carpe Diem family in our Q2 2017 release. While the Travelers Notebook is new to our product offerings, it’s certainly not new to the planning and stationery world. Made of high-quality simulated leather, the notebook itself is slightly flexible and expands to wrap around multiple Travelers Notebook Inserts. This notebook has an elastic band closure to keep all of your notes and books together in one tight package.
The Carpe Diem Travelers Notebook measures 5.5 inches wide by 8.625 inches tall. This notebook can hold multiple inserts and keep you organized in a completely customizable way.
Select a Travelers Notebook if you:
· Want freedom to customize the entire notebook
· Want to add additional notebooks to fit your needs
· Want a wide selection of colors and prints
· Want to plan, doodle, bullet journal, capture to-dos or dreams
· Want a smaller, flexible cover option
· Want freedom to record whatever, however you want
Hopefully we’ve been able to help you today so you can choose the right planning option that’s ideal for you. Remember, planning is very much a personal thing. Choose one system or multiple, the choice is yours. The most important thing is that you’re committed to planning and you’re having fun while you’re doing it!