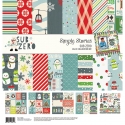
Hello Everyone! Jomelle here today and I cannot tell you how excited I am to share with you my Winter planner set up and layout using the Sub Zero Collection. I am from Chicago but I currently live in Southern California and this time of the year is when I miss seeing the snow the most. Even though I do not like driving in the snow, I must admit that the first snowfall is quite beautiful. Everything is so white and so beautiful.


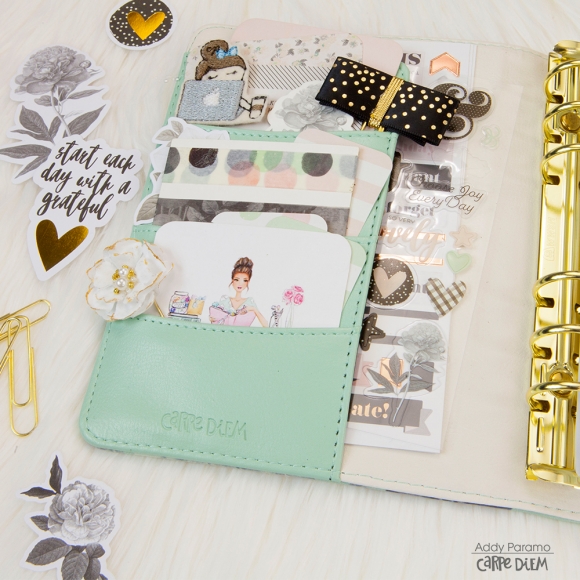
"Pocket Love" I get so excited decorating and stuffing my pockets every time especially if I'm starting a new theme. It always makes me happy when I look at my stuffed planner pockets. 

I love incorporating scrapbooking in my planner by making a dashboard. I cut up the 12x12 Elements and I added one to the bottom page. You will see in the next picture that I didn't glue this piece so that it can be flip over and I can add pictures or write a journal later.

I flipped the bottom part over as you can see on the left side of this page. This page has the space when I'm ready to add picture and to write my journal that goes with that picture.

 I've always love creating a new dashboard for each new set up to match. I used the pop up adhesive for the tram to add dimension and make it look 3D.

We may not get a Winter Season in Southern California, but this monthly layout gives me that "Winter Feel" 

 You may know by now that I love using the number stickers to add the dates. I like that it's undated so that when I add the dates, the color will match the collection I am using.

I used my envelope punch board to make this 6x8 envelope. I added the holes on the side so I can put it in my A5 planner. I will use this to store my stickers, ephemeras and other planner goodies I want to carry with me.

Thank you for stopping by. I hope you enjoy my Winter Set Up. Come and visit me on my Instagram at https://www.instagram.com/j4fashion/

Supplies

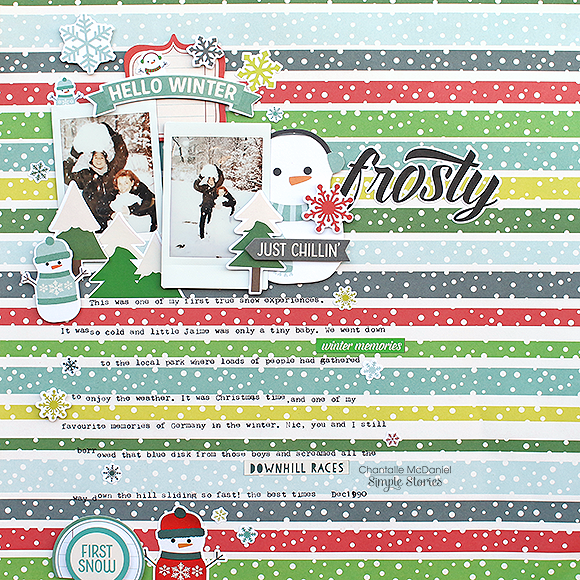
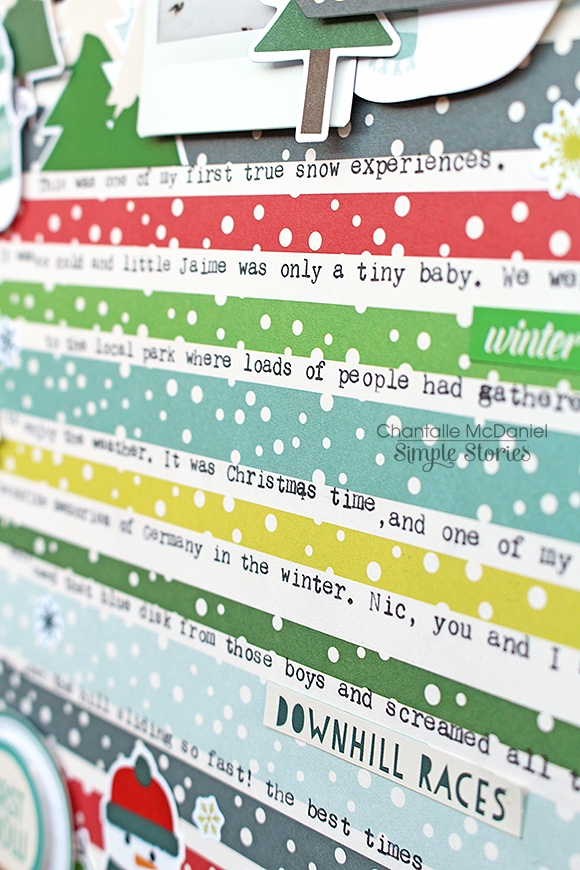
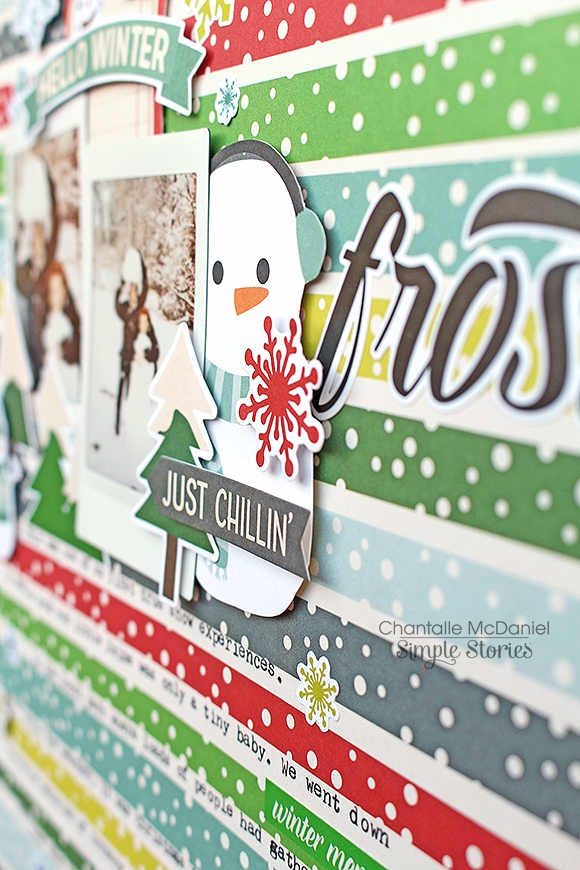
Living in the tropics, seeing snow is a rare treat! I’ve only had the pleasure of a winter wonderland a handful of times and it was amazing. Creating this page with Sub Zero has me looking forward to a day when my kids and I can frolick in the snow together!
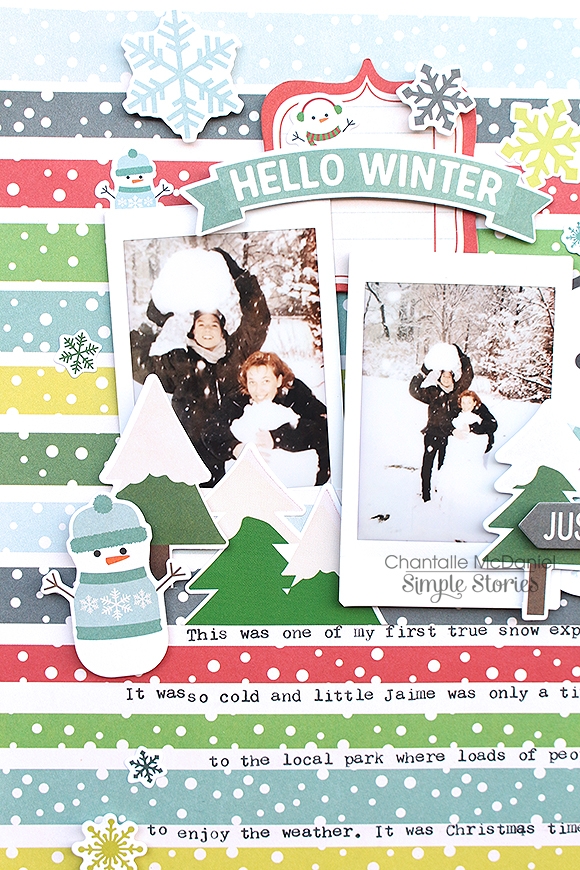
I’ve journalled directly on my background paper using my typewriter. The coloured lines alternating with white on this ‘Below Zero’ paper made for a fun alternative to printing my journaling out and adhering it to the page. 

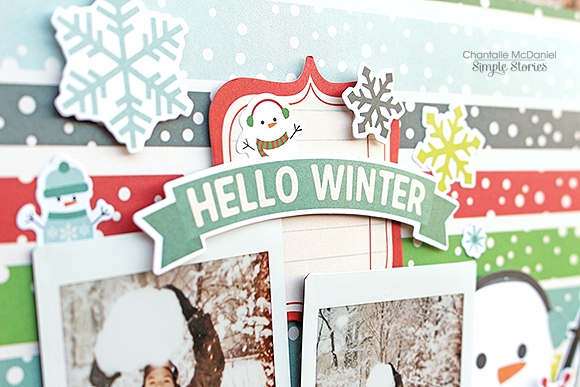
The little snowman elements were a great match for the snowman building pics. It was the first snowman I had ever built! I’ve used a combination of a larger, hand cut snowman from the 4x4 Elements sheet as well as some smaller sized ones from the Combo Cardstock Stickers, 4x6 Stickers and Bits & Pieces.

Expression stickers are just the right size to fit in between the lines of journaling.
Thanks for joining me.

If you are lucky enough to play in the snow - roll around in it for me!

Hi everyone! Tara here with Secretbees Studio  Hope you all are having a wonderful New Year! I know we just finished a busy holiday season but I am here to remind you that it's not too early to start creating for Valentine's Day! What's not to love about this holiday?! It's all about the love and happiness we have for the most special people in our lives. I so enjoy making fun and adorable gifts for this holiday! The 'Romance' paper collection from Simple Stories is super charming and lovely with its pastel colors, floral bouquets, hearts and butterflies! The sentiments in this collection are sweet and endearing- perfect for a loved one! Even better when they come attached to a cute gift!

I used my Silhouette Cameo and an SVGcuts file to make this super sweet flower candy holder and little mailbox! The base for the flowers was cut out of the beautiful 'Romance' papers and wrapped around some floral foam. How perfect that there was a wood print in the collection! I used three different patterns for the flowers and topped them all with a yummy truffle! A chocolate kiss or even conversation hearts would be great too! Layered stickers and ephemera embellish the front and sides of the tiny flower garden.

The mailbox stands 7.5" tall and actually opens! The front is decorated with one of the 3x4 journal cards in the collection as well as some of the adorable stickers and 'bits & pieces'!. The hanging key is one of the lovely stickers and is attached to the lid with a chain. More stickers and 'bits & pieces' adorn the top and inside of the mailbox as well. I also added in lots of pretty sequins for shine! You could stuff this mailbox with more sweet treats but I thought it was perfect to tuck in some love notes also made from the collection. There is plenty of room for lots of sweet notes for that special person in your life and the sentiments in this collection say all you want in the sweetest way!

Handcrafted gifts are a great way to show your love and a sure bet to get some in return! Wishing you all a love filled Valentine’s Day!

Supplies

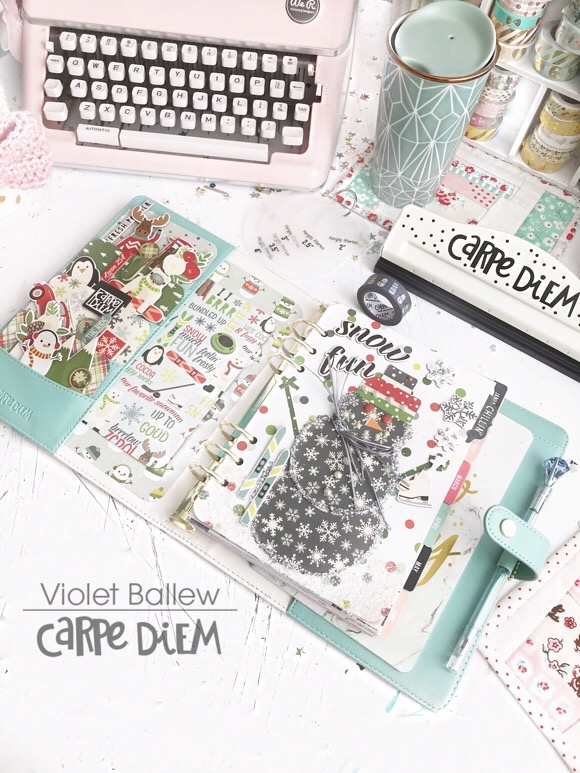
Happy New Year! Violet on the blog today to share how I used the Sub Zero Collection in my Cream Blossom A5 planner.

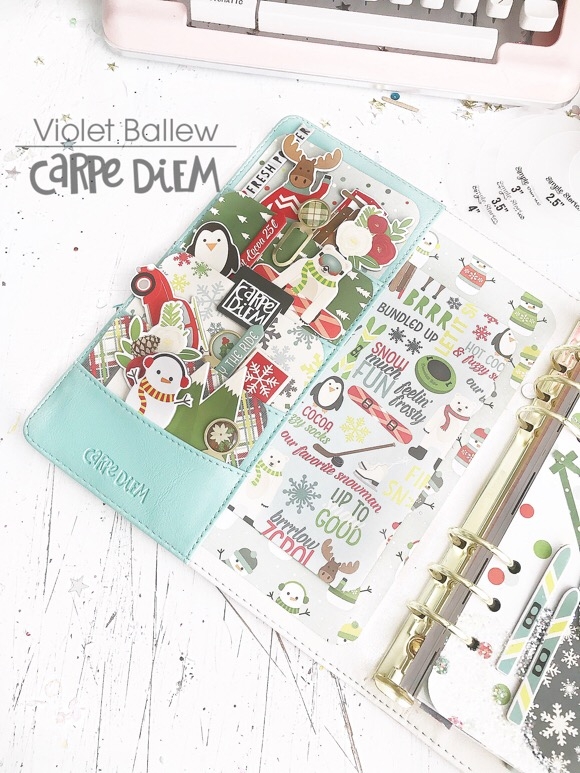
Sub Zero is just perfect for winter decco in my planner. I like to add the chipboard stickers to my pockets to save for later use in my planner. Plus, they look adorable in there..

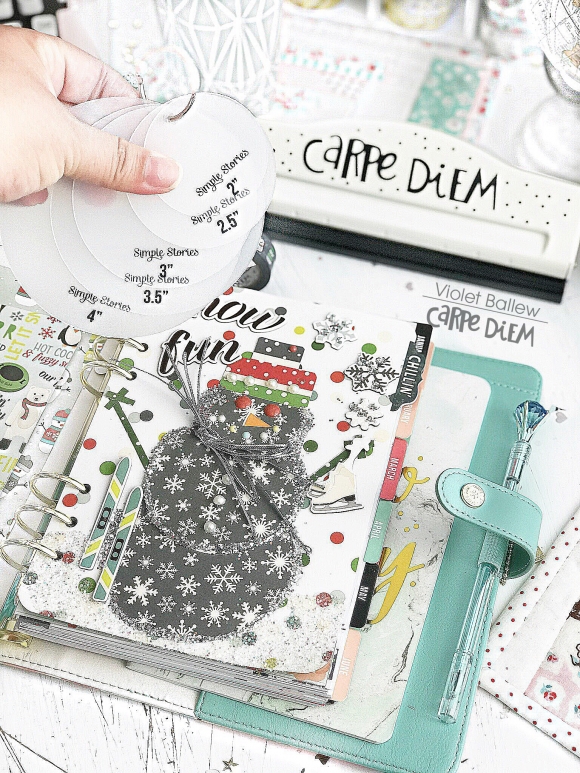
I used the Circle photo crops to make my snowman dashboard. 

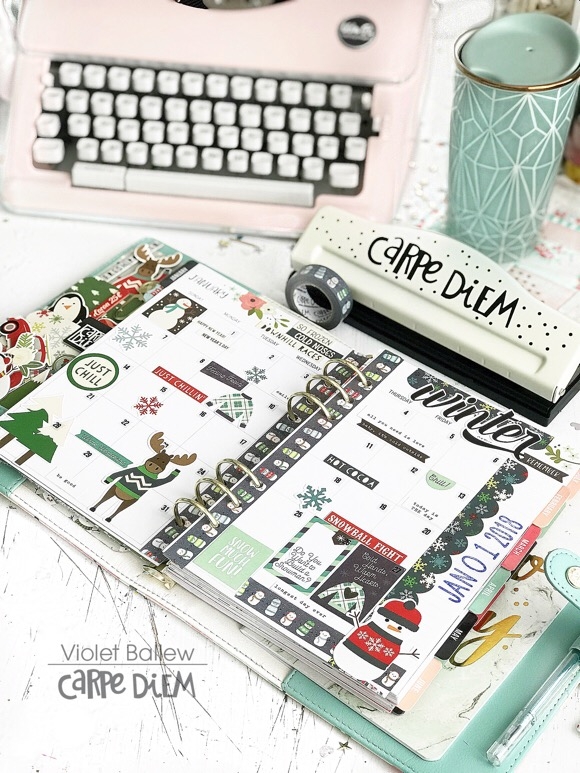
Here is a view of my January monthly calendar before the pen. How about that snowman washitape?  Absolutely in love!

Thank you once again for stopping by the blog. Happy Holidays.

Supplies

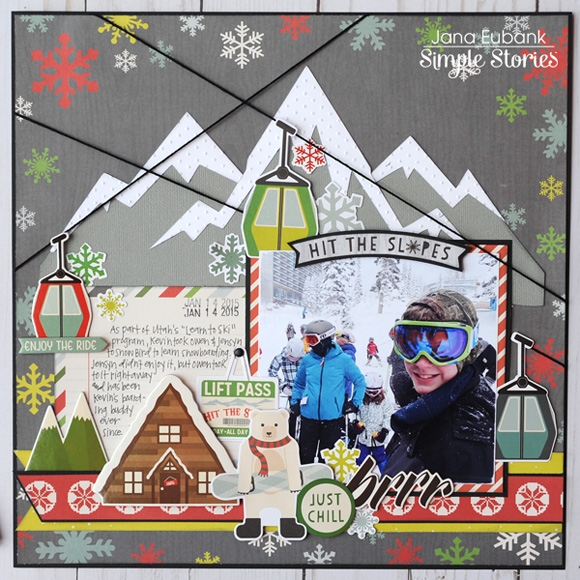
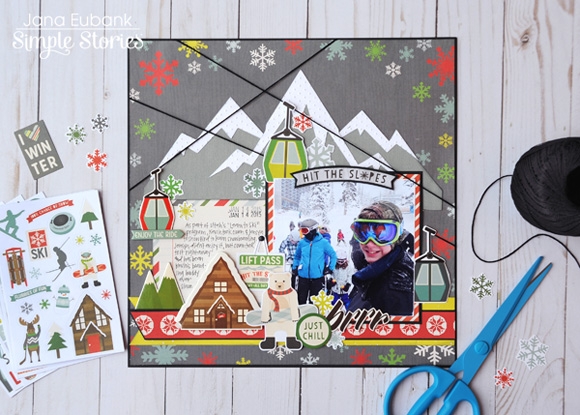
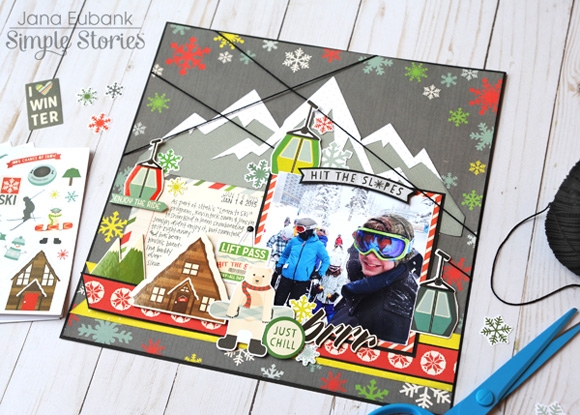
Happy New Year, friends! Jana Eubank here with a wintry page using the adorable Sub Zero collection. I live in Utah and as you may or may not know, it is the home of the "greatest snow on earth" which means we have a lot of ski resorts nearby. My scrapbook page today features a photo of the first time my son learned how to snowboard.

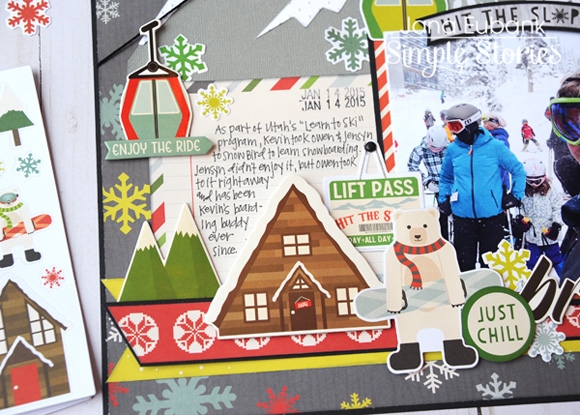
I love the versatility of all of the icons in this collection and was tickled pink to discover the snowboarding bear and the ski lifts! I die cut a few snow-capped mountains for the background and then used black string to make the ski lifts appear as though they are taking you to the top for your next run!

The snowboarding bear is taking a break for some lunch and hot cocoa at the ski lodge at the bottom of the page.

Whether you have fun winter memories of skiing, snowboarding, sledding, playing in the snow, or just sipping a cup of hot cocoa the Sub Zero collection will make your project shine!

Supplies

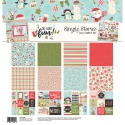
Good morning Simple Stories fans! Nicole here to share a quick wintery project using the Oh What Fun collection!

I just love the non-traditional colors in this collection and lucky for me, they went perfectly with a photo I had of my daughter playing in the snow last winter!

I diecut some tags from some pennant shapes by Simple Stories in the Silhouette store and added them along each side of the photo. I love how they add little pops of color along the white areas around the photo! It was easy to easily mix up different patterns and colors from the collection too !

To finish off my page, I added in some cardstock stickers from the collection, along with a hand cut title using one of the cut apart sheets in the Oh What Fun collection kit. I took the word Merry and used a little creativity to transform  one of the Rs into a D and then created my own A for the title!

Supplies

Happy New Year everyone!  It's Traci, from Artsy Albums, back to share a winter Sn@p album that I created with the super fun Sub Zero collection.  

I used a 6x8 Sn@p binder, the 12x12 Sub Zero collection kit, the bits & pieces, and chipboard pieces.

 
I always use a lot of full 6x8 pocket pages.  I love the space to add more fun papers and embellishments.
This collection is great for snow days, ski adventures, tubing, ice skating, and of course, hot chocolate!  
 
You will love this collection for any of your frosty fun photos!  Enjoy ... and have a wonderful winter!
 

Supplies

Hello Simple Stories fans and Happy New Year!
 
The last 12 months have seen some amazing changes in my little world and I’m so excited to see what this new year has in store for us all! 
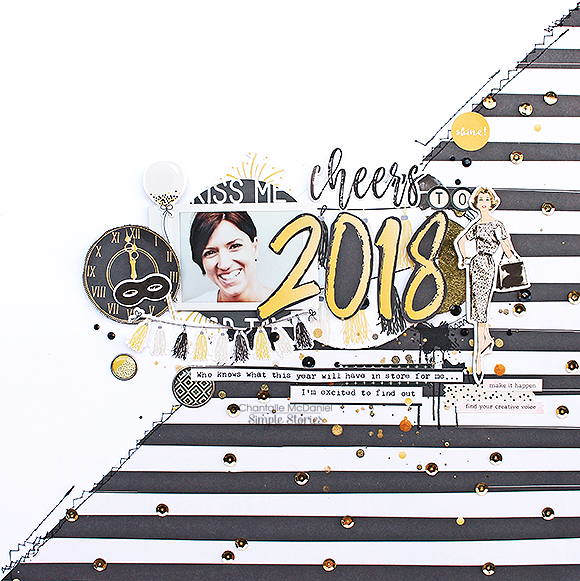
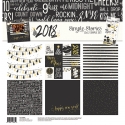
I’m kicking off the year with this self reflective layout using the beautiful black, white and gold theme of the ‘2018' Simple Set.
 
 
To draw the eye, I decided to use a section of white cardstock against the contrasting black and white stripe of a sheet of ‘Below Zero’. There is a gold spot printed on to this paper and I have used some gold sequins over them to add a bit of sparkle to the right side of the page.
 
 
The design was based on a sketch which had circles across the centre. I’ve used a circle punch on either end of the four circles and used different sized circles for interest. The numbers 2018 were cut out of the 3x4 Journaling Card Elements.
 
 
I’ve paired the page with some elements from one of my all-time favourite collections, The Reset Girl. The inspiring messages and boss babe imagery are perfect for a layout about the possibilities that lie before us!
 
 
Wishing you an amazing 2018. Go get it girls!
 

Supplies

Hello! It's Lisa Dickinson here today sharing a layout on the last day of 2017! I absolutely love mixing papers from different lines to create a unique look for my page, and Simple Stories makes that so easy. The colors and patterns in each collection are made for mixing and coordinate seamlessly, making it a cinch to pull patterns from any line and get a cohesive look!

FirstChristmas_W


This holiday page uses products from the Very Merry and Sub Zero collections - don't they look great with each other? I added some of the non-traditional holiday patterns and colors from the Sub Zero line with the classic red & green papers in Very Merry for this unique look.


FirstChristmas2_W

This cute chipboard snowman gets dressed up with a few enamel dots added as buttons.


FirstChristmas3_W

And this moose die-cut gets a Christmas flourish with the addition of a small red button!


FirstChristmas4_W

The script title is one of the Simple Stories electronic cut files available in the Silhouette store - I simply cut only the "Christmas" portion of the "Merry Christmas" file.

Wishing you all a Happy New Year's Eve and wonderful 2018!

Supplies

Where has December gone!  It is hard to believe we just celebrated Christmas, and what better way to document those memories than to use the super fun and gorgeous "Oh What Fun" collection.

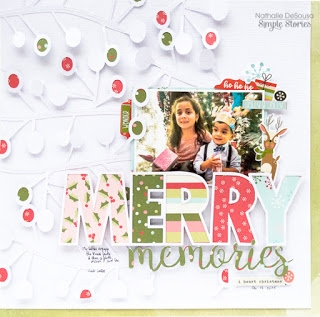
This picture of my littles was fun and playful (even when it is a bit blurry!), so I wanted to create a soft background for the page, and pulled a cut file from Just Nick Studio.   All those small holly berries and branches bring some texture to the page.

To bring playfulness to the page, I chose to create a colorful and large title, for this I pulled the Merry Wishes cut file from Just Nick Studio and used all the papers from the Oh What Fun collection to back the letters.  Then cut the script word from one of the papers from the collection.

All the fun elements from the "Oh What Fun" collection are so gorgeous ( i think I am left with small pieces from the collection!) that i had to use them to highlight the picture.   Gotta love that reindeer, just like my little nephew in his antler hat.

What is not to love of the "Oh What Fun" collection!!  the designs, the colors are just perfect to document  your most beloved memories.  

Well now it is only fitting, I wish you all a Blessed New Year!  

Supplies

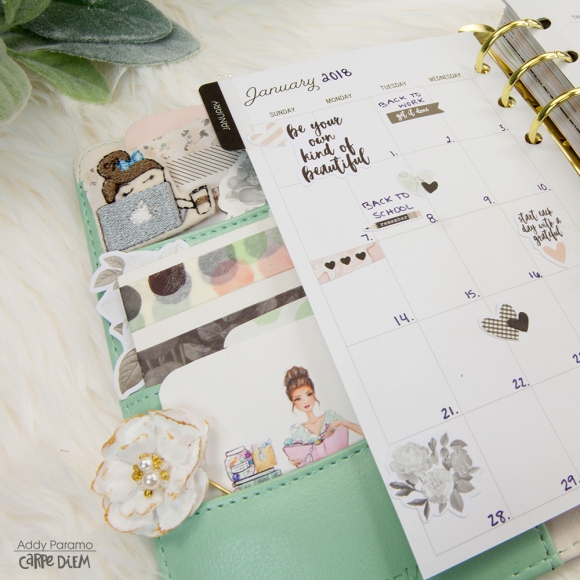
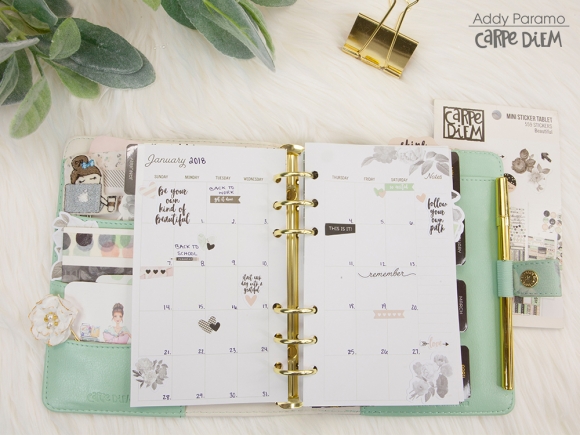
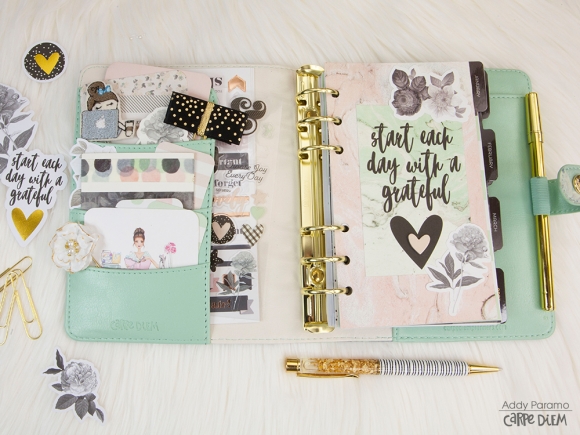
Happy Holiday's Everyone! Addy here on the blog today to share my planner prep for the new year! I've been working on getting my planner ready for the new year and I am excited to be using the the Mint Vintage Floral Personal Planner.

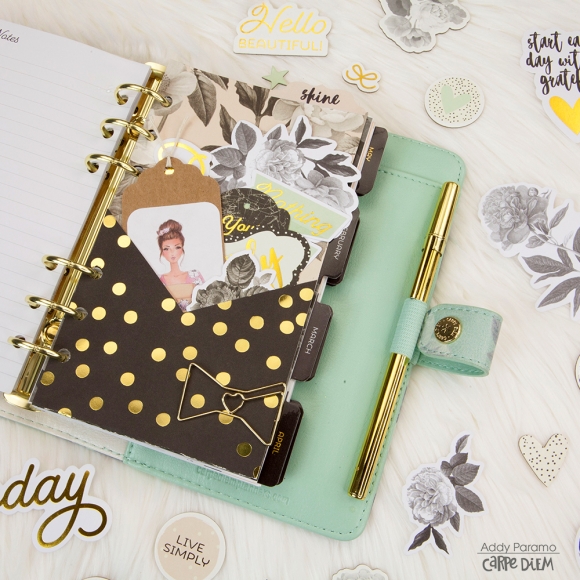
I set up the entire planner using the collection “Beautiful,” from the 12x 12 papers for my dashboards to making envelopes to store my stickers and ephemera. 

I used the ephemera and chip boards as well as washi tape to set up my pockets.

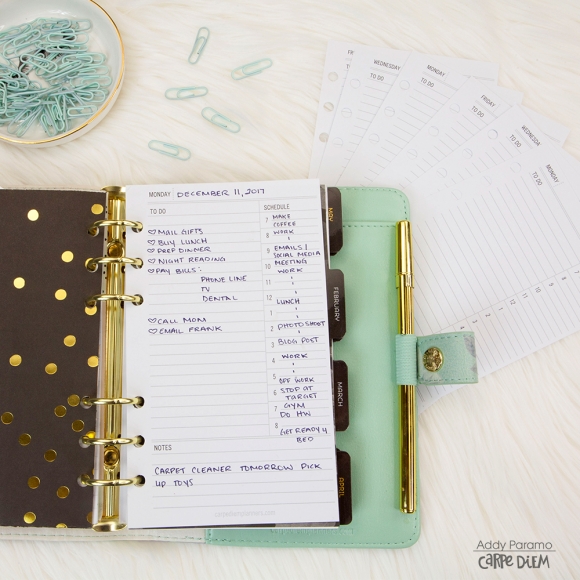
I am trying out the monthly inserts that come in the planner as well as testing the daily/ hourly insert that you can buy separately.

Now my planner is all set and ready to go for the new year!

Supplies

Hello! It's Lisa Dickinson here today, hoping everyone had a joyous holiday (and that you took lots of fun photos that are now waiting to be scrapped!) Today I'm sharing a simple page technique that's perfect for almost any festive event - a wreath of stars!


Merry&Bright1_W

I simply sketched a circle centered on the cardstock and then machine stitched several times around the circle (it doesn't need to be perfect!).


Merry&Bright2_W

Then I added die-cut stars from several of the Sub Zero and Oh What Fun! papers, which I scored from point to valley and gently folded to make them three-dimensional.


Merry&Bright3_W

Large glue dots (the 3D kind) are great for securing the stars to the page and also help keep the centers from getting smashed!


Merry&Bright4_W

A simple sticker (adhered with foam adhesive) serves as a title atop a block of typed journaling.


Merry&Bright5_W

Tuck in a few die-cut snowflakes and add a sprinkle of sequins for a wonderfully whimsical wreath!

SaveSave

Supplies

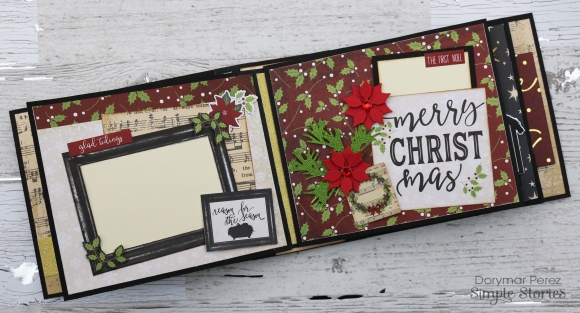
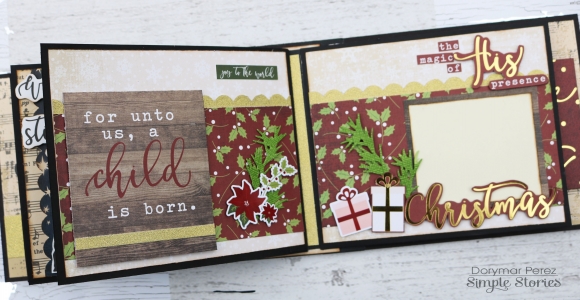
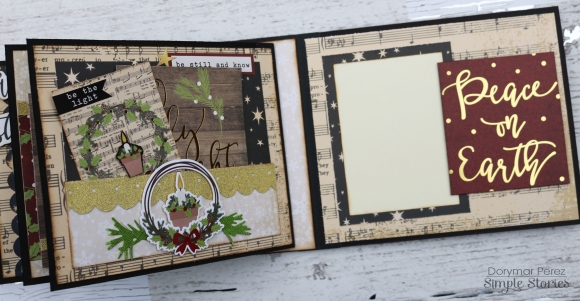
Hello friends! It’s Dorymar on the blog today! I am super excited to share with you a beautiful mini album I designed with the stunning O Holy Night 12x12 Simple Set. It is perfect to decorate your living room during the Holidays, put in a special place at home or to give as a present to a very special relative or friend!

For me and my family, Christmas is the most special time of the year, when we celebrate the birth of Jesus Christ and give thanks for all the blessings in our lives. The designs and colors of this collection are perfect to document such an amazing time of the year!

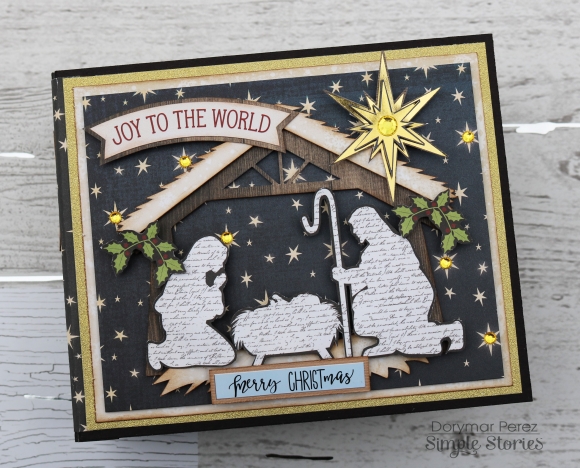
On the cover, I used a Silhouette cut file to create a manger and with one of the collection’s 4x6 cards, made the image of the Birth of Jesus.

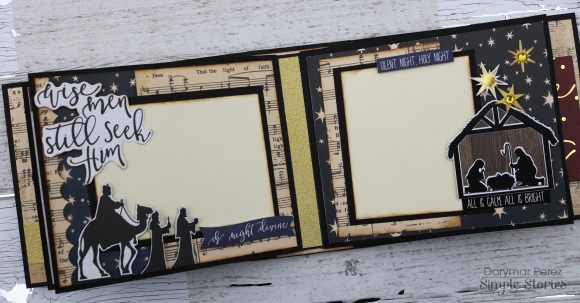
These pages are my favorite, because you can appreciate the true meaning of Christmas. You can combine the stickers with the elements of the 4 x 6 cards to create the Nativity.

The collection has golden details that highlight all the elements and colors of the season. Breathtaking!

I loved how this album came together and can’t wait to put all my special photos in it. Hope it inspired you to document your Holiday season!

Thank you for visiting the blog today! Wishing you lots of fun with your family this

Supplies

Happy day after Christmas!  We hope you've had a wonderful holiday season with family & friends. As we switch gears and look towards a new month & new year, we have some fabulous printables we're excited to share.  In A5 and Personal planner sizes as well as Traveler's Notebook too, your plans will be set to start the new year off with a bang!


Designed for use in your Carpe Diem A5 planner, personal planner, Traveler's Notebook, on your scrapbook pages, in your SN@P! albums & more - simply download, print, and trim.

Click HERE to visit our Project Downloads page for these free printables along with many more!

Happy New Year from all of us at Simple Stories to you and yours!

Merry Christmas from our Simple Stories family to yours.  Here's wishing you a wonderful day and a safe, happy & healthy new year!

SaveSave

Hello friends! It's Jennifer and I'm back to share another layout I created using the fabulous 2018 Simple Set!  Is New Years a big event in your household? We've always kept things pretty low key and have celebrated at home with our kids.  Even if we are invited out, we usually take them with!

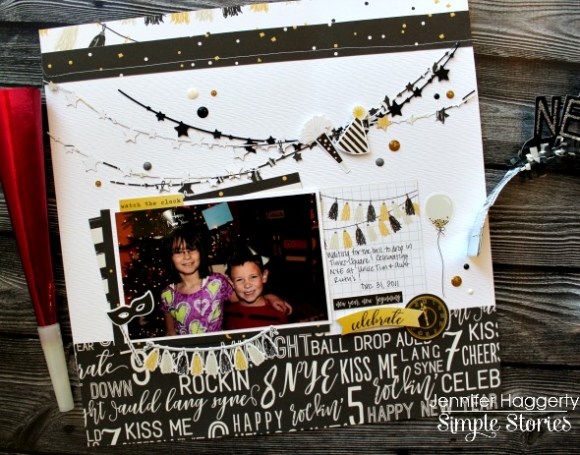
For my layout, "Celebrate", I  scrapped a favorite photo of my children from a friends' NYE party.  They were so happy to wear party hats and watch the ball drop in Times Square with the adults! 

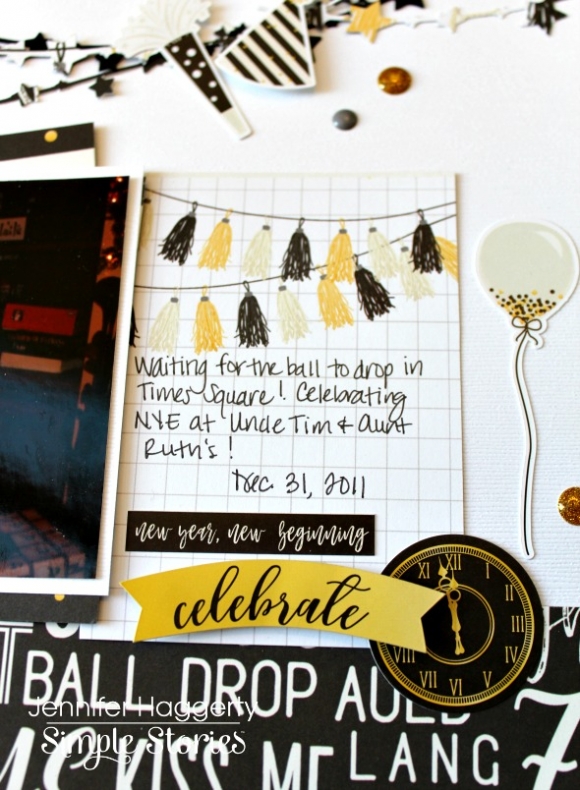
How cute is this journaling card with the tassels across the top?  I  love anything that is a banner or banner-like so my eye was drawn to this pattern instantly!  I  added coordinating stickers from the 6x12 Sticker Sheet for my title and to accent my journaling.

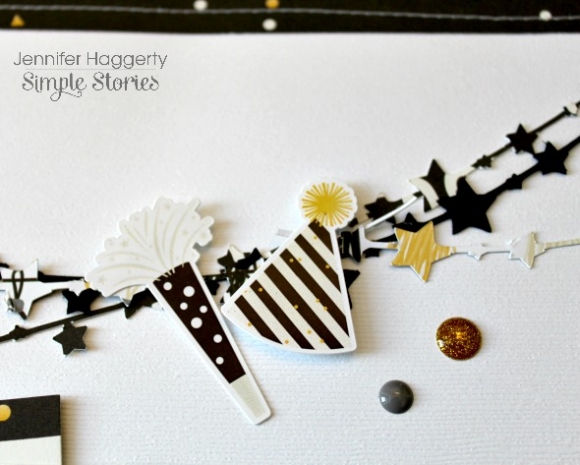
Using my Silhouette, I  cut these fun star banners out of the festive patterns of 2018 and adhered them across the top o of my page. I  then used some of the stickers to accent as well as some enamel dots from my stash. 

Hello there!

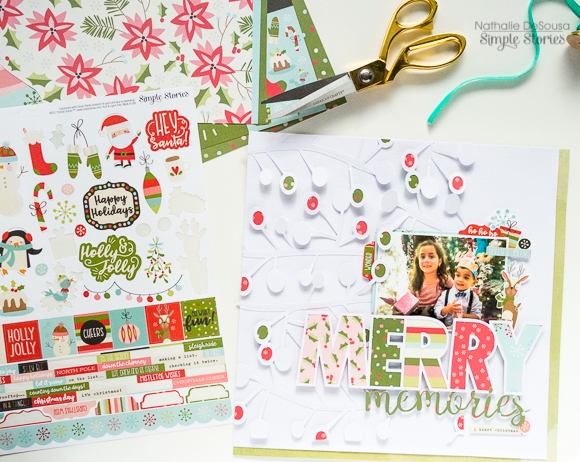
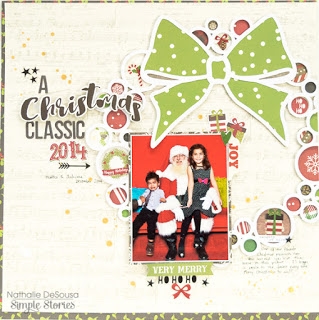
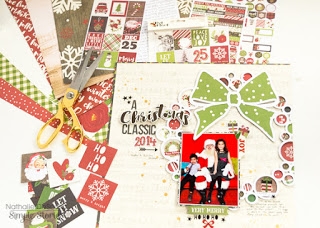
Nathalie with you today to bring you some inspiration for the upcoming Christmas season!   This time, I wanted to document a "classic" Santa portrait using the gorgeous "Very Merry" Collection.

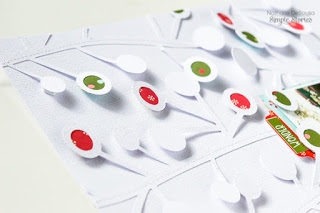
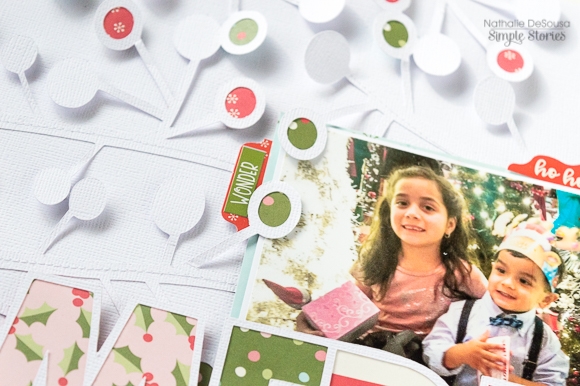
To wreath that frames the background was created from a Silhouette design, and backed with papers from the Very Merry collection.  All those classic designs, and rich colors create the perfect background for the picture.

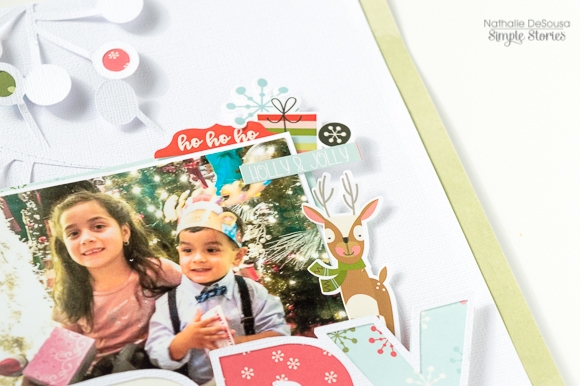
To bring the picture forward in the design, embellishments from the collection were layered in clusters around the wreath, and in clusters around the picture.

The title of this page tells the story of the layout  (this is one of my favorite pictures of my littles - a true "classic"-), and was formed using pieces from the Very Merry collection (chipboard, cardstock and clear stickers) as well as some sn@p Color Vibe Bold alphas.

The color combo, and beautiful designs are perfect to document all your Christmas memories.  Don't forget to check the Very Merry collection - you will love  it!


Have a blessed Christmas!!!

This has to be one of the busiest times of the year!  We’re reuniting with friends and family.  The kids are off school, or coming home from college, and we’re running in all different directions.  There’s dinners to plan, and gifts to buy!. 

As the days start counting down to 2018 I’m filled with thoughts of how I can make this year better than the last. It’s time to reflect on accomplishments and failures of 2017.     Most of all, in 2018, I want to appreciate each moment and to live in the “now”.  I want to show appreciation for the ones I love EVERY day, and try to make a small difference to those I can help WHENEVER I can.

 
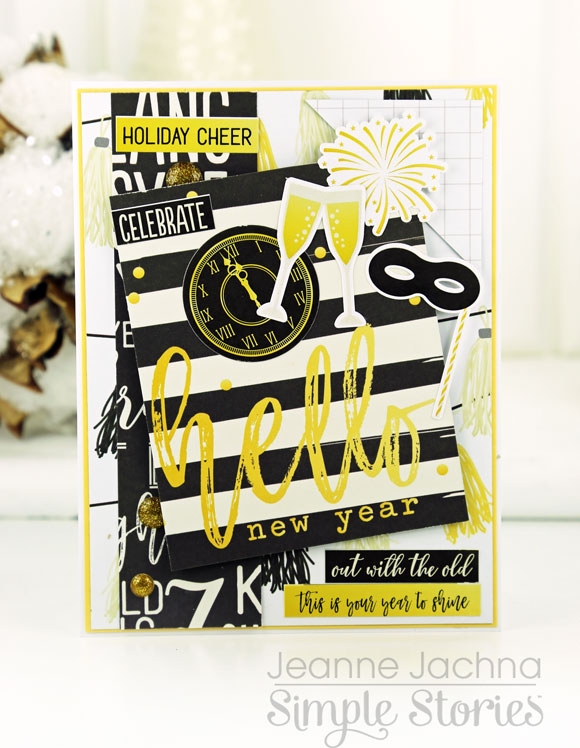
If you’If you feel the same way I think you’ll love the new Simple Stories 2018 Collection.  The 12” Collection Kit contains everything you need to make memorable cards and layouts to celebrate the coming year.  The messages are inspirational and encouraging!

The collection is a classy mix of black and white with a touch of gold.  It’s got images of clocks, balloons, fireworks and champagne flutes.  It’s a party in a package!
 

It’s a new year – a new beginning – and what you do with it is completely up to you!   Wishing you peace and love and a 2018 filled with memories to last forever!

Supplies

Pages