


Hello Friends!
It's Kristine Davidson with you today and I am here to share a pocket page spread featuring the Happy SN@P! Pack! At first I looked at the colors in this kit and really wasn't sure. I'm not much of a fan of pastel colors but this certainly fooled me! Once I started using it and adding my own personal touch to the cards It turned out - Awesome!

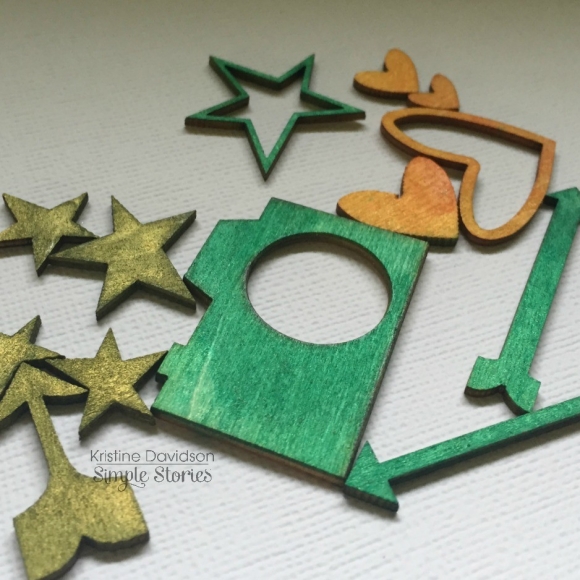
When I started my spread I wanted to add a few wood veneers but wanted a bit more color to match the papers so i took a few from the Say Cheese II collection and spray painted them. Super easy to do and adds a bit more color to your project.
This spread is from the month of May 2015, and I'm still on track doing my monthly spreads instead of weekly and I am enjoying it so far. This month of May I had a few things going on and one of them was a little photo shoot with my nieces and nephew. In order to add all those photos in my spread I created a little 6x12" pocket. Continue reading to find out more!
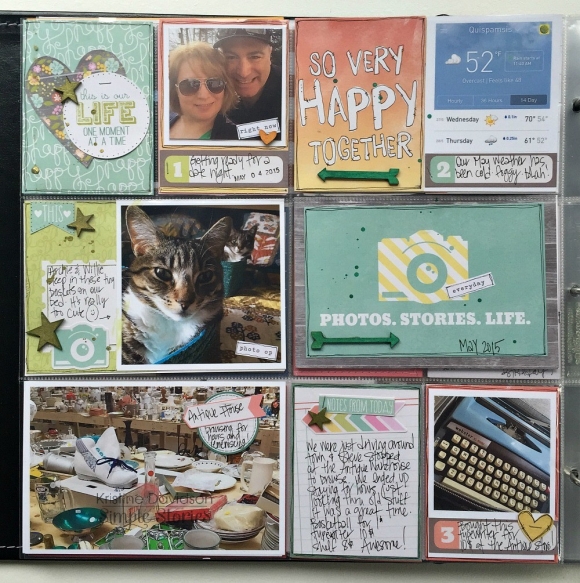
Here are a few close up pictures of the left hand side of my spread. - I added a few doodles on the cards and some ink splats as well. No sewing this time ;-)
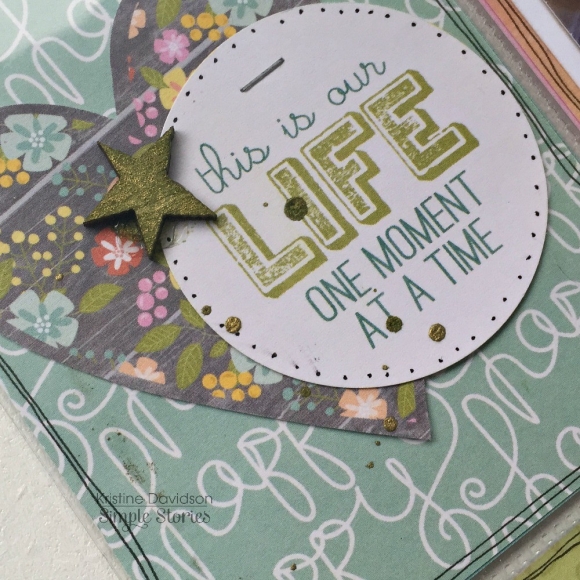
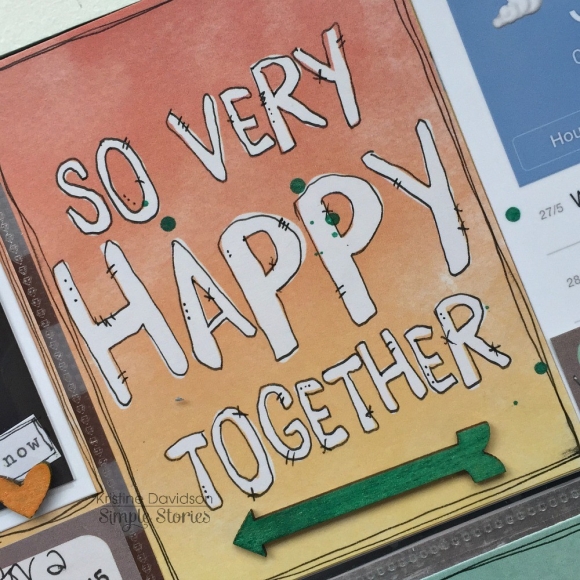

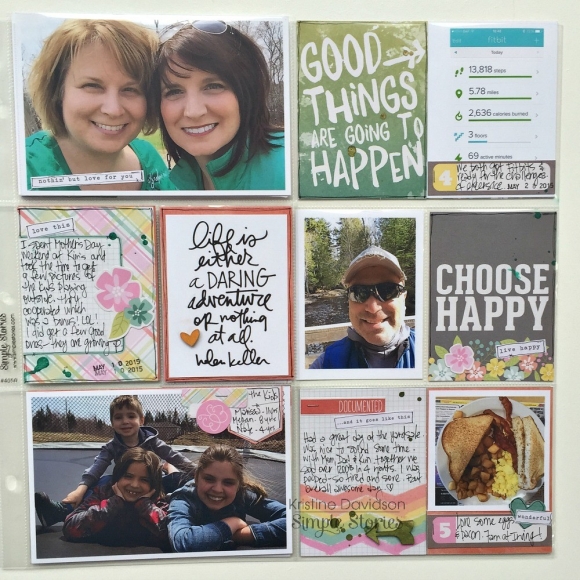
Here's the right side of my spread -

Here are a few close up pics of my pages
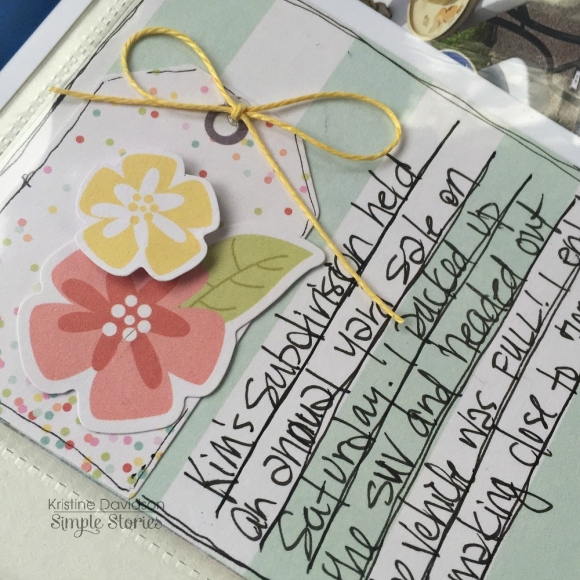
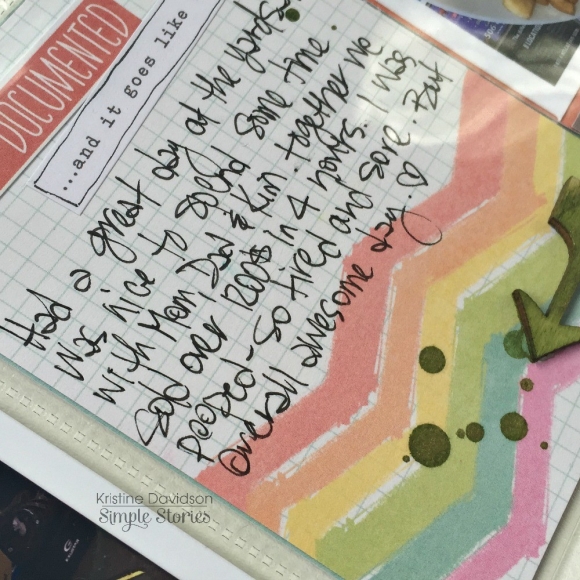
Now for the fun part. I took a pocket page protector and cut it in half. I wanted to add extra photos to my monthly spread and this was the perfect way to do so. I didn't want smaller photos or not include them in my spread so I added an extra pocket measuring 6" wide x 12". It was perfect!
Here I have the 6x12" page front and back

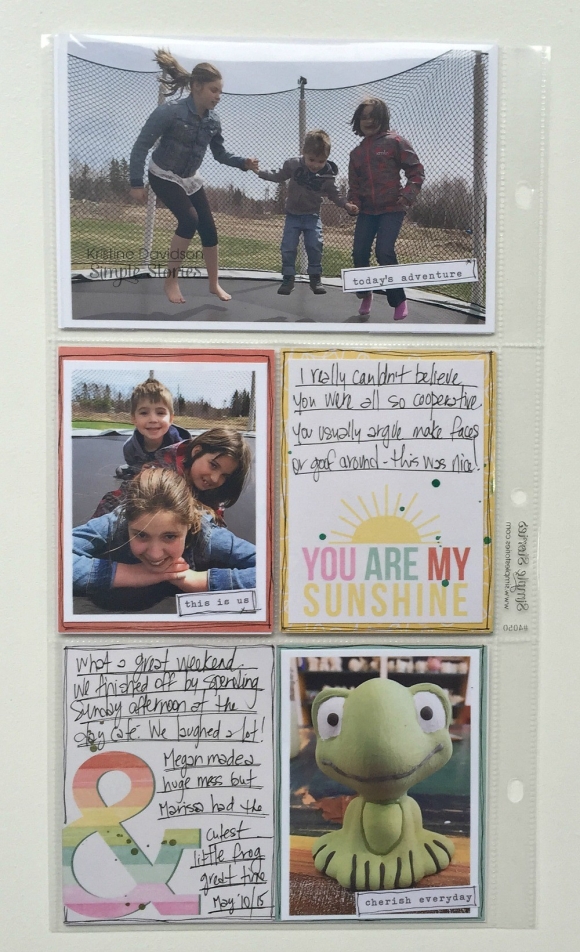


Here it the pocket page inserted in my album in the middle of my spread.

and to show you the finished pages - including the 6x12 pocket page

I hope you enjoyed my post today and I hope you enjoy creating with Simple Stories!

I always love scrapbooking photos that I've just recently taken. The pictures in both of these layouts aren't the greatest because I took them with my phone but I love the stories behind all of them so that's why I decided to scrapbook them right away!!
First off I'd like to share this layout "Remember" about my daughter & me.
I used some Life Documented products on this layout along with my Silhouette CAMEO and some Simple Stories cut files. I love how everything goes together so wonderfully.

I printed my journaling right onto the journal cards and embellished the surrounding areas with some cut files, stickers, washi tape and canvas stickers.

As you can see from the full layout picture I added some more of the canvas shaped stickers in some of the circles section of the grey cut out card stock.
I cut the title and accompanying large circle using my Silhouette. I also kept some of the negative shapes from the cut designs to use as added embellishments on my page. (i.e. the arrows from the arrow tabs).

The second layout that I want to share with you today is from a recent hike I took my kids on. Good thing I took a picture of all of us at the very beginning though because by the end they were tired out!
I went through my papers and when I came across the Legacy collection I knew it would be perfect.

I used some of the alpha stickers to create my title - changing the font and sizes helps to create an interesting effect.

At the end of the title I added a brad - shape of a clock - because it fit perfectly with the theme of my layout.

I used my computer to print right onto the journal card and added some chipboard shapes, sticker and enamel dots.

It's always fun when collections have so many different types of products that match. As you can already see I've used a variety of products already and I just love the dimension that the chipboard adds to a layout.

I hope that I've inspired you to scrap those photos that have special memories & meaning to you.

Howdy! Layle here with you again today for the final day of our Simple Stories & My Favorite Things Product Swap!
Hi there Simple Stories AND My Favorite Things fans! Suzanna here today to share with you a fun summer layout created using the new Summer Vibes collection from Simple Stories and some goodies from My Favorite Things.

The theme of this layout is none other than popsicles and what better way to share that than a row of stamped and die cut popsicles?! I used some of the MFT hybrid inks for the first time. If you have never tried these inks, I cannot recommend them enough. I definitely suggest you give them a go! MFT hybrid inks are pigment-based inks which dry like dye inks and are permanent on paper surfaces. They are acid-free, archival, and fade resistant. As these inks are fast drying and waterproof, they cannot be embossed with embossing powder.

I have always been a fan of MFT dies, I have collected my fair share over the years. The stamp and die combinations always stamp crisply and you always get clean cuts from the dies. For this layout, I used the You're the Sweetest Thing stamp set and cut them out with the Sweet Treats die set. These popsicles are the perfect compliment on the theme of my layout! I love the color combination of the aqua and yellow against the reddy, orange background!

This Summer Vibes collection is THE best! There are so many fun sub-themes within the collection and the colors are just sublime! The pocket scrapping cards, or SNAP cards as they called when referring specifically to Simple Stories' cards, are great for layout's as well. For those of you who are layer lovers, the SNAP cards make fantastic layers, as I've done here in this layout.

Thank you for stopping in today! Make sure to check out all the great projects from earlier this week and the MFT blog if you haven't already done so.
Want to follow My Favorite Things and keep up with all of their great projects & products? Here you go!
Instagram: @mftstamps
Facebook: www.facebook.com/MFTStamps
Twitter: @mftstamps
Pinterest: www.pinterest.com/mftstamps
Website: MFTstamps.com
Blog: MFTstamps.com/blog
Challenge Blog: www.cardchallenges.com
Thanks so much for joining us this week for inspiring projects from both teams!

Howdy! Layle here with you again today for day 5 of our Simple Stories & My Favorite Things Product Swap!

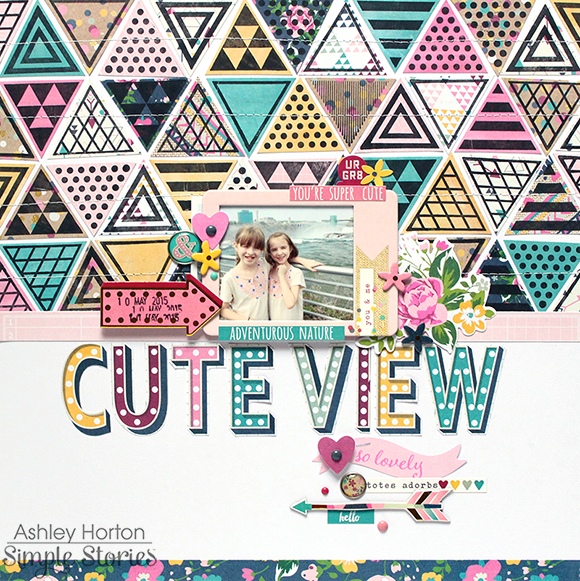
Before I received the Trendy Triangles stamp set and the new So Fancy collection from Simple Stories, I already had an idea for the design I wanted to do. I wanted to create a custom background for my layout, by stamping the Trendy Triangles onto the patterned papers in the So Fancy 6x6 paper pad.
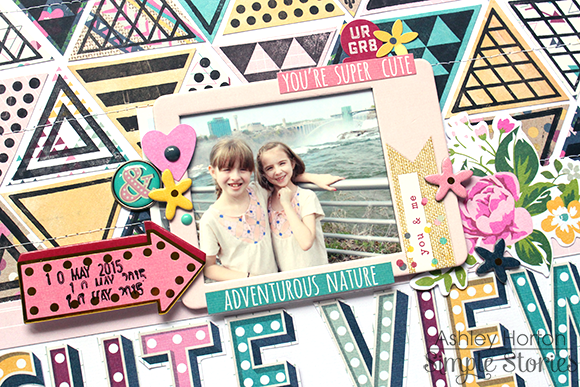
I used a variety of the large Triangles from the stamp set with a Black ink pad, and stamped them onto various patterned papers in the 6x6 paper pad. I decided to use a White cardstock background, so the patterned paper Triangles wouldn't compete with a patterned paper background. I also stopped the Triangle design halfway on the page, to create a resting spot for my title.
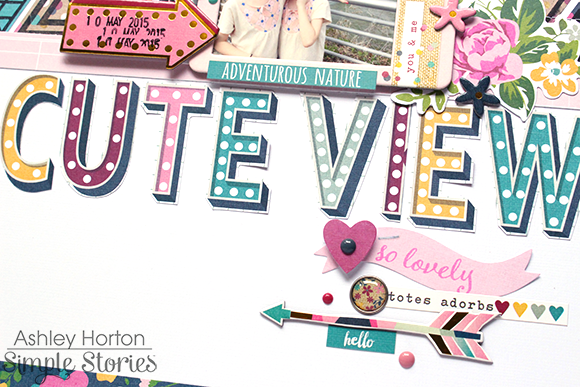
I added my photo to the center of the layout, and placed one of the So Fancy Chipboard Frames over it, to make it stand out from the Triangle design. For my title, I fussy cut the fun letters from the Marquee patterned paper and adhered them right under my photo. I finished the layout, by adding a few Chipboard Pieces, Bits & Pieces, Bradz, and Enamel Dots.
This is a really fun technique for creating a custom background, and you could get completely different looks based on the patterned papers you use, the ink pads you use and the way you arrange the cut out stamped images!
I don't know about you, but I always struggle with birthday themed layouts. I'm not sure what it is, that throws me off. I think one of the main things, is all of the color that ends up in birthday photos. So I usually like to focus on a posed photo of the birthday boy or girl, and this week just happened to be our son's 6th birthday! I have to say, I was really excited when I put the new So Rad collection together with the Picture This stamp set, to create a layout with his 6th birthday photo!

I wanted to create a fun number element on the layout, so I typed out a large number 6 in my Silhouette Studio software. Then I grabbed a star shape and sized it down to just under an inch. Once I had the right size, I went around the outline of the number 6, with the star shapes, to create a star outlined number. Once all of the stars were in place, I deleted the number, and cut the star shape outline from White cardstock.
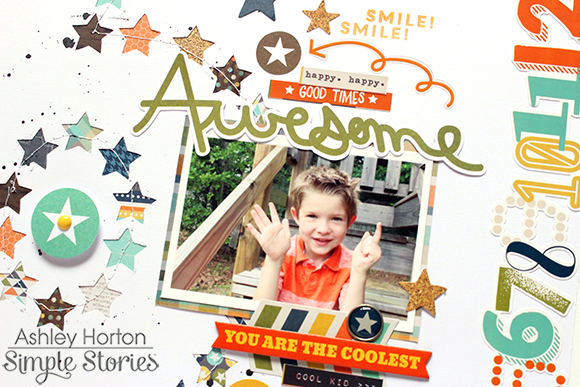
I backed each of the stars with different patterned papers from the So Rad 6x6 paper pad. Then I machine stitched around the large 6, to add some more interest and texture. Before I added my photo and embellishments, I splattered Black spray mist onto the background.
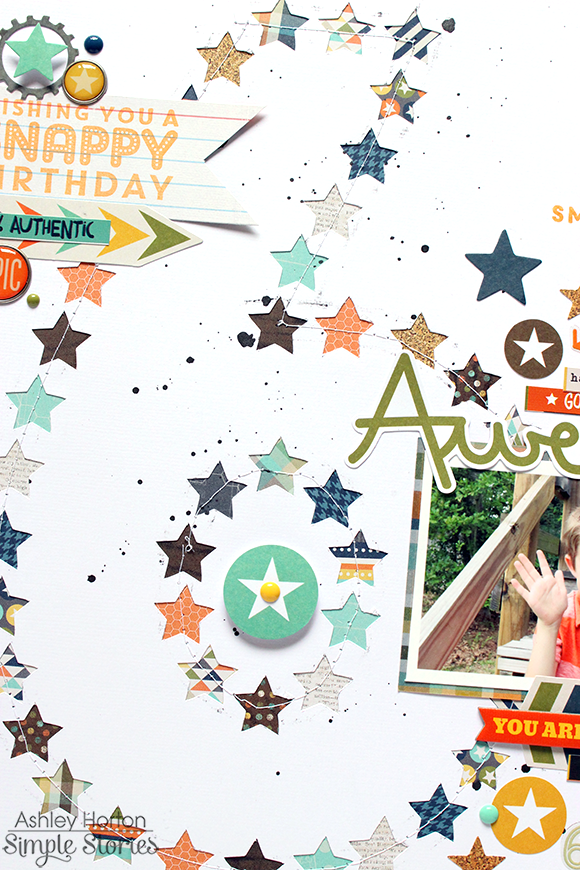
I placed my photo to the right of the number 6, and layered some of the So Rad Bits & Pieces, Chipboard Stickers, and Bradz to add interest around the photo. I wanted to balance out the page, so I created a cluster on the top left hand side. The "Wishing You a Snappy Birthday" sentiment from the MFT Picture This stamp set, was perfect for the theme of my layout, without creating an in your face birthday look to the page. I stamped it with an Orange ink pad onto one of the So Rad Snap Cards, and then cut it into a banner shape. I also used the Smile sentiment from the stamp set, to create a scattered look above and below the photo.
It's fun finding ways to use your collections and stamps to create layouts for an occasion, other than everyday photos, even if they are not specifically designed for that occasion!
Want to follow My Favorite Things and keep up with all of their great projects & products? Here you go!
Instagram: @mftstamps
Facebook: www.facebook.com/MFTStamps
Twitter: @mftstamps
Pinterest: www.pinterest.com/mftstamps
Website: MFTstamps.com
Blog: MFTstamps.com/blog
Challenge Blog: www.cardchallenges.com
YouTube: https://www.youtube.com/channel/UC7BW_DbtLb_0CV9FgdRmvoA
Join us again here tomorrow for more inspiring projects!

Howdy! Layle here with you again today for day 4 of our Simple Stories & My Favorite Things Product Swap!

Hello everybody !! It's Mindi here to share with you a few pocket pages using the new Summer Vibes from Simple Stories and a fun stamp set from My Favorite Things Stamps !! Fun stuff right ?!!


Want to follow My Favorite Things and keep up with all of their great projects & products? Here you go!
Instagram: @mftstamps
Facebook: www.facebook.com/MFTStamps
Twitter: @mftstamps
Pinterest: www.pinterest.com/mftstamps
Website: MFTstamps.com
Blog: MFTstamps.com/blog
Challenge Blog: www.cardchallenges.com
YouTube: https://www.youtube.com/channel/UC7BW_DbtLb_0CV9FgdRmvoA
Join us again here tomorrow for more inspiring projects!

Howdy! Layle here with you again today for day 3 of our Simple Stories & My Favorite Things Product Swap!


Now for even more fun!! Enter via the Rafflecopter widget below and we'll draw one lucky winner on Sunday to win a Summer Vibes prize pack! After you enter, head on over to the My Favorite Things challenge blog to take a peek at their weekly sketch challenge. They'll be back with more Simple Stories inspiration tomorrow!
Want to follow My Favorite Things and keep up with all of their great projects & products? Here you go!
Instagram: @mftstamps
Facebook: www.facebook.com/MFTStamps
Twitter: @mftstamps
Pinterest: www.pinterest.com/mftstamps
Website: MFTstamps.com
Blog: MFTstamps.com/blog
Challenge Blog: www.cardchallenges.com
YouTube: https://www.youtube.com/channel/UC7BW_DbtLb_0CV9FgdRmvoA
Join us again here tomorrow for more inspiring projects!
