May 2017 Blog Posts

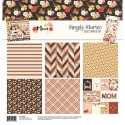
Hi everyone, its Meredy and I don’t know about you, but I have been LOVING the Simple Sets that Simple Stories has released.  If you aren’t familiar with these sets they are a small, mini collection that includes (2) sheets each of three double sided cardstock paper, including one sheet of 3x4/4x6 element pieces and (1) 6 x 12 sheet of cardstock stickers.  I wanted to make up a new planner for May and I loved colors and florals in the Mom Simple Set so I thought I would see how I could pretty up my Ivory Carpe Diem planner with this Simple Set.

The first thing I always do is make a Dashboard and fill up the pockets of my planner. I cut apart the page of 3x4/4x6 elements and filled up the pockets!

I used “I Love You Mom” floral paper for the dashboard with a 4x6 card cut out from the “Journaling Card Elements” paper.  I added the LIFE using Black alpha stickers from the Simple Stories Sn@p Line and a Coffee Cup Sticker from the 6 x 12 Cardstock Sticker Sheet included in the set.

The Journaling Cards really brightened up my planner pockets quite easily.  I don’t always like my pockets super stuffed and these cards did the trick.

There are enough papers in the pack to create dividers.  I usually feel overwhelmed by cutting all the papers and gluing them together and adding the tabs. But I used a quick way to make dividers and I am so happy with the end result!

To make quick dividers take a 12 x 12 paper and fold it in half.  Trim down the side opposite the fold and the bottom to the correct size for your planner.  Use a tab punch to punch a tab from the cut away paper.  Use a glue stick on the inside of the paper, stick on the tab at the correct location and fold the paper closed.  Press down until the glue keeps the paper together, punch the holes and you are ready to make the next divider.

The double layer of cardstock makes a perfect divider.  Folding the paper and using the same pattern on the front and back of the divider really cut down on the time it took to make the dividers.  This will probably be my go-to way to make these from now on.  I added 3x4 journaling cards to the front of the dividers for a finishing touch.

Now on to my favorite part, my weekly layout using the 6x12 sheet of Cardstock Stickers! One of my favorite aspects of the pages are the center washi strips I made from the papers in the collection.  I started with the banner sticker on Thursday for my Birthday and I built the pages from there.  I used practically all of the stickers on the sheet to layer up the page.  I also used the Sn@p Line Alphas and some of the 4x6 Black stickers from a few Carpe Diem collections.

Another way to use the 3x4 journaling cards is to cut them down to fit into your layout.  I loved this yellow floral pattern with a small white space—it was perfect for this very important reminder.

Last, I just wanted to show how I used some of the remaining elements to do a bible journaling entry.  Since I have an interleaved bible, the oversized MOM sticker was perfect place to start for this entry.  I cut out the banner from a 3x4 Journaling card, drew in a little extra string and added some heart stickers.

I used a tab punch to make a tab from the “Best Mom Ever” Paper and used a phrase sticker from the Sticker Sheet.

Last I added in a photo of my mother and me (41+  years ago!) wrote the verse and a short journaling entry.  Last I layered up the floral stickers to create a bouquet in the corner and finished it up with a Happy Mother’s Day sticker.

I hope you all enjoyed seeing how many things you can make with these 12x12 Simple Sets—I am in love!  Also, wishing you all out there a happy May and Happy Mother’s Day!

SaveSave

Supplies

Hi, Everyone! Jana Eubank here! 
 
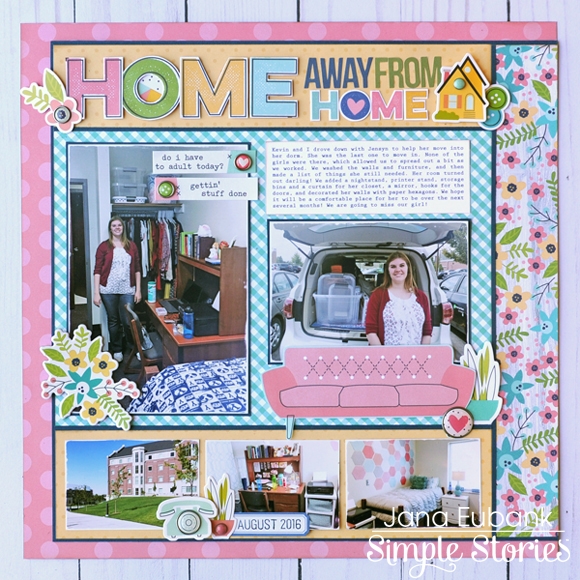
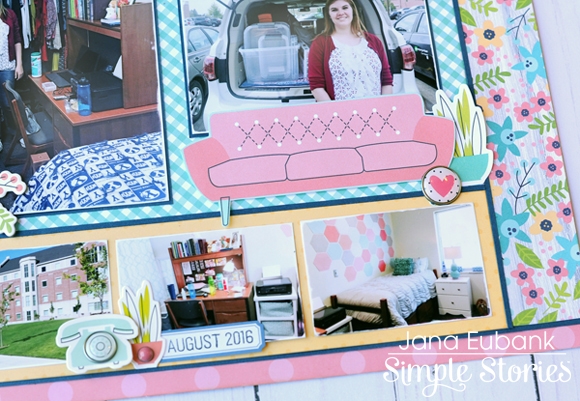
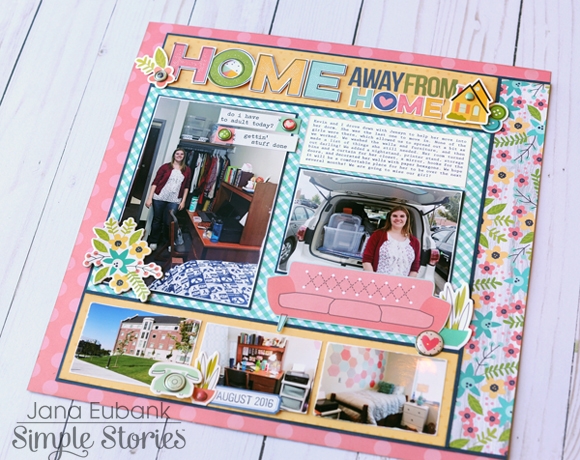
My daughter just moved back home from her first year at college and I wanted to document her first "Home Away from Home" ... her dorm room that she has been living in for the past year. The Domestic Bliss collection was the perfect answer!
 
HOME AWAY FROM HOME
 
I had taken several photos of her room the day we moved her in last Fall, along with a shot of the outside of her dorm building. I included them all together on this page.
 
 
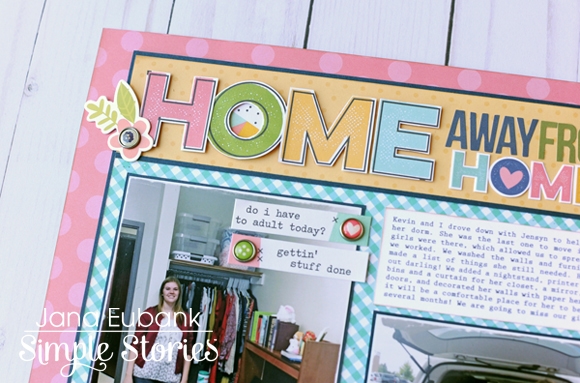
I cut the "HOME" letters out from one of the cards from the 4x6 Horizontal Elements Paper to use as my title. Behind the letter "O" I included one of the pie chart circle die cuts from the Bits & Pieces pack.
 
 
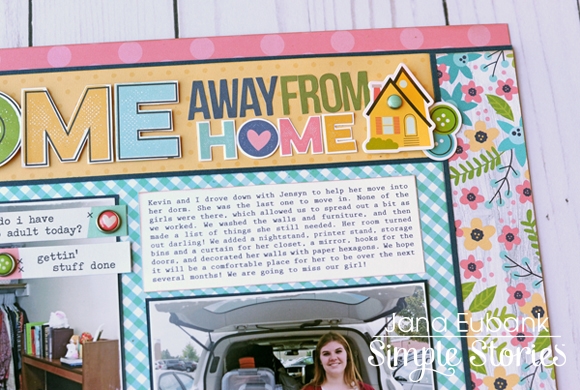
The smaller "HOME" letters are from the 4x6 Sticker pack. I adhered the letters to white cardstock and trimmed them out using scissors to give them a white outline. I used the Snap Color Vibe Bolds Letter Stickers for the other words in the title.
 
I book-ended my title with the Decorative Brads to give it even more personality! I love them here!
 
 
For some reason, that cute couch icon included in this collection just said "dorm" to me! I cut this one out of the same sheet of 4x6 Horizontal Elements Paper that I used for the "HOME" letters. Doesn't that couch look inviting?! ... Like it's just waiting for 6 college girls to pile on it and start gossiping about their dating and class experiences!
 
 
At the bottom of the page, I added a couple more decorative icon brads, as well as the date, stamped on one of the label stickers from teh 4x6 Stickers pack.
 
 
_____________________________________
 
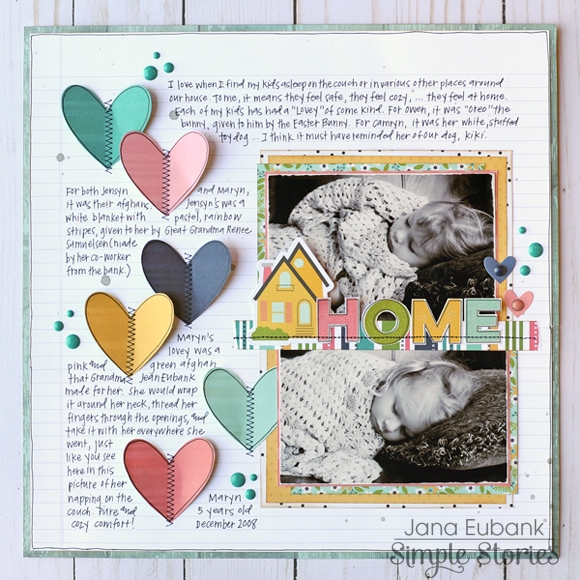
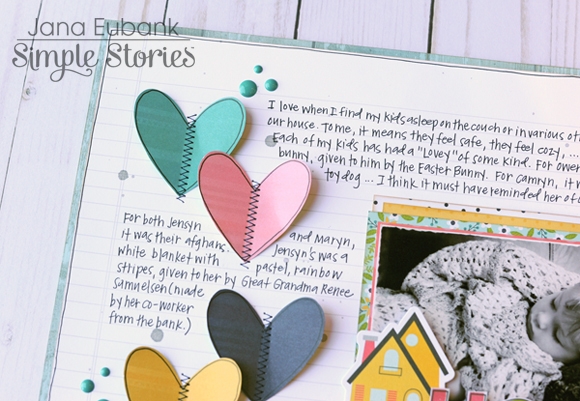
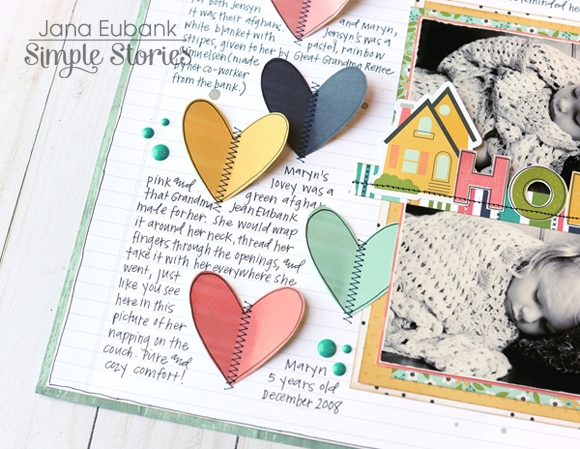
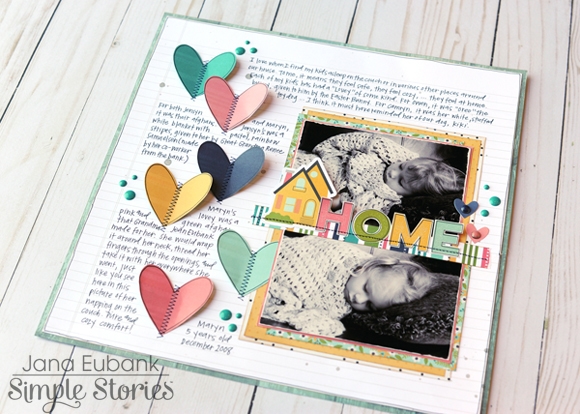
I love when I find my kids asleep on the couch or in various other places around our house. To me, it means they feel safe, they feel cozy ... they feel at home. And that is what this next page is about.
 
HOME
 
I used a sheet of the Aspen/White Basics Notebook paper as the base to my layout, matting it with a sheet of the Bless This Mess paper.
 
 
Next, I used various papers from the 6x8 paper pad to build up some delicious patterned paper layers behind my two photos. The smaller scaled patterns are perfect for layering together in a situation like this!
 
 
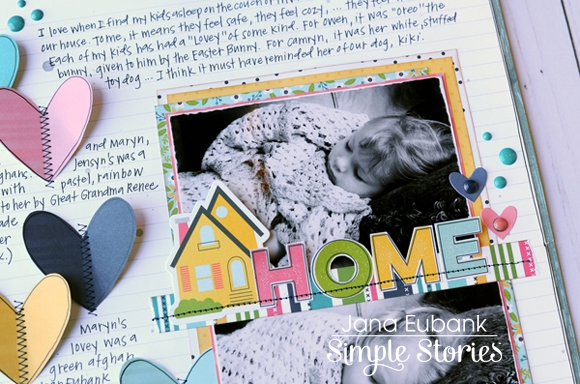
I cut the letters "HOME" from one of the 4x6 cards of the Snap Pack and then added a house and heart die cuts from the Bits & Pieces die cuts. Everything is stitched and anchored to a strip of striped paper from the same 6x8 paper pad.
 
 
I hand cut the large hearts from the 6x8 paper pad and drew an outline around each one of them with a black journaling pen to match the outlining preprinted on the title letters. I then used my sewing machine to stitch them to the left side of the page, sprinkling them in a waterfall fashion and bending up each side of the heart for dimension.
 
 
I added my journaling with a black journaling pen, using the lines of the background notebook paper as a guide. A few enamel dots sprinkled here-and-there adds even more color and dimension.


Do you have sweet pictures like this of your children or loved ones asleep? Don't they look angelic in those photos? Why not use those photos to document what makes them feel safe and secure or what brings them comfort in your home?
 
Have a great week!

Supplies

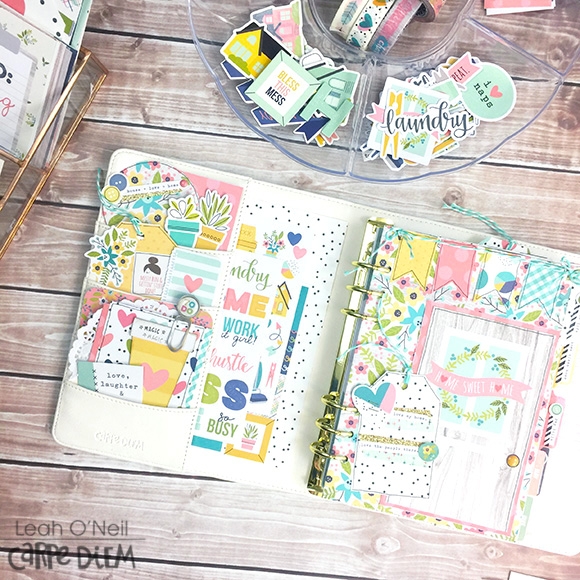
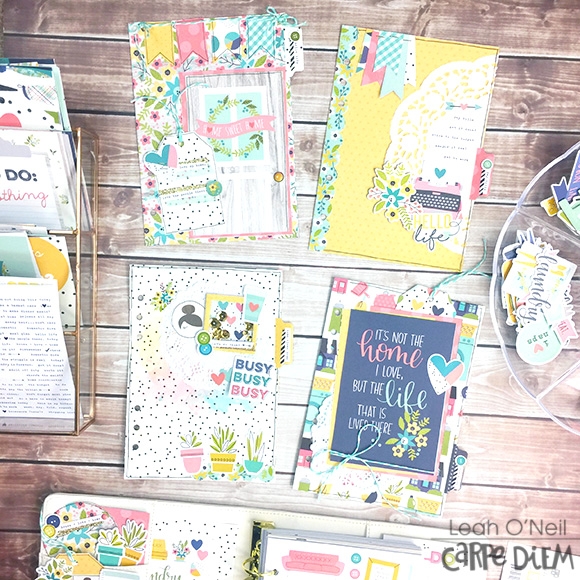
Hello again friends! Happy May! Leah here today to show you the new dividers I’ve made to revamp my planner with the Domestic Bliss collection. It’s been a long while since I’ve made a complete set of custom dividers. If you can believe it, I think it’s been since my very first post with Simple Stories last year. Wow, how the time has flown! I have been feeling the need to change up my planner for a while now because the current organization just has not been working for me. I’ve been in such a planner funk lately and haven’t wanted to open up my planner. With a new setup, comes a new chance to get crafty and give my planner a makeover!

I used word label stickers to label my divider tabs for now. I chose ones from the Home sticker tablet. I have separated my planner into 4 categories. The first section is where I have my actual planner pages. For this planner, I’ve decided to use only monthly inserts and blank lined pages for my planning.

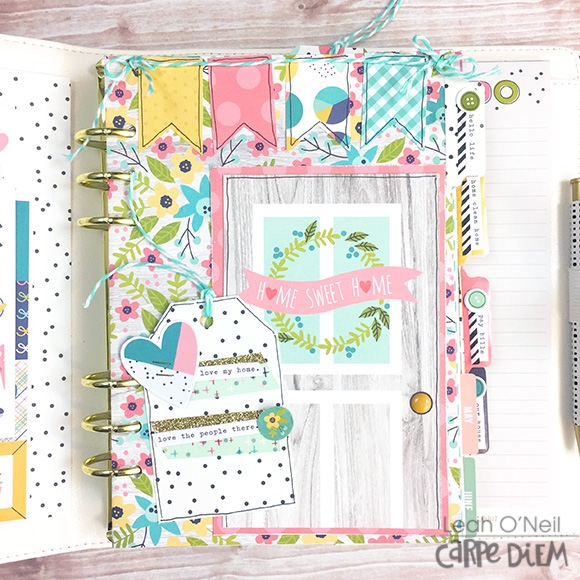
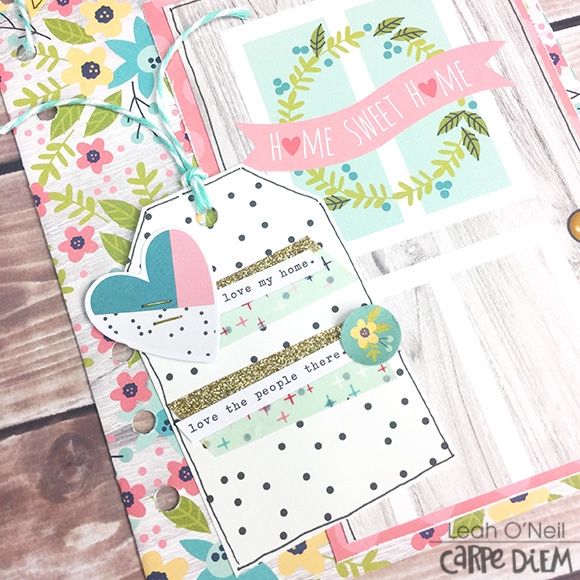
This divider turned out so cute! I love having it up in the front of my planner because it’s like the “front door” of my planner. The door is from the 4x6 Vertical Elements 12x12 paper in the Domestic Bliss collection. I used a banner paper punch to create a banner along the top of the divider using patterned papers from the 6x8 paper pad and some baker’s twine. I used another patterned paper to create the tag where I layered some washi tapes, word label stickers and a cute heart die cut from the Bits and Pieces pack.

The second section is for tracking chores and household to-dos. I’ve mentioned my struggle with anxiety in some of my previous blog posts. Well, I am also a pretty naturally disorganized person. I WANT to be organized, and I can achieve it, but I have to work extra hard to maintain an organized home. Writing down household tasks and chores and attempting to establish a schedule that I can learn to manage a little at a time, helps me avoid getting too overwhelmed.

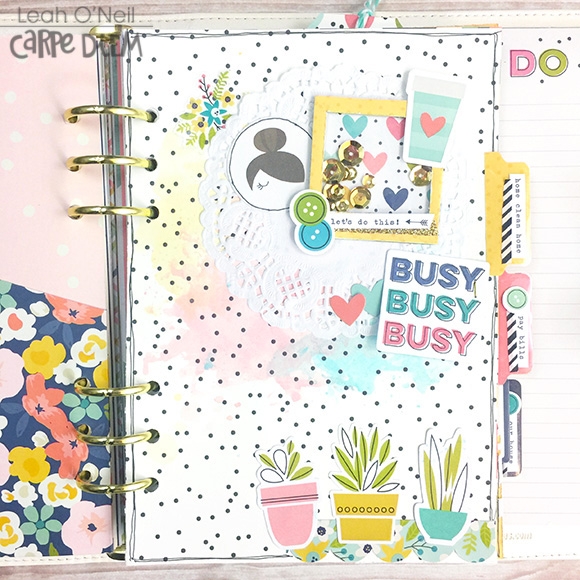
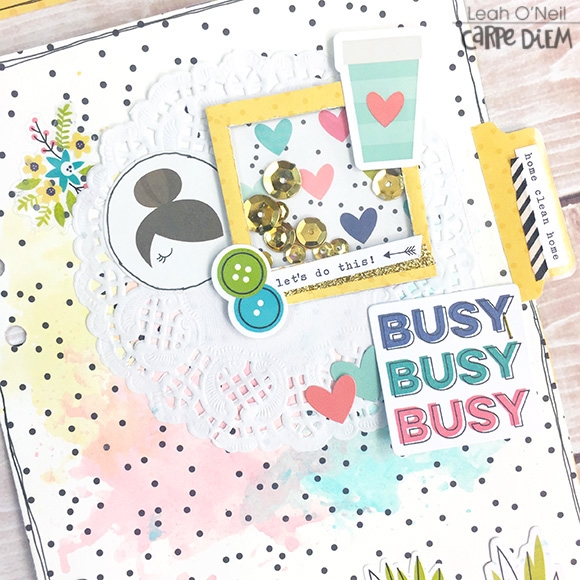
This divider is so fun because I created a little shaker using a 2x2 card from the SN@P! pack and layered on some stickers from the 12x12 combo sticker sheet. Aren’t the little succulent plants that pop up a lot in the Domestic Bliss collection so sweet? I love all of the multi-colored pots! I created a little watercolor background on this divider and chose colors to match the pots.

The third section is for bill pay and debt repayment info that I’ve moved over from my budget planner (check that planner out here). My financial planner has been working out super well for me. However, now that I feel like I have a handle on our budget and spending, I have found I’m not using the first half of the planner as much and mostly just need the bill pay info from the back. So I’m going to see how it works out as just one section of my main planner.

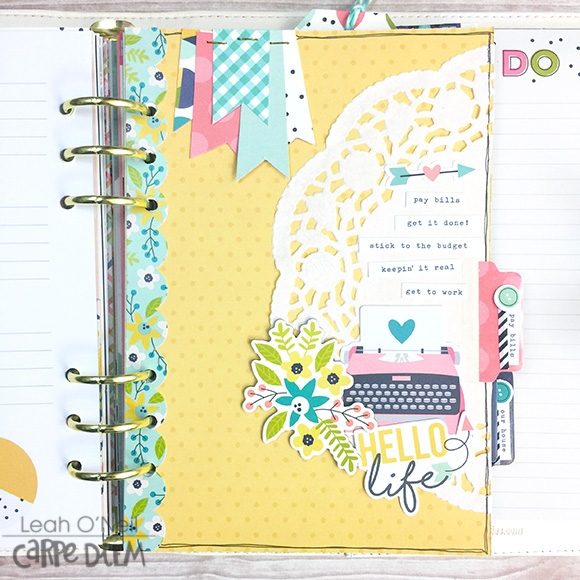
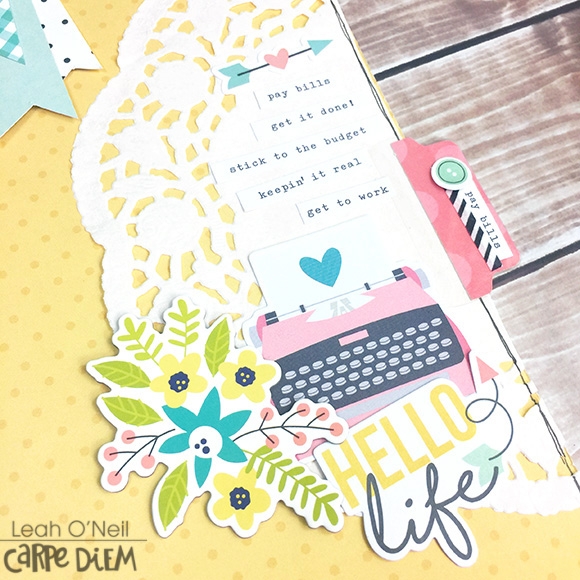
I love how this divider turned out with the simplest of details! I used half of a doily and layered on the typewriter and “hello life” die cuts with the chipboard flowers and word label stickers. At the top of the divider, I hand cut a few different sized banners out of leftover paper scraps, grouped them together and then stapled them onto the page.

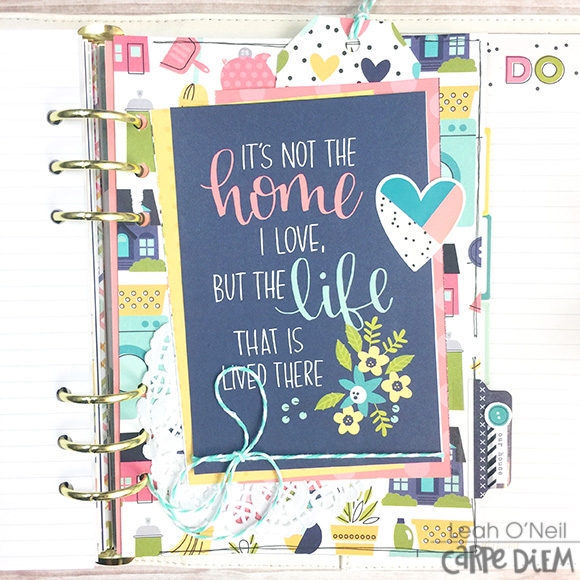
The last section of my planner is for information pertaining to our home and family, such as insurance and medical info and important contacts. This divider was super easy to make! I made it out of this 12x12 paper, and then used one of the 4x6 elements from this sheet as the main focal point. Then I layered some paper scraps and a doily behind it, and wrapped some baker’s twine around the card with a little bow for some texture.

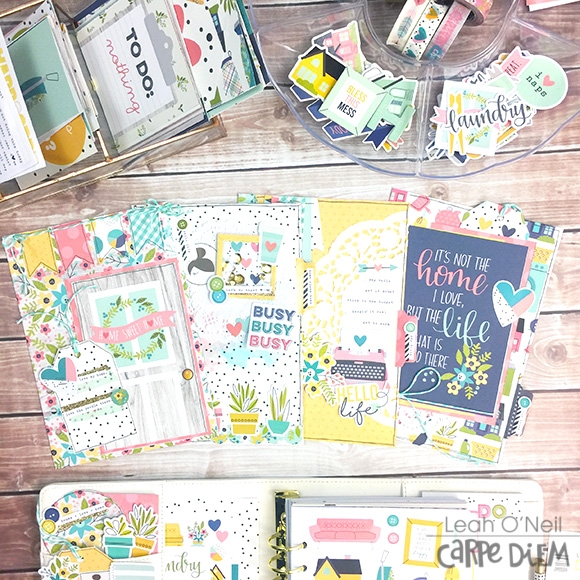
I don’t know why I don’t make custom dividers more often! I always love how they turn out and they are so fun to make. They make my planner feel so much more personalized! I love working within one collection when I make dividers because of how beautifully everything coordinates. Look how pretty all of the dividers look together!

Do you like personalizing your planner dividers? If you’d like to see some more pretty planner dividers for inspiration, run on over to the Carpe Diem Planners Instagram! Also, I hope you will come say hello over on my Instagram as well @sunny.leah, and be sure to check out the Carpe Diem planner giveaway I’ve got going on right now!

Supplies

Thanks sooooo much for joining us for our 2017 Spring Release Reveal, we hope you enjoyed seeing all of our new products!  

The Summer Days and Cabin Fever collections as well as all 4 new Simple Sets have shipped to retailers and are in stores now!   

Now on to the fun stuff - congrats to our 14 random lucky winners!  Here goes - 

Summer Days –
Blog – Amy Cooley 
Instagram – mommavince
Pinterest – Karen Kirkman
Facebook – Sharon Frewen 

Cabin Fever –
Blog – Rebecca Rewer    
Instagram – Tonya Morgan
Pinterest – Wendy Baker
Facebook – Janet Dorkin

Simple Sets –
Blog – Tiffany Medina  
Instagram – Cindy Fast
Pinterest – Steffanie Seiler  
Facebook – Kristi Beisel


12x12 Pads –
Facebook – Jody Grimm
Instagram - Janet MacKay  

Thanks everyone!!  If you are one of the random lucky winners listed and did not receive a message or email from me, please send me an email at layle@simplestories.com with your full name and mailing address so we can ship your package!

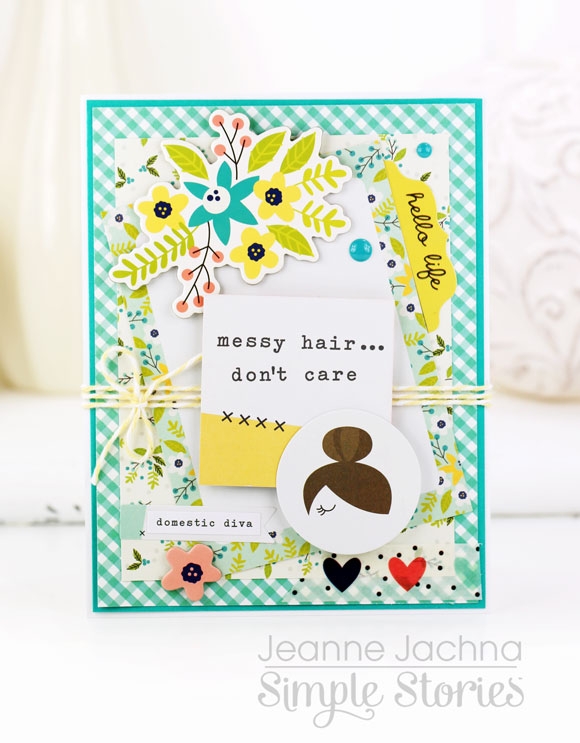
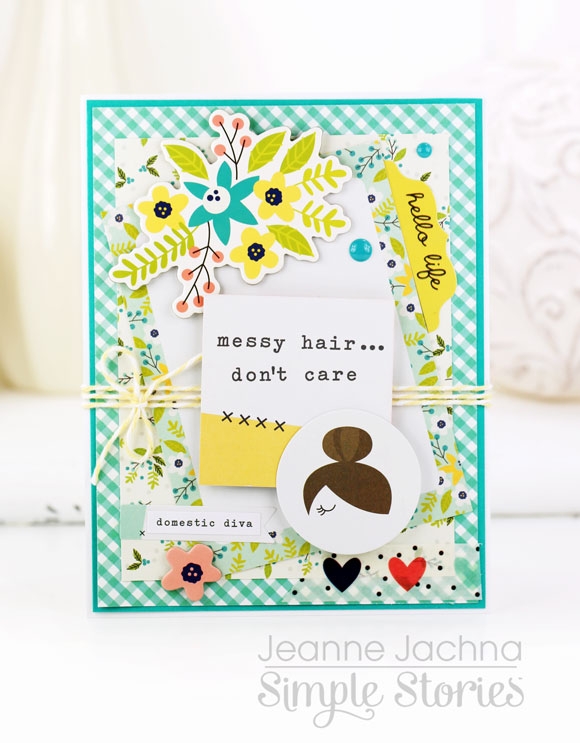
Hi I’m Jeanne!  Back again this week to share some more cards with you, this time with the Domestic Bliss collection. I love to send cards to family and friends to let them know I’m thinking of them.  It never has to be for an occasion – just a note to say hi is always welcome! 

My kiddos are growing up fast.. off to college and finding their own places.  Lately my daughter has become a domestic diva!  Going to work, cooking dinner, and keeping the house tidy are part of the daily grind.  I have to smile to myself and think “Welcome to my world!”  LOL!! 

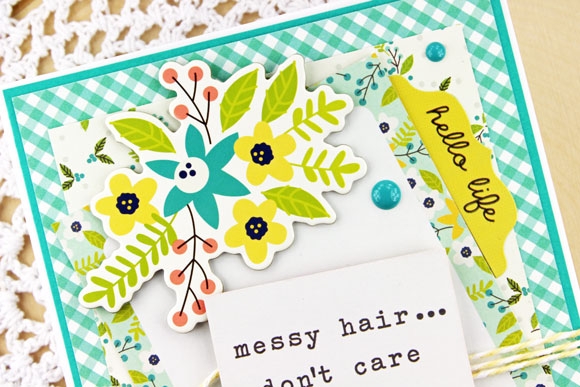
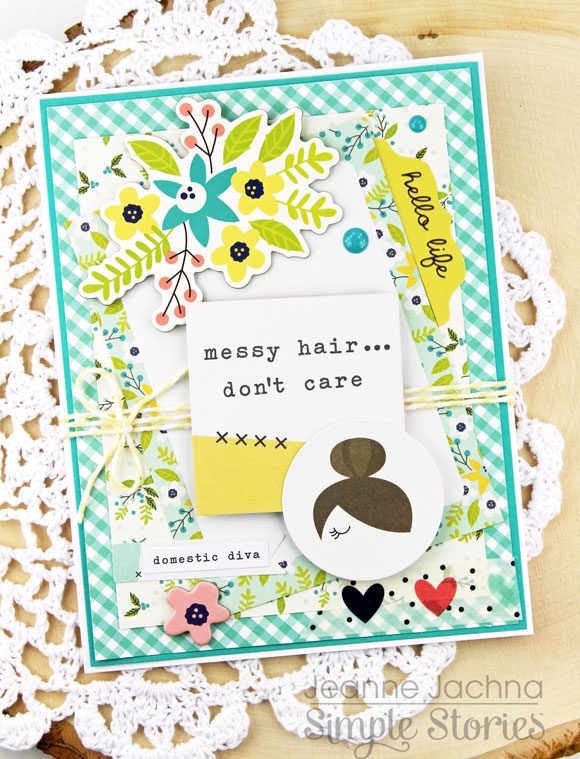
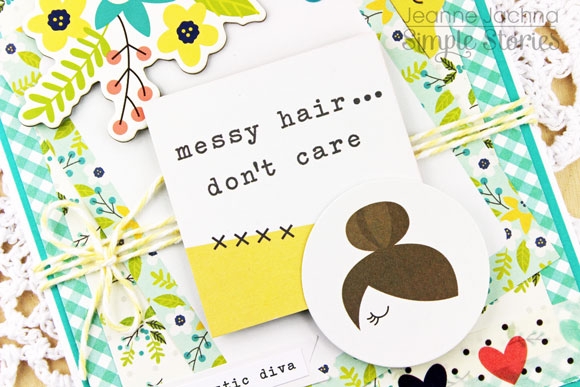
Today I’m playing with the Domestic Bliss Collection!   I started with a background of pretty papers from the 6x8 paper pad.   I topped the background paper with a 3x4 Journaling card from the SN@P! Packet!  The pack has 118 pieces to choose from.  The “messy hair…”   2 x 2” card is from the same pack.

I love how all the elements are coordinated to work together so all you have to do is mix and match to your hearts content!  I added Chipboard sticker flowers to frame the sentiment.  

I love piling on the embellishments like color coordinated enamel dots, Bless This Mess Washi Tape, and stickers!!

The hello life yellow tab is a sticker that you’ll find on the Combo Sticker that’s included in the 12” paper pack or sold separately.  

_________________________________

My second card features lots of Bits and Pieces.  If you haven’t seen these before you need to check them out!  The pack includes 53 printed die cut pieces like the washing machine, cute pooch, laundry basket and more! 

If you look close under the word sticker sentiments you’ll see some pretty floral washi “Home Sweet Home” tape.  I love the fun sentiments in this collection!   Sometimes you just have to laugh at a situation.  Laundry happens.

I think this would be a fun card to send to a friend who might have her hands full with life.  Maybe include a gift card for a night out, or volunteer to watch the kids.

I mixed some Chipboard stickers in with the Bits and pieces like the detergent bottle and the smaller laundry basket.

Yep.. life is going to bring you housework.. but in the end there’s still no place like home.   And for me there’s no better place to be! 

Wishing you a great day with some time to do all the things you love best.. dinner with dh, hug your fur baby, spend some time with the kiddos, and maybe find a little crafty time to play!

Supplies

Happy (inter)National Scrapbook Day!   We’re thrilled to participate in the worldwide celebration, focusing on all things scrapooking & paper crafting!  In honor of this super fun day, we have not one but TWO awesome surprises for you! 

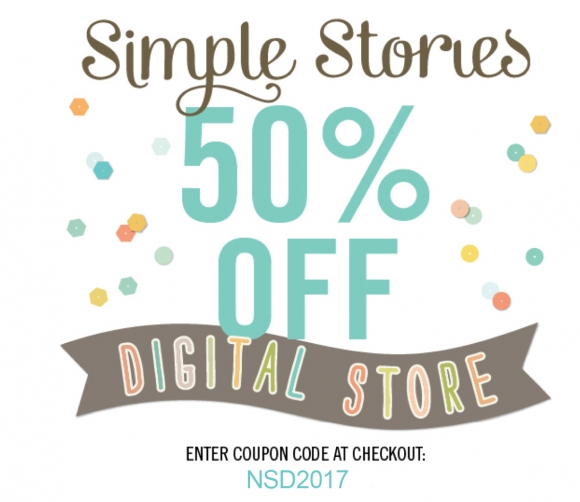
Today only, your entire purchase from our Digital Store is 50% off!  With ALL of your favorite Simple Stories collections in digital format, you’re sure to find just what you need for all of your digital crafting needs.  Visit our Digital Store and enter code NSD2017 during checkout!

_____________________________________

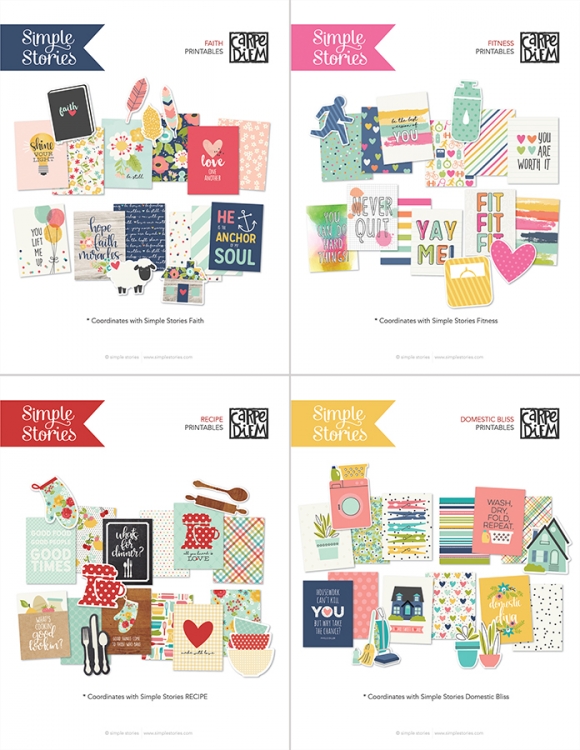
Today’s celebration also brings 4 different sets of die cuts & 3x4 FREE printables!  Designed for use in your Carpe Diem planner pockets, your SN@P! Pocket Pages and your other scrapbooking & paper crafting projects – you’re going to love these Faith, Fitness, Domestic Bliss and Recipe designs! 

Domestic Bliss - http://bit.ly/DomesticBlissPrintables

Faith – http://bit.ly/FaithPrintables

Fitness – http://bit.ly/FitnessPrintables

Recipe - http://bit.ly/RecipePrintables

We'd love to see how you're using these free printables in your planners & pages, so be sure to snap a pic and tag your Instagram or Facebook posts with the hashtag #SSfreeprintables!

Thanks for celebrating (inter)National Scrapbook Day with Simple Stories!

SaveSave

SaveSave

Hello friends!  It's Jennifer on the blog and I'm very excited to be a part of the Simple Stories team for another year!  I will be creating layouts but you may see a mini book from me from time to time!  Today I'm sharing pages I created using the new Domestic Bliss collection!  This lovely line is full of beautiful colors and prints that are perfect for just about any theme!  
 
For my first layout, "Home", I started with the gorgeous blue/grey wood plank print of the B side of Bless This Mess! (This sheet is probably my favorite out of the collection as it has a beautiful plaid print on the opposite side).  Going through an old photo album, I found this black and white picture of the first house I remember living in.  The address and a date were written on the back; I assume it was taken by the realtor.  I have lots of memories of this house: some good, some bad, but definitely part of my story.  
 
 
Using white cardstock, I cut a circular cut file on my Silhouette (Geo Globe from The Cut Shoppe) then added in different patterns from the collection. I finished by stitching the edges with my sewing machine (honestly I sew on everything!).  You can also spy one of the cute tags under my photo from the Bit and Pieces pack! I added some navy and white bakers twine from my stash to accent. 
 
 
​The colorful "HOME" chipboard letters found on the 6x12 Chipboard Sheet make the perfect title for my page!  I love the bright colors! I added in a sticker from the 
Combo Sticker Sheet as well as coordinating Enamel Dots to accent my title. 
 
 
I thought the chipboard and die cut houses would look cute next to my photo! I placed them across my page almost like a street adding in die cuts and one of the cute
 
 
I'm not a fan of my handwriting so if I have a choice, I will use my electric typewriter.  I used the B side of Domestic Diva because I love the bright yellow! And it was different than my usual white card stock. I think I could've written a book about this one photo; its funny how a picture can bring up so many memories!  
 
 
________________________________
 
For my next layout "Love Was Here", it is ALL about memories.  When I first saw Domestic Bliss, I knew I wanted to scrap about my mom in her kitchen. The minute you walked in the door she had a smile and a hug for you.  Next, she was offering to cook you something or get you a drink; that's how my mom showed her love to others. 
 
I used the colorful florals of "Work It Girl" (don't you love the titles?!) and used the Simple Stories Crosses Background Silhouette cut file for my background.  I backed the crosses with different patterns then stitched around the edge of the cardstock.  
 
 
Using one of the ledger prints from the SN@P! Basics Paper Pack I cut a tag from my Silhouette to hold my title. I used the letter stickers from the Combo Sticker Sheet as well as black alphas found in the Say Cheese III collection.  I "popped up" my tag using some foam tape to give it some dimension above the surrounding embellishments.  I love how  Simple Stories gives you so many little pieces to decorate and accent your pages!  
 
 
Another fun Simple Stories cut file, Heart Polaroid, I used with the B side of Mom Rules.  I then added a cute chipboard plant as well as smaller stickers and die cuts! And don't you love the hanger with the heart?  I thought it would look cute "hanging on the line" across my page.  
 
 
Showing more of the coordinating die cuts and stickers that are part of the collection! I used brown bakers twine to hold my pieces and added in mini wood clothes pins. 
 
 
​I also used one of the chipboard clothespins to "hold" my photo as well as used the adorable "mom" Epoxy Metal Clip.  
 
 
​I probably will go back later and add journaling to my page. Honestly, I had so much emotion even putting this page together and there is so much I wanted to say.  For now, I think just scrapping the photo was enough since its still difficult to create pages about my mom. I miss her so much...what I wouldn't do for one more day to sit at her kitchen table with her! 
 
Thank you for stopping by today! I hope you will check out all that is included in Domestic Bliss as well as the new releases!  You can check out everything by visiting the Products page! Have a wonderful day!  

SaveSaveSaveSaveSaveSave

Supplies

Good morning friends! Brenda Smith here with you today to show you how versatile the Faith collection is. I wanted to document my daughter's seventh birthday party but really liked the colors and patterns in the Faith collection but knew the sentiments weren't exactly what I needed for these kind of layouts. So I set out to make this kit work for what I needed. 
 
 
One of the things I liked about this collection so much is the perfect balance of girly-ness with more colors than just the traditional pink and purple and red. The blues, yellow, pinks, and greens meshed amazingly with colors of my photos. 
 
 
The cloud and stars die cut had a non-applicable bible verse on the cloud so I covered it with some labels from the Emoji Love 4x6 stickers. The phrase stickers atop the labels are from the Emoji Love Sticker Tablet. I trimmed a 3x4 journal card so I could use it as journaling space on this 4x6 card. I hand-stitched a little to accent. I interviewed my daughter to fill out the "I Am..." card and love how I'll have this little time capsule of what she was doing when she turned seven. 
 
 
I added a strip of patterned paper to the bottom of the "Never Forget" journal card before hand-stitching the "love." Because the patterned papers in this collection worked so well with my photos, I printed out most of my photos just slightly smaller than the cards so I could get additional pops of color in the pockets with photos. The "His Love" heart worked so well with this photo of my kids and gave me a great opportunity to talk about how enamored my son is with my daughter. 
 
 
The varying sizes of the page protectors encouraged me to print up my photos at varying sizes and use some of the large pocket cards I don't usually use (like the 4x4 and the 4x6 cards). 
 
 
I trimmed two 3x4 cards on the diagonal and glued them together to form the background of this "believe" photo pocket. The chipboard balloons from Faith 6x12 chipboard gave me a little dimension on an otherwise flat spread. I hand-stitched some arrows to make sure the rare family photo was appropriately highlighted. 
 
 
The 4x6 pocket on the top is a little heavier visually with all of the patterned papers and embellishments I combined so I attempted to keep the pocket on the bottom a bit lighter with the white background and lightly patterned blue paper with the journaling. It was a little too plain for my liking at first so I added more hand-stitching and a little washi and a sticker at the bottom. 
 
 
I knew I wanted to use this cute globe card but I couldn't figure out what to add to it. It's great on its own but putting this "love" chipboard piece on the diagonal added the accent I desired. I used a paper punch to add the chevron detail to the picture of my son.
 
 
I had fun altering journal cards on this side. I trimmed the aqua diagonal 3x4 card and placed it atop a yellow journal card. For the picture of myself, I trimmed several cards to make the layered effect you see. I used dimensional foam adhesive to pop up "inspired." The "Be Still" sentiment I thought worked well for the picture of all the kids together because we all know that familiar struggle of getting this many kids to be still at the same time. 
 
I hope I've encouraged you to think outside of the box when it comes to your themed Simple Stories collections!

Supplies

Pages