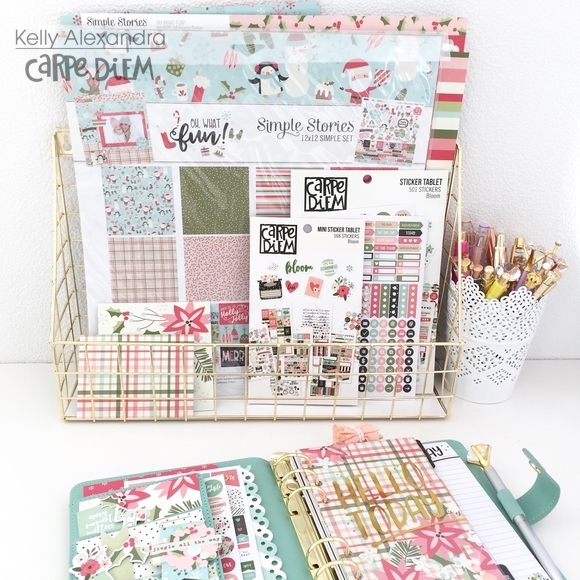
Hello!! It's Lisa, I'm here today to show you just how much fun I've been having with the 'Sub Zero' collection. I created this 12x12 here using some Disney photos of our's taken in the Summer at the Winter Summerland Mini Golf, which is Christmas themed. I love that you get to play golf in the 90's sunshine and listen to Christmas music. There's even fake snow!!

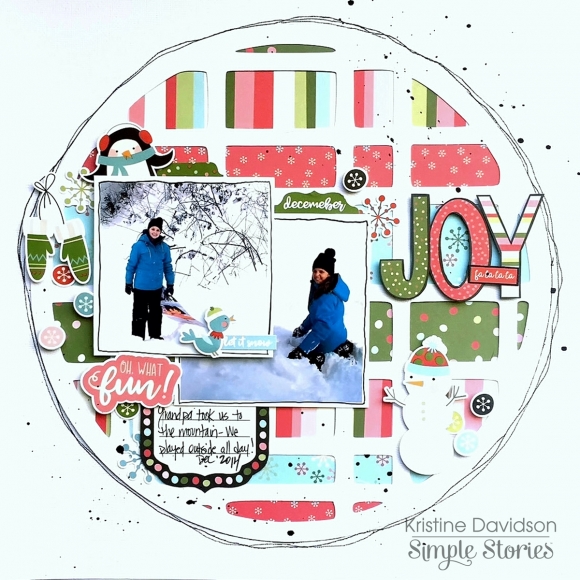
I do love a white background, but I also love to create a frame for my pages. I just feel it finishes them off. My photos really needed those thick white borders. The colours are so similar to this paper line that they would have been lost on this page otherwise. It really helps them to stand out.
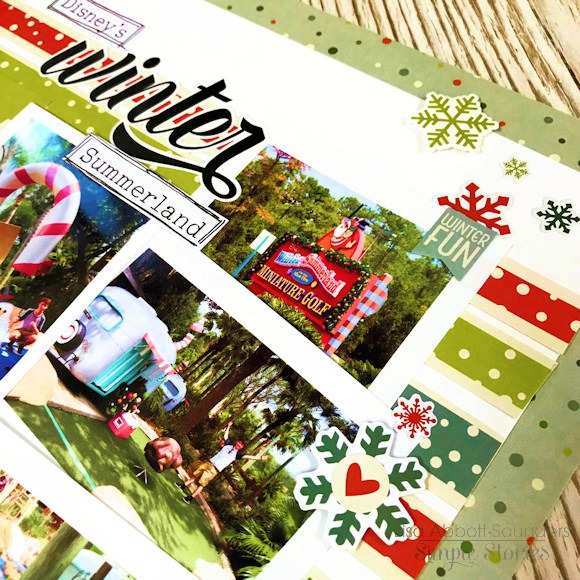
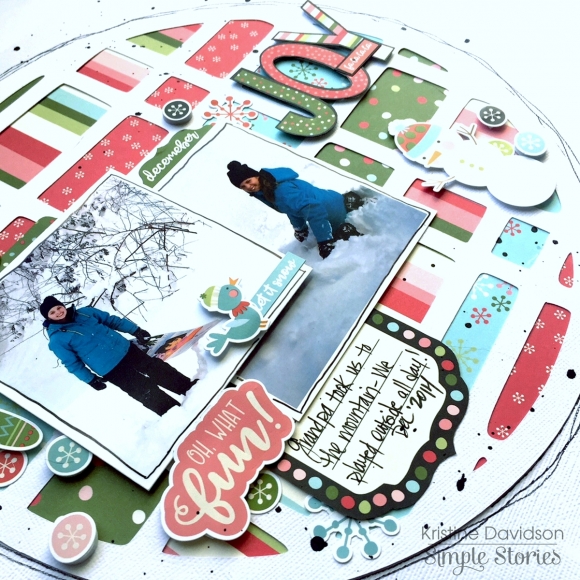
I used one of the stickers from the 12x12 sticker sheet and added some printed strips to create the title. I really enjoy doing this.I alternated sticking the sticker and die cut snow flakes with tape and 3d foam dots to add extra depth.
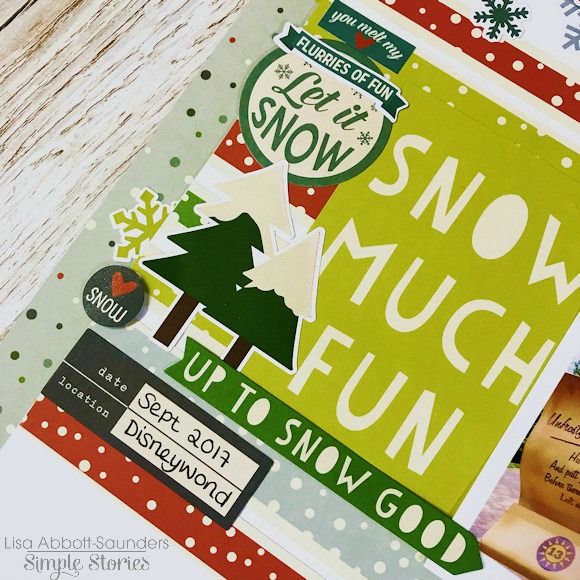
And this 'Snow Much Fun' was cut from one of the 3x4 Element sheets. It's what pulled this whole page together for me. Thinking of the fun that we had on that day and using the lime green which I continued throughout the page in the form of paper strips and snowflakes to bring it all together. This is the favourite part of this layout for me.
I do have a video here where I show everything from this collection that I have received and you can also watch this page being made by myself. I hope you enjoy.
This page just makes me smile. I love all the bright colours and jolly elements. It's just perfect for the fun time that we had and just goes to prove that you can still have 'Snow Much Fun' even in Florida in the hot August sun.