December 2017 Blog Posts

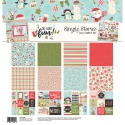
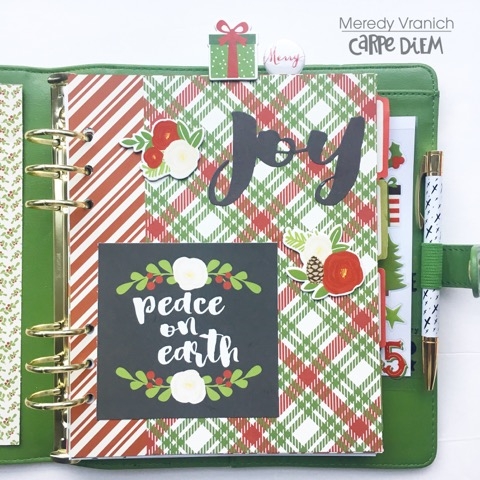
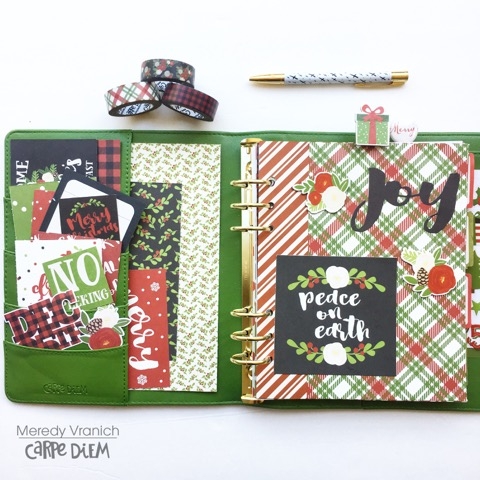
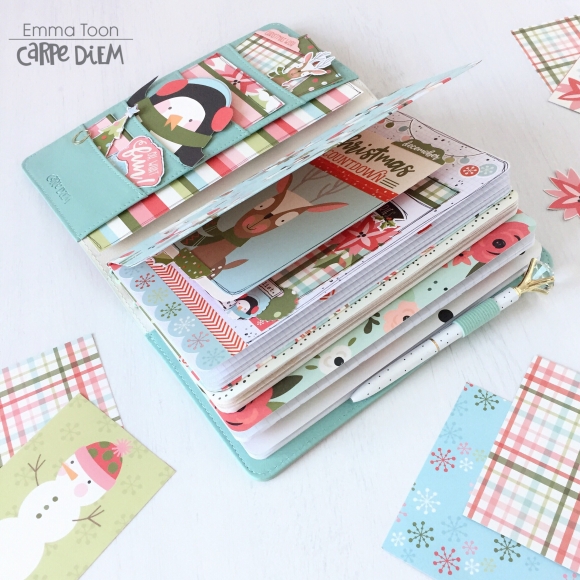
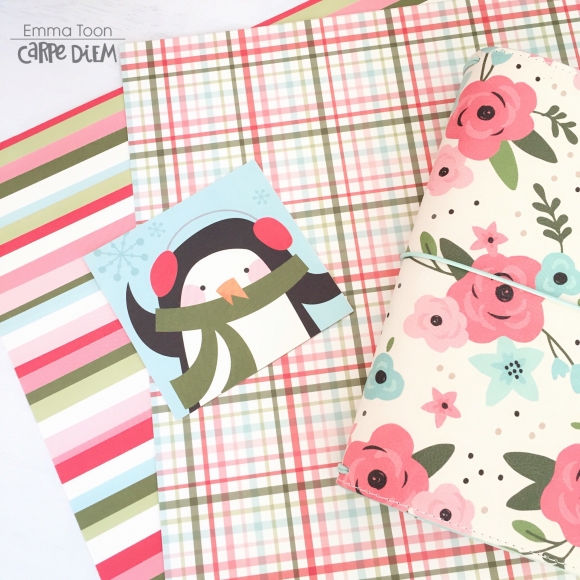
Hi, it’s Emma, I’d like to show you the beginnings of my beautiful Cream Blossom CarpeDiem TN which I’m setting up for Christmas with the gloriously sweet Oh What Fun Simple Set Collection.

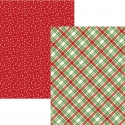
I’m sure you’ll agree the colours work fabulously together!

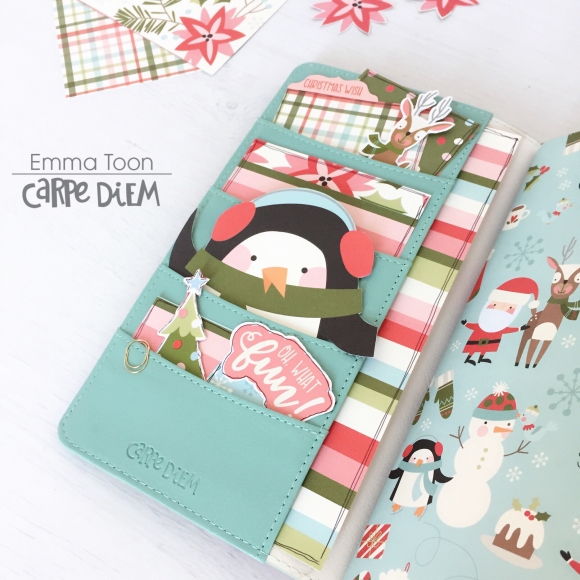
As always, the first thing I like to do is decorate the pockets to tie in with the theme, I’ve used, scraps of papers, stickers and also fussy cut the penguin to peep out and make me smile every time I open up my TN!

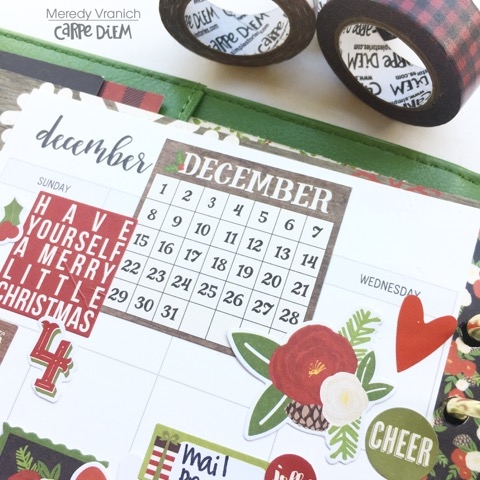
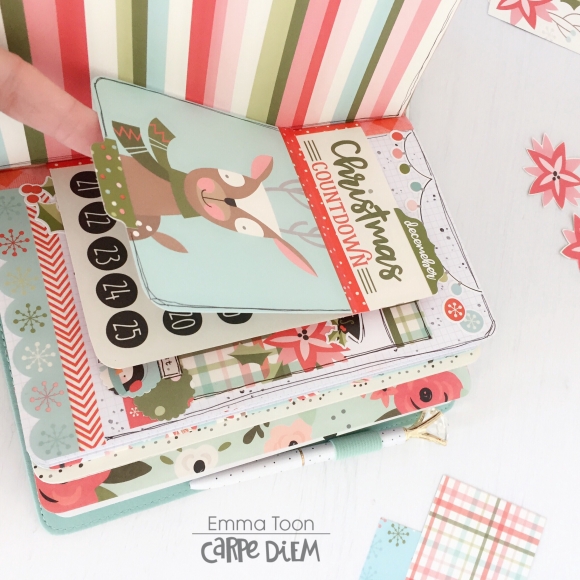
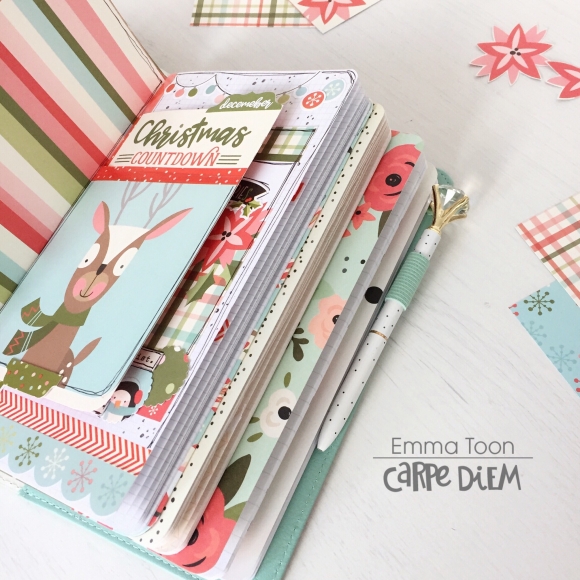
I am quite new to using TNs so I’m learning what my ‘style’ is, but one thing I’ve found I love to do is add ‘tip ins’, this is where I’ve used washi tape to attach little extras, you can see how I’ve done this with the Christmas Countdown. 

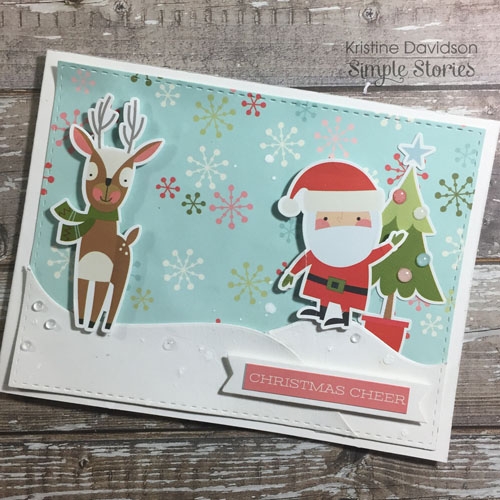
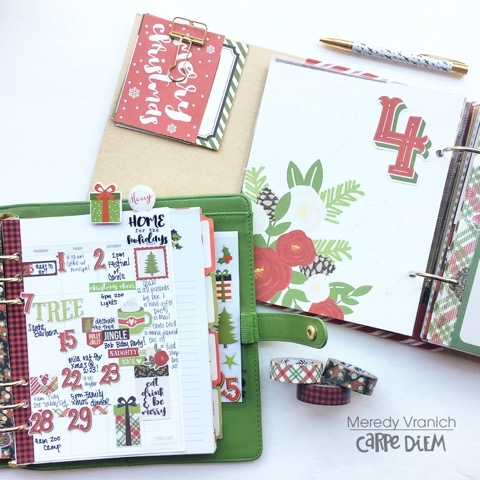
I’ve also made a flap to lift using the same technique. How sweet is the deer!

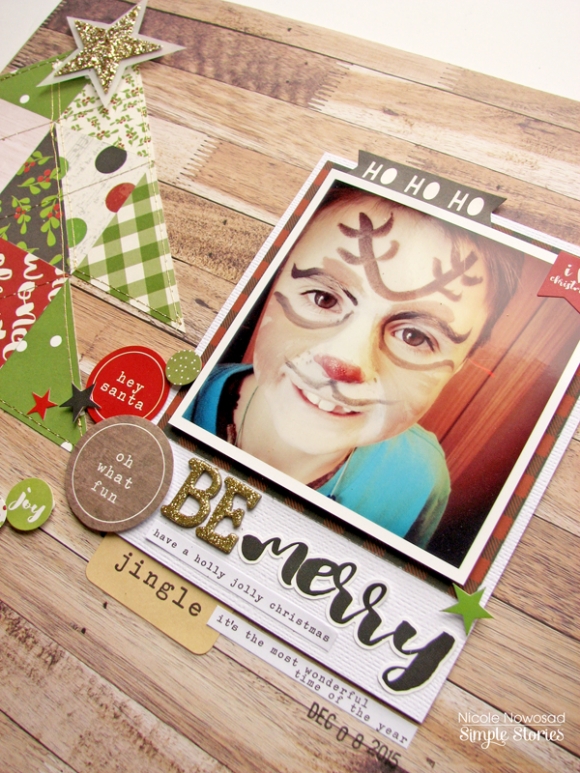
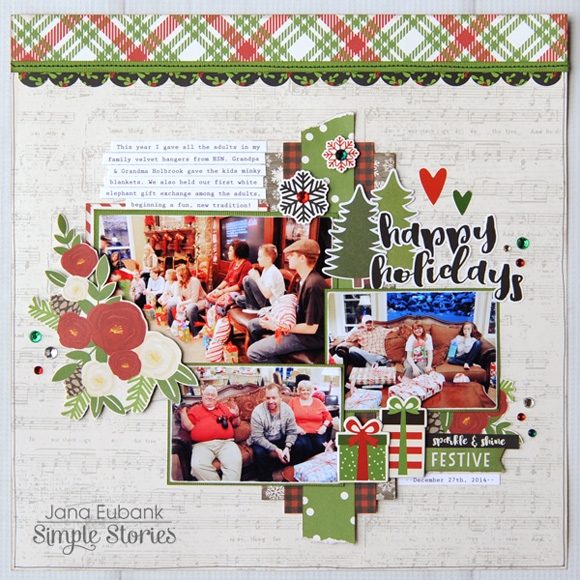
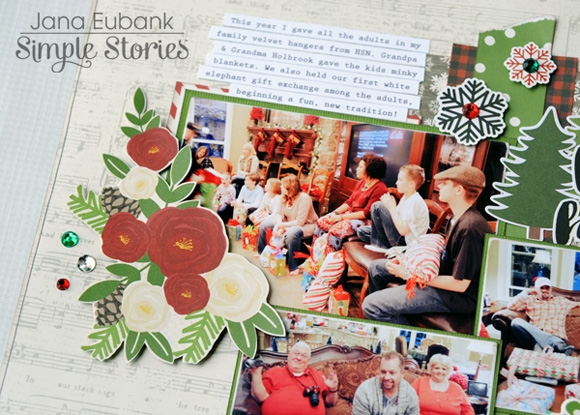
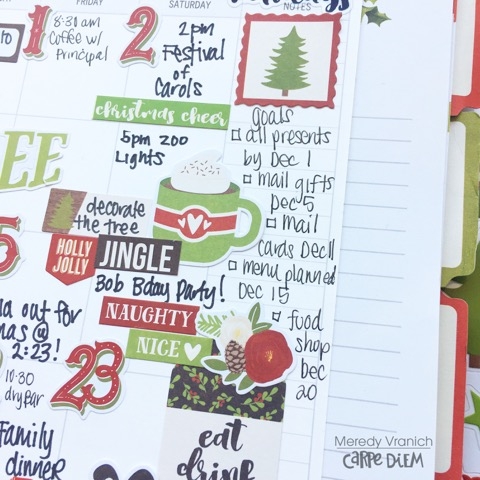
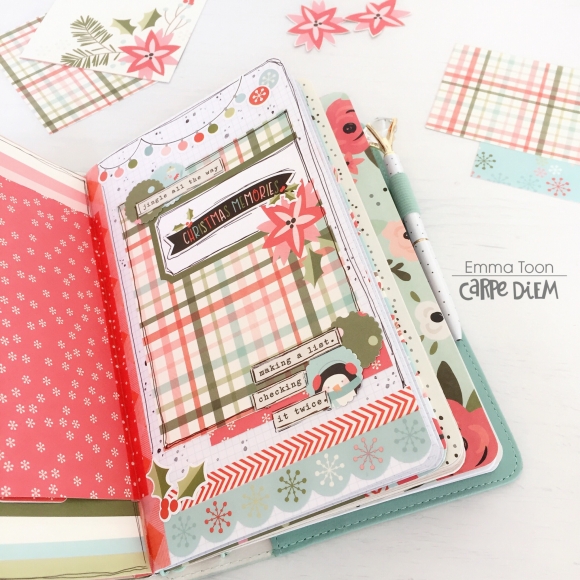
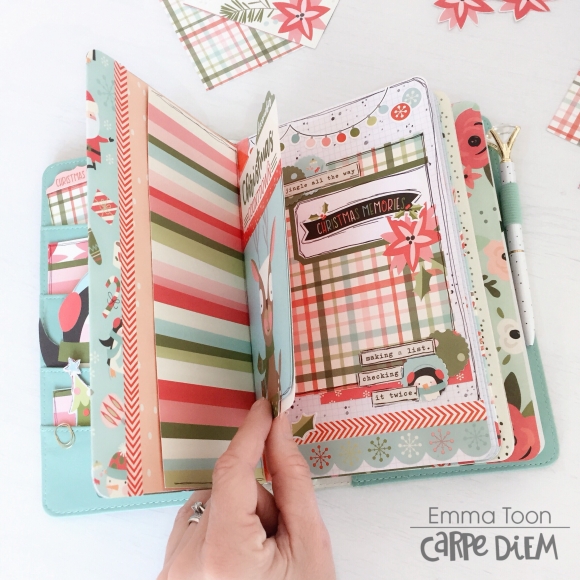
I have enjoyed decorating the pages with the stickers, bits & pieces I’ve punched out from the 12x12 papers and then of course another of my favourite things to do, layering with word strips!

I hope you’ve enjoyed a peek inside my Christmas TN, you can find more detailed pictures on my IG account  https://www.instagram.com/heartsbyemma

Supplies

Hello Friends its Kristine Davidson with you today.  I will be sharing 4 cards I created using the sweetest Winter Collection called “Oh What Fun” .  

Using some of the journal elements from this collection makes it so easy to create the cutest holiday cards. I added some twine, dimensional adhesive, and a few enamel dots to create the perfect holiday cards.


Thanks for visiting us at Simple Stories today, if you enjoyed my layouts please come find me on instagram @KristineDavidson

Have a great day!

Supplies

Hey Simple Stories fans! Nicole here today to share a fun holiday project with you. Sometimes I get overwhelmed with all the great products to use for my projects. Truth is, I do better with smaller pieces of paper! So for this project, I literally broke it down for each of the patterned papers for my project and built my own design element on my project. I like to cut several pieces so that I have more than enough choices as I work through my project, also leaving me with enough for a bonus project later too!

I chose most of the papers in the Very Merry collection and then trimmed them down into simple squares, and then again in half into some basic triangle shapes. You really can do a lot with just a few triangles on your page!  I started on the bottom edge of my project and worked my way up along the left edge of the page, creating a holiday tree shape along the way. I tried to mix up the color and pattern of the papers as I built that fun tree on the side of the page.

Since the left side of the page was quite busy with the large tree, I kept things to a minimum on the right side of the page. I added a fun photo of my son along grouped with some of the stickers in the 4x6 sticker pack from the Very Merry Collection. Love that woodgrain paper from the Sn@p Basics collection, it works so well with the colors in the Very Merry collection!

Supplies

Hi everyone! It’s Tara with Secretbees Studio and I have the sweetest tags to share today! Christmas is getting closer and it is never too early to start the wrapping of your gifts. Sometimes, instead of using fancy paper, I prefer just kraft and then I can really light up the packages with super cute tags! And the ‘Very Merry’ collection is full of the most adorable holiday images in awesome traditional colors!

Tags are the perfect way to use up your small paper scraps and left over embellishments from a collection! I had already used the ‘Very Merry’ collection on another project but held on to those last few pieces of patterned paper and decorative pieces I had left. I took some large manila tags and small white tags that I had in my stash and just got busy adding scraps and stickers and ephemera galore! All of the pieces in this collection look so beautiful together!

I did add in a few tiny details in the form of wooden stars and hearts, colorful enamel dots and festive twine. I also couldn’t resist making lots of paper curls to give these tags that final flair! The backs of the tags are totally blank so I have plenty of room to write in the lucky recipients name. Now to just get the Christmas shopping done! Thanks for visiting!

Supplies

It's the beginning of December and the holiday spirit is in full swing at my house! Hello, Simple Stories Friends! Jana Eubank here. The minute Thanksgiving is over the Christmas music is a constant at our home and puts me right in the mood to do some Christmas scrapbooking!

Most of my pictures from the holidays are a beautiful, chaotic mix of people, things, and colors. The Very Merry collection brings everything together with its classic red and green color scheme. 

For this page, I placed three photos on a patterned paper axis running through the center of the page and then filled in the empty spots with a title, journaling and holiday elements.

I used the Combo Stickers for the title area of this page. I love how the black script of the title POPS against my mini forest of pine tree stickers.

My main photo had an empty spot in the lower left corner, so I fussy-cut the large floral cluster from the Peace On Earth Paper to fill the spot.

Another fussy-cut, floral cluster anchors the presents, and phrases in the bottom right hand corner of the layout.

I capped the page off with a strip of plaid Christmas Cheer paper and the scalloped border sticker from the Combo Sticker sheet. Reminiscing about Christmas' past gets me excited to gather together again with family this year!

Thanks for coming by!

Supplies

Hello Carpe Diem Girls, Its Meredy with today’s blog post. It is December and, as we all know, it can be a very busy month.  I am starting the holidays off on the right foot this year by setting up my planner, taking a look at my monthly schedule and setting some goals for myself.  

My Clover Carpe Diem works perfectly with the Very Merry Line and by using some of the decorative paper, bits and pieces and stickers my planner was looking quite festive in no time at all.

I don’t always do a monthly spread, but since there is so much happening during December I knew I needed to have it all in one place to help me keep on track.   I used washi, stickers, and bits and pieces from the Very Merry Line to decorate my pages.

I put this great December Calendar from the Bits and Pieces packet at the top of my page and will use this as my Christmas Countdown counter. Today, I get to mark off Dec 1st, just 24 more days to go!  (If you look close you can see I didn’t set my sicker down perfectly, I just left it because sometimes there is perfection in something imperfect.)

In the notes section of my monthly layout I wrote my holiday goals.  My daughter gets out of school on Dec 15th and I am determined to have it all completed before that date so I can have a fun and relaxed Christmas. I even set up my beauty appointments and ordered some new clothes so do not forget about myself as I do most years.

This year will also be my first attempt at a December Daily. I set up a Sn@p notebook with the Very Merry collection so I am all prepared. Stop by my Instagram www.instagram.com/myplanningadevnture to see how my December Daily progresses! Its not too late to start your planning and set goals for your month. Hopefully this post inspires you to get out in front of the holiday rush.

Supplies

Pages