February 2018 Blog Posts

Hello Simple Stories fans and fans of love in general!
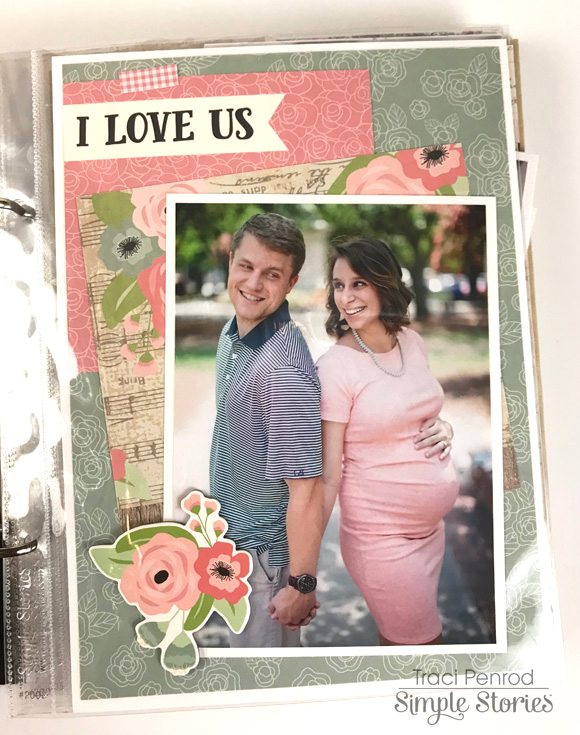
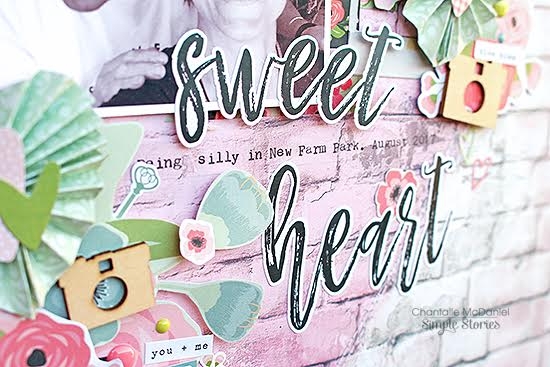
I’d love to share a post I created for my DH which captures a really sweet, fun time we had in the park together, while our kids played. He had recently got a new phone and we were trying out all the settings on the camera. It was so much fun and I love the pics that came out of our impromptu ‘photo session’.
 
 
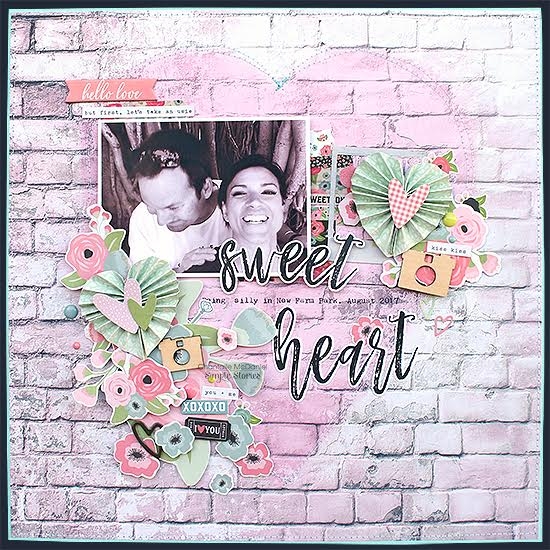
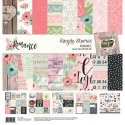
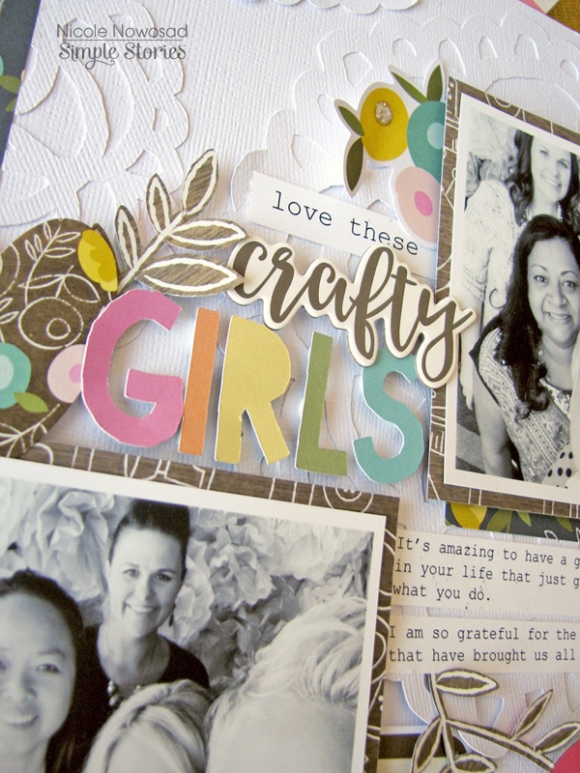
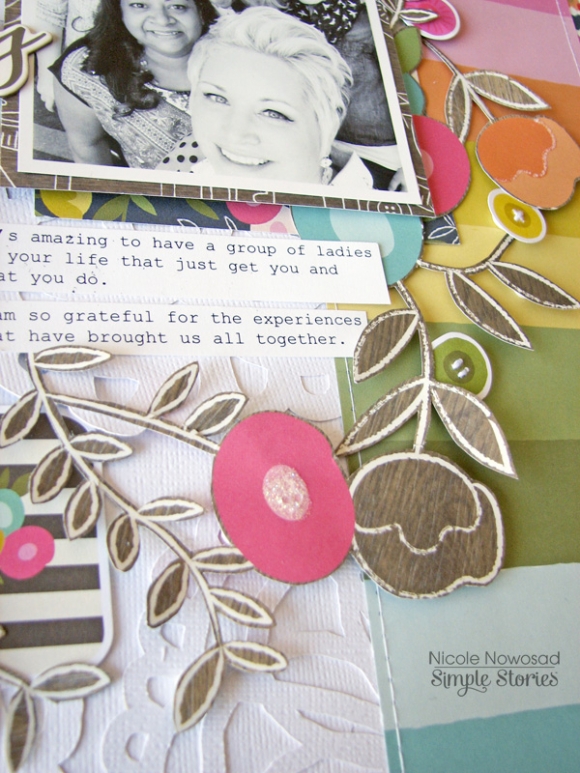
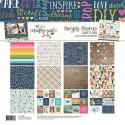
The new ‘Romance’ collection was perfect for documenting this photo. The gorgeous brick work print on a sheet of ‘Love Story’ was hard to resist!  I used it as focal point and then went about fussy cutting some florals from various papers in the collection, until I had a good mix of sizes and colours.


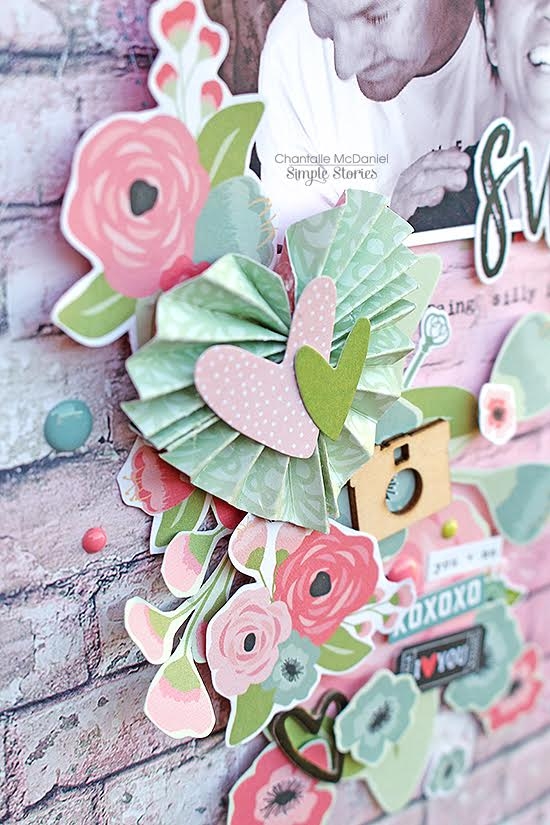
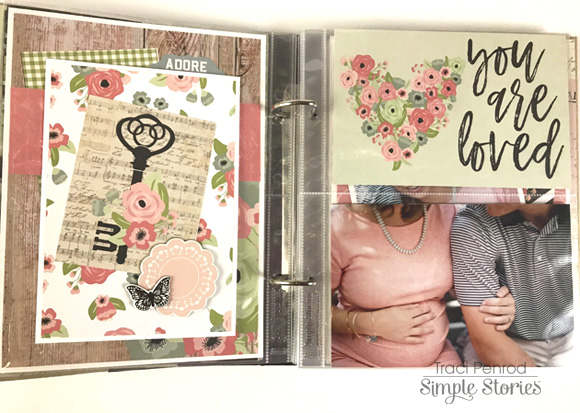
There are lots of beautiful hearts in this collection too and I played with the shape, adding some stickers and creating some sweet, dimensional embellishments.


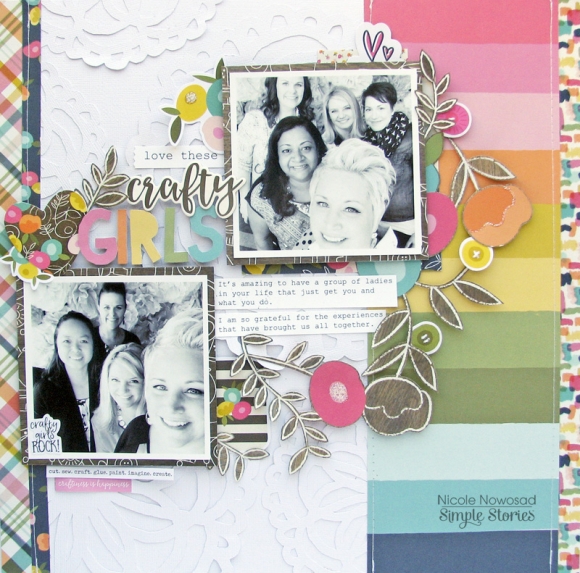
The title has been set above and below some text, which I typed onto my background paper using my typewriter. The stickers are from the Combo Cardstock Sticker sheet which has loads of sweet shapes and sentiments.


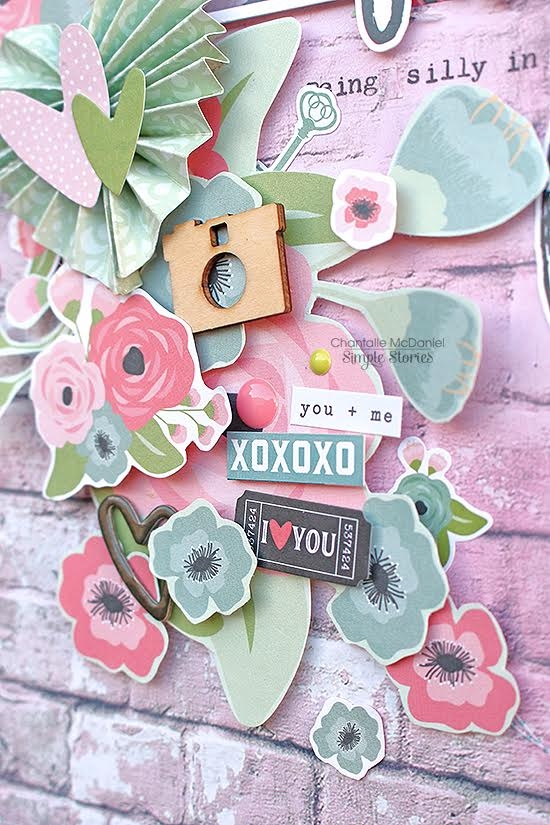
I’ve also used some of my (very precious, lol) wood veneer from one of my all-time favourite collections ‘Life in Color’. The little camera shapes were just the perfect finishing touch for this page. (I also asked myself, what good they were just sitting in a box somewhere… use the things you love so you can actually see them!)


The idea for these accordion hearts came from some stickers  I have in my stash. I pulled them apart and cut a few shapes out of a sheet of ‘4x4 Elements’. I scored them at 1/4 intervals on a score board and folded them up. Pretty impressed with how they turned out, even if they are not 100% perfect. I often do this and I think it’s a great way to not only save a bit of money, but also create a few awesome goodies you can use again and again.


Wishing you lots of happy crafting. I can think of no better way to show love, by making something from the heart or simply filling up our own buckets and creating from a place of joy!
 
Happy Valentines Day
 
Chantalle
 

Supplies

Roses are Red, Violets are Blue
Carpe Diem "Romance" is perfect
for you!

Valentine's Day is just around the corner. I am using the Romance Collection to add Love in my planner. I wanted to use my Black Blossom Personal Size Planner. I think it's a perfect combo.


 I made this dashboard by using the 12x12 Sweetheart paper as the background. I then added some chipboard pieces. I cut out the 3x4 journaling card and I used "Happy Valentine's Day" as my main focus. I layered some papers that I cut out made into shape of a tag.

 Be Mine Pocket Love

Layout for the week of Valentine's Day. I used mostly the 4x6 Romance stickers since they are small and fits better in the personal planner.

Did you plan something special for your love ones? I am hoping to go on a dinner date with my husband while my oldest son babysits our 2 year old daughter.

 Here I cut out some of the 12x12 papers and added adhesive pockets so I can put some of the journaling cards.

Thank you for stopping by and I hope you're able to celebrate Valentine's Day with your special someone.
Come and Follow me for more Inspirations on my Instagram @J4Fashion

Supplies

 
Hi There!! It's Lisa here with you today. Seeing as it's February, the official month of 'Love' I thought I'd create a 12x12 layout about something we as a family love. And what better collection to use, the 'Romance' collection.


 This background paper here is such a perfect backdrop to my story. I do love texture and although there is no texture as such to this page it really does look like it should have some. Seeing that eye catching heart there in the middle, as soon as I looked through the collection, I was instantly drawn to this 12x12 and had to use it straight away.


I wanted to add more of a contrast though to the page to help the elements stand out more. By scraping some white paint over the centre of the design this was just what I needed. Enough to do what I needed it to, but not so much that it covered the design of the paper. I needed that heart to stand out.
You can really see here how the pieces from the 'Bits and Pieces' pack really POP!! That paint worked just perfect.
 
 
I teamed up the 'Bits and Pieces' with some of the Chipboard Stickers and the 4x6 Stickers from the coordinating pack too. To help the shape of the heart stand out even more, I sewed around the outside. Not only does this help it to stand out it adds a wonderful texture to my page. See here how I've woven my stitches under and over the heart. I love seeing detail like this on my pages.
 
 
I printed off some wording and cut into strips to document the things that we love about our favourite Disney Resort. It was such a fun way to add journaling to a page. Keeping it in the shape of the heart. Thinking back to the heart as being the original inspiration for this page.


I've enjoyed making this page so much and I'm so happy with the result.Why don't you document something either you or you and your family really love this month. I hope you've enjoyed this today. If you would like to watch me creating this page and also looking through the 'Romance' collection that I received. Please watch my video here.
Thank you.
 

Supplies

Good morning Simple Stories fans! Nicole here today to share a project using the new Crafty Girl collection, released at 2018 Creativation just a few weeks ago!

I was inspired by so many things in this cheerful collection! I just love the fun mix of bright colors and had to use a lot on my project. I started with the awesome rainbow patterned paper and then added some smaller strips along each side of the page, including using some of the washi tape from the Crafty Girl collection along the right side of the page. 

I couldn't help but use the Crafty Girl as part of my title too, so I had the chance to scrap a page about some of my favorite crafty peeps that I have the priviledge of knowing! So perfect to document those relationships in our lives, right?

I absolutely love the  Live.Love.Create paper and had the urge to fussy cut out a ton of flowers and vines to embellish my project. A little bit of hard work goes a long way! I love how they brighten up the white on white diecut background I added using my digital cutter and file from Justnick.

Supplies

Hello again, I’d like to show you how I set my Ivory A5 Carpediem planner up for January using the Sub Zero collection by Simple Stories.

As always I started by decorating the pockets using an assortment of the ‘bits & pieces’ and chipboard pieces. I also like to use some of the 12x12 papers which I cut down to fit, this ties in all the colours nicely.

The next thing that I do is make a dashboard, I cut my chosen 12x12 paper to size and use the Carpediemplanner A5 punch for the holes. Using the cut aparts is a great way to add detail to your dashboard. 

I also made a pocket divider, it’s very simple to do.  Use an existing divider to draw around as a template but leave the bottom with a few extra inches to fold up, then just punch the holes and use some double sided tape or glue on the sides of the pocket. These are useful to keep your stickers, journaling cards or like I’ve done, co ordinating paper tags which you can use to journal on, list make or even add some sticky notes too. 

I hope you’ve enjoyed a peek inside my January planner, you can find more detailed pictures on my IG account  https://www.instagram.com/heartsbyemma

Supplies

Hi everyone! Tara aka Secretbees Studio! I have a new mini scrapbook to share today and it is a cutie! All of this cold weather has put me in the mood to scrap some winter photos with the adorable and charming 'Sub Zero' paper collection from Simple Stories! The bright colors, cute critters and fun motifs are perfect for preserving all of your winter adventures!

I created a staggered chipboard mini with some album builder Accu-Cut dies for lots of visual interest. This way you can see from one glance all of the colorful and snow-themed pages! Each page has a different shape and is covered in the fun patterned paper and then embellished to the hilt with all of the sweet  chipboard, bits & pieces and sticker designs!

There is definitely a 100% chance of fun creating with this collection! I used it here to document a ski vacation our family took but it would also be wonderful to show off those fun snow days full of sledding, snowman building and snowball fights!

Supplies

Hi Simple Stories fans !It's Lisa Dickinson here today with an easy technique for adding lots of color and pattern to a page - a bold border!

Style1_W

This fun, hand-drawn border is a free cut file from Juliana Michaels that I backed with several pattern papers from Simple Stories. 

Style2_W

I chose a mix of striped, plaid and dot patterns (with plenty of color!) from the Cabin Fever and Life is Ruff collections. 


Style3_W

I added some brad and sticker accents to a few of the circles for added dimension and texture.


Style4_W

In the upper right corner, a cluster of stickers, washi tape & metal accents complete the page.

Supplies

As papercrafters, sometimes a paper collection comes along that makes you immediately think of a set of photos, an event, or a memory.  When I saw the Romance collection, I knew some beautiful pictures of my son and daughter-in-law would work perfectly in an album.

I love the vintage, romantic feel of this paper line.  The cover was easy to embellish by layering several 3x4 cards.
 
These gorgeous photos were taken by Hillary Leah Photography here in Georgia, and I just love that the pictures worked so well with the beautiful blues and pinks in Romance.  
I used the 12x12 collection kit, along with the chipboard pieces and  4x6 stickers.
 
I hope I've inspired you to use Romance for lots of different projects, not just Valentine's Day.  It is so pretty for weddings, date nights, everyday family photos, or even baby pictures!  Enjoy!

Supplies

Pages