February 2018 Blog Posts

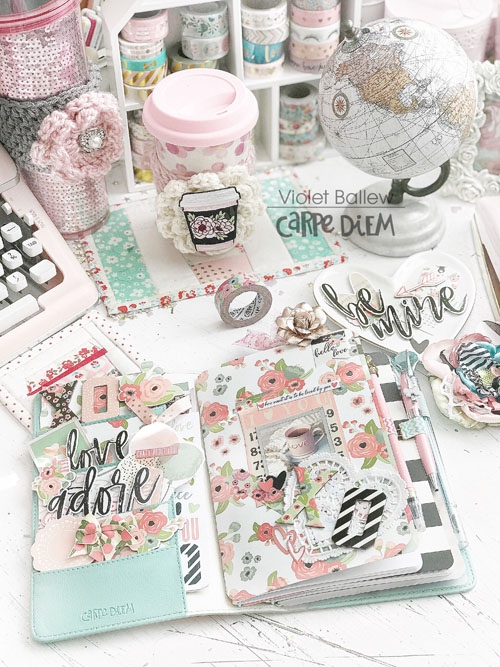
Hello again creatives! Leah here today showing you how to make your own pocket folder insert for your traveler's notebook. If you are anything like me, you can't have enough pockets in your planner. Not only can you decorate the pockets of your planners and traveler's notebooks to make them pretty, but they can be very functional by holding some of your favorite supplies. I've filled up the pockets of my Cream Blossom TN, so I decided to make a pocket insert that will allow me to carry more journaling cards and stickers for on-the-go planning and creating.

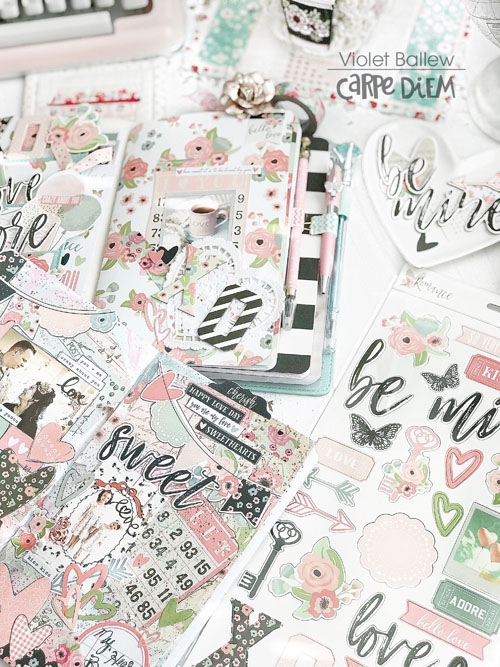
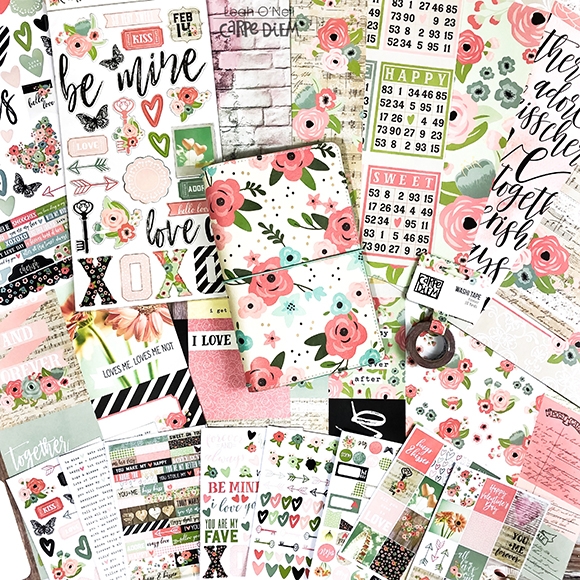
I created this pocket insert using the Romance collection. I love the beautiful, romantic elements of this collection and I always intended to use it long after Valentine's Day. The soft colors and florals provide  the perfect transition from winter to spring in your planner decor.
I used another notebook insert from my TN as a template to cut my pocket folder insert to the right size. No matter what size TN you use, you can always use one of your other inserts as a guide to cut to the appropriate size. I used a sheet of vellum to add pockets to the outside of the insert. I kept it simple with the décor, simply adding a little washi tape and a floral that I fussy cut from the 12x12 patterned paper titled “My Whole Heart.”
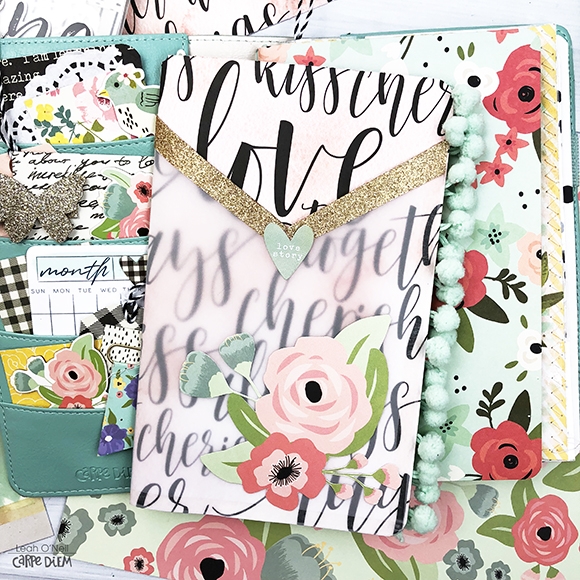
The back of the folder insert just has a little washi tape to dress it up. The washi tape also reinforces the top of the vellum pockets so that they are less likely to tear when you take supplies in and out of the pockets.
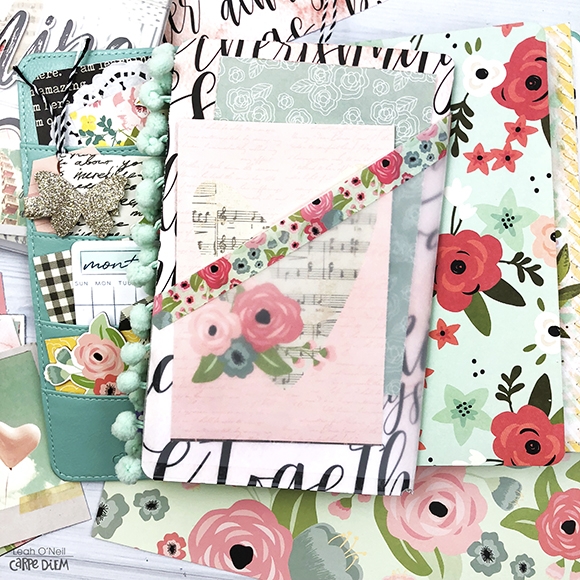
I love the idea of adding pockets to the front, back, and inside of the insert. I can fit so much in here!
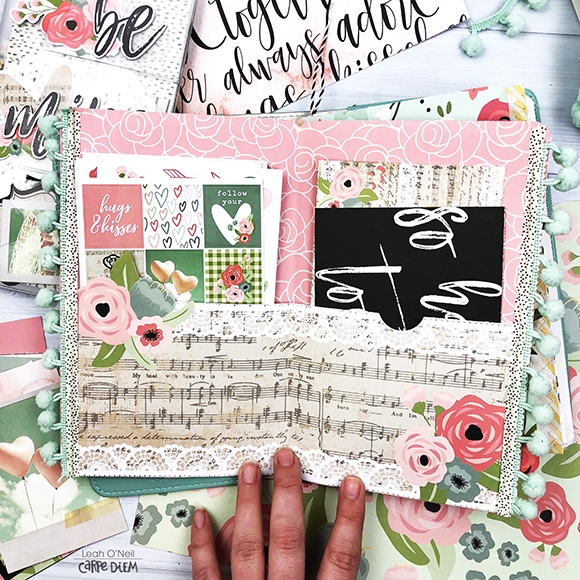
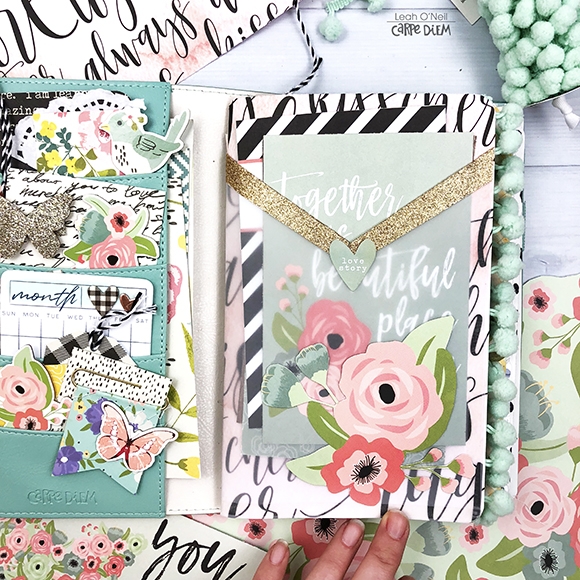
I also added a little pom pom ribbon to the edges of the insert for a fun little detail to peek out of the sides of my traveler's notebook.
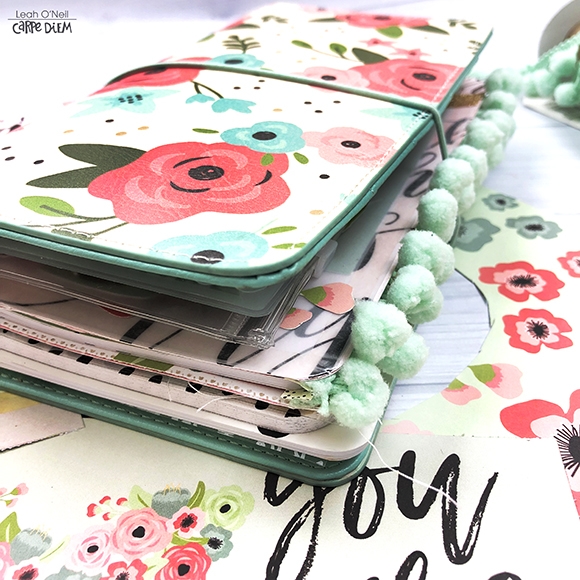
Check out the full tutorial below. The written instructions will be in the description box of the video over on my YouTube channel.

https://youtu.be/kSWCijkqq88

If you have any questions, please ask below or on any of my social media channels. For more creative inspiration for your planners and traveler's notebooks, head over to the Carpe Diem Planners Instagram account. Happy crafting friends!

Supplies

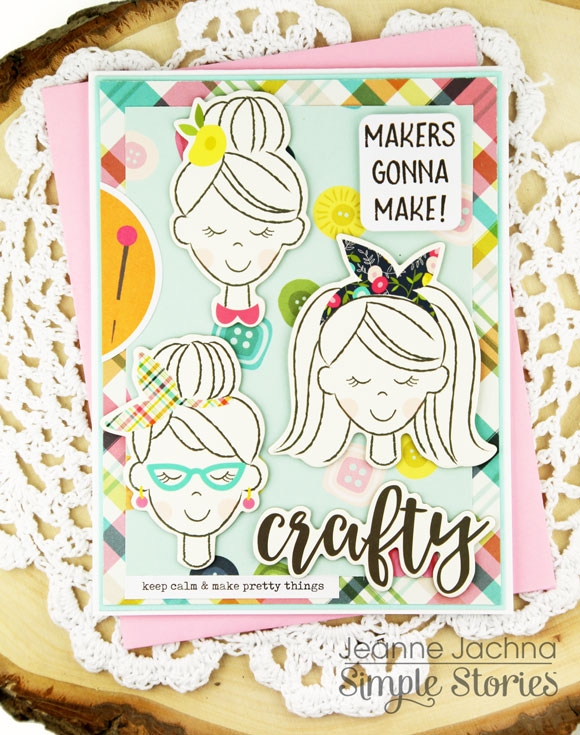
Do you love to craft?!  Of course you do!  Have you checked out the Simple Stories Crafty Girl Collection?  It’s the perfect way to meld your love of crafting – and I mean ALL your crafting (think sewing, painting, drawing, and journaling) with your love of paper crafting!  The colors are fun and feminine and you’ll find some pretty florals too!

I got to mixing all the elements of the collection together – colorful pattern paper,  chipboard, die cut bits and pieces and stickers to create these fun cards to share with my crafty friends! 
 

I had so much fun mixing and matching the elements that I think these cards made themselves!  Get your crafty on – or better yet have your crafty crew over and explore this new collection together!  I just know you’re going to LOVE it! 
Supplies

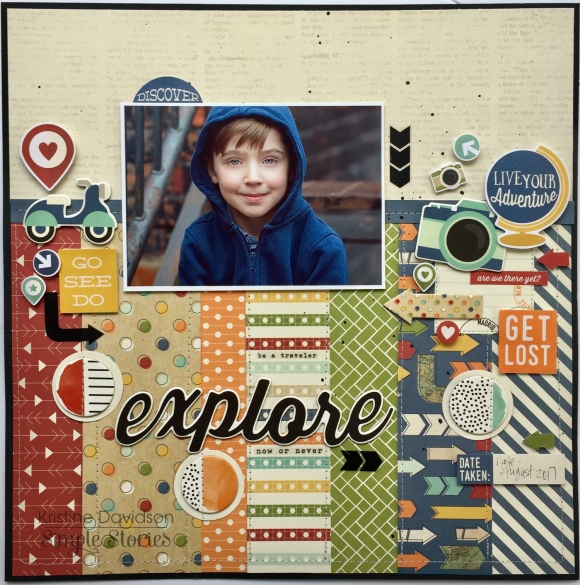
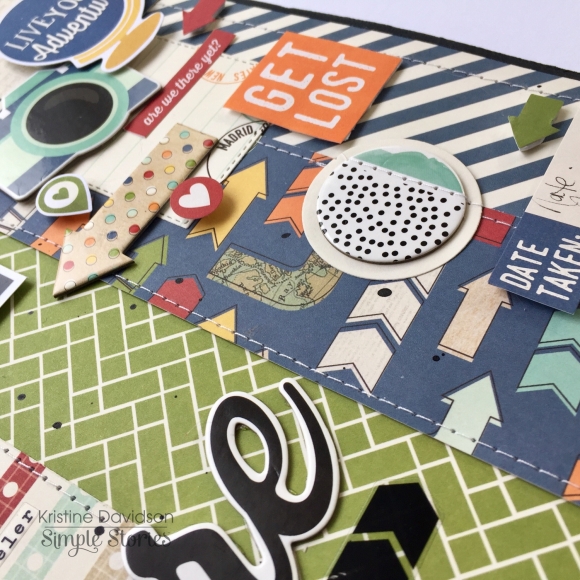
Hello it’s Kristine Davidson with you today! I am sharing a layout I created using the NEW Travel Notes collection. I love this collection because it can also be used for awesome boy pages! I created this with something different in mind. I wanted to use all those gorgeous colors in this collection but I didn’t have a “travel” picture. I used this photo of my nephew and started adding chipboard as well as Bits and Pieces. It Worked!

I used a piece of black cardstock as my base because I wanted the layout to be framed. That enhances the colors for me and since the title in the word Explore was black – it would be perfect.

I cut up pieces of pattern paper different widths and the same length (9”).  I added the embellishments in random areas and my title in the centre. I didn’t add much for journaling except the date and our location.

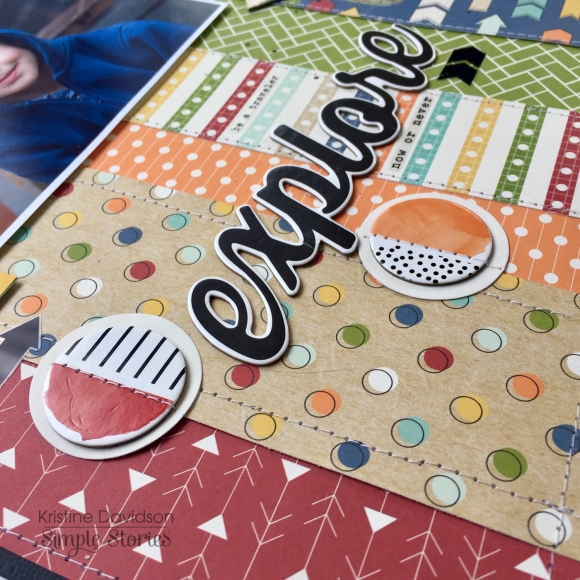
I did add texture to my layout by sewing the edges of all those paper strips. This also helps unify all those patterns. I added popdots under my photo, some stickers and also chipboard pieces to give my layout some dimension.  

As you can see – this collection can be used for something other than “Travel “ related pages!
I hope you enjoyed this little lesson today and please come find us on Instagram @SimpleStories_ and @KristineDavidson

Supplies

This month is such a Very Beautiful month. What a wonderful way to celebrate it with the Romance Collection

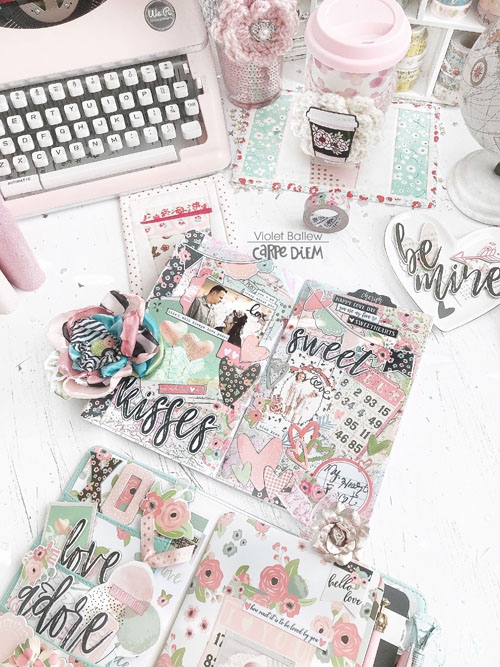
I used it in my Creme Blossom Travlers Notebook. The perfect pairing. All the florals and Pinks with a hint of blue is A Valentine planner dream. 

I use my Travlers Notebook for memory keeping. This Month was my 22 year anniversary and my Granddaughters 2nd Birthday. Incorporated the collection paper and journaling cards along with the ephemera and stickers to create a scrapbook collage.


Supplies

Hello, Simple Stories Scrappers! Jana Eubank here with a fun way to add additional photos or journaling to a scrapbook page.

My youngest daughter did the most adorable thing for our family last St. Patrick's Day. She made signs and love notes for each person telling us how much she loves us and how lucky she feels to be in our family. 

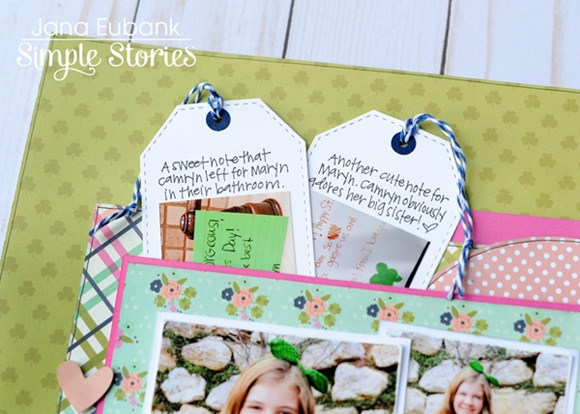
I used pictures of her holding a "Happy St. Patrick's Day, Family!" sign for the main photos on this page, but I also wanted to include images of the other notes she had created. My solution? Tags!

I used a manual die cut machine to create a couple of tags (you could also use tags purchased from an office supply store), added photos and journaling to them, and then tucked them in between the layers of my page design!

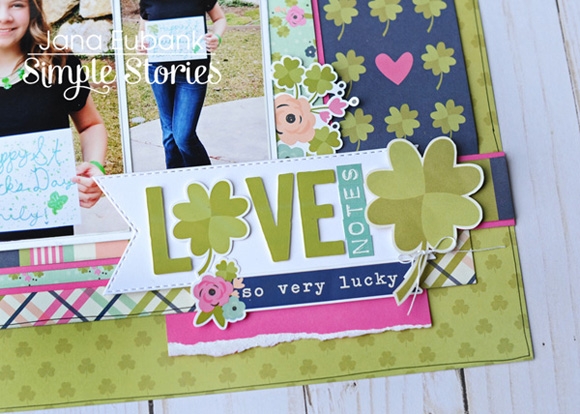
Next, I used the "LOVE" letters from the St. Patrick's Day 6x12 Stickers as the main word in my title, Then I sprinkled the floral and heart stickers around the page for a girly feel!

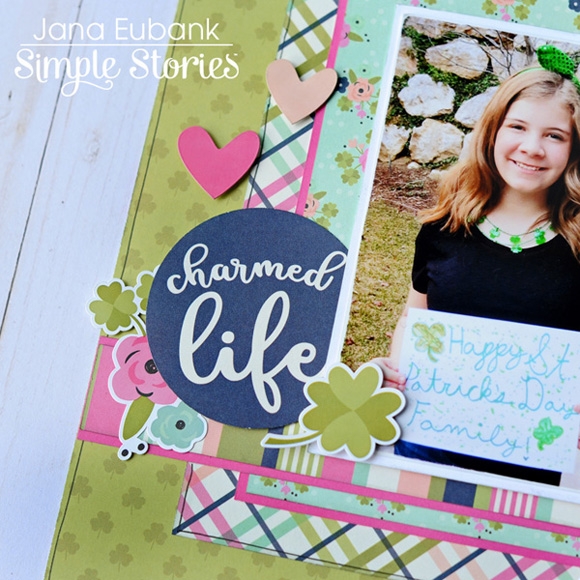
I loved the navy 3x4 journaling card with the rows of shamrocks with a single heart and wanted to incorporate it into my page design somehow. I decided to place it to the right of my photos as an additional background layer. 

Next, I punched the "charmed life" circle from another 3x4 Journaling Card to add navy to the other side of the page. The "So Very Lucky" banner sticker below the title repeats the navy color around the page, grounding the design and creating a visual triangle. 

Have you created a page lately about the people that you feel "lucky" to know? The St. Patrick's Day Simple Set is the perfect way to do it!

Supplies

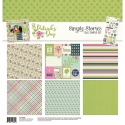
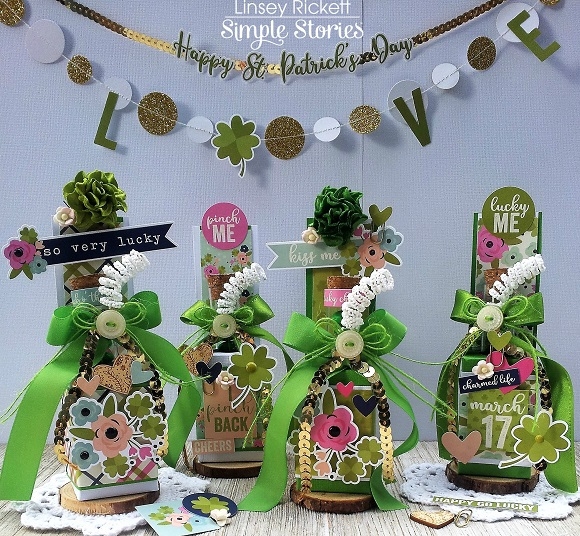
Hello friends, Linsey here! Top of the morning to you! With St. Patty's Day right around the corner, the new St. Patrick's Day Simple Set is a perfect excuse to whip up some fun party favors, cards, and other cute projects! It's also the perfect set to scrapbook your St. Patrick's Day festivities! I really enjoyed playing with these super cute papers and stickers and making this fun test tube treat ensemble! 

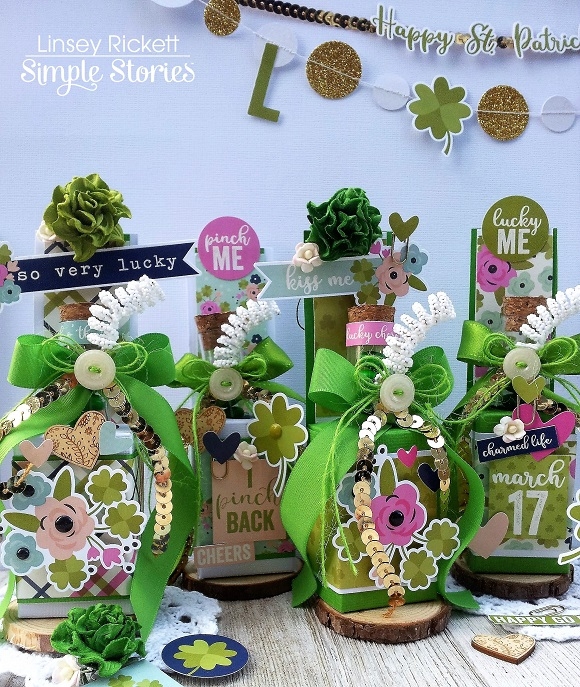
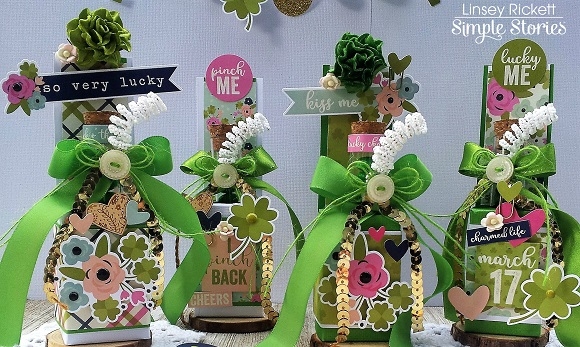
Plastic test tubes are a really fun way to present little treats, such as MnM's like I chose to fill my tubes with. This Test Tube Holder Tutorial was used to create the holders with study card stock, then the really fun part, decorating the holders with the St Patrick's Day Simple Set! 

Since all the stickers in this simple set are so cute, it was hard choosing--so I used pretty much all of them to decorate my treat holders. :)  I even used a few stickers to make 2 mini banners. Some pretty ribbon, twine and gold sequin trim was added to each test tube, as well as a fancy ivory button and white spiral stamen to the centers of each bow. These are great to give to friends and neighbors and if you're lucky enough to be having or attending one, these are a perfect favor for all the St Patrick's Day party guests to take home with them! 

Thanks so much for stopping by today! I hope you've gained a bit o'inspiration from my festive test tube treat favors!

Supplies

It's February & love is in the air!  Document your love story with the Romance collection - the marriage of traditional pinks paired with punches of mint & black offer the perfect palette to capture those memories with your one true love. 

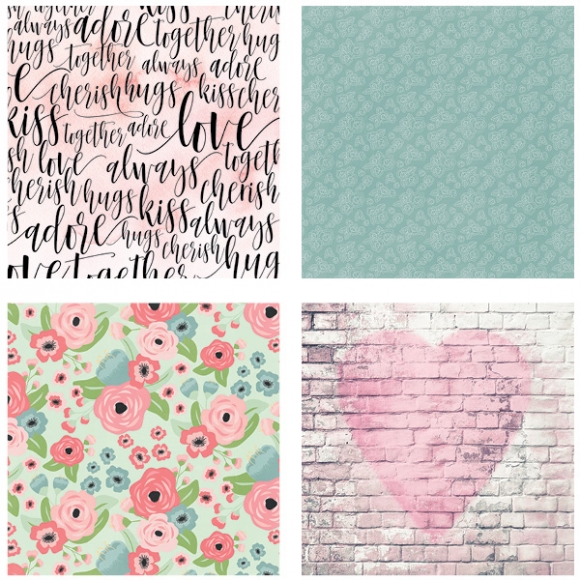
When it comes to paper crafting, it's all about the paper, right?  Regardless of what 'lovely' project you're working on, paper is the perfect starting point.  These are some of the Romance papers we just can't get enough of, especially the heart on brick pattern!

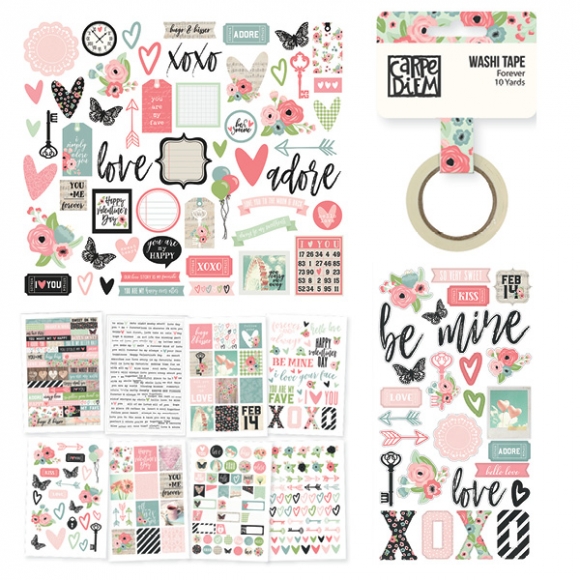
Stickers, chipboard & die cuts - OH MY!  Romance is sure to have just the embellishment you need to add that loving touch to all of your projects.   That mint floral washi, tho!

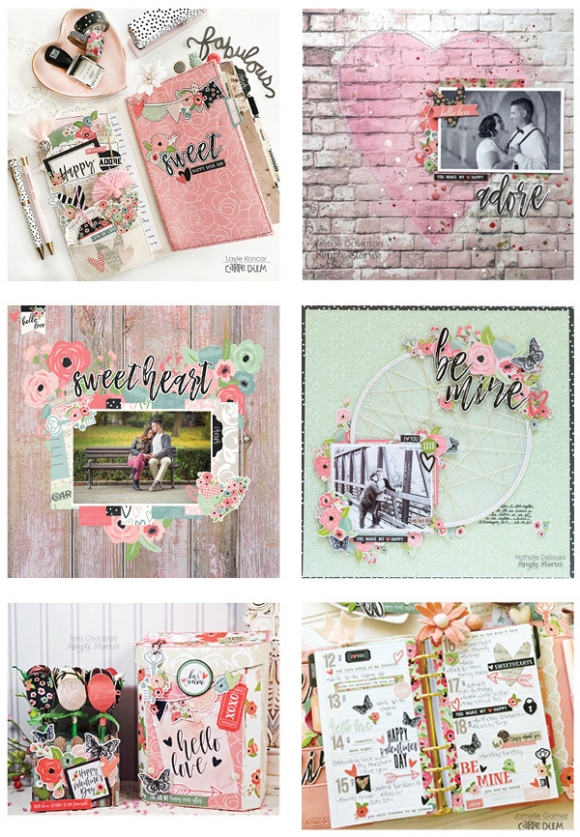
From layouts and cards to mini books planners & traveler's notebooks, the possibilities are endless with this heart warming collection.  These projects should help to get you inspired to create any time of year, not just February!   

Be sure to check out & follow our Romance Pinterest board for more sweet project inspiration.  Happy crafting!

SaveSave

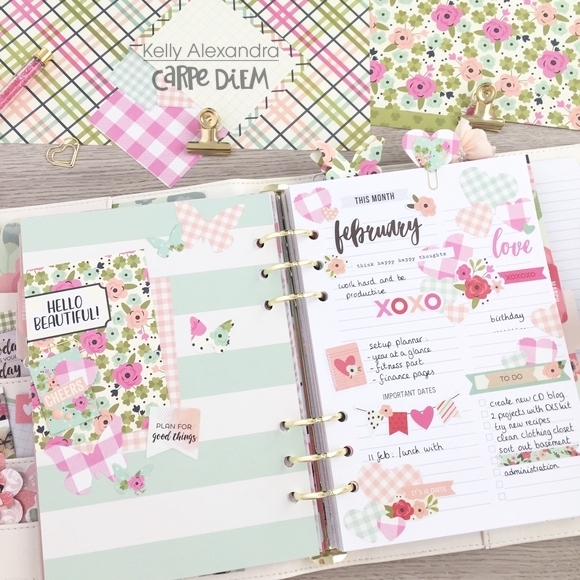
Hi everyone, it’s Kelly today on the blog with my planner setup for February. This month I used the St. Patrick’s day Simple Set, the Seasons A5 sticker tablet and the Wood and Gingham 12x12inch paperpad.

I punched some hearts from different color gingham papers and layered them on the ‘This month’ page. In addition, I used the February stickers from the Seasons sticker tablet.

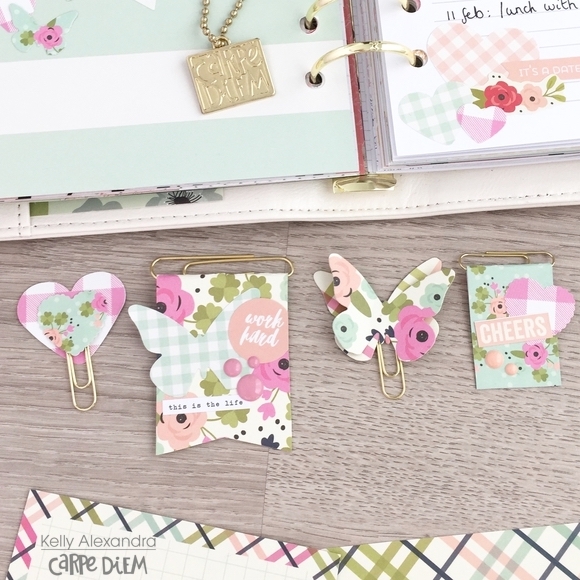
I have a confession: I looooove to make diy paperclips. It is so fun to do, it costs little time and the end result is so cute and functional.

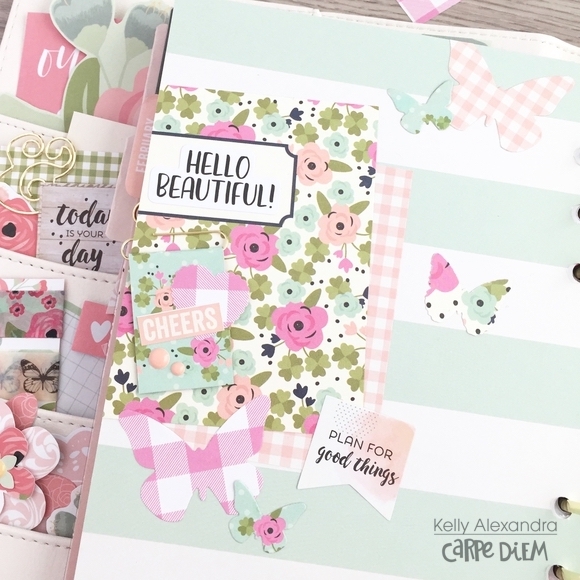
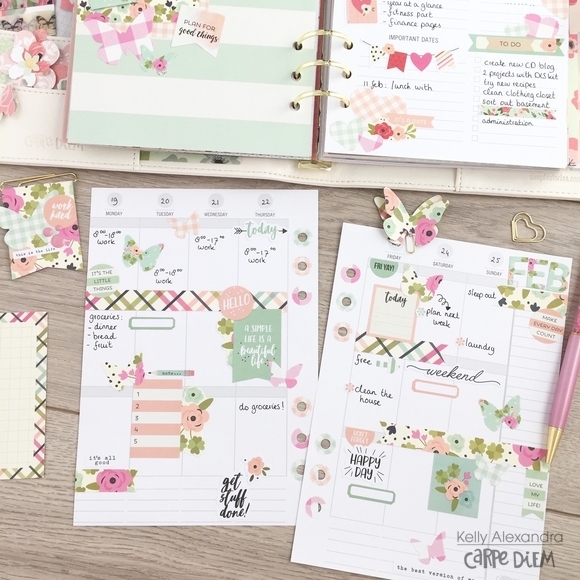
This week I decorated my vertical planner pages with some punched butterflies and stickers from the A5 Bloom stickertablet.

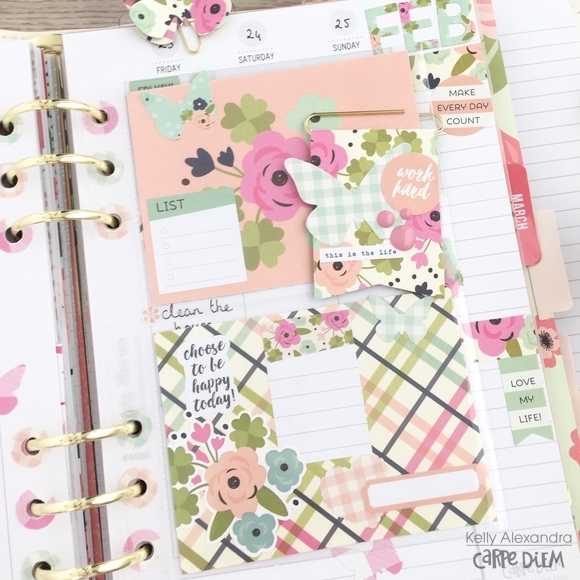
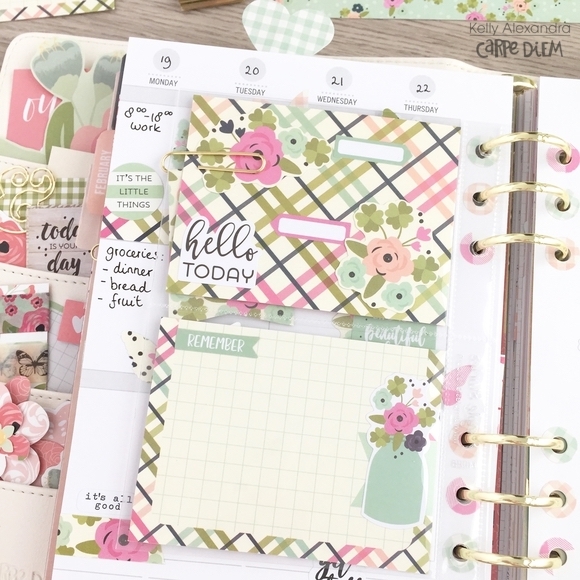
I used a SN@P 6x8 pocket page, punched some extra holes and created a pocket insert for my planner to write down some extra to do’s and things I don’t want to forget.

Thanks for reading my blogpost, have a nice day!

Supplies

Pages