Birthday Antics
Hello scrappy friends! It's Laura here today sharing two layouts using the super fun and whimsical Let's Party collection!
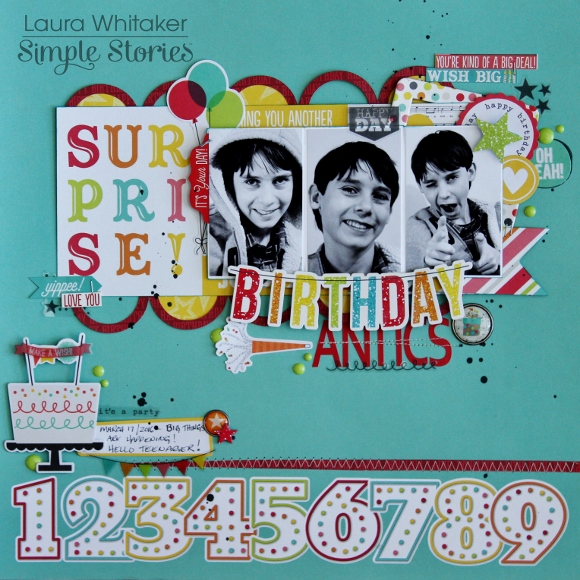
My first layout documents my youngest son's most recent birthday, he became a teenager last month! He is my last teenager, and therefore he was my last little kid - that is just a little sad for this mom.
I can't tell you how much fun I had playing with this collection! I let the playfulness of the patterned papers and embellishments guide me through the creating process.
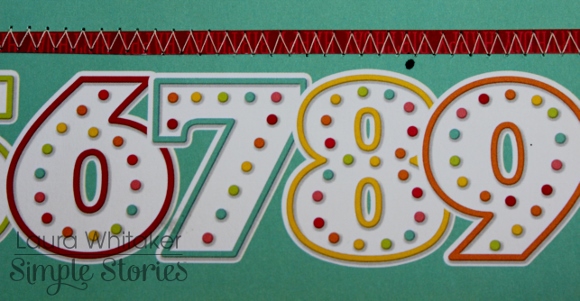
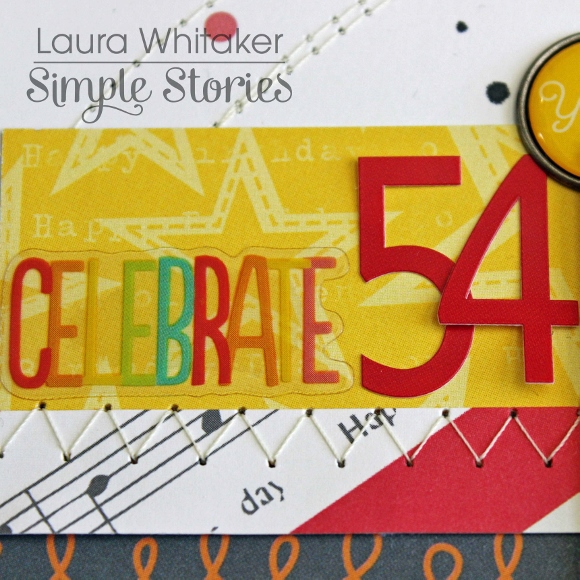
I love graphic look of this patterned paper and wanted to be sure to highlight the numbers that run across the bottom of it, so I stitched a scrap of red paper above it to frame it in.
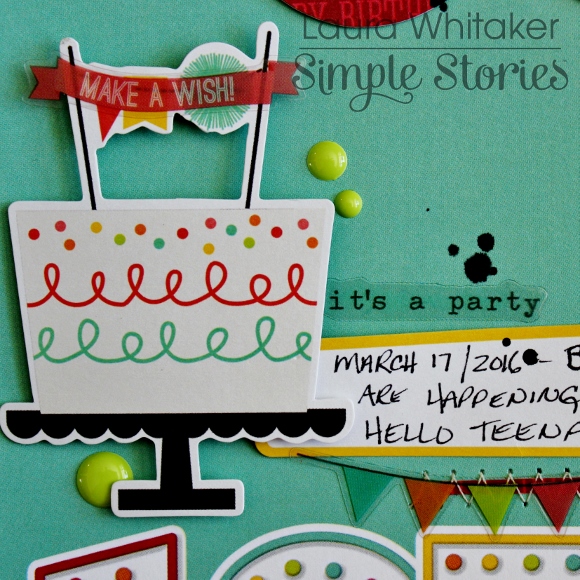
Which created a great spot for this embellishment cluster and my journalling.
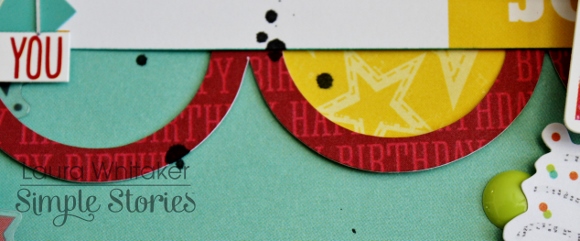
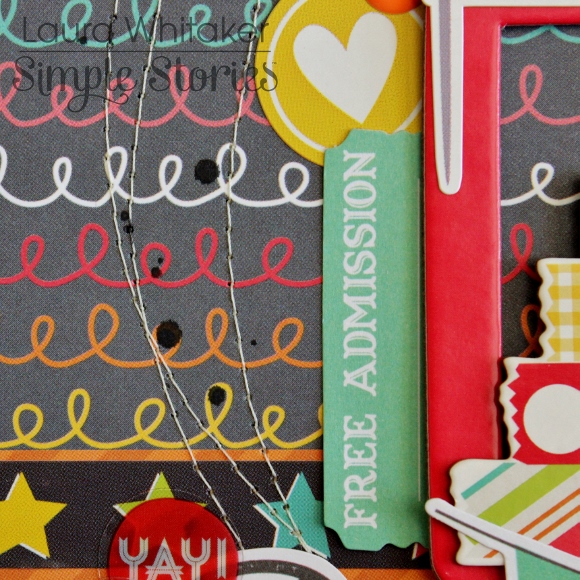
Once that was done, I worked on creating some layers to frame my photos, front and centre. I started by die cutting this circle element. I kept some of the circles to flip and adhere into every second opening. These colour play so nicely off of one another and are so perfect with my black and white photos!
On top of the circle element I added a strip of 3x4 cut-a-part card to anchor my trio of photos, which were popped up a bit so that I could nestle some embellishments behind them.

I love that some of the elements look as if they are glittery, and the clear stickers with black graphics help to anchor my black and white photos.
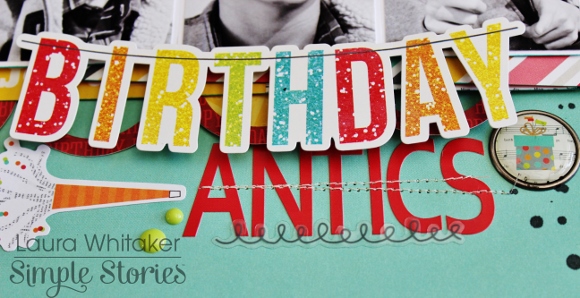
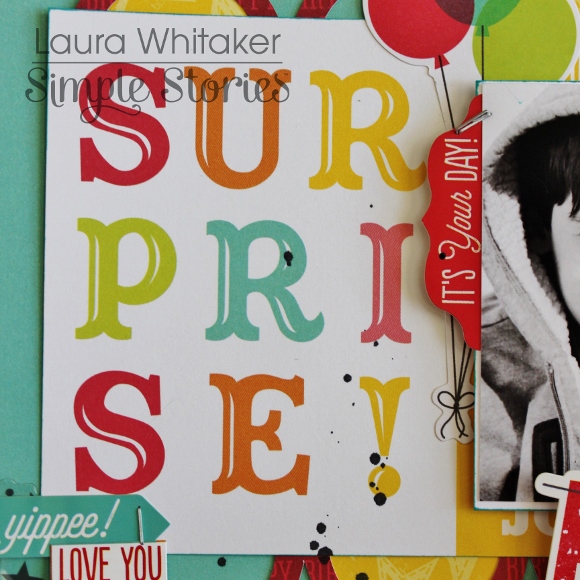
I layered a large sticker element with some alpha stickers to create my title, then I did some more machine stitching to add texture to my page, of course another embellishment or two helps as well! The very last step on this page was to sprinkle on some black Mr. Huey's mist.
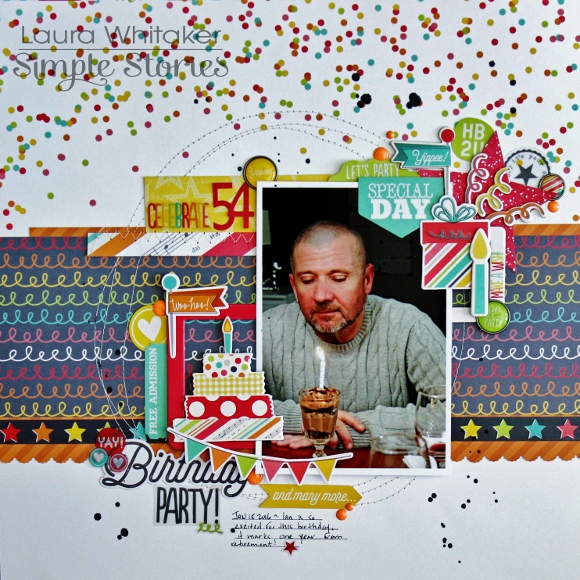

After running some strips of patterned papers in a variety of sizes, vertically across my page,I machine stitched some messy circles. This created the perfect focal area for my photo.

Thank you for visiting!
