DIY Dashboards & Dividers
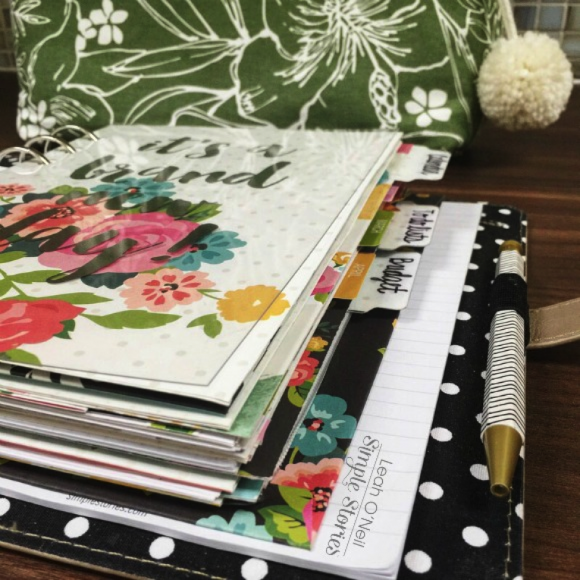
Hello there Carpe Diem Planner lovers! It is hard to believe that we are already nearing the end of March! It took me awhile, but I feel like I am finally getting settled into my planner. I have it set up in a way that is really working for all of my needs. I only carry 2-3 months at one time, but I still manage to keep my planner pretty chunky! Today I want to show you how I have created my own custom dividers and the dashboard you see below, using products from the Carpe Diem Collection.
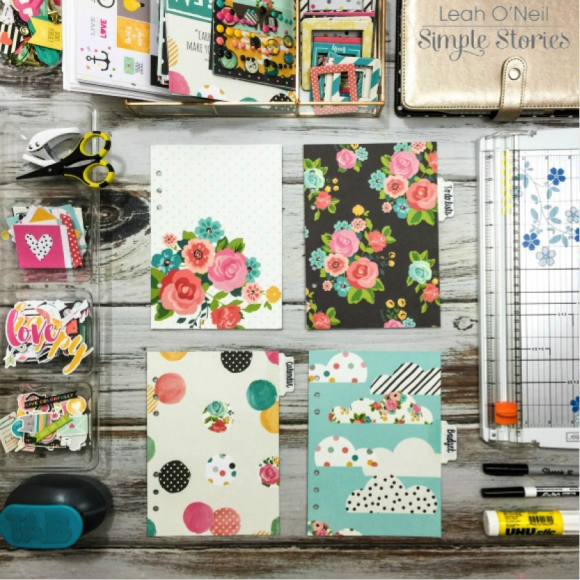
I selected four of my favorite 12x12 Carpe Diem scrapbook papers and took the March insert out of my planner to trace the shape onto each piece of paper twice. I did not bother tracing the tab because I am making tabs later. Since I like my dividers to be thicker, I cut out the two traced shapes with my paper trimmer and then glued them together with a glue stick to make one divider. To make my dividers even sturdier, I placed them under a heavy book for a few minutes while the glue dried and then punched the holes for the rings that I had marked earlier.
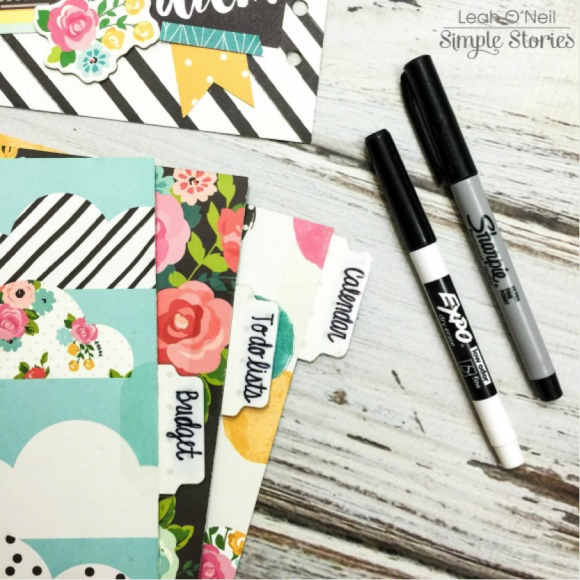
I punched some tabs using a paper punch from We R Memory Keepers, and laminated them with clear tab stickers. I prefer not to laminate my dividers because I really love the feel of paper, but I do like to laminate my tabs. It makes them extremely durable which is important because the tabs get the most “wear and tear.” Also, the lamination allows me to re-label the tabs later if I want. If you use stickers or a label maker to title your tabs, the slick surface should allow you to peel off the sticker later. Personally, I use a black Sharpie to label my tabs. The writing does not smudge until I am ready to remove it. You can remove Sharpie from a laminated surface by scribbling over the writing completely with a dry erase marker and then simply wiping away with a cloth or paper towel. My dividers are currently labeled as “Calendar,” “To Do Lists” and “Budget.”
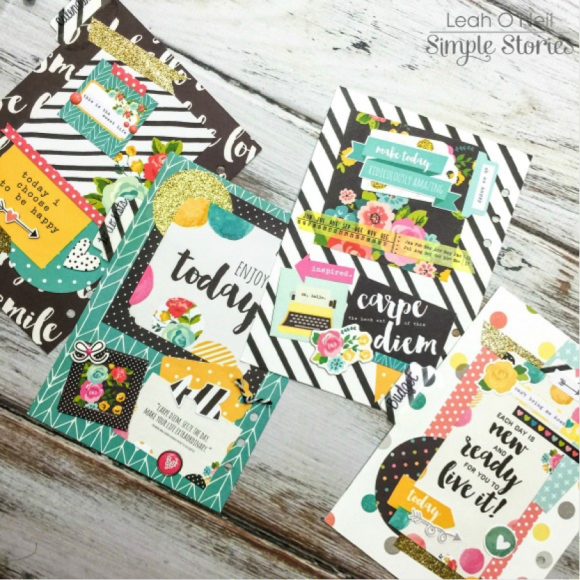
The Carpe Diem 12x12 scrapbook papers have such beautiful patterns that I did not do anything to decorate the front side of the dashboard or the three dividers. I just wanted to let the lovely designs shine!
However, the back sides were feeling a little plain, so I decided to add some decorative flair to each one. I love having the little something extra when I flip the dividers over in my planner!
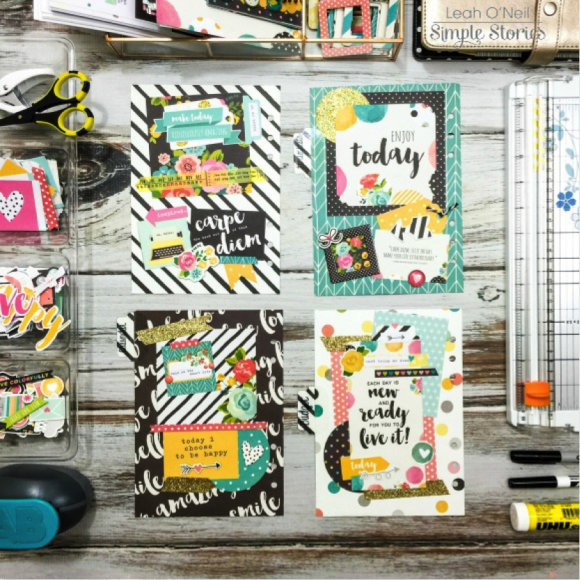
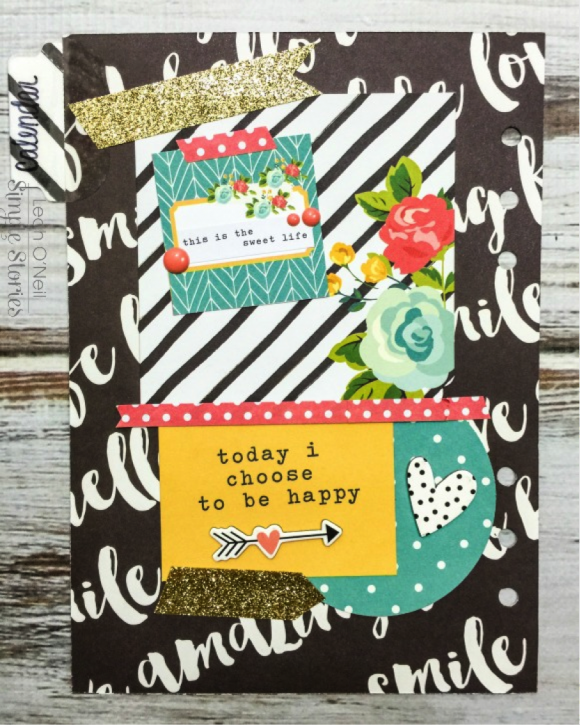
I want to show you each one closer up, starting with the one on the top left. That one has no tab because it is a dashboard that is just being used to decorate the front of my planner.
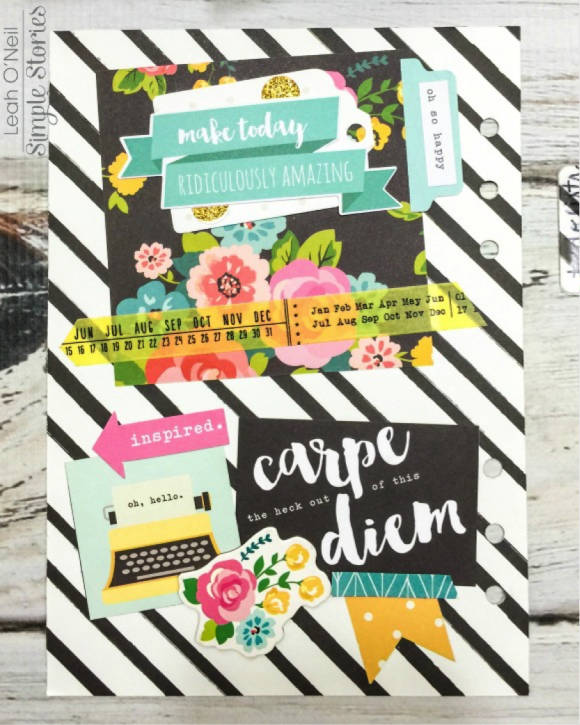
I used a few different sized pieces from the Carpe Diem SN@P! Pack as well as some ephemera from the Bits and Pieces pack. I dressed things up a bit with a little washi tape and a floral chipboard sticker from the Carpe Diem 6x12 Chipboard Sticker set.
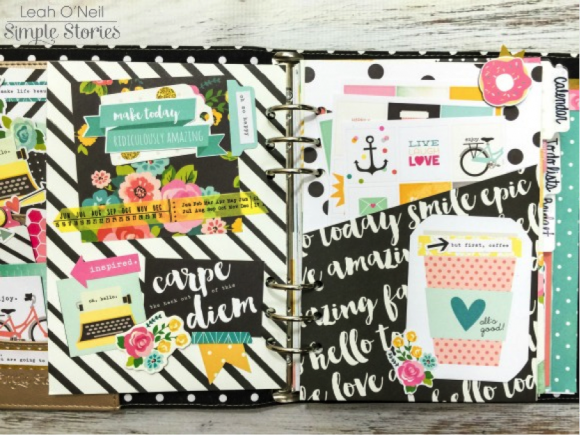
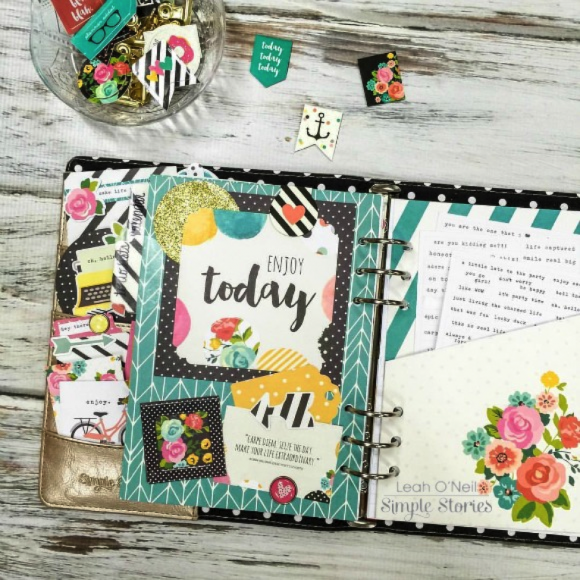
Here is what the divider looks like in my planner. On the right side, I have one of the Carpe Diem Pocket Inserts stuffed with the Carpe Diem Insta Quote Stickers. I embellished the pocket insert with one of the decorative pieces I made for my blog post last month.
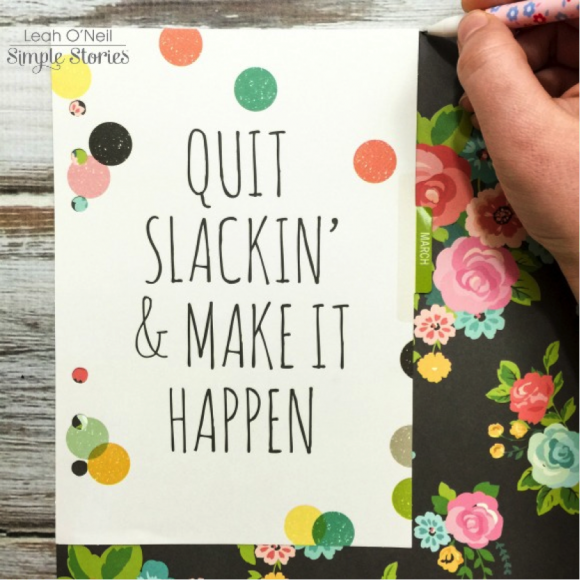
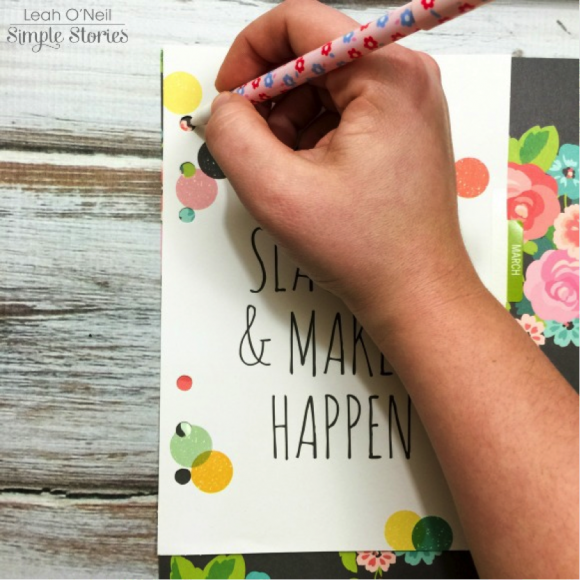
The “Calendar” divider below is being used to mark the first section of my planner where I currently keep 3 months of calendar inserts.
For this one, I used more embellishments from the SN@P! Pack, some washi paper tape and enamel dots. The arrow and heart are from the same 6x12 Chipboard Sticker set mentioned before.
Below is the “To Do Lists” divider which marks the section of my planner where I keep plain lined paper for my excessive list-making and a few daily inserts for creating detailed lists on especially busy days.

More SN@P! Pack pieces were used here (there is a LOT in that pack!), with a chipboard frame and bow, and a decorative brad. Below is what the divider looks like inside my planner next to another Carpe Diem Pocket Insert holding some Word Label Stickers. I also decided to add one of these adorable Carpe Diem magnetic clips!
Lastly, I have a divider to mark the “Budget” section of my planner. This is an important section for me because my husband and I have a lot of financial goals this year, such as paying down our credit card debt and hopefully buying our first home! This section is where I keep our monthly household budget breakdown, our debt repayment plan, and a calendar insert to mark due dates for bills. Budget/finance information is not very exciting, so dressing up this divider really makes this section feel more welcoming!
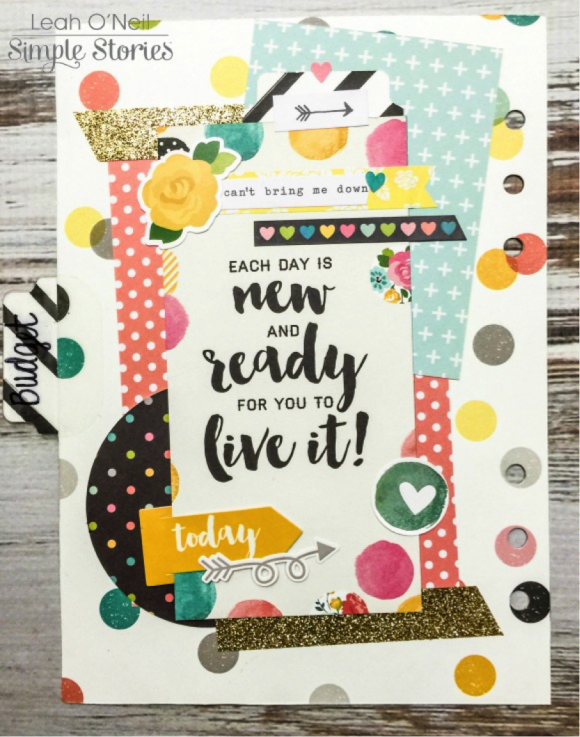
This one is my favorite! I used different paper punches to cut out a bunch of shapes from the 6x6 Paper Pad that I layered behind this pretty 6x12 element from this piece of 12x12 paper. Additionally, I used several stickers from the Fundamental Cardstock Sticker sheet.
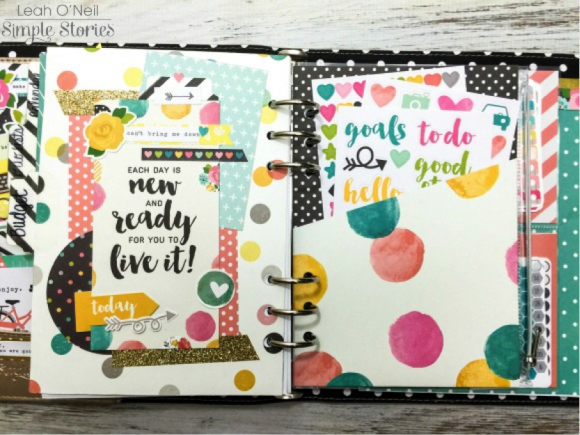
In my planner, this divider is sitting next to a third Carpe Diem Pocket Insert. These pocket inserts have been SO handy in housing supplies for on-the-go planning!
I had so much fun decorating these dividers! I just love how they make each important section of my planner feel like it has a “home.” If you would like to know more about my planner setup, please feel free to ask here in the comments or over on my Instagram!
Thank you for stopping by the blog today! I hope you all are starting to feel more settled into your Carpe Diem planners as well and are using them to reach for your goals!
