01.31.15
Magic Moments with Say Cheese II
Hi everyone, Wendy here today sharing some Magic Moments using the new Say Cheese II collection. I loved the first Say Cheese collection, it holds a special spot in my heart, so this new collection made me so happy!
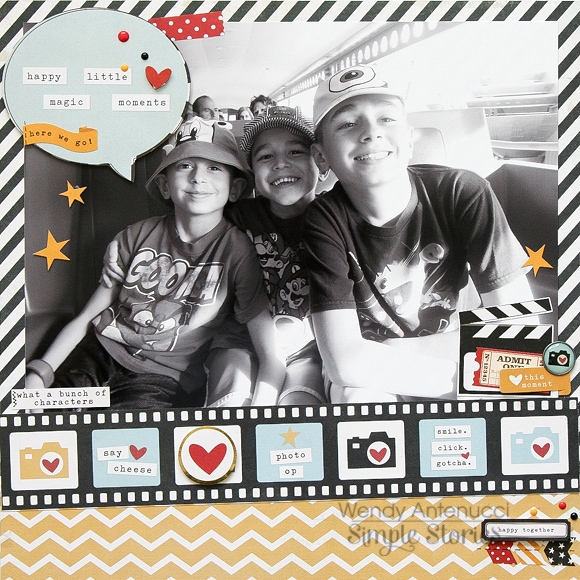
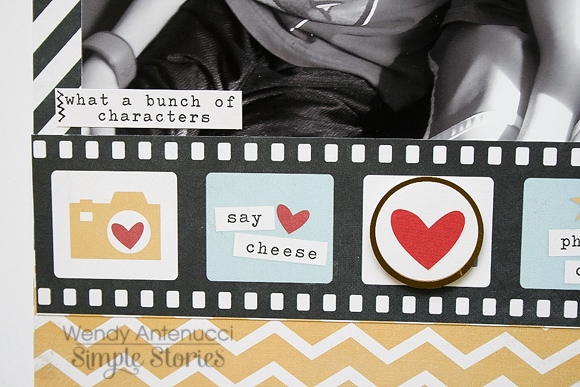
The first layout I made, Happy Little Moments, began with an oversized picture, not my norm, and a black and white at that. (I printed the photo from my Canon printer.) Since the photo was the focal point of the page I chose to keep my page rather simple; not a lot of color or embellishments. I used the film strip border to rest my picture on and I tilted it for a little bit of fun.
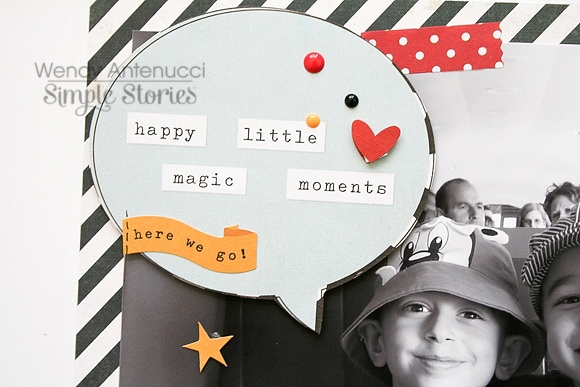
I added a pop of color on the bottom of the page and then I began to embellish my layout. Since there was a lot of blank space on my photo I chose a word bubble as my title that I fussy cut, I added a few sprinkles and pieces to dress up the bubble.
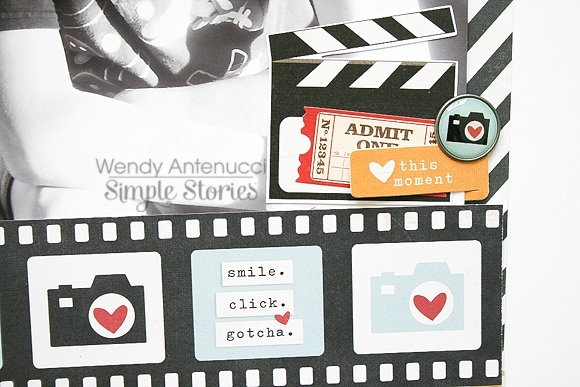
I did an embellishment cluster at the bottom of my page to draw the viewer's eyes through the layout. I chose other photo type die-cuts to layer, the new self-adhesive Bradz which I love, and a clip to build my cluster.
Oversized pictures don't need much to dress them up, but the pieces included in the Say Cheese II collection are perfect for giving anything the WOW! factor.

My next layout, Believe, originated with my picture and the I'm All Ears paper (NOTE - this paper was a pre-production sample so it doesn't have the gold foil on the ear!). I wanted to have the two nestled up to each other and so I actually fussy cut the Mouse ears from the paper and slid my picture underneath. To further accent the ears on the paper I used my sewing machine to ouline the mouse.
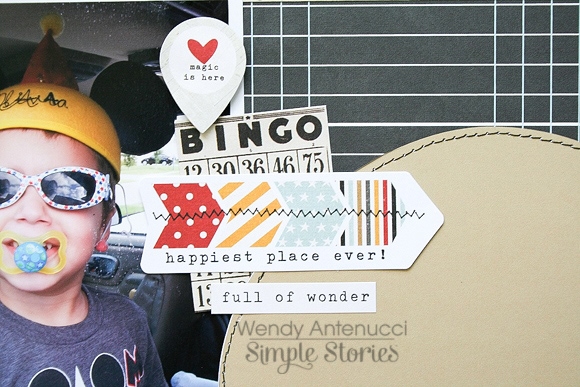
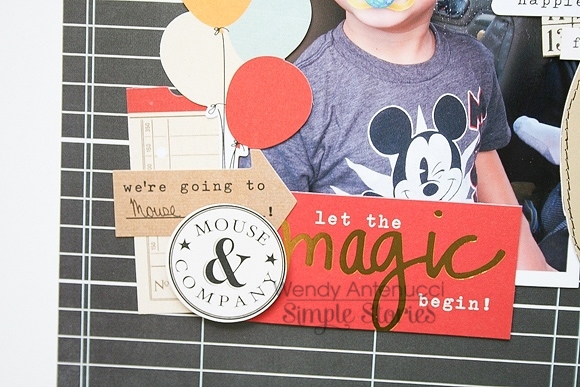
I didn't want to clutter up the Mouse ears on the paper so I again built embellishment clusters at various spots throughout my page to lead the viewer's eyes around. I chose a few pops of red to use in each of my areas to bring color into my page, staring with the "Let the Magic begin" piece.
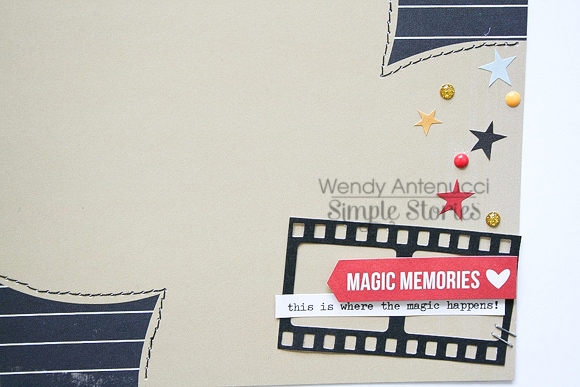
My Mouse ears needed a little excitement at the bottom of the page, so again I chose a red piece to start my cluster. A leftover photo frame from my other layout and a few well placed sprinkles and stars connected the left top of the page to the bottom right further uniting my layout.
The bright colors and fun magic designs make this a great collection to create with whether you have "Mouse" pictures or not, it just shouts fun!
